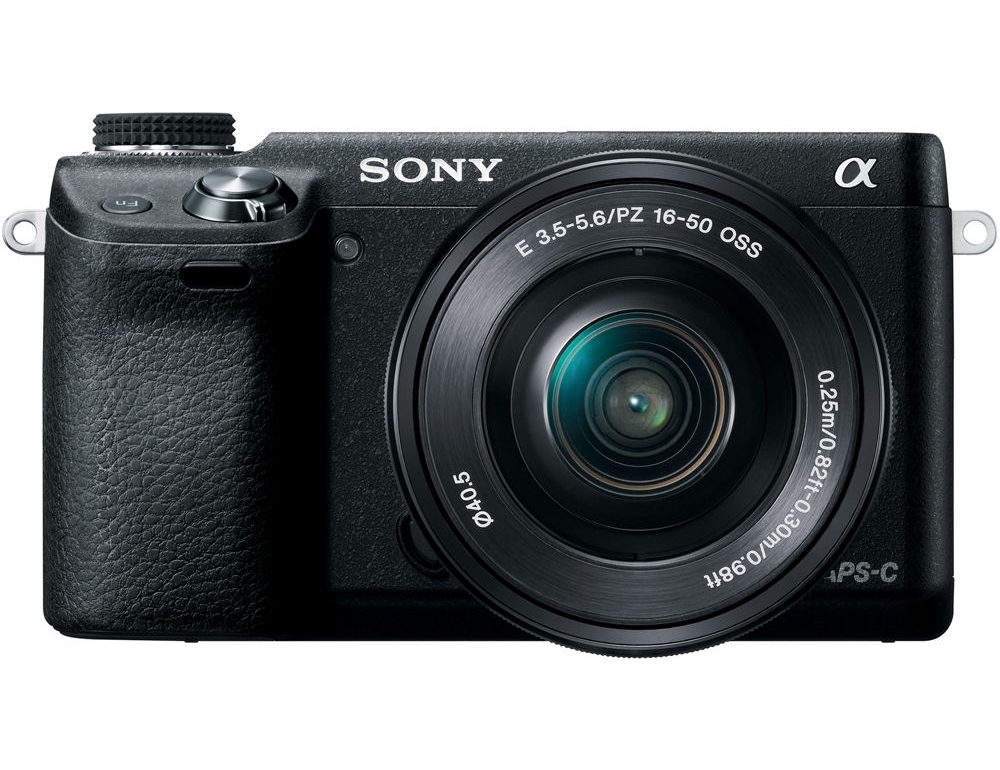
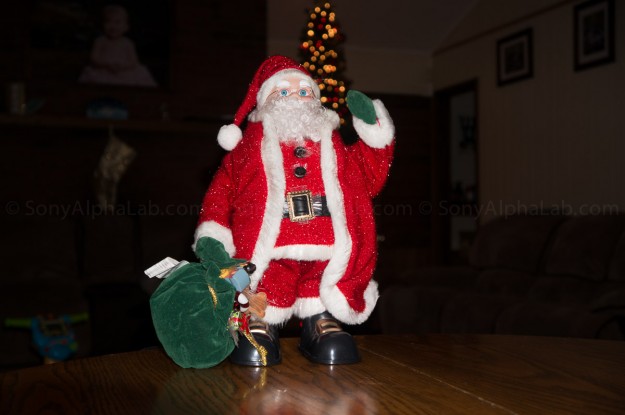
In this article I’m going to go over Flash Photography with the Sony Nex-6! Both On Camera flash modes and Off Camera options using the Multi-purpose Hot Shoe. I also have tons of sample photos demonstrating what each flash setting does and how the flash exposure compensation works!!
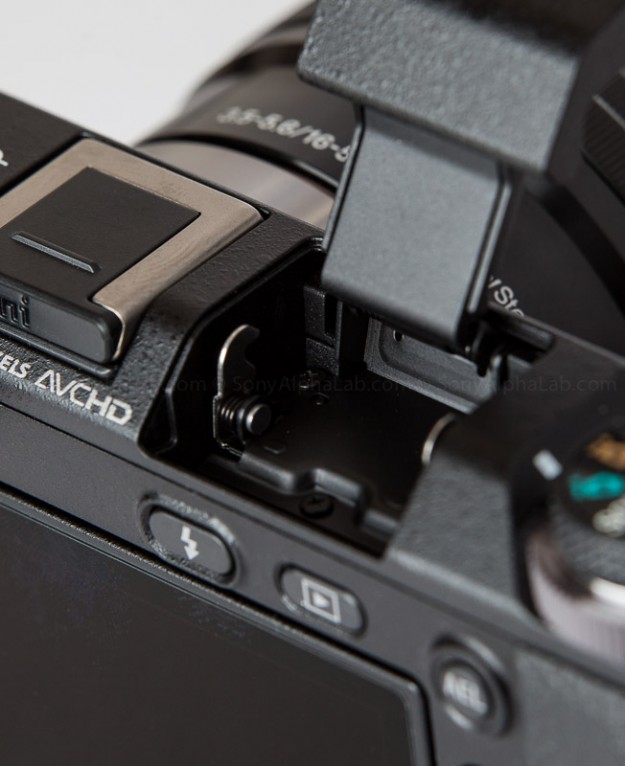
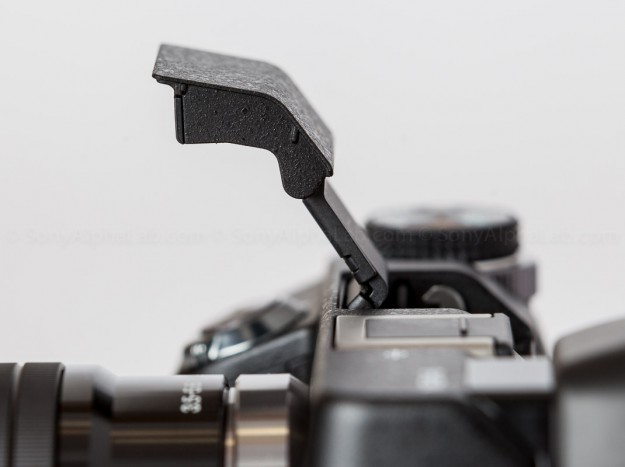
The Sony Nex-6 comes equipped with a pretty powerful and versatile on camera flash that is completely tucked away inside the camera when not in use. There is a button on the back of the camera that you have to physically press in order to release the spring loaded flash mechanism unit. It’s a really innovative design that I first saw on the Sony Nex-7 and was very impressed by the engineering then, and still am now 😉
Enabling the On Camera Flash
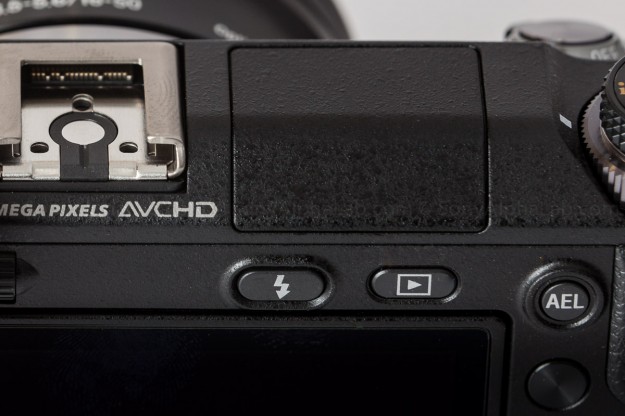
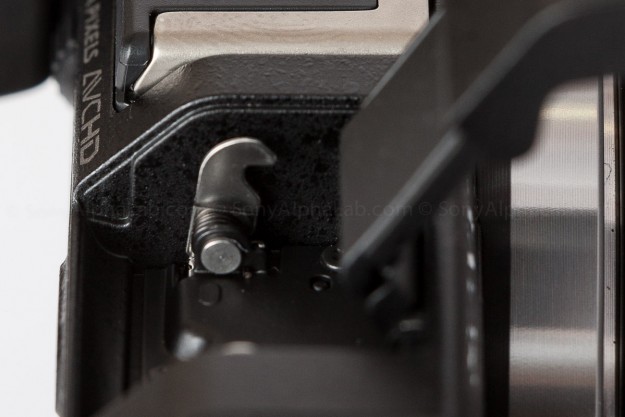
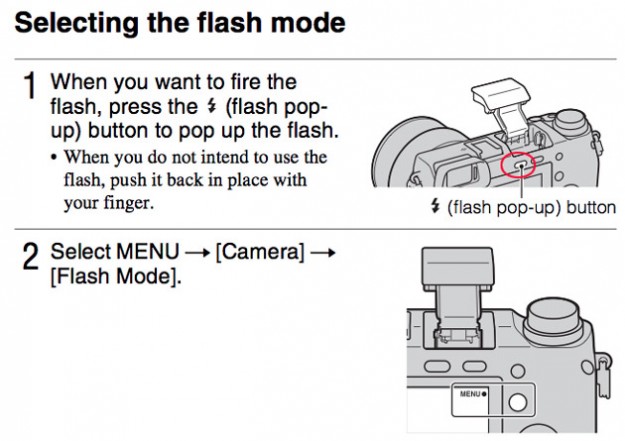
To use the Nex-6 on camera flash you have to press the littl flash button on the back of the camera just above the screen. This button physically moves a little hook inside the flash chamber which then releases the flash mechanism, and takes a little more effort than you might think you first try.
The flash then springs into action pretty high above the camera allowing it to reach over the lens without the hood even on the wide angle end.
From the Nex-6 Manual
Nex-6 and Flash Photography – It’s actually not to bad in the Nex-6 Manual! (Click here to download)
Note: When the camera is charging the flash, the little flash icon blinks on the LCD screen. You cannot press the shutter button when this icon is blinking!!
Nex-6 On Camera Flash Specs:
- Flash guide number: GN 6 (in meters at ISO 100)
- Recycling time: Approx: 4 seconds Flash coverage: FOV covering up to 16mm lens (focal length that the lens indicates)
- Flash compensation: ±2.0 EV (1/3 EV step)
- Flash Sync Speed: 1/160 sec
The range of the flash depends on the ISO sensitivity and Aperture value.
| ISO / Aperture | F2.8 | F3.5 | F5.6 |
| ISO100 | 1 m – 2.1 m (3.3 feet – 6.9 feet) | 1 m – 1.7 m (3.3 feet – 5.6 feet) | 1 m – 1.1 m (3.3 feet – 3.6 feet) |
| ISO3200 | 5.6 m – 12 m (18 feet – 39 feet)> | 4.5 m – 9.7 m (15 feet – 32 feet) | 2.8 m – 6 m (9.2 feet – 20 feet) |
So Which Flash Settings to Use and Why?
We have all had frustration with flash at times, so please don’t feel alone if you are struggling to get the results your after!! Using the correct flash settings for your environment is critical to getting a “proper” exposure overall. Flash helps freeze your subject, so often you will need to sacrifice the best exposure possible for a sharp shot. I’ll explain as we go..
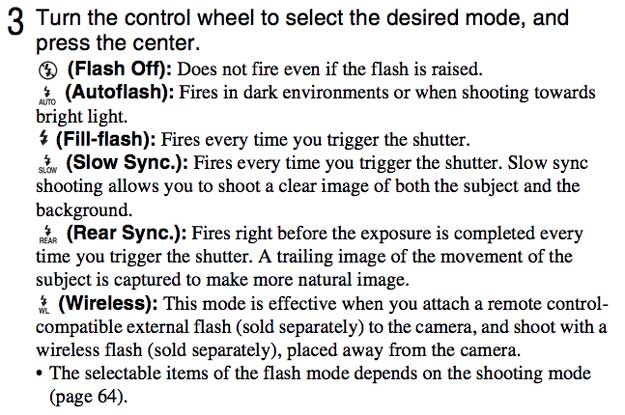
Flash Off
Besides the obvious, it’s worth mentioning that the flash will not fire under any circumstance! Even if the flash is open and looks ready to go.
AutoFlash Mode
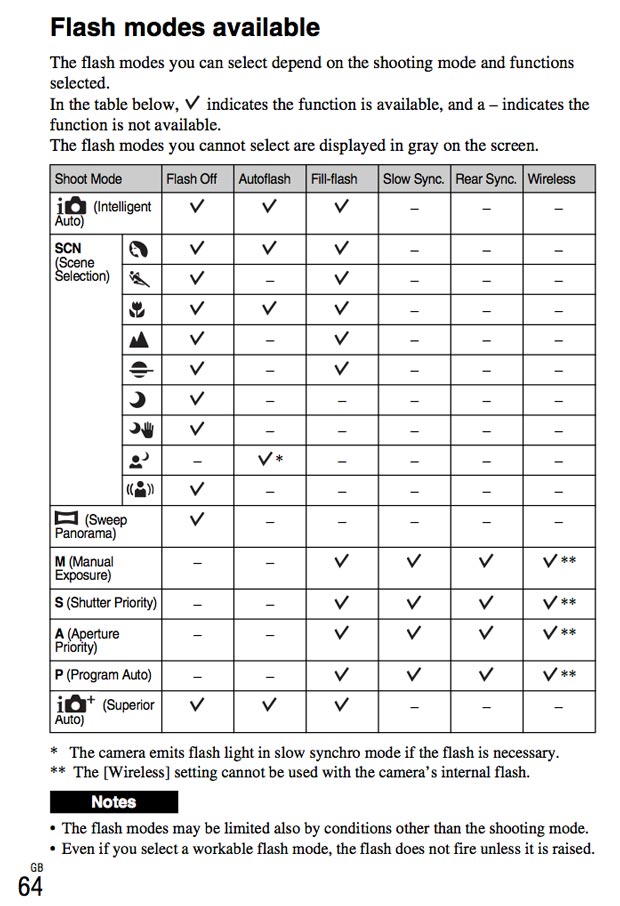
When using AutoFlash on the Nex-6. it will chose to use it at it’s own discretion in both dark environments and bright sunny environments. This mode is available in The iAuto Modes and a few scene modes, but does not allow for flash exposure comp adjustments.
I had pretty good luck with AutoFlash on my Nex-6 taking a few snapshots of Chubs and Layla around the house.
Nex-6 and Fill-Flash Mode
The purpose of fill flash, as I understand it and apply it to my photography, is this: Theoretically adds a little extra Fill Light into the scene to help soften harsh shadows due to the Sun or other harsh lighting scenarios. Great for brightening deep eye sockets or under hat brims for example.
Real world on the Sony Nex-6 I find this works pretty good, but the shutter speed seems to lock @ 1/60sec or 1/100sec which might cause some issues depending on your exposure goals. The flash also fires every time in this mode which is important to note. I often prefer natural light, but the results are pretty good when you need flash and want to control the power with flash exposure comp. This is also a good option for outside and when hand holding as the shutter speed is high enough to help avoid camera shake and freeze the action.
Note: You might experience blown out scenes or subjects when using the Fill-Flash mode. If this happens, check your ISO setting and make sure it’s not set way to high for your conditions. Auto ISO might not work 100% either, so Flash Exposure Compensation can come to the rescue!! Also, if your using a really fast lens the aperture may be wide open and allowing to much light in. Try stopping down to f/2.8 or so.
Sony Nex-6 Fill-Flash Mode @ ISO 100
Note: how the background is really dark do to the shutter speed of 1/60sec to help “freeze the action”, and ISO 100 in really dark conditions.
Sony Nex-6 Fill-Flash Mode – Auto ISO
Here is the same exact shot using Auto ISO as apposed to ISO 100. The Nex-6 decided to jack the ISO up to 800 which helped fill in the background ambient light really well. By raising the ISO the flash got more powerful?? Yes!! It gets more powerful in relation to the sensor sensitivity. In other words, the higher the ISO is set, the more distance and exposure power you can get out of the flash unit.
Slow Sync Flash Mode
When working with flash you need to remember one very important concept that honestly took me some time to wrap my hear around. Aperture and ISO controls the flash exposure and shutter speed controls ambient light exposure!! You may have heard the term “Dragging the Shutter”?? This means the same thing as Slow-Sync.
So what the slow sync flash mode actual does is first fire the flash for the subject exposure, then allow for a longer shutter speed which will allow for more ambient light to be captured by the sensor. Remember, shutter speed controls ambient light when using flash!! Aperture and ISO control the Flash Exposure/ Power.
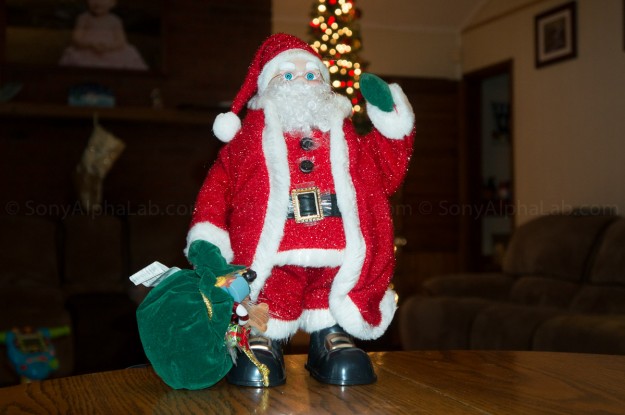
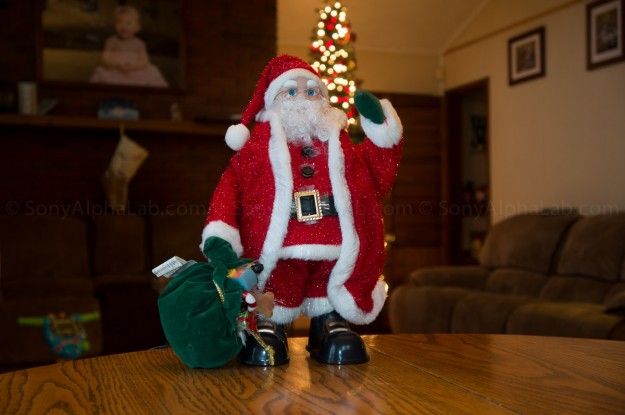
Check out this photo of Santa with the Nex-6 set to Slow-Sync Flash Mode:
Note how the shutter speed is @ 1/4sec now allowing all that ambient light to come in. Not good for hand hollding, but makes for a pretty well balanced image when using a tri-pod! This techniques is often used for wedding portraiture inside Church’s and other dark environments to help balance the scene and open up the harsh shadows.
Using the Flash Exposure Compensation to fine tune your exposure.
By adjusting the flash exposure compensation you can dial in the power if your camera is not doing the best job. I used this feature often and it works great!!! You can get to in the Menu> Brightness/Color> Flash Comp.
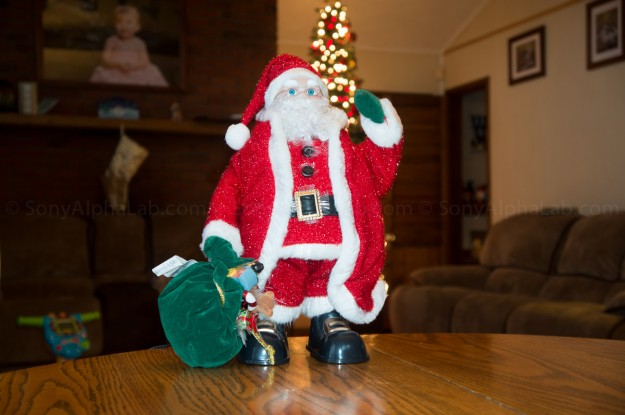
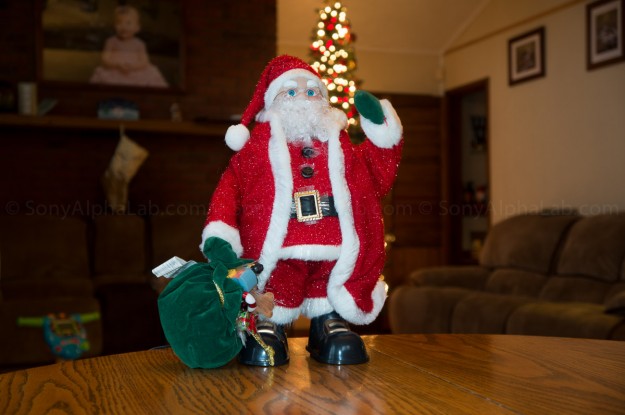
Here is what it looks like with Santa at various exposure comp settings still using the Slow Sync Flash Mode.
First a normal slow sync exposure with no flash exposure comp applied:
-1 Flash Exposure Comp
-2 Flash Exposure Compensation
Rear Sync Flash Mode
Rear Sync Flash Mode is really powerful and can yeild you some really excellent and creative results!! Basically what the camera does exactly this: Fires the flash just before closing of the shutter, so that moving objects will show a streak where they came from and a sharp image where they were at the end of the exposure. Very useful for conveying a sense of speed with moving objects!! This mode is also reffered to as rear-curtain sync or 2nd-curtain sync.
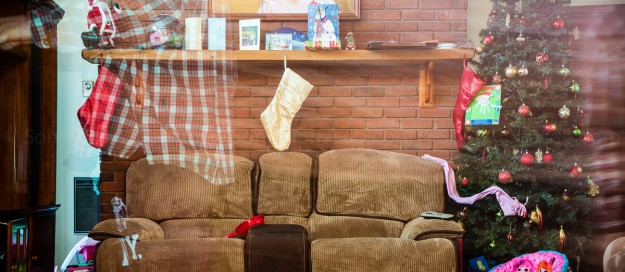
I have honestly never tried using this feature till just now as I was writing this. I have been wanting to for some time though mind you. So, I ran out into the living room and set the Nex-6 on the table with the flash set to rear sync mode, ISO 100, f/5.6, in Aperture Priority mode, and the resulting shutter speed for the lighting conditions was 1.3 seconds!!
Note: I was shuffling across the room pretty quick so I’m a bit ghostly which is pretty neat looking. I also was wearing my checkered shirt to try and add a better streaking effect. The long exposure allows for all the background information to come into the sensor while the subject, Me, is captured for the given time and space, plus flash exposure at the end.
This is by no means a good result of this effect, but it does illustrate how it works to some degree. If you do a google search for rear sync flash photography you will see many samples!! I’ll do a better job with some lights or something asap, and update this article as such. The potential is really high for cool effects with the rear sync flash mode feature on the Sony Nex-6.
Wireless Flash Mode
The wireless mode is used for just that, compatible Wireless flash units. The Wireless setting cannot be used with the camera’s internal flash. This mode is really only effective when you attach a remote control compatible external flash to the camera, and shoot with a wireless flash placed away from the camera. For compatible Sony flash units be sure to check out my Sony Flash Guide >>
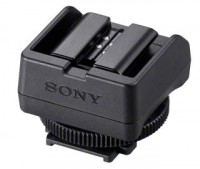
Multi-Purpose Hotshoe Adapter
The Sony ADP-MAA adapter allows you to use your auto-lock shoe-compatible accessories like flashes, viewfinders and more!!
With the Nex-6 multi-interface shoe so you can take advantage of many additional accessories!!
What about White Balance?
Your going to have to play with the white balance as the scene really dictates the color cast. Auto modes will force you to use Auto WB, but in the more creative modes like A,S,M, and P you can experiment!! Sometimes Flash WB does a good job, but often not.
Your best bet is to use custom white balance and a calibration target or gray card to insure accurate colors!! This is what I do for all my professional work and makes for excellent skin tones and much less work in post processing. On this Santa scene I just used Auto however as you will see the colors are not perfect.
Off Camera Flash and Sony Nex-6
So you want to get professional results?? Then use off camera flash and manual mode!!
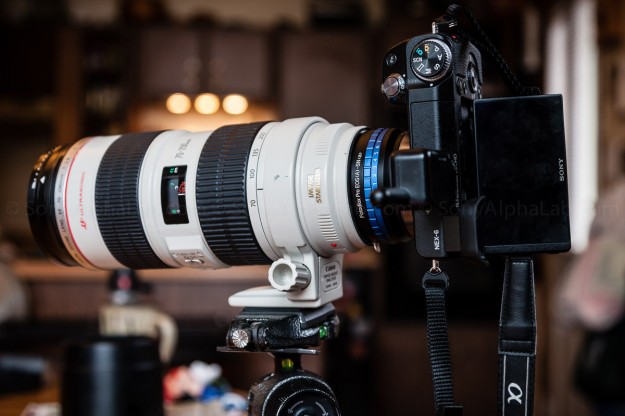
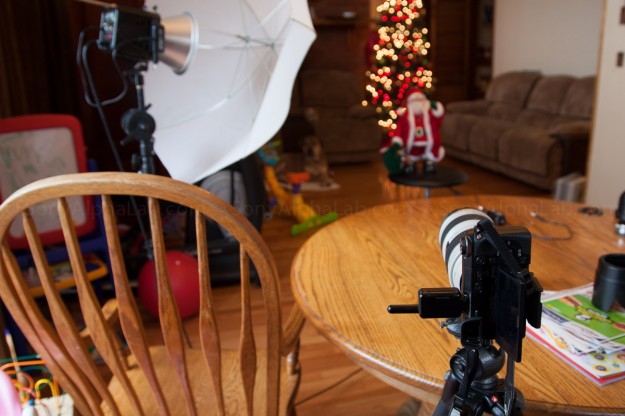
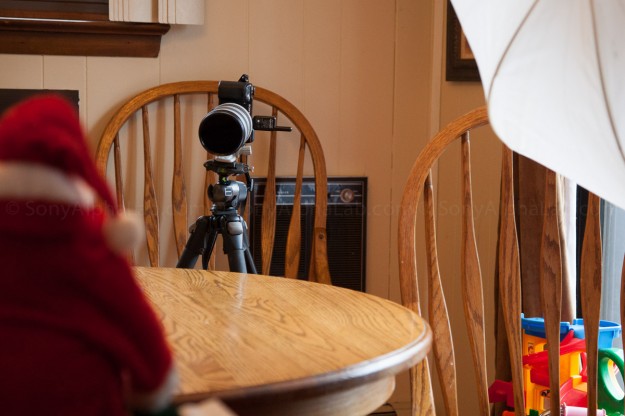
I hooked up my wireless flash trigger to the Sony Nex-6 Multi-interface Hot Shoe and had the flash mode set to fill-flash. The flash itself was closed though, but I wanted to make sure a signal was going to the hot shoe to trip my wireless flash transmitter every time I pressed the shutter. It’s totally possible this would have worked with the flash set to another mode, but I did not test it as this worked first try!! I used manual mode and had no aperture to adjust due to the lens set-up, so I just dialed in the shutter speed till the background looked good.
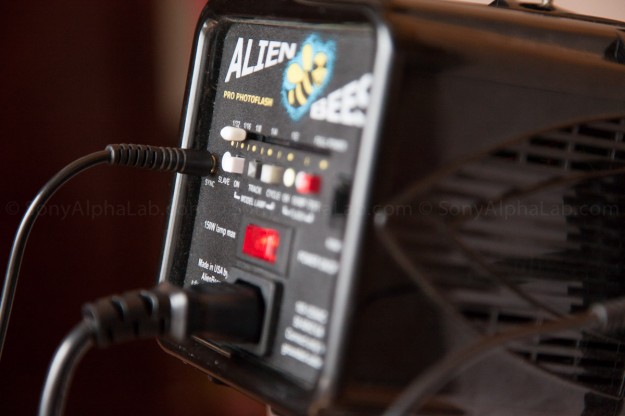
I also used my adjustable neutral density filter to help darken up the scene as the B800 flash unit was to powerful for the lenses f/2.8 aperture. Even at ISO 100. Remember that, aperture controls flash and in this case I had no working aperture on my lens, so the ND filter acted as my tool to darken the scene without sacrificing the depth of field I wanted.
Check out the set-up:
Nex-6 Off Camera Flash Results
Using Other Flash Units?
I also hooked up my Canon 580EX II flash unit to the Mutli-Purpose Hot Shoe and it fired as expected!! I had to use manual mode of course, but I was able to adjust the settings easily and get a correct exposure. I bounced the flash off the ceiling and it worked just like on the DSLR’s. This is an awesome feature as pro level flash units are expensive and if I can use what I have already, why not?? Manual mode is not as easy as full TTL Auto, but if you know how your flash gear works, it’s pretty easy to get good exposures!
Closing Remarks
As you can see the Sony Nex-6 and Flash Photography is really not that bad. There are a lot of options, but if you go over them, they all make sense for the most part. Practice also makes perfect and exposure comp and distance to your subjects can take some time to get used to.
Please feel free to ask questions if you have any, as the subject can be confusing for sure 😉 Also be sure to check out the Sony Flash Photography and Video Lighting Guide Over Here >>
Jay

