In this Sony Nex-5r review, I will be using the Sony E-Mount 35mm f/1.8 OSS Lens, the Sony E 10-18mm f/4 OSS Lens, as well as some other lenses that I personally own! I had about a month total to play with the Nex-5r and lenses, so stay tuned for tons of sample photos, sample video, and detailed analysis of the Sony Nex-5r!! Also, for all the currently available E-Mount Lenses, be sure to check My E-mount Lens Guides Here >>
All Current Sony APS-C Mirrorless Cameras Here >>
Sony Nex-5r Review
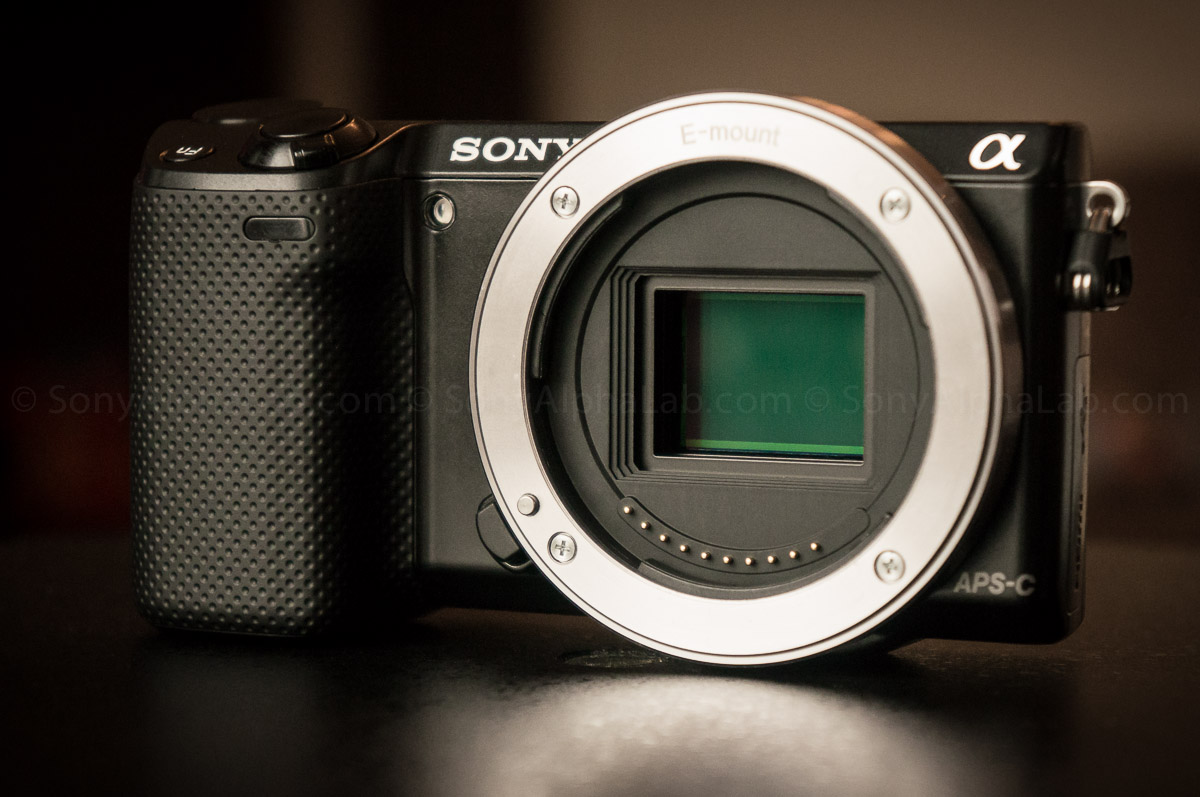
The Sony Nex-5R is very similar to the Sony Nex-5n, except it has the same updated 16mp sensor that the Sony Nex-6 has. The Nex-5R also features a special 180 Degree flip-up Touch Screen which is perfect for doing self portraits or video recordings where seeing the screen is critical. Reviewers like myself will find this incredible useful!! The Sony Nex-F3 also features this 180 degree flip screen and I used it a lot while I had the camera in the lab. The Nex-5R does not have a built in viewfinder like the Nex-6, but does except the OLED Viewfinder Accessory which is great if you need it.
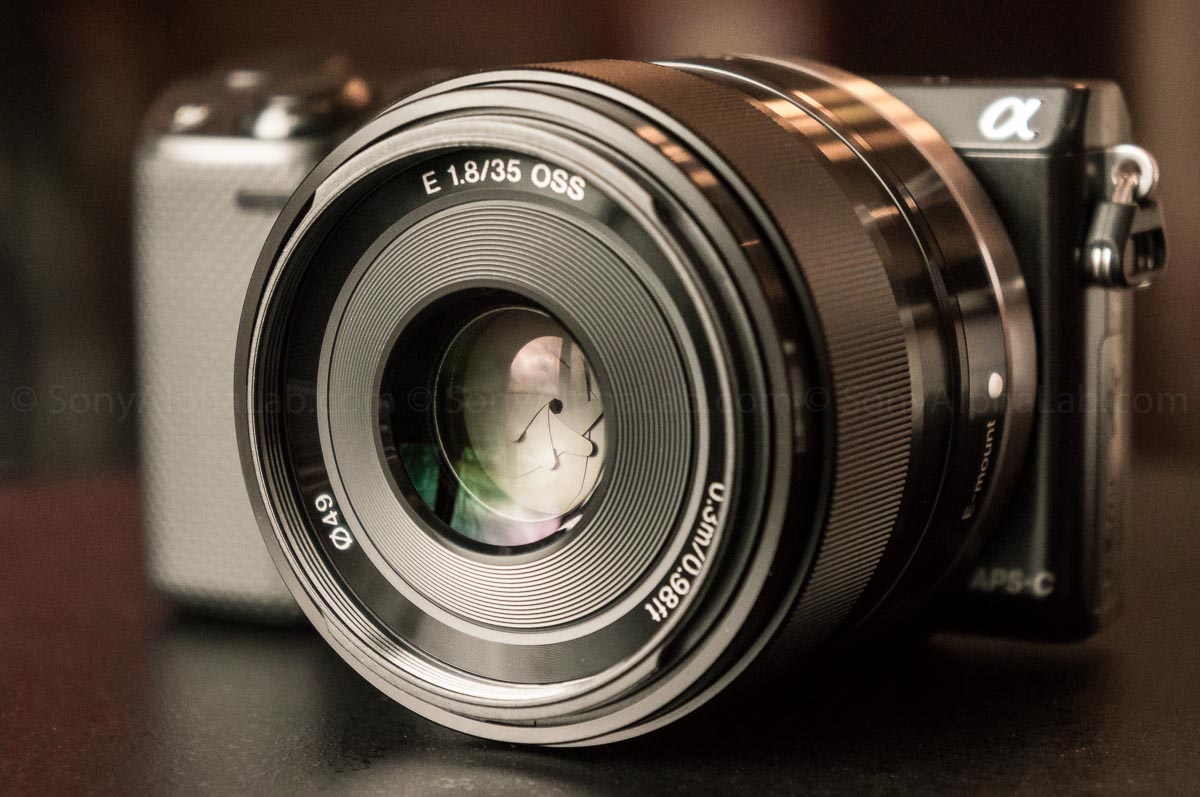
Sony Nex-5r and 35mm f/1.8 OSS Lens – SEL35F18
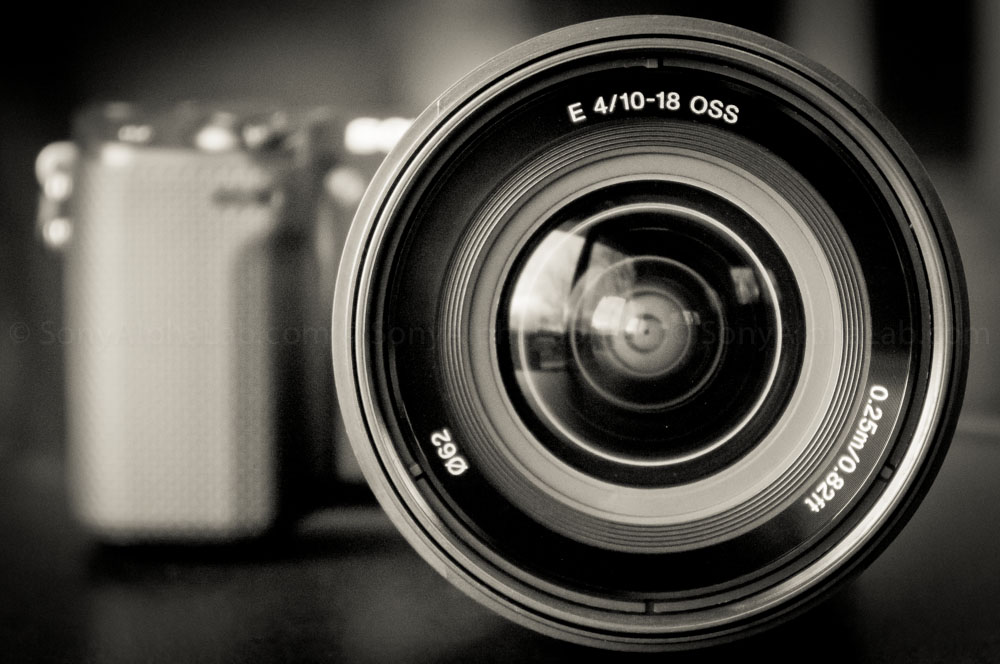
Sony Nex-5r and 10-18mm f/4 OSS Lens – SEL1018
Sony Nex-5r – Key Features:
- 16.1 MP APS-C Size HD Sensor
- Uses Sony E-mount Lenses
- Full 1080 HD 60p/60i/24p Movie Capture
- 3.0″ 180º Tilt-able Touchscreen LCD
- Fast Hybrid Autofocus
- PlayMemories Camera and Mobile Apps
- Wi-Fi Sharing
- Intuitive Interface with Control Dial
- Low Light Performance up to ISO 25600
- Six-Image Layering
Nex-5r Open Box and First Impressions!!
Courtesy of BHPhotoVideo.com, the new Sony gear arrived in a timely fashion and was all packed nice as you will see in the HD video below!! I recorded the video using my Nex-6 and 18-55mm kit lens in using the 24p 24M (FX) AVCHD quality and format. I then used iMovie to produce the video and uploaded it using the 720P HD export option. The Nex-6 really did a nice job with the video tracking the focus as the camera spins ect..
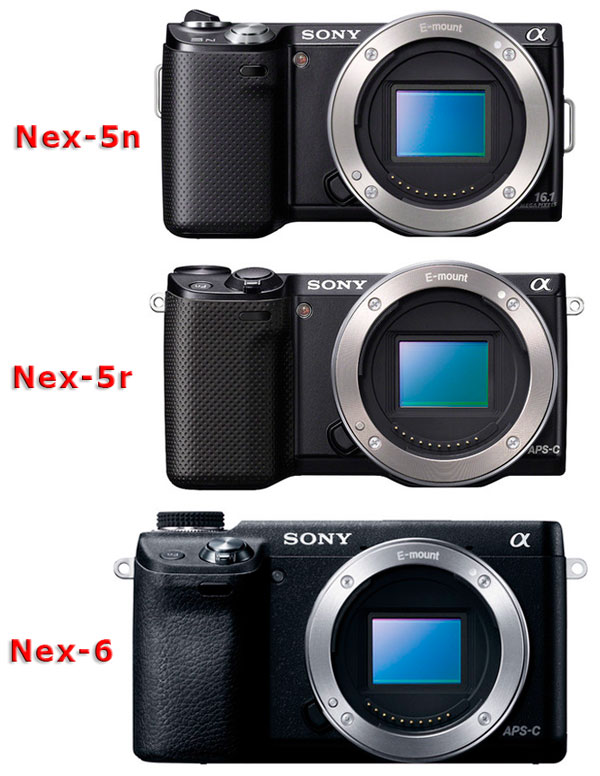
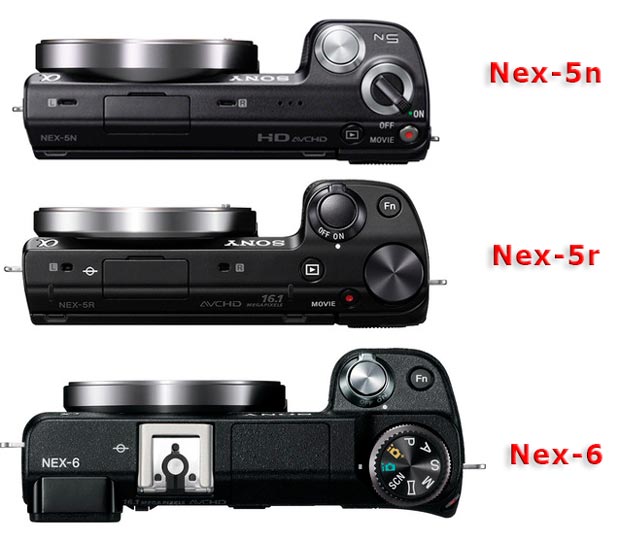
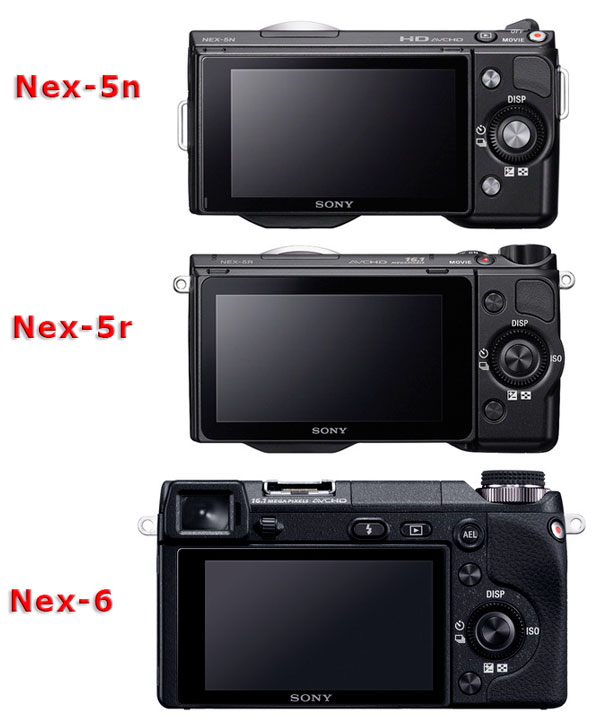
Nex-5n vs Nex-5r vs Nex-6
Owning the Sony Nex-6 and a completely dis-assembled Nex-7 (click here for pics and video), as well as reviewing the Nex-C3, Nex-F3, and Nex-5n (click for my reviews), I have a pretty handle on the evolution of the Nex camera line and the differences between the various models. The Nex-6 for example is significantly more expensive than the Nex-5R and is the additional expense justified?? Let’s take a closer look shall we and also be sure to check out My Sony Nex-6 Review Here >>
When you look at all three cameras like this side by side it’s a bit easier to see the differences. First off, note how much larger the Nex-6 is compared to the 5 series cameras!! It’s bigger and heavier with a more rugged build quality, the all important EVF, and lastly the powerful flash options. If those features matter to you, then the difference is price is justified 🙂 It was for me I can tell you for sure. The 180 degree swivel/touch screen, smaller size, weight, and lower cost is all in the Nex-5r’s favor though.
Nex-5r Build Quality and Design
The Sony Nex-5r has a very nice build quality to it just like the previous 5-series model. It’s not the smooth metal skin that the Pro grade Nex-7 has, nor is it the rugged plastic the Nex-6 is wearing. Rather a very smooth and high quality plastic with much tighter tolerances than the Nex-F3. The screen is excellent and seems to have some very similar Nex-7 linkage on the back of the screen to allow for the downward tilt. The quality of the 180 degree swivel screen hinge design is greatly improved over the relatively cheesy Nex-F3 design as I reviewed it Here >>. That was my biggest grip with the Nex-F3 by the way 😉 The Nex-5r hinges are almost totally self contained in comparison, and have a very rigid feel when swiveling. The Nex-F3 screen hinge design felt like it flexed a little bit, but I do not have that feeling at all on the Nex-5r, or the Nex-6 for that matter. My Nex-6 Review (Click Here) >>
The New Navi Set-up is awesome!! Just as god as the Nex-6 if you factor in the touch screen as buttons also. Manual mode is now cake with the dual wheels, and well planned button placement. The Movie record button is totally out of the way and is almost impossible to press by accident, but not so hard that you have to force your finger into the button cup. The record button can be a little hard to find when filming yourself from the front, but that is totally expected and not the fault of the design in my opinion, just worth noting.
Some Nex-5r Sample Photos
I took a lot of sample photos for this Sony Nex-5r review so far, using the 35mm f/1.8 OSS Lens in RAW Quality mode. I then exported jpegs at 65% quality at 1200px from Lightroom 4 with very minimal adjustments. Very low light with a fast moving target shooting at f/1.8 Auto ISO. Did a pretty good job although slightly soft which is excepted for such low light, contrast AF only for these photos as the new firmware was not out yet. Get the new Nex-5r firmware here>>

A nice mural down the road from where we live. Starting to fade these days, but I always enjoy looking at is as I drive by. This is actually the first time I took a photo of it believe it or not 😉 The 35mm f/1.8 OSS Lens is very sharp!! My Sony E 35mm f/1.8 OSS Lens Review is Here >>
I used the flexible spot autofocus mode for this photo and set it to the far right of the LCD screen.
Chubs is getting lazier by the day 😉
Street scene as I was getting back into the car.
Lastly for now, my favorite Blue Angles plane resting in it’s spot at the local park.
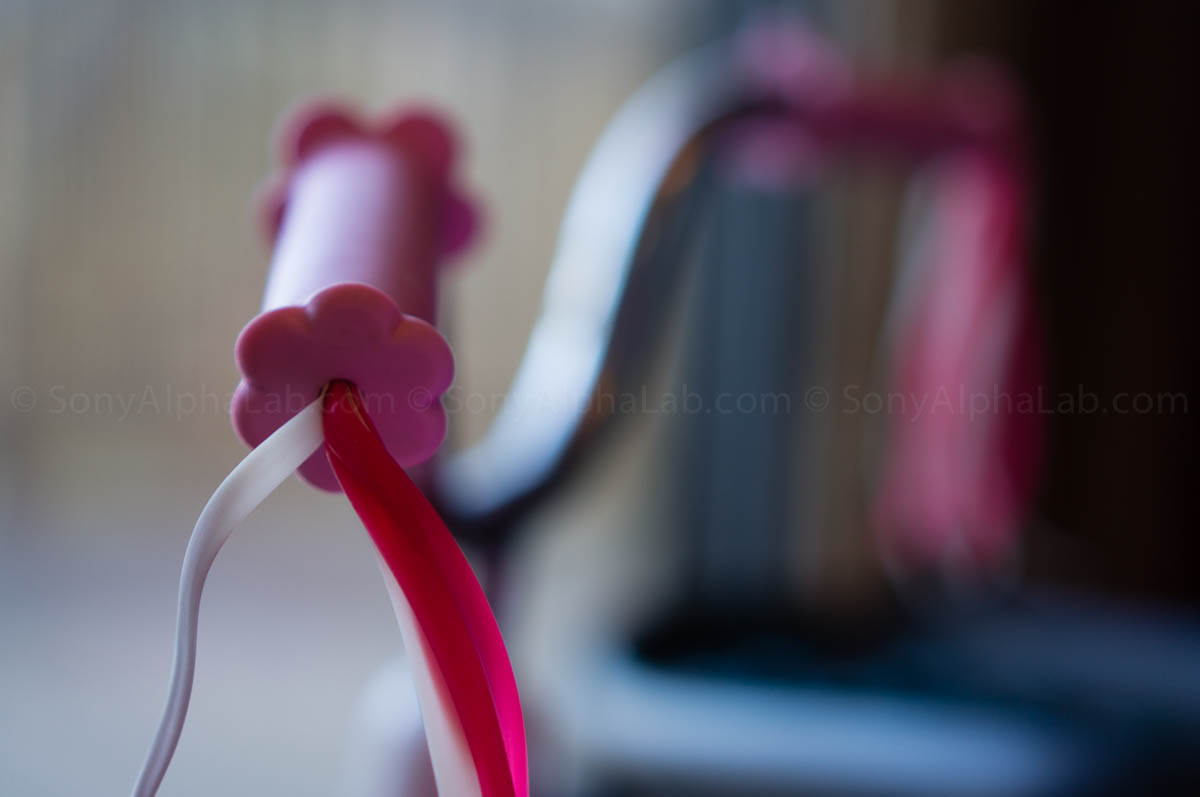
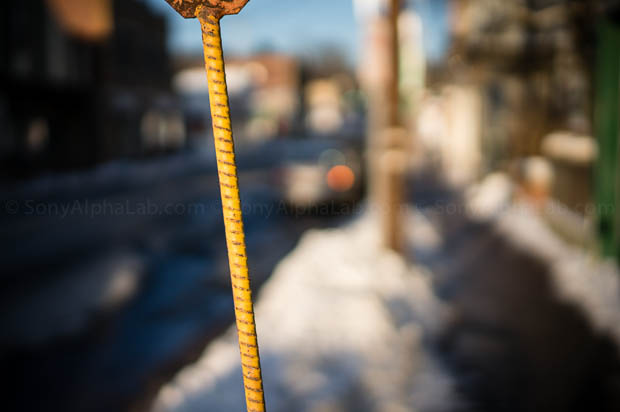
Street Scene with very little detail and lots of bokeh;) Loving the 35mm f/1.8 OSS Lens!!
Optical SteadyShot using SEL35f18
Low Light, Slow shutter speed, Handheld @ 1/20th Second:
Nex-5r High ISO Sample Photos
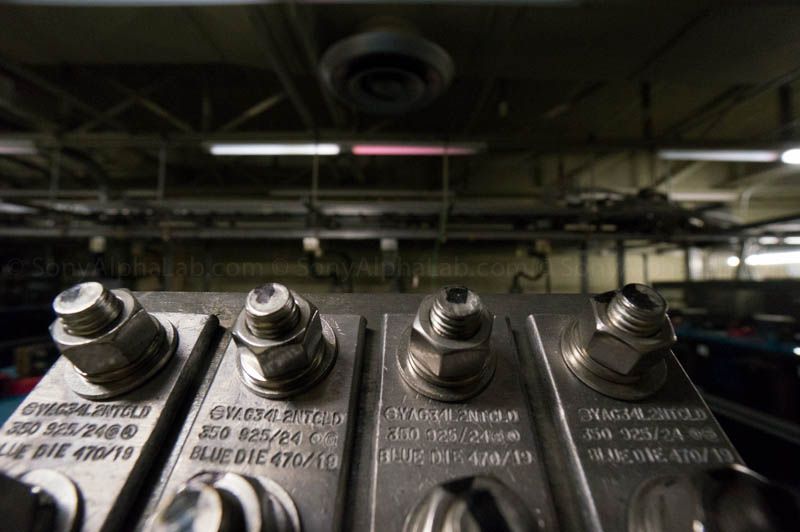
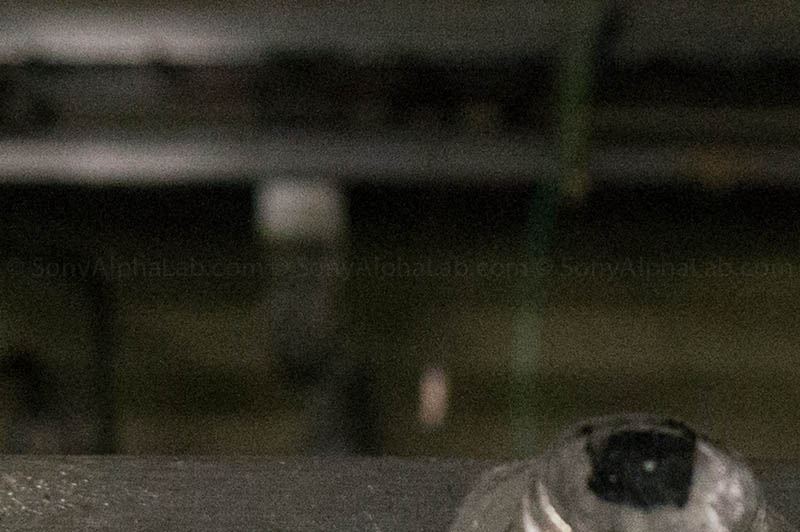
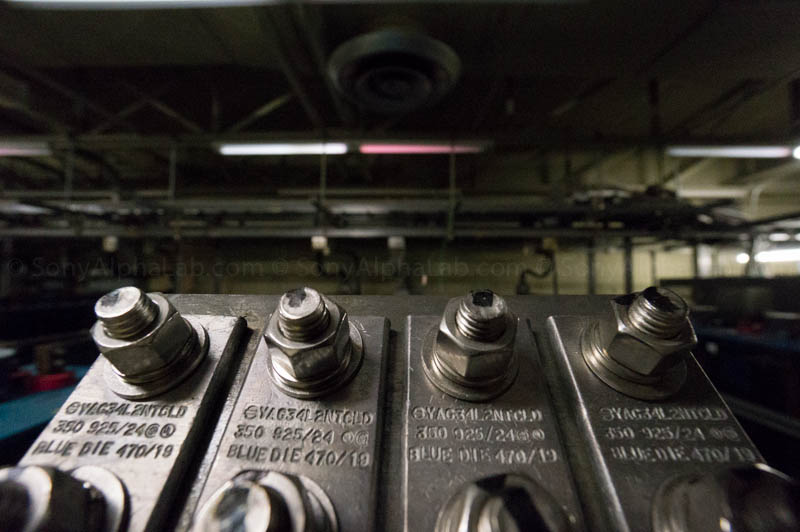
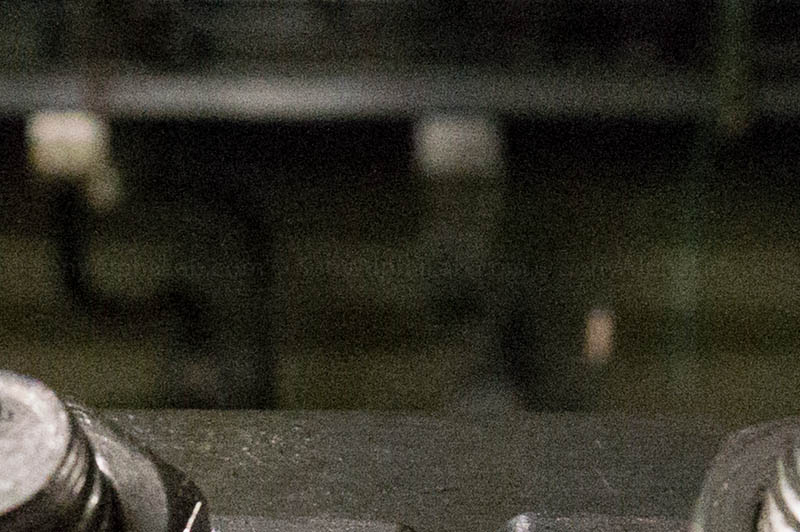
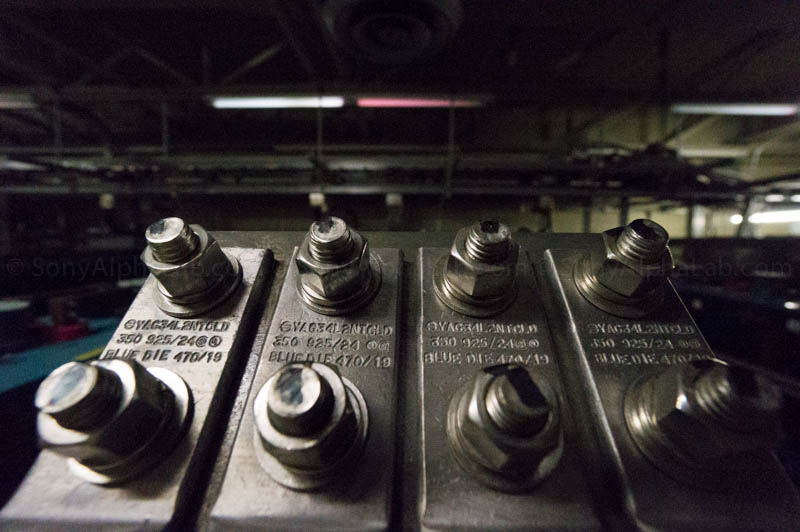
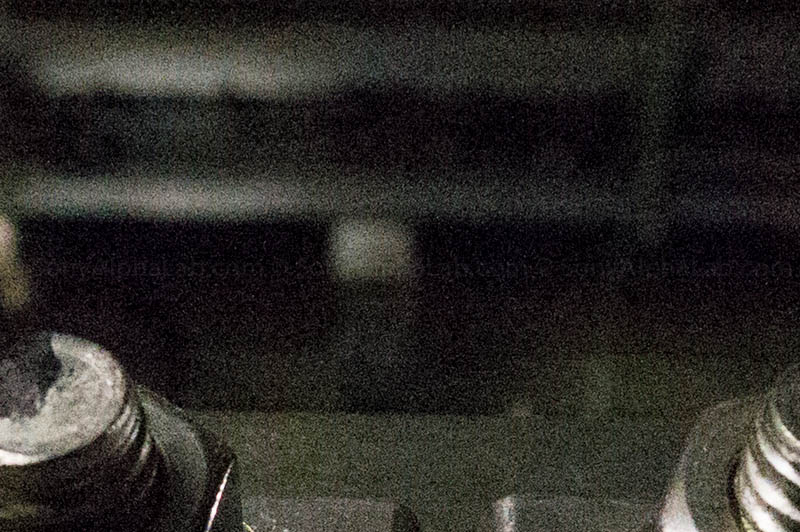
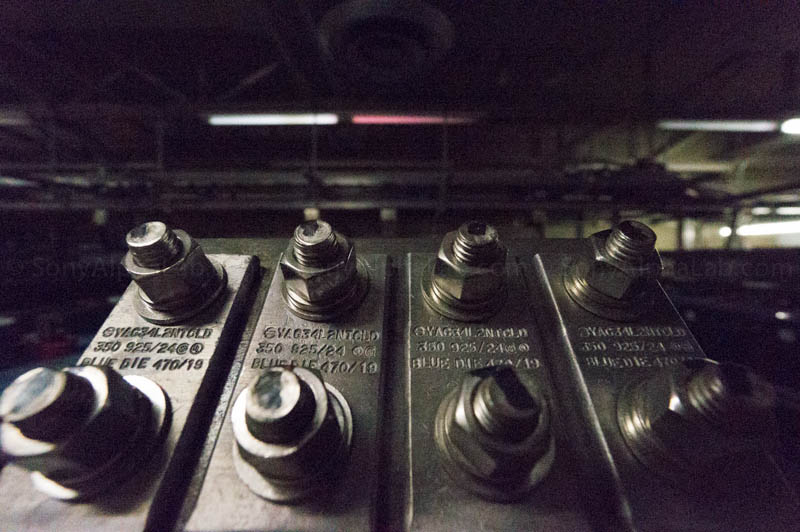
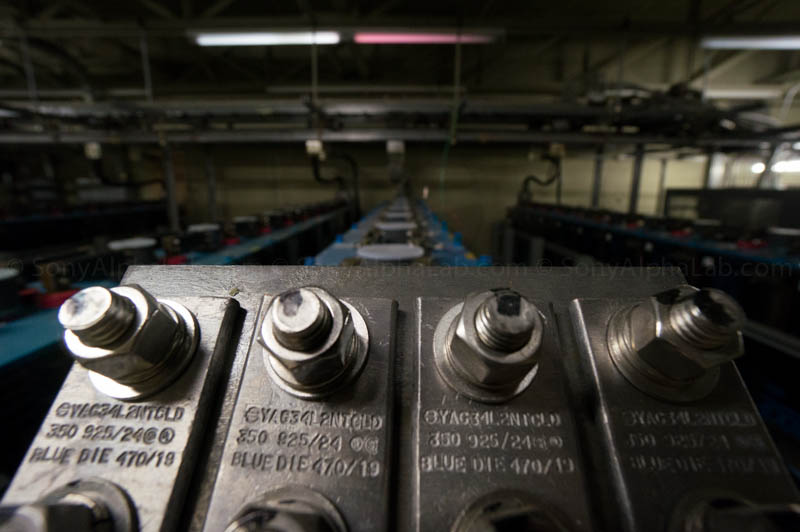
I did some Nex-5r High ISO testing today using the SEL1018 lens and I’m pretty pleased with the results. I was shooting RAW and did no adjustments to these photos at all other than exporting from Lightroom 4 at 60 percent quality jpeg images and re-sized to 800px. I have the full version and the 100% cropped version of each High ISO photo ranging from ISO 1600 to ISO 25600!! ISO 25600 is really not that bad when viewing small or from a distance, but it has a nasty purple color cast to it, and the noise is really degrading to the detail. Still could be used if you really like grain in BW I suppose in a pinch. I would rather have the option than not have it though personally. Up to ISO 6400 is really good though with ISO 12800 being the deciding noise tolerance in my opinion. See and judge for yourself below!!
Nex-5r – Dynamic Range Testing
If your fairly new to photography, or been around the block a while, your most likely aware of the RAW vs JPEG debate?? Well, let me sum it up for you if not: Raw files are much better quality than jpeg files for a number of reasons, but mostly because the jpeg file is compressed. Raw files are totally uncompressed, take up more memory card and hard drive space, and require more work on the computer usually. The theory is you should get the “correct” exposure on the camera every time, and therefore jpeg should be fine if you know what your doing. Well, fair enough to that argument I suppose, but in the real world S*%# happens and the Brides dress totally blows out in the direct sun, because your were exposing for the face ect.. It often pays to have the security and editing latitude of a raw file when re-shoots are not an option. You will see what I mean below! Take a look at this photo I took outside with my newly repaired Minolta 58mm f/1.4 Rokkor Lens mounted on the Nex-5r @ f/1.4 in the bright snow. Needless to say the exposure blew out at such a fast aperture in the bright sun even at ISO 100.
Now take a look at the same file with some Lightroom 4 adjustments to bring back the detail that is hidden inside the file!! Note: If this was a jpeg file, adjustments like this would not be possible!!
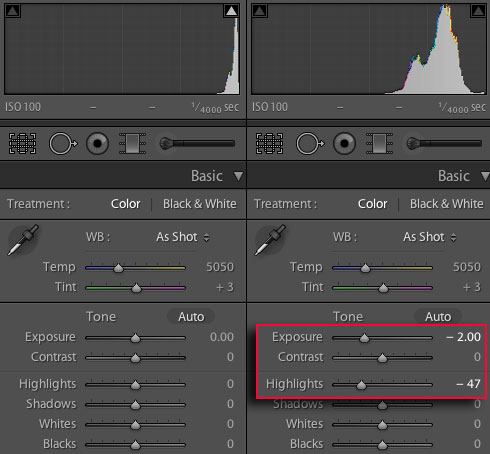
Here is what the histogram and exposure adjustments I made in Lightroom 4 look like for the two images above:
Ultimate Dynamic Range Scene
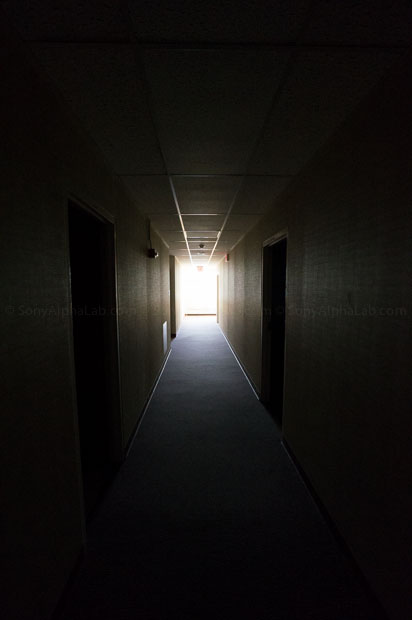
Here is another scene ranging from all the way bright to all the way dark. First lets take a look at the original raw file and the histogram from lightroom. Then I will show you what the camera actually captured!!
Center Crops
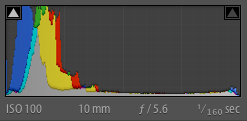
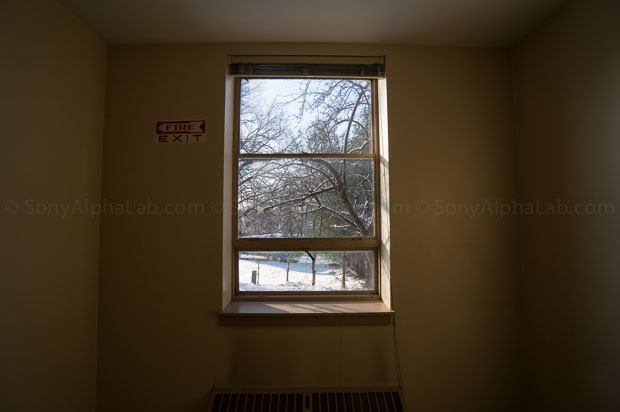
Here is another sample photo showing off some serious dynamic range!! The Nex-5r handles it very well though as expected. I’ll show you the histogram from Lightroom 4 first:
Nex-5r Sample HD Video
In this Nex-5r Review I wanted to make sure I got some decent sample video and I think I did with the E-Mount 35mm f/1.8 OSS Lens and the Ultra Wide angle 10-18mm f/4 OSS Lens. I took some real world sample footage in the house of Layla with low light @ f/1.8, and the SEL35f18 lens performed excellent in my opinion, as did the Nex-5r. More comments on the video to fallow 😉 The New Hybrid AF sensor does work during video with supported lenses!! Also, be sure to select the HD Video Quality in the player preferences once the video starts playing!! It looks like a little gear on the bottom right, and will insure maximum quality playback.
Video Analysis continued.. It’s also important to note that the Nex-5r video gets compressed when it’s uploaded to YouTube and the artifacts in the shadow areas are noticeable worse than that on the original video. I recorded using 24p FX quality which is the best option for real world footage.
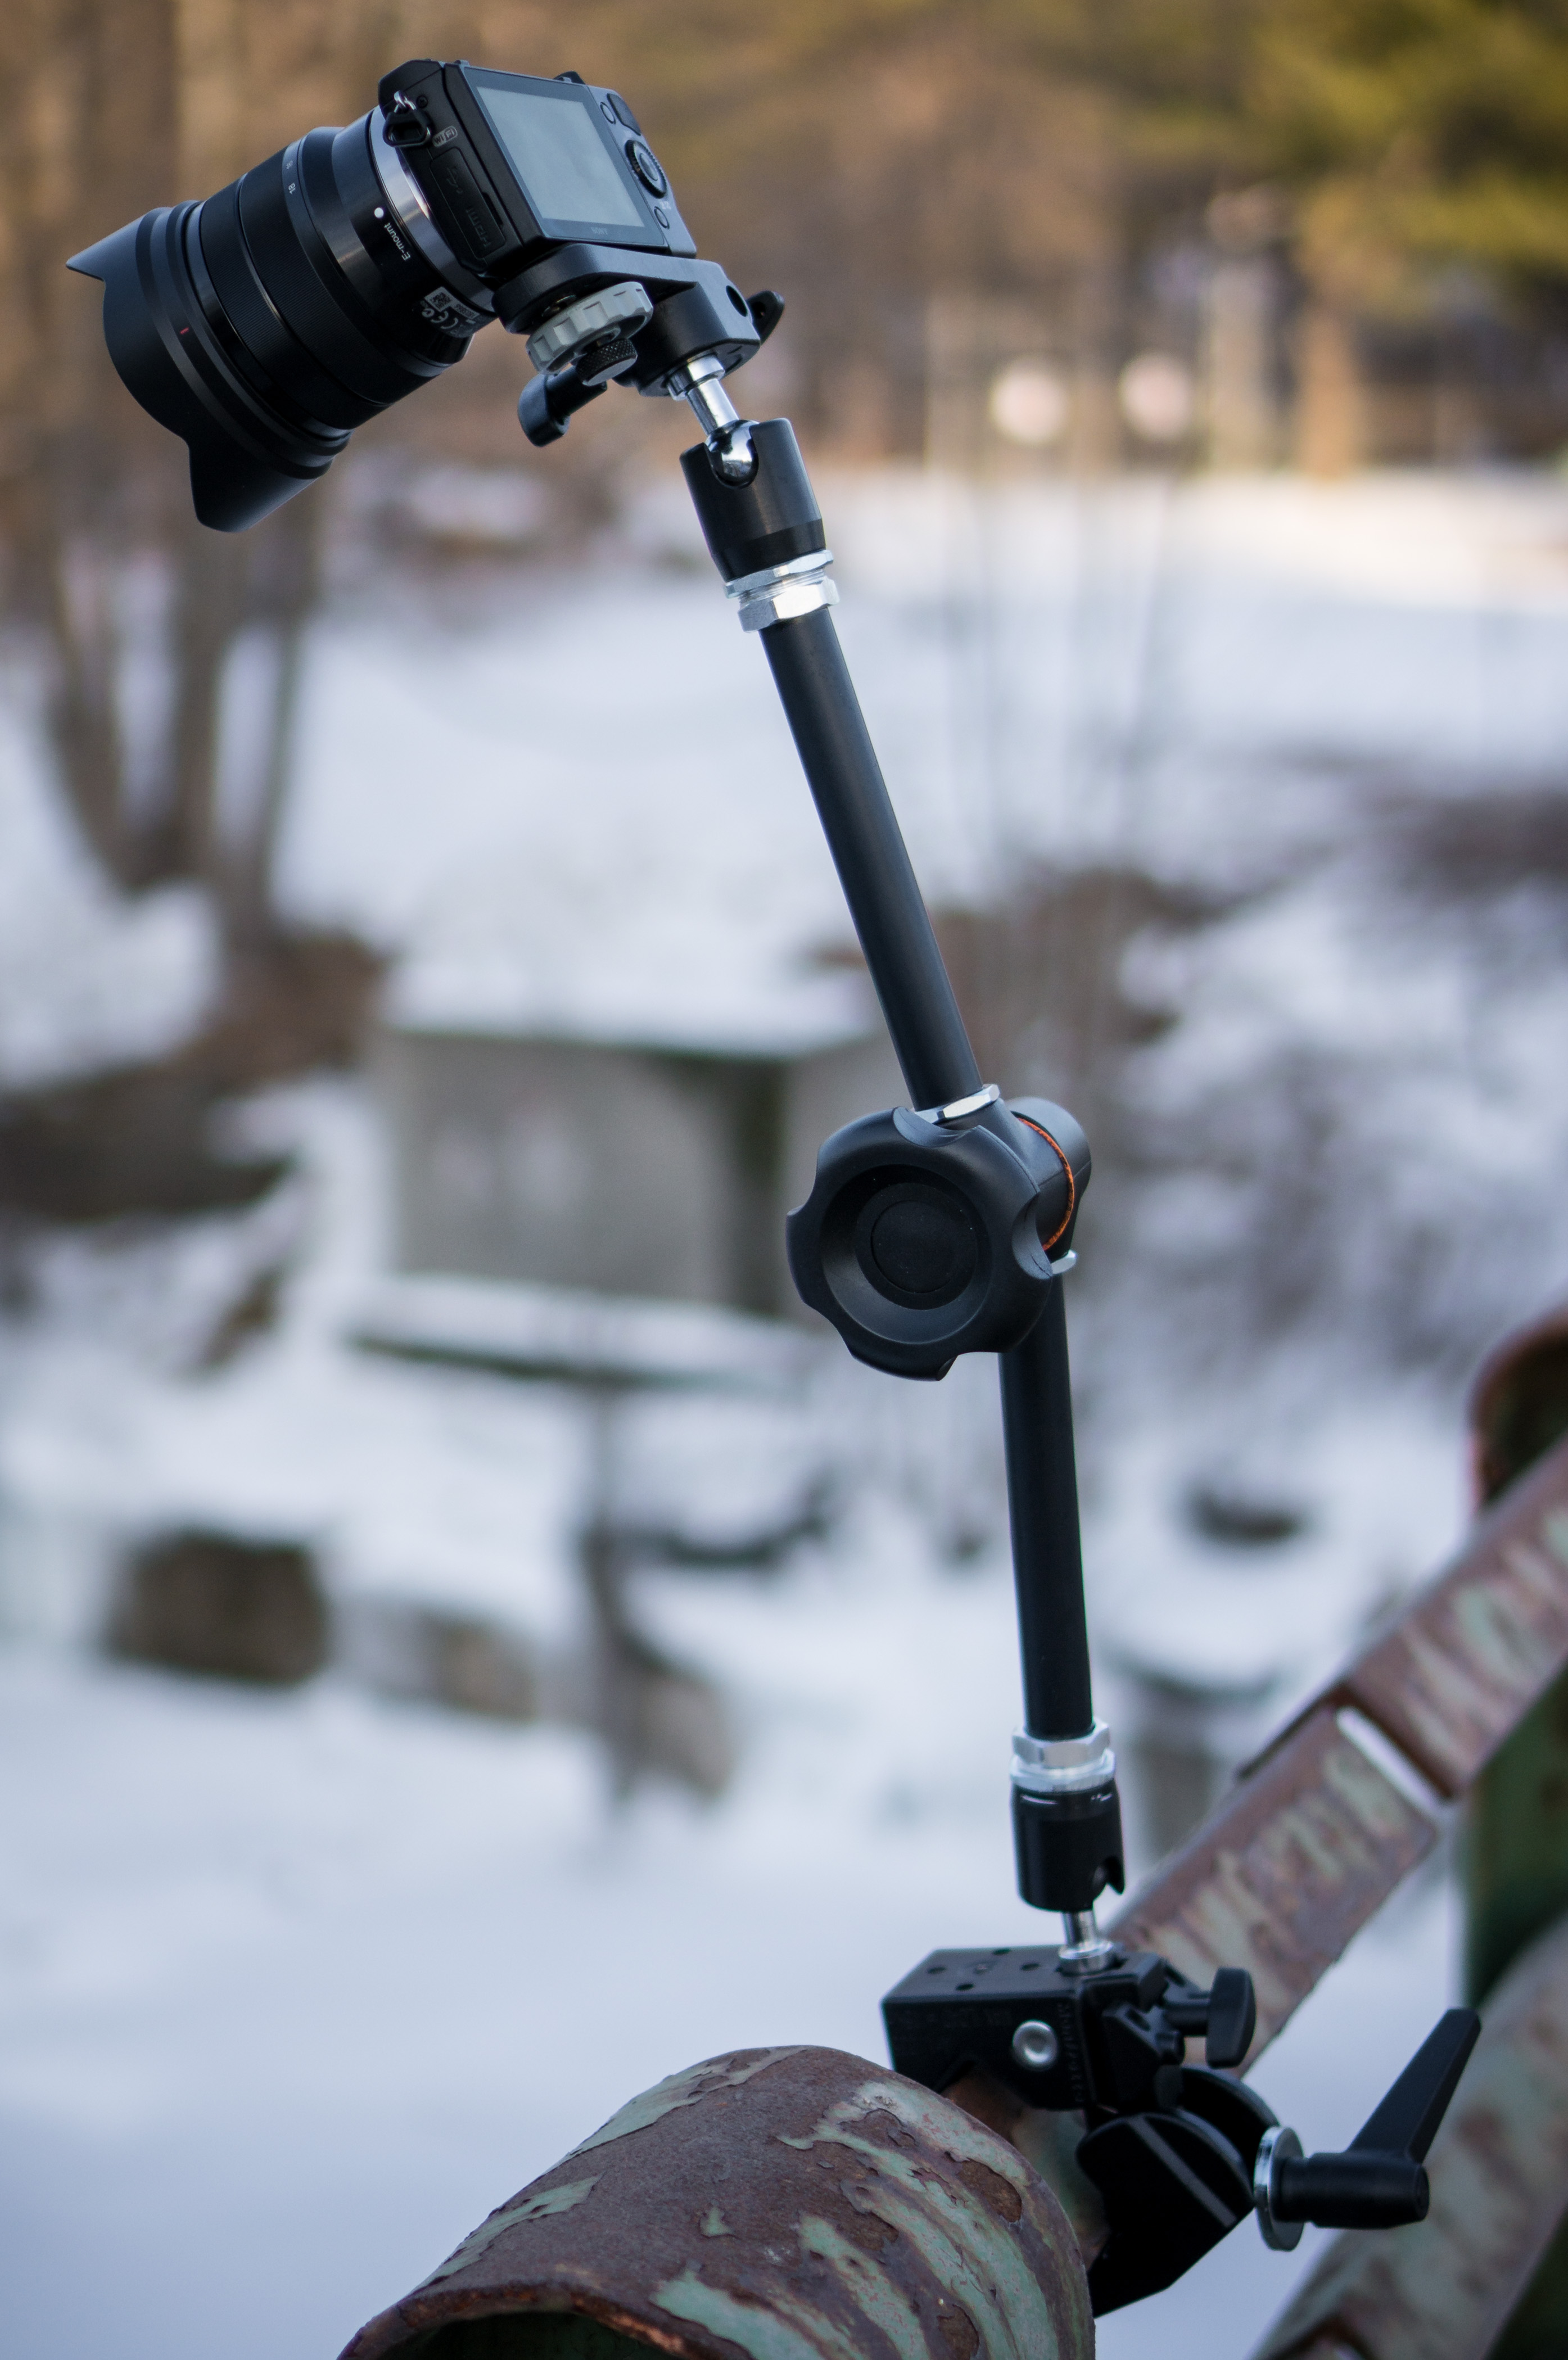
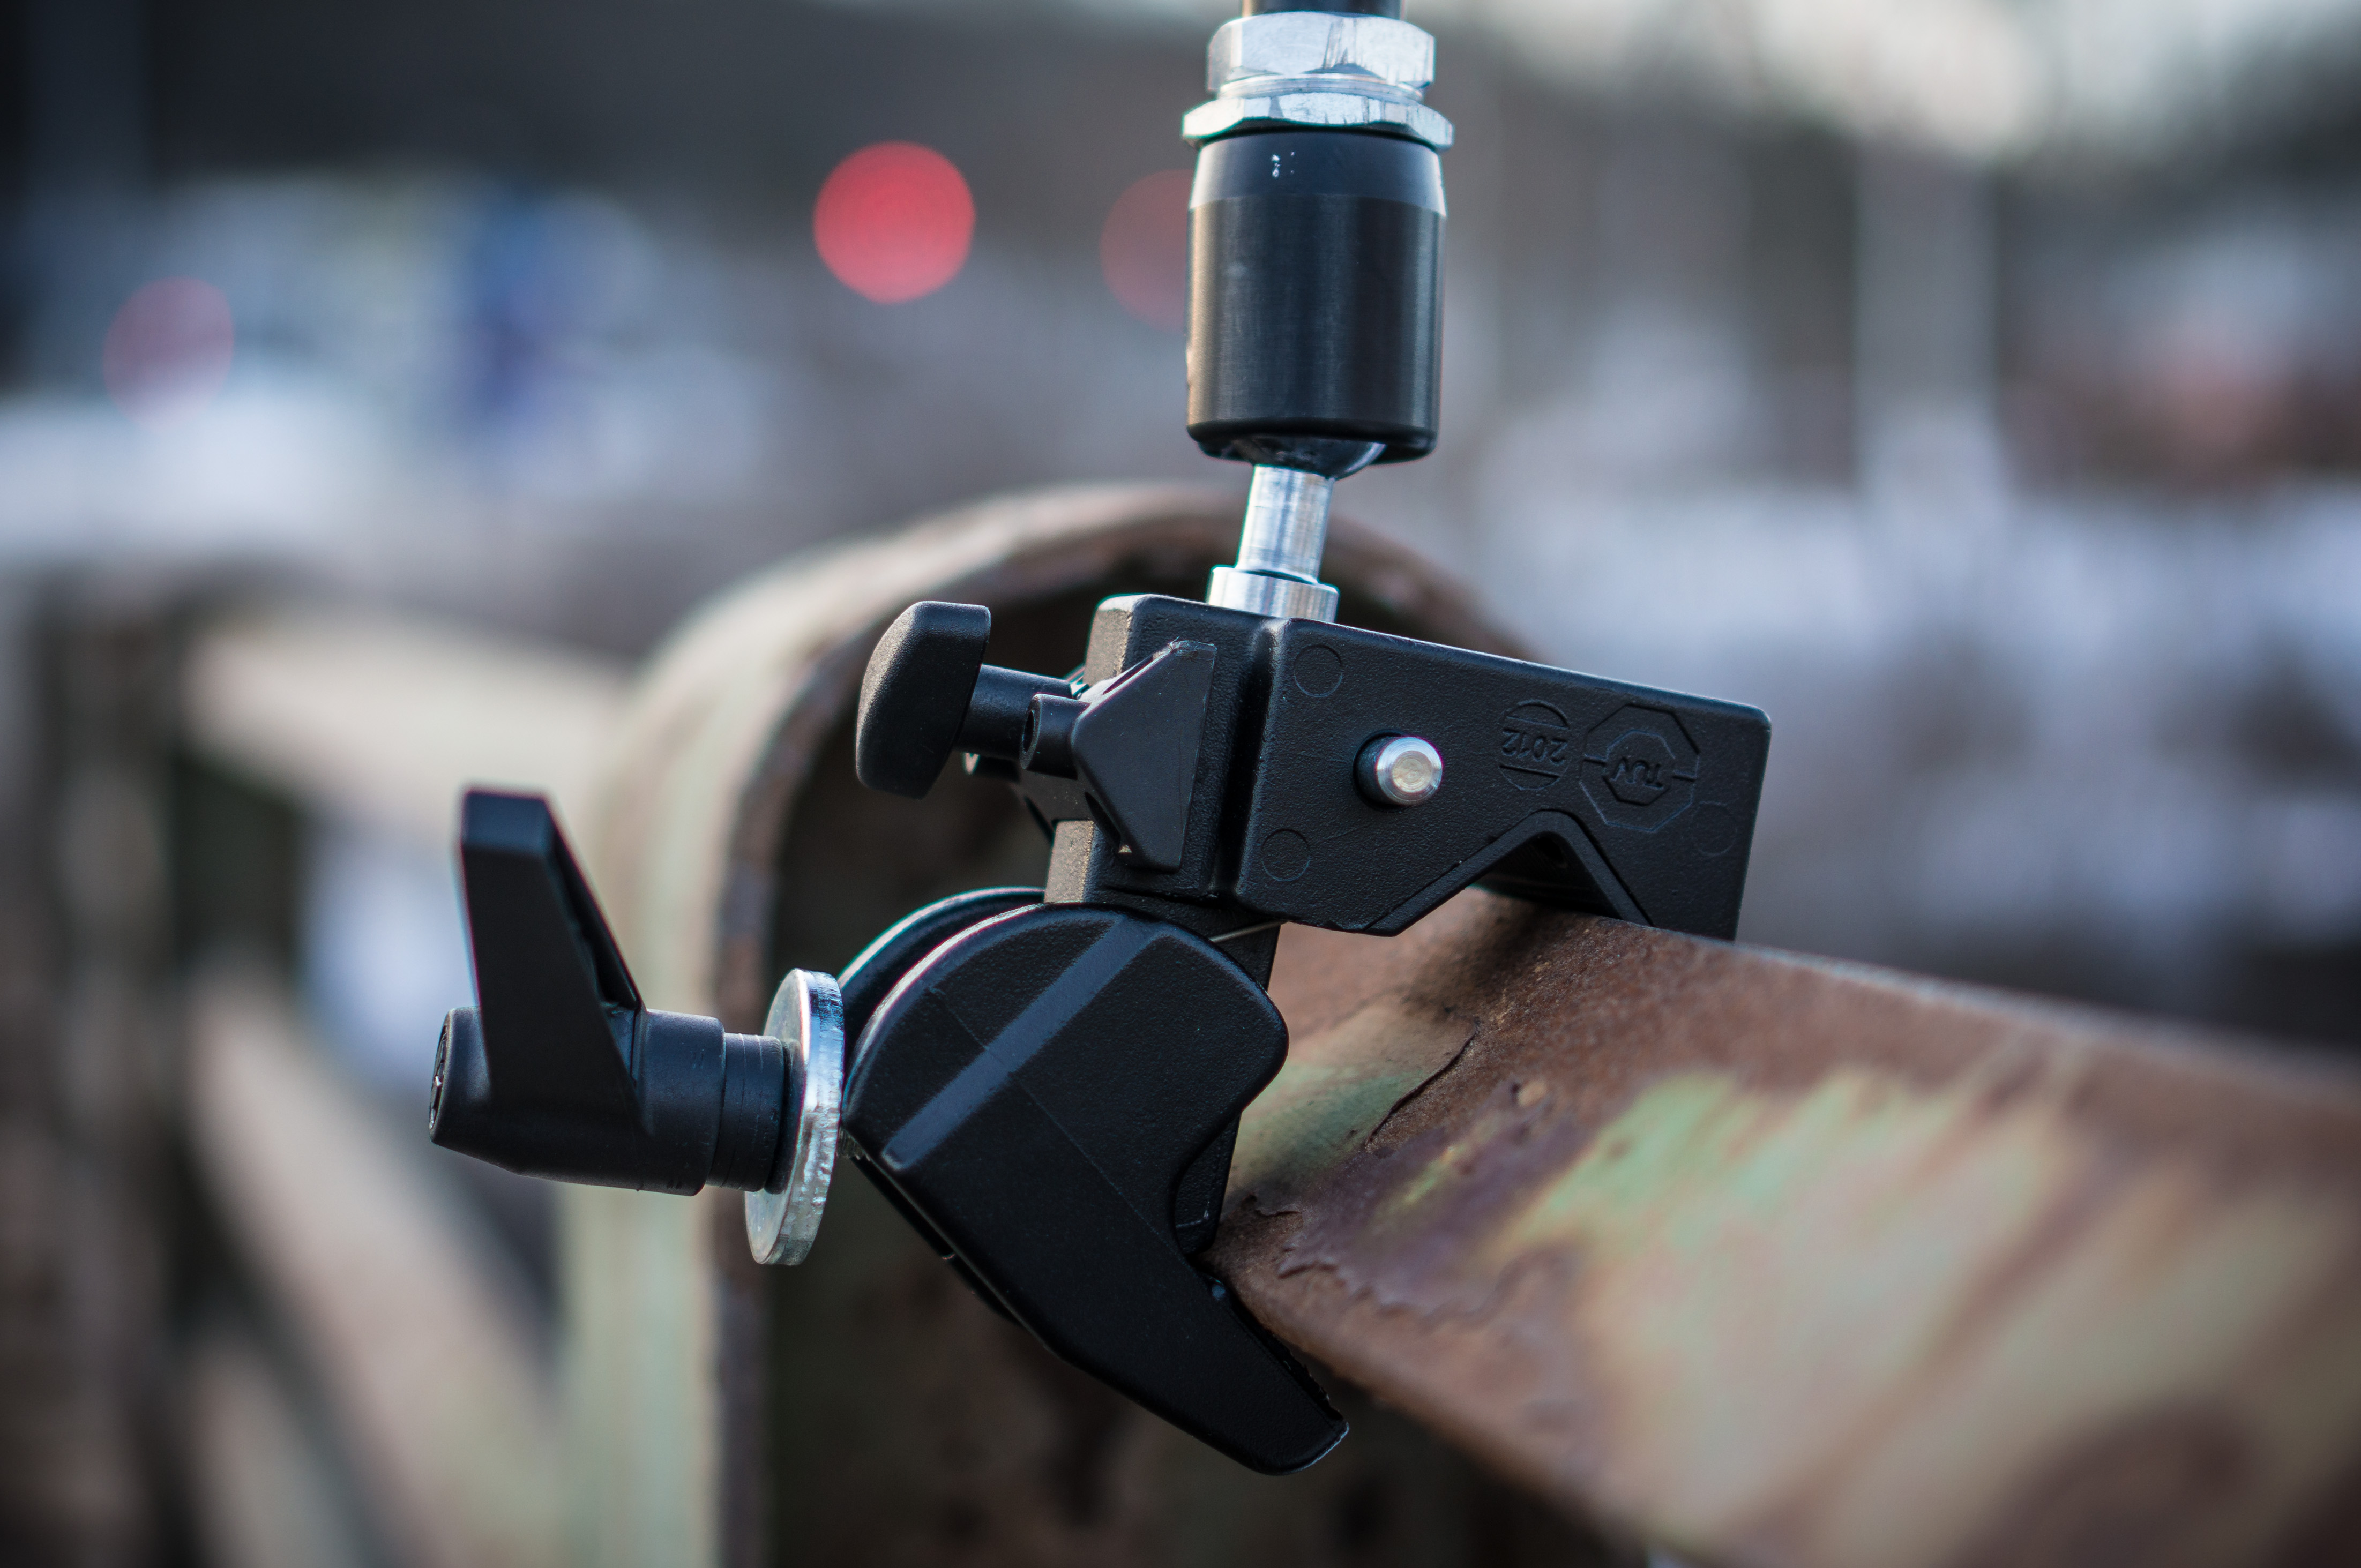
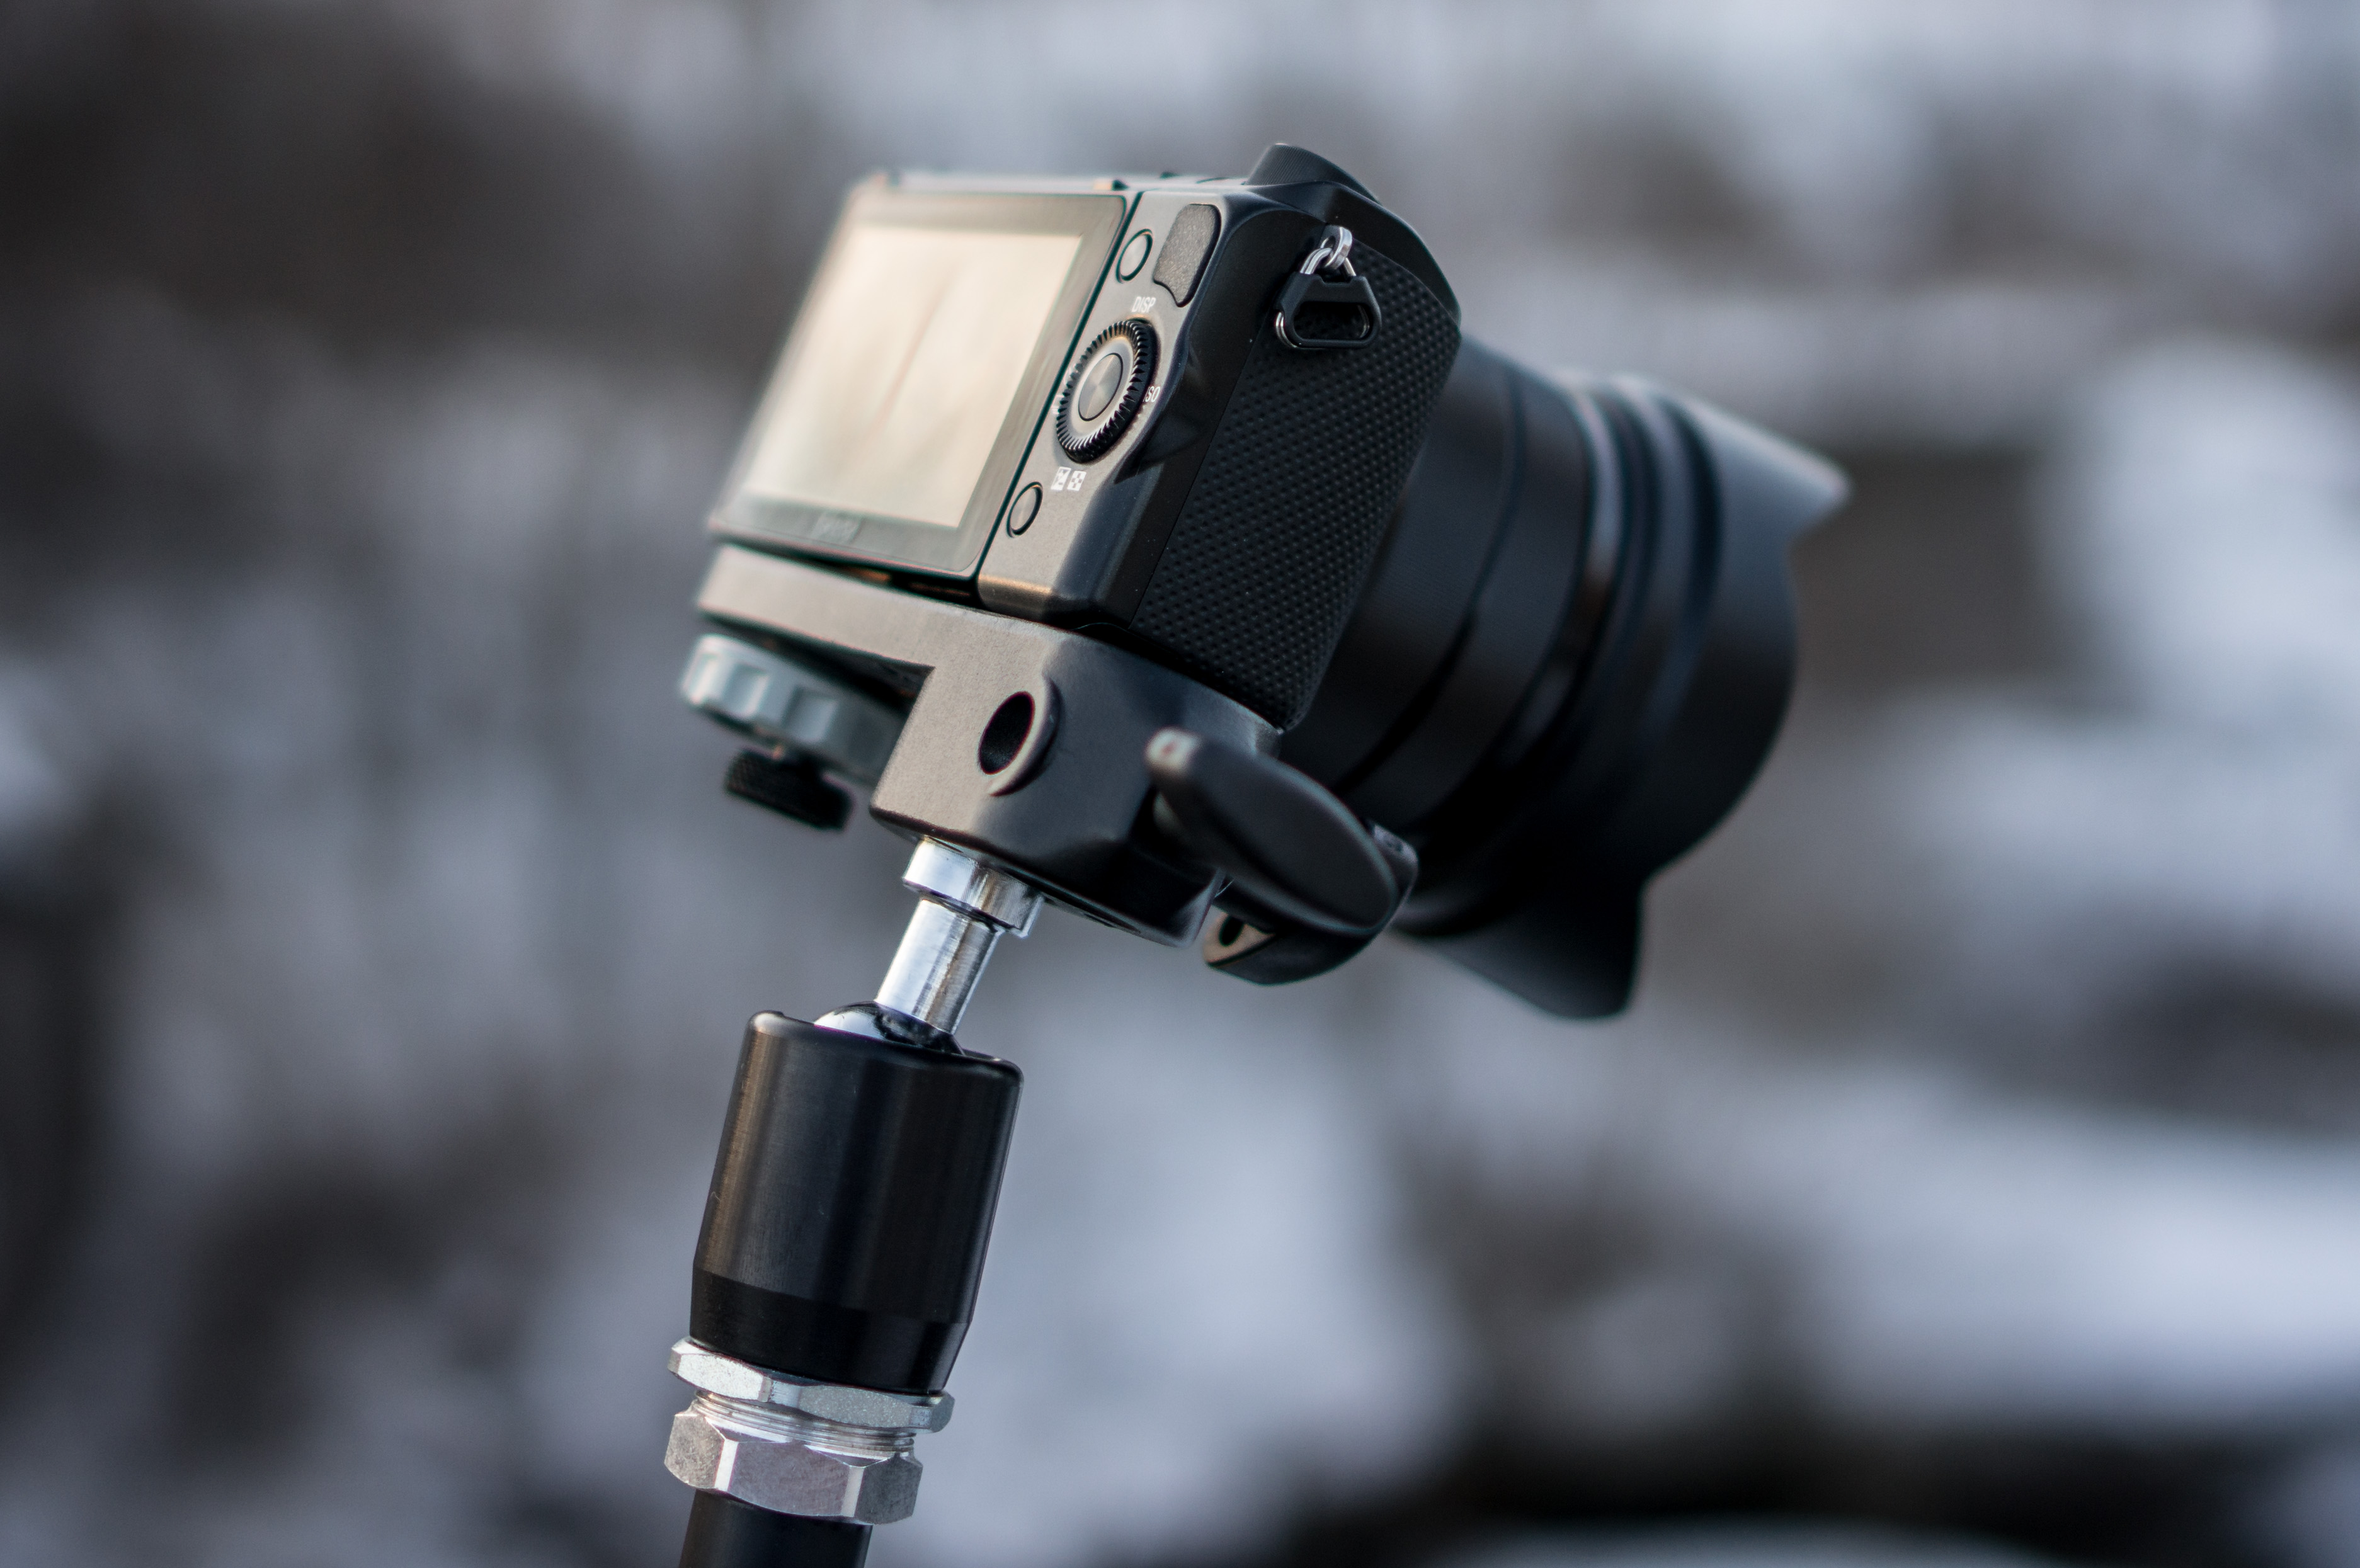
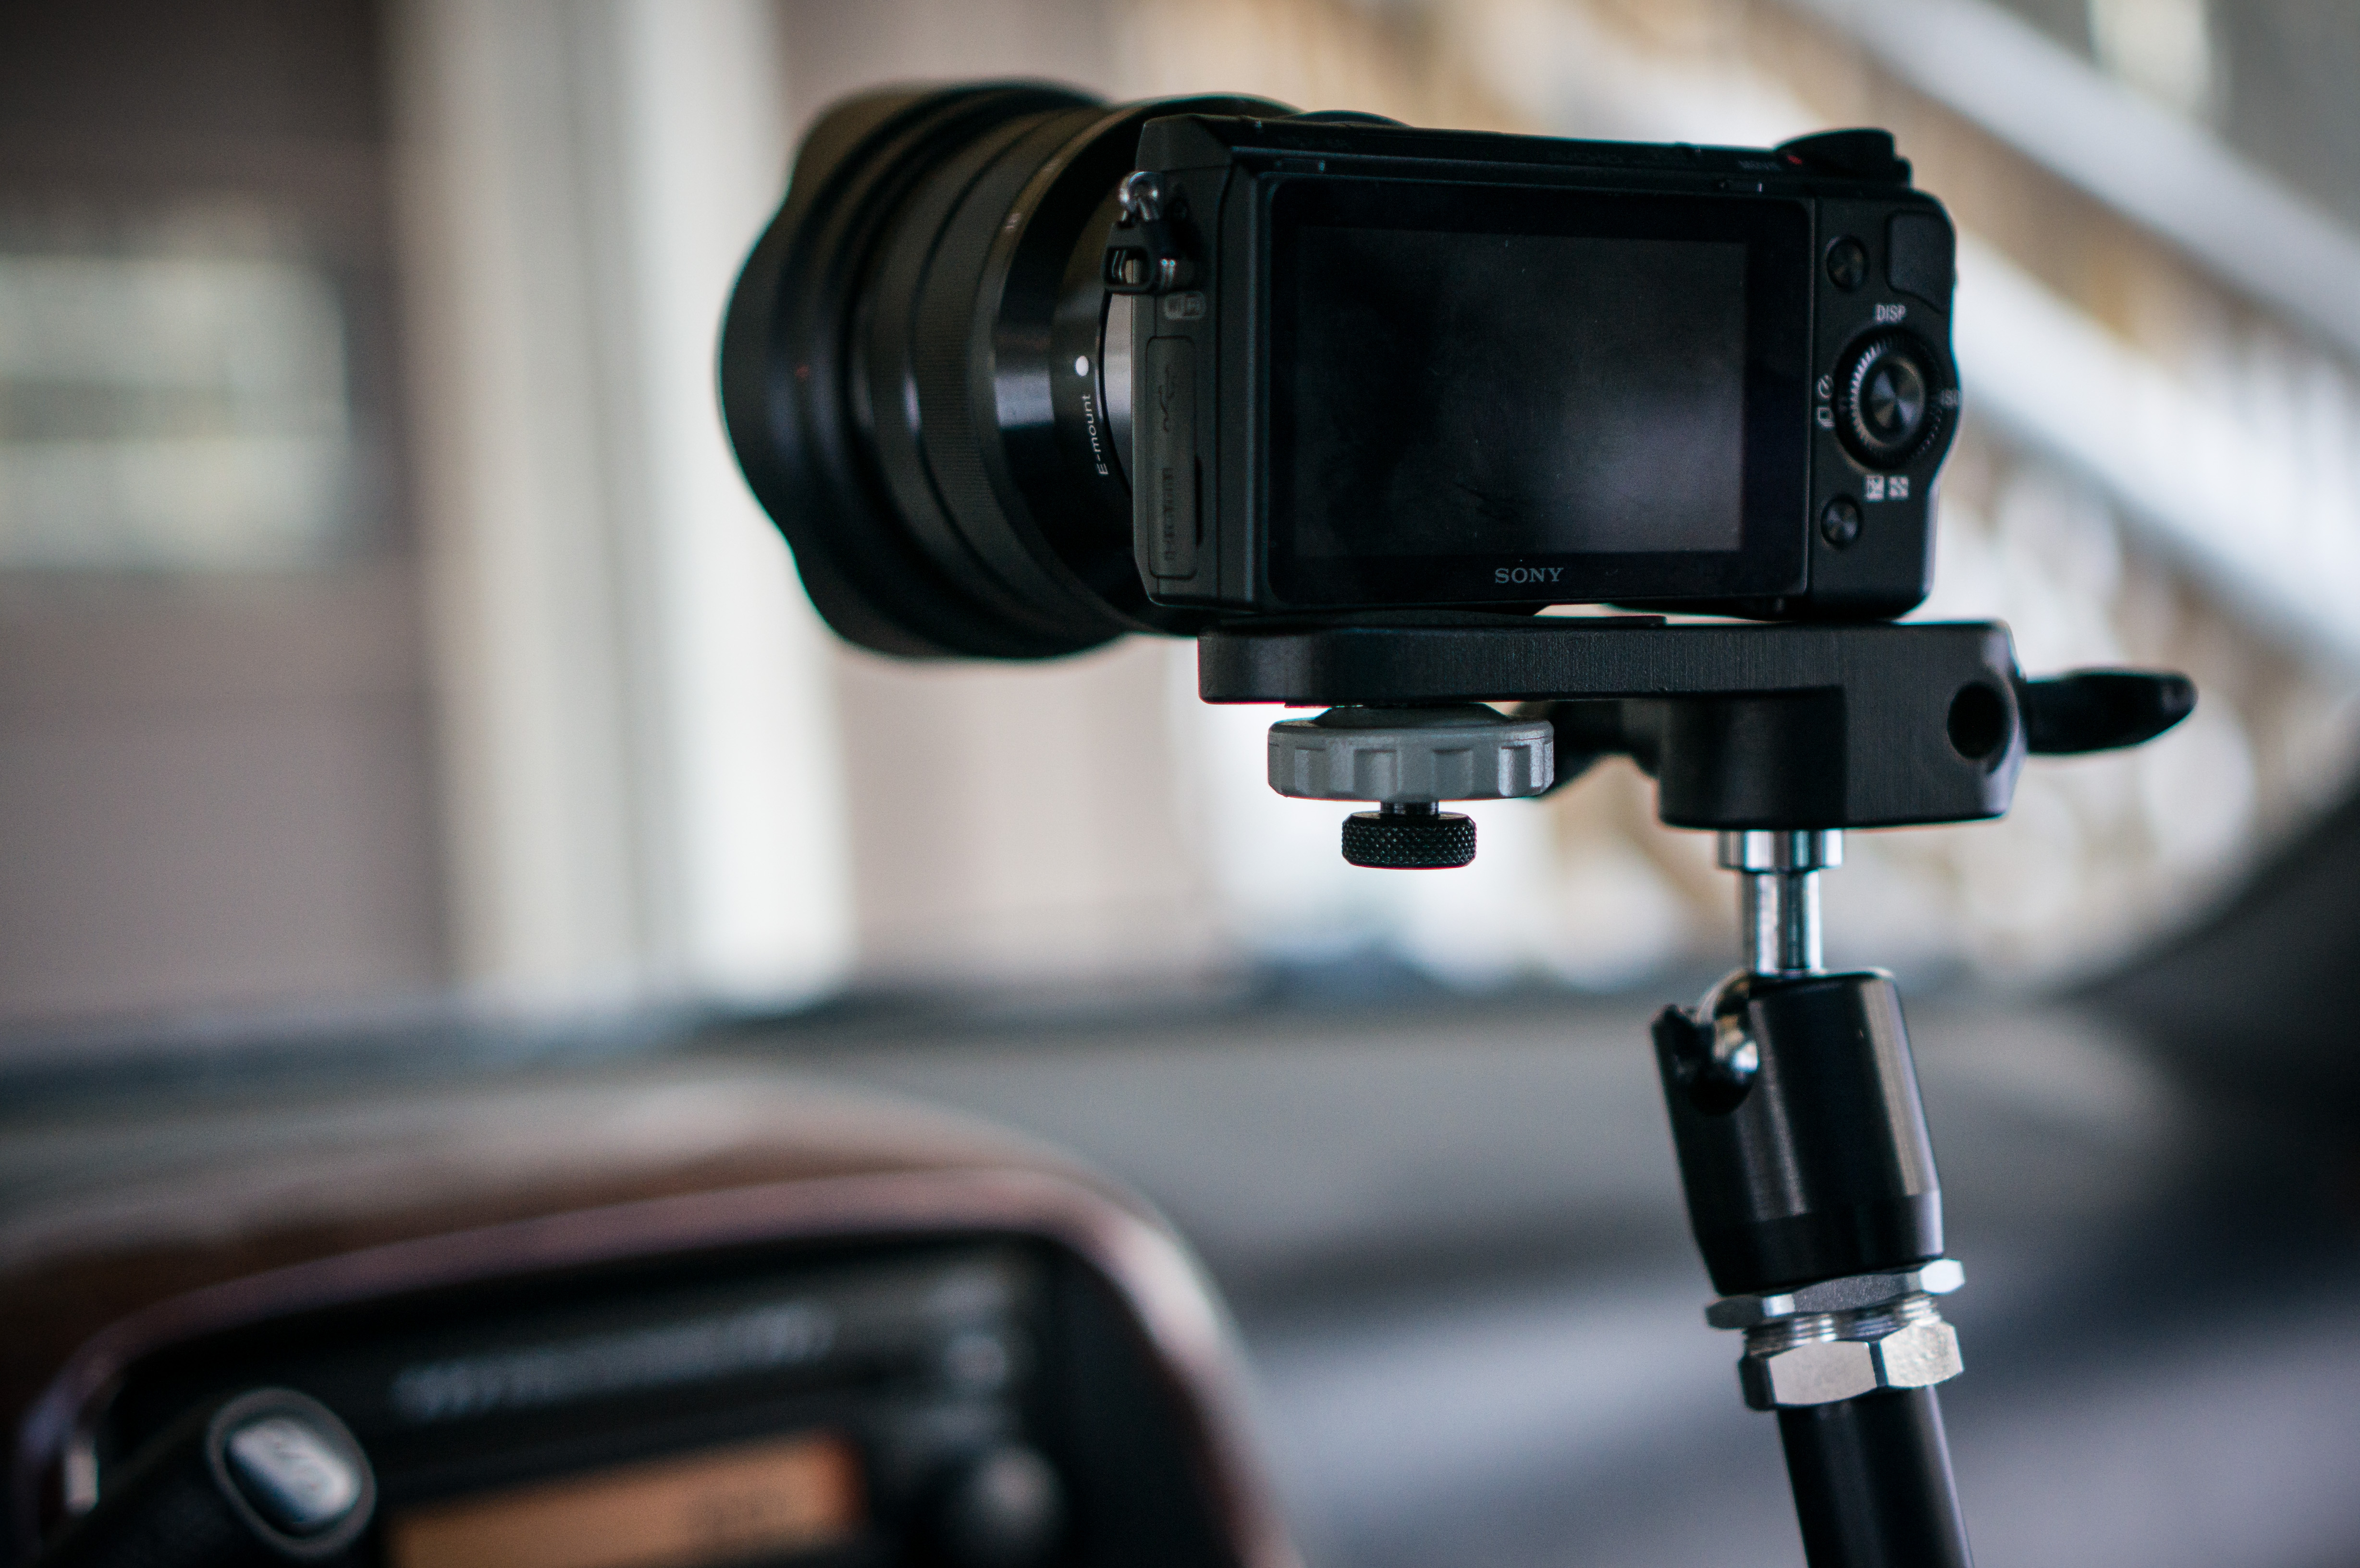
The Manfrotto Magic Arm with Super Clamp was used in a variety of mount configurations to get the video footage on the bridge and in the car. It really works awesome!
Here’s what the Manfrotto Magic Arm with Super Clamp looks like in action:
Nex-5r and Real HDR Photography Sample Photos
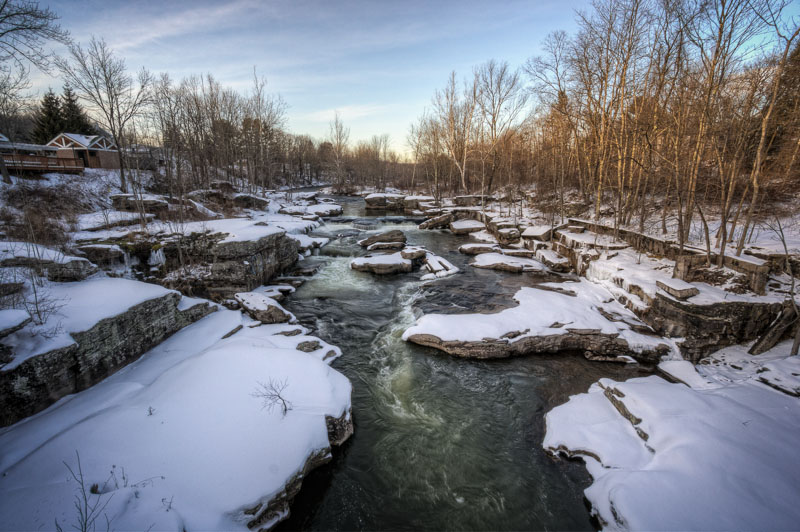
If your a fan of my reviews, then you probably know I love HDR photography!! As such, I got some killer HDR examples with the Sony Nex-5r using multiple exposures via the bracket feature in the menu!! Unfortunately you have to touch the camera to fire off the bracket shots, but the new remote might fix this oversight. I used Photomatix Pro 4 for these HDR Photographs as it’s my preferred software for this type of photography by far. For the camera set-up I was using the multi-shot bracket feature in the menu, which can be accessed by pressing the left directional button on the rear thumb wheel. Once in that menu you will see a options button associated with the lower soft key. Selecting that will allow you to chose your EV spread!! I chose a 2 EV spread which means the camera will take three photos at -2,0,+2 exposure values. I was also using ISO 100, f/7.1, average metering mode, and Auto WB encase you were wondering!!
I then took those three exposures and processed them in Photomatix pro 4. I then used Lightroom 4 and Photoshop CS6 to fine tune the editing and polish the hdr photo. I have detailed tutorials on how to do this step by step if your interested, but that was the basic workflow I used. All HDR Photography Tutorials Here >>
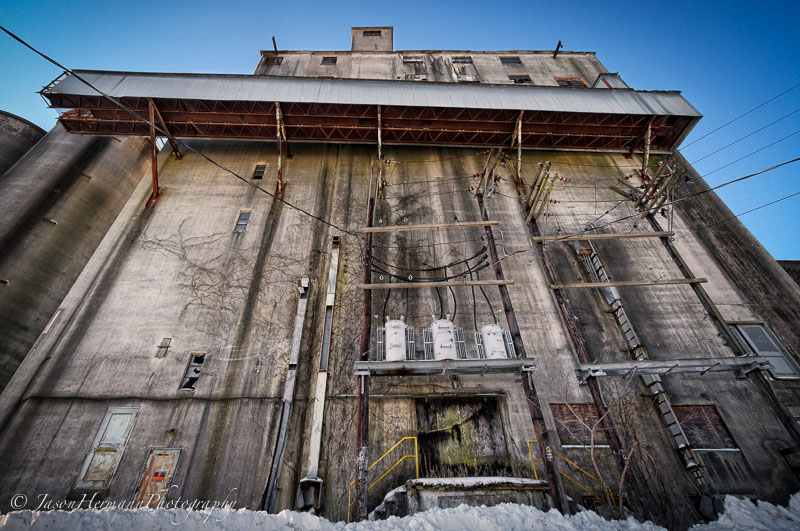
In this first photo I was using the ultra wide angle 10-18mm f/4 OSS lens and Manfrotto tri-pod with trusty Gitzo Ball Head 😉 For those interested, My Sony E 10-18mm f/4 OSS Lens Review is Here >>
100% Crops:
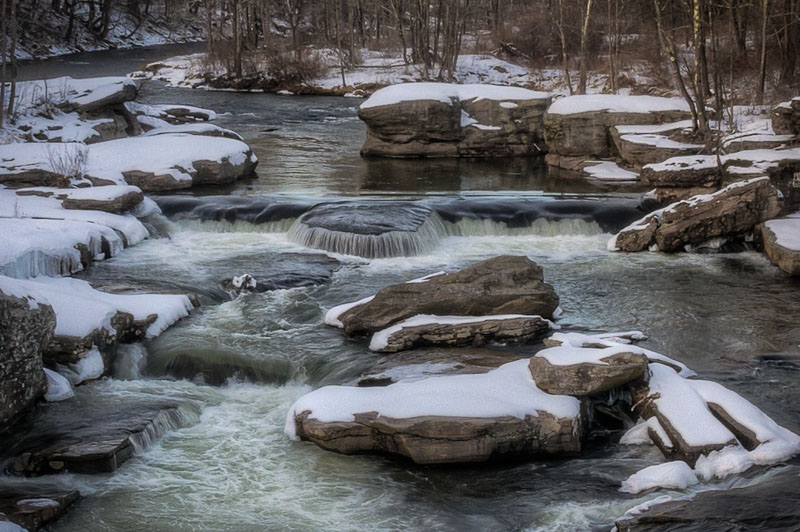
This next scene you will recognize from the sample HD video above as Fallsburgh Falls. I took this Nex-5r HDR photo from the railing where I had the camera mounted earlier for the video. I used 3 exposure’s for this image just like the HDR sample photo above!
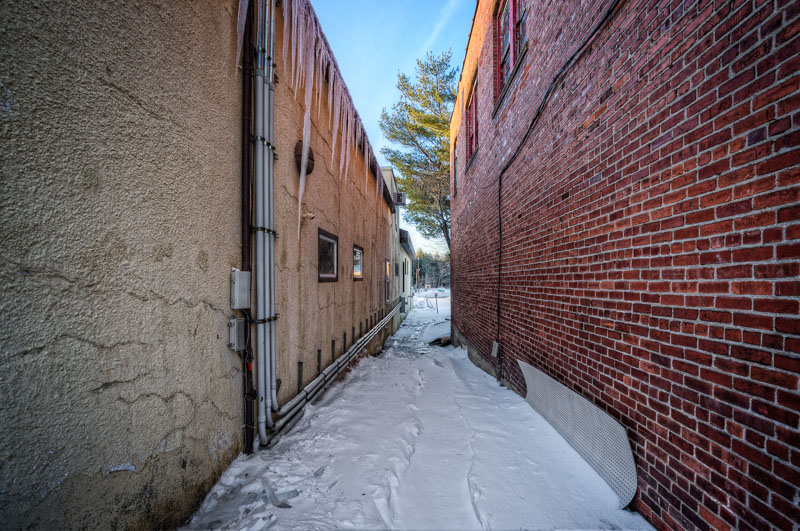
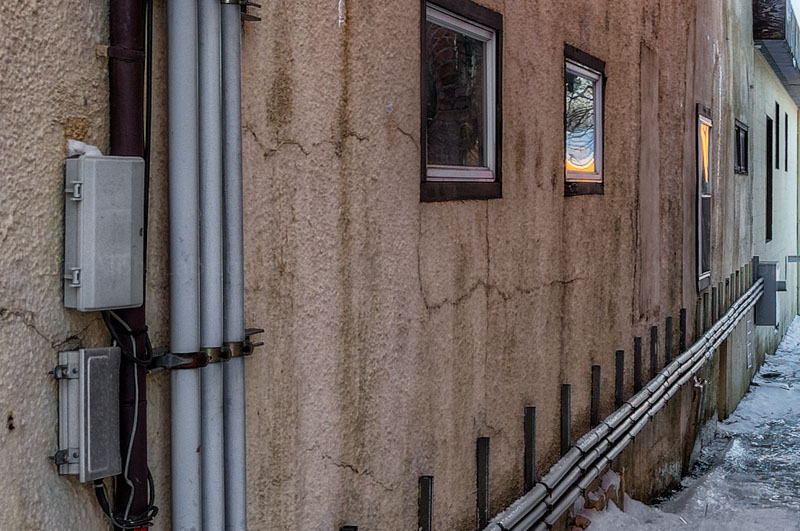
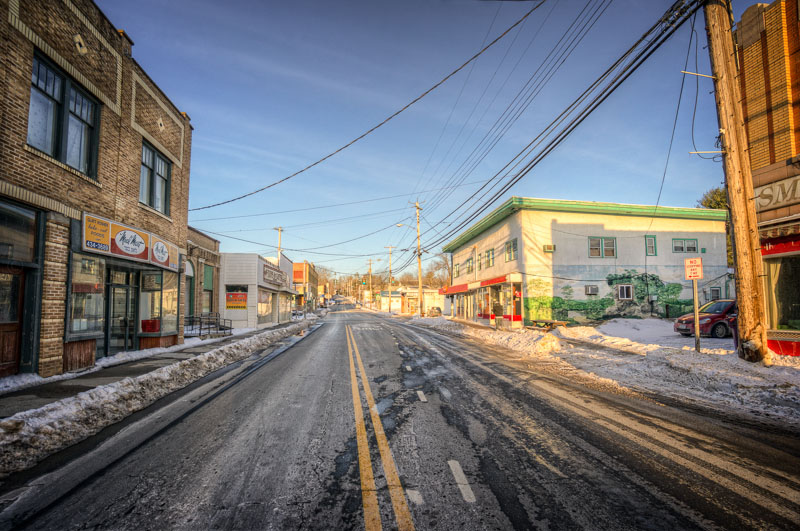
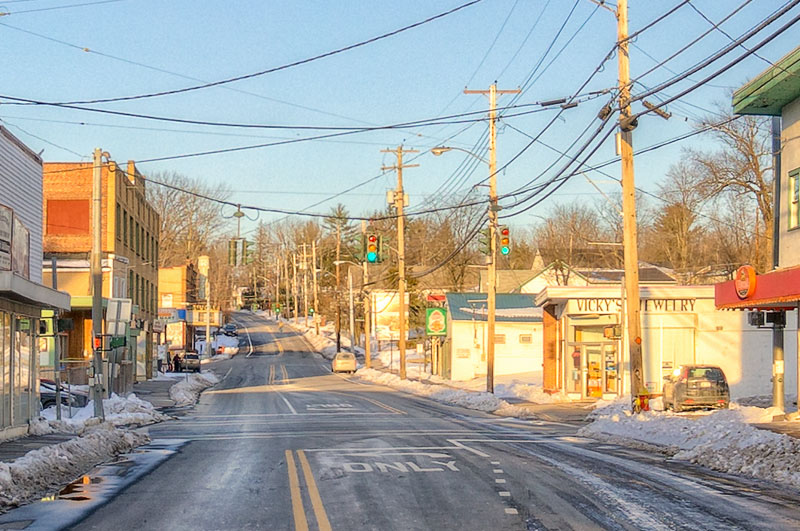
This next Nex-5r HDR scene was a pretty deep alley that looked pretty interesting to me and a great test for the depth of field and color/detail of the buildings.
An HDR street scene I took while crossing the road from the alley above 😉
As you can see by these Sony Nex-5r HDR sample photos, the mirrorless camera is more than capable of doing a great job with it’s very high quality 16mp sensor. The Nex-5r also has an Auto HDR feature, but I did not get a chance to use it yet. Basically, the camera takes three shots for you at your chosen EV range, and then pumps out a HDR Jpeg image of the scene!! It works really well actually, but not as good as using Photomatix 4 and Photoshop to polish up the image. Here are some AutoHDR’s taken with the Nex-6 which is basically identical for this feature >>
Auto HDR vs Normal Exposure Sample Photos
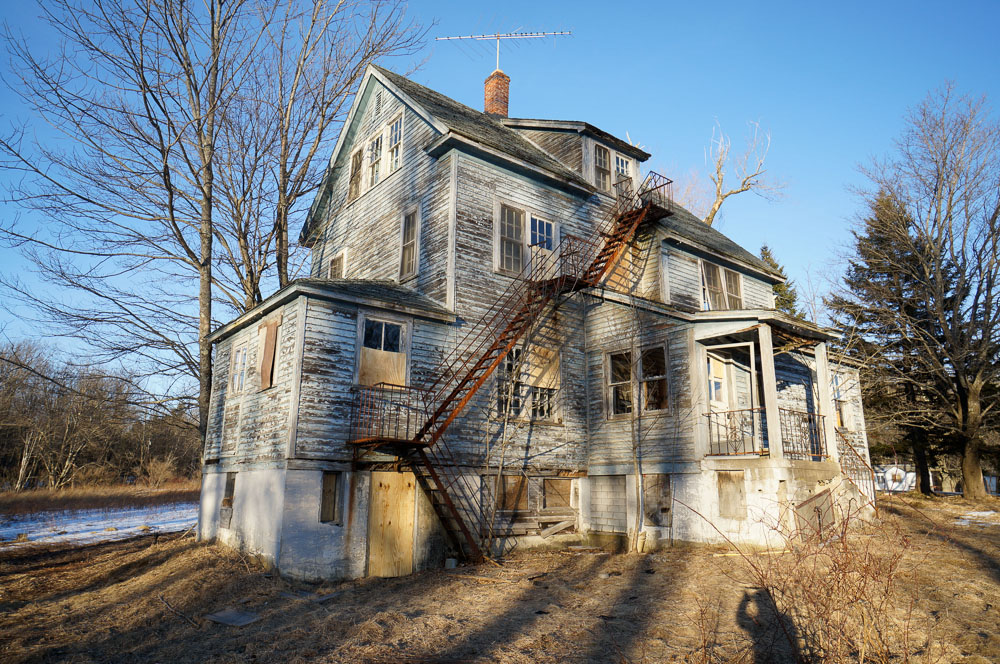
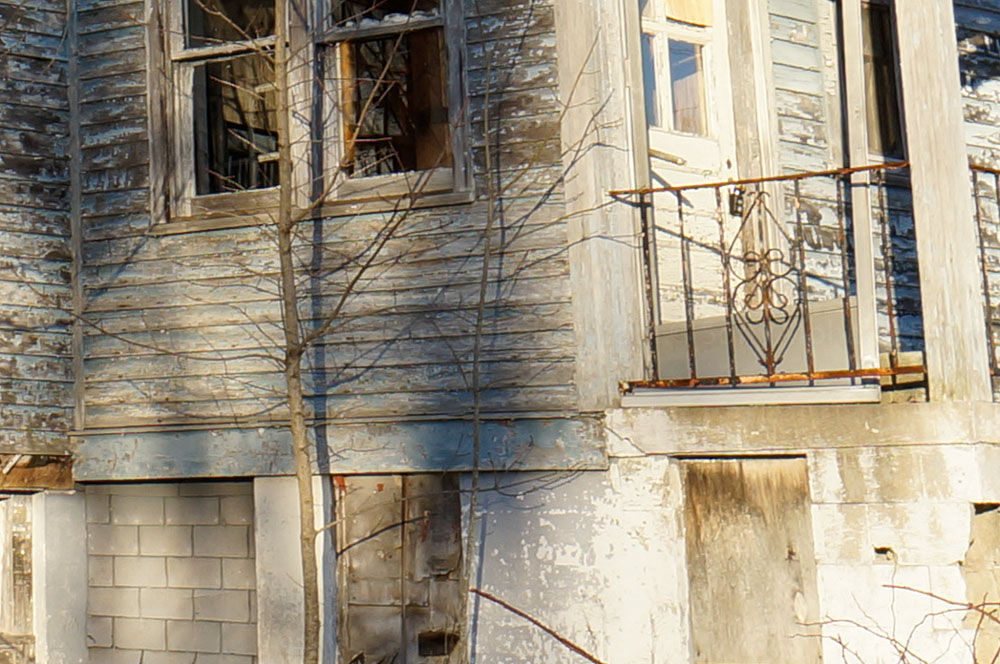
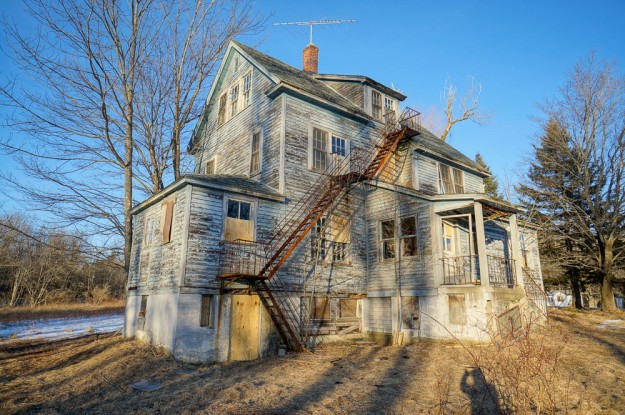
First the Nex-5r default exposure so you can see what the camera would normally do, then the Auto HDR @ 4ev sample photo. Note the highlight and shadows detail on the 100% Crops in particular of this creepy abandoned house!! To learn more about Auto HDR and how to use it, check out my detailed tutorial using the Nex-7 (Click Here)
Nex-5r Auto HDR @ 4EV you can see here how the shadows are filled in with more detail, and the highlights are backed off on brightness, and also have more detail retention. The Auto HDR feature works excellent in the right situations. This type of scene being a perfect example of where Auto HDR shines.
Sony Nex-5r – Portraits and Family Sample Photos
Had some fun with the Family on Sunday celebrating my Dad’s 65th B-day 🙂 We had a great time and some killer steak and desert. All these photos are shot with the Nex-5r in Raw quality developed in Lightroom with very minor adjustments. Exif info is in the caption just below the image. I also included a few 100% crops so you can see the incredible sharpness of the SEL35F18 lens and Nex-5r Combo!!
Yummy dinner 🙂
Apps
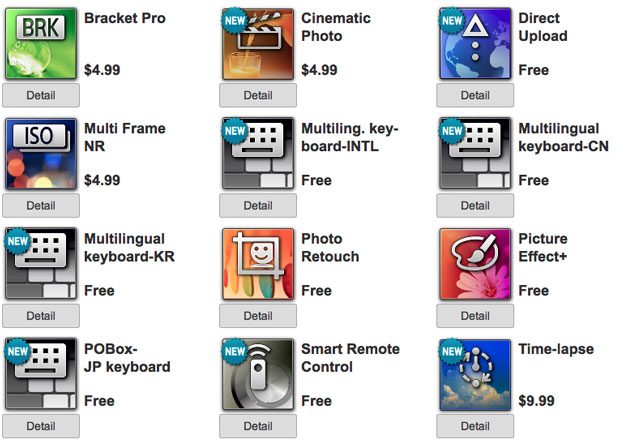
Sony also offers Apps for the newer cameras with wifi, and they basically add features to your camera like Time-Lapse Photography, or Illustration Mode for example. Both features I love by the way 😉 Check out all the available Apps at the PlayMemmoriesCameraAppsPortal (Click Here)
All Currently Available Sony Camera Apps
Sony Nex-5r Video Review
Popular Accessories for the Sony Nex-5r
With the Multi-interface Smart Accessory shoe, the Nex-5r can be upgraded with some serious power for a variety of purposes. Flash, Microphones, Viewfinders, ect.. In addition to the shoe accessories, we have other must have accessories are batteries, cases, memory cards, ect..
- The OLED Viewfinder is a must have for bright sunny day outdoor shooting and has come down in price a lot since it’s first announcement! $239.95 US @ BHPhoto >>
- The Sony ECM-SST1 Compact Stereo Microphone drastically improves audio recording quality and has a 90/120 degree pattern switch. $89.00 @ BHPhoto >>
- The Sony CLM-V55 Portable Monitor is used for viewing videos and still images from camera when a larger high resolution screen is needed for manual focus assisting or critical playback viewing during filming. $398.00 @ BHPhoto >>
- The HVL-F20S External Flash is a lightweight, easy-to-use flash, and has TTL (through the lens) accurate, automatic exposure support!! $148.00 @ BHPhotoVideo
- An extra battery or two is a must!! The Sony NP-FW50 is the stock Nex battery, but Pearstone and a few other manufactures make cheaper versions also. $39.95 @ BHPhoto >>
- Killer Memory Card Rebate Deals @ BHPhoto >>
- Sony E-Mount Lens Guide with all Nex E-Mount lenses currently available >>
- All Accessory Guides >>
Nex-5r Review – Conclusion
In this detailed Nex-5r review I learned that I wish my Nex-6 had the 180 degree flip screen!! That feature is awesome for recording yourself as you can see the frame easily if you move around while filming and verify the focus accurate ect.. Without this, you can record a whole segment and then review it over realizing you moved a foot to the left in the frame and it’s garbage. Re-takes are nipped in the bud when you can see the screen while recording and when you want to hold something really close to the camera, you can insure focus accuracy live. I can use the hdmi output on my nex-6 and a monitor, but it’s not as convenient as it being built in like the Nex-5r has.
The build quality is a perfect blend of rugged, yet classy in my opinion with the sharp smooth black finish and design. The grip is great, although a bit smaller than the Nex-6 when you actually hand hold them. It’s not quite as deep for your finder tips, although deep enough to to the job very well. The bumped up tripod mount is not the best design for overall strength, but when you attach a quick release plate for your tripod, it overlaps the metal E-Mount ring making a bridge. If a heavy lens was attached the weight would be distributed across the E-Mount and the tripod mount as a connected unit. Pretty rock solid when my Gitzo plate was tightened down snug, The screen is also able to open and tilt up and down fully with the plate attached thanks to it’s crafty double hinge design.
Sony has refined and ironed out almost every wrinkle with the latest Nex-5 series ILC mirrorless camera, and other than limited battery life, I can’t really think of any major issue or shortcoming. Especially for the price point of $598 US. One could argue no EVF, but you can get one if you need it, and the price is way less than the Nex-6 that has the EVF, so it’s a mute point really in the end. In the end, the Nex-5r and it’s killer 180 degree self recording flip screen is awesome and makes it a really valuable tool for folks who like to tell a story via song writing, filmed poetry or screenplay type stuff, or flat out armature movie making!! If you using the camera mostly indoors you won’t need the OLED EVF that the Nex-6 has, but if your a bright mid-day outdoor shooter, your going to want the viewfinder for sure. It’s worth considering the Nex-6, or Nex-7 for your convenience and more rugged build quality being in the outdoors anyway 😉
I hope you all enjoyed my Nex-5r Review and please feel free to ask questions and comment below before I send the gear back!!! Both E-Mount lenses I used will have full individual reviews, so stay tuned for those!!
Thanks again for your support, and have a great weekend!! Jay

