In this Sony Nex-7 Mirrorless Camera Review I will go over in detail, features, image quality, High ISO performance and more!! The Nex-7 is one of the worlds smallest and most capable ILC cameras on the market today. Featuring a 24mp APS-C sized sensor, metal camera body, built-in Hot shoe, OLED viewfinder, and a built-in pop-up style flash.
At the time of this review the Sony Nex-7 goes for $1,349.99 with the black 18-55mm kit lens or $1199.99 for just the camera body itself. Now it’s certainly not the cheapest camera out their, but if you factor in the feature set, pure power, image quality, small size and weight, the relatively high price tag is totally justified in my opinion.
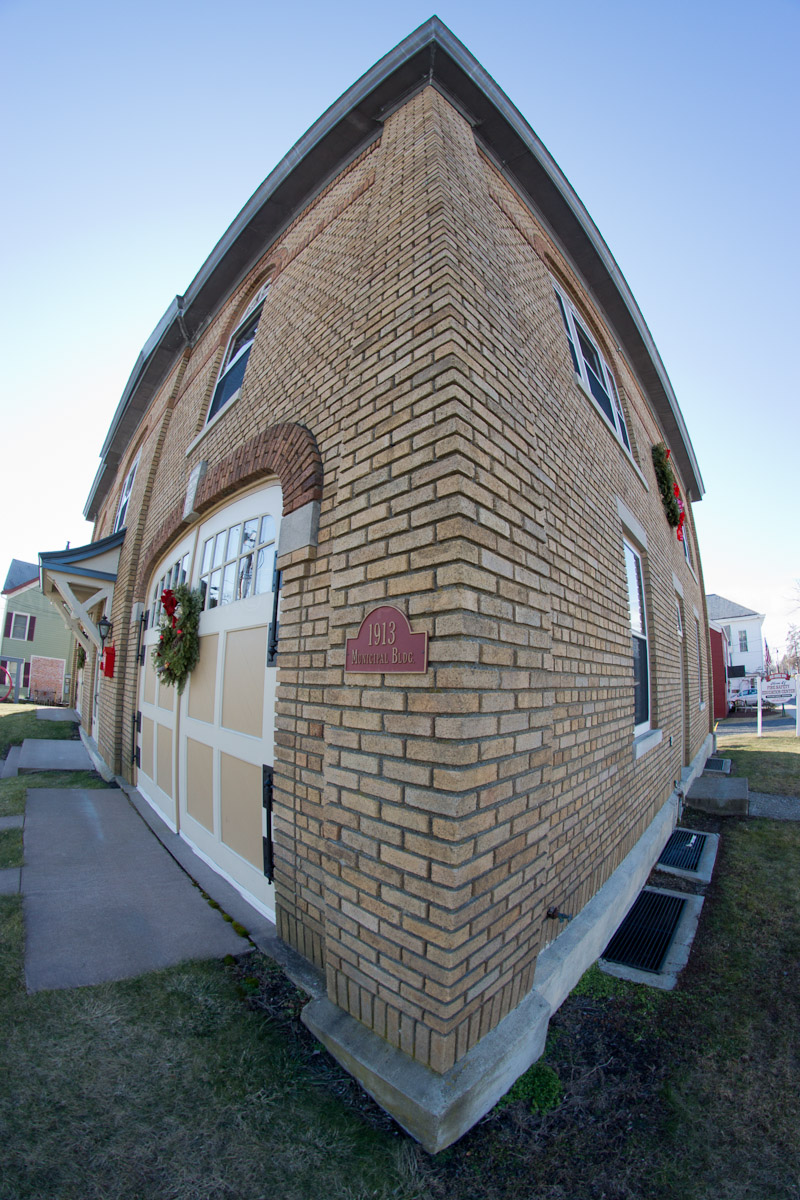
For this Hands on Review I was able to get a large assortment of E-Mount lenses including the Sony E 30mm f/3.5 Macro Lens, Tamron E 18-200mm f/3.5-6.3 Di VC III Lens, Sony E 18-200mm f/3.5-6.3 OSS Lens, Sony E 24mm f/1.8 Carl Zeiss Lens, and the Rokinon 8mm Fisheye lens.
The Nex-7 arrived in a relatively large box considering its small size. It seems Sony took a lot more time designing how the box opens and presents the camera to you. Reminds me a lot of how Mac packages up their merchandise. It’s always a fun experience opening a Mac Product because of this, and I think it was a smart move for Sony to adopt this “marketing philosophy”. It might seem trivial, but it does make a difference in the mind when it comes to quality. It demonstrates how important is to Sony that the camera is presented to the buyer the correct way. Think about a fine restaurant for example, the Chef wants that plate put down in the right direction or else the meal is presented wrong to the Patron. Presentation is always important when opening a nice product if you ask me.
Here is what the Sony Nex-7 looks like from the inside the “Lab”
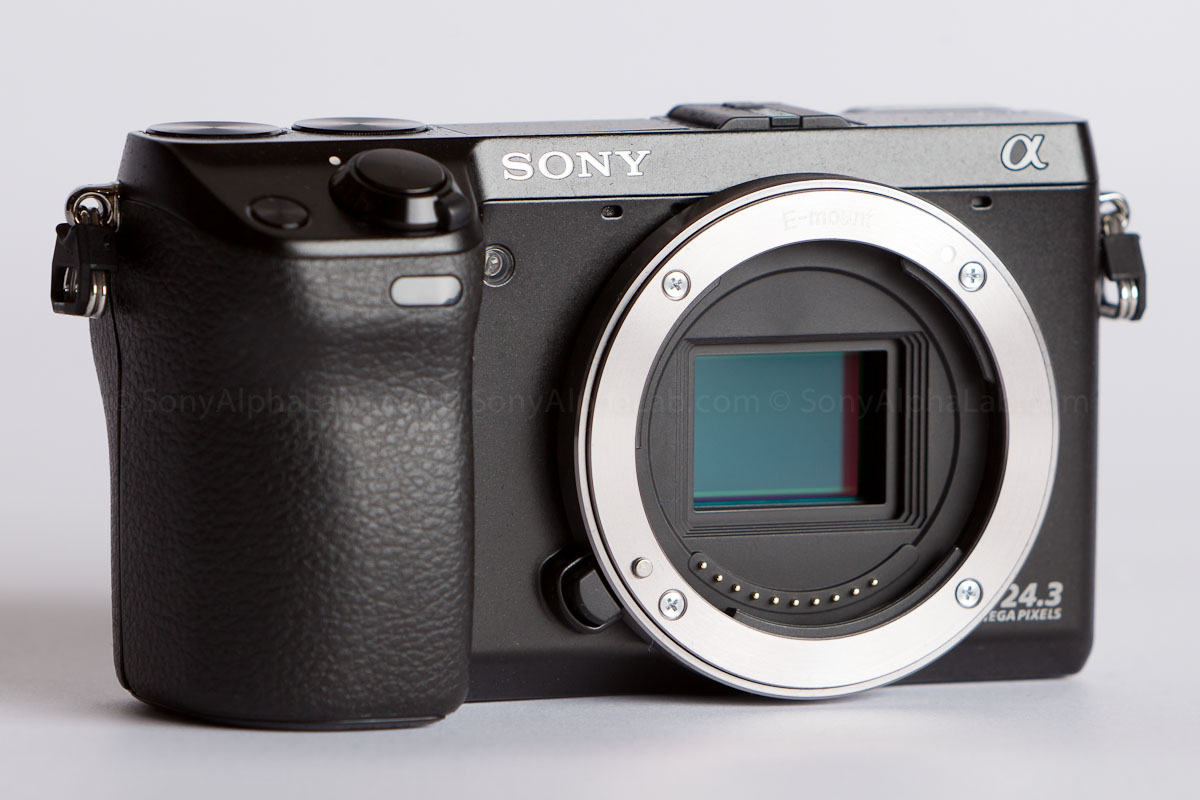
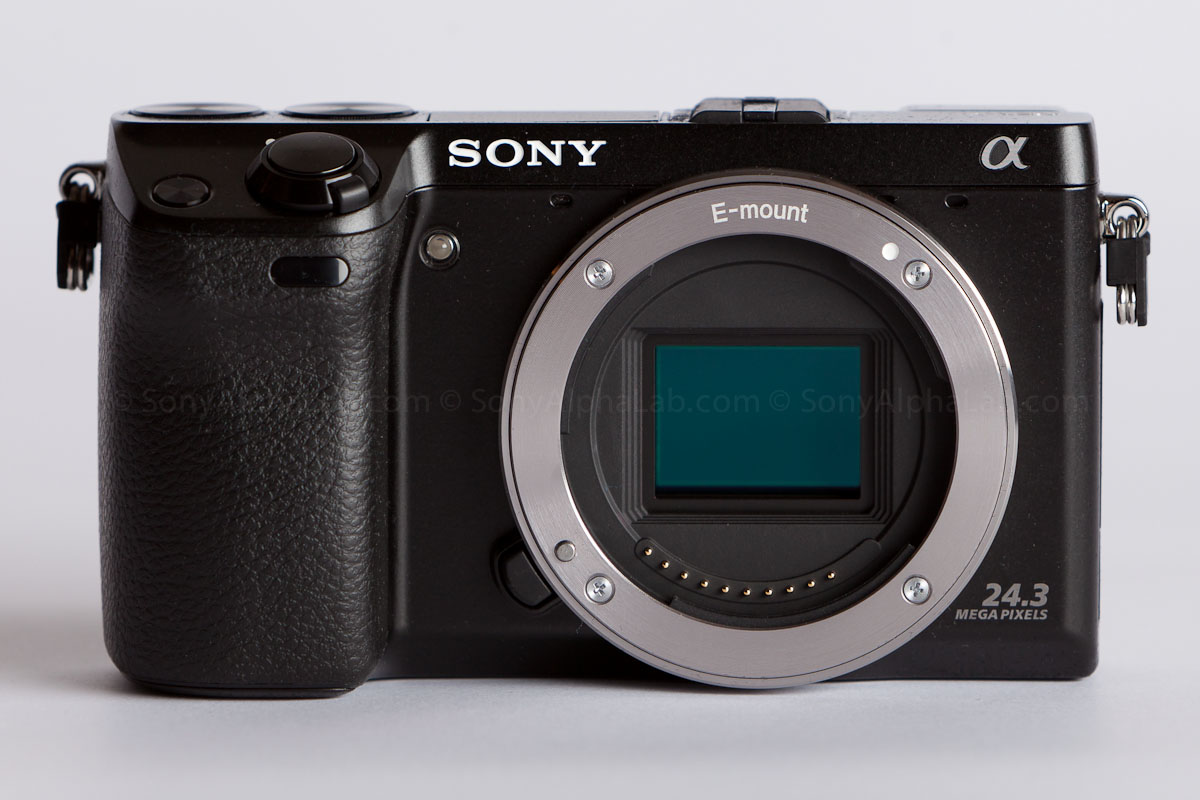
From the front view above, take note of the lens release button just to the left of the lens E-Mount flange. That button clicks when the lens is locked on! Moving upward we have the two stereo mic ports that kind look like little nostrils or something. Moving to the left we have the AF Assist beam. This is used to help the camera focus in low light conditions. Basically what this beam does is shoots out a red beam that has a pattern to it. That beam then hits whatever your trying to focus on and it adds contrast to it. The AF sensor inside the camera can then use the beam pattern to help it find a focus point. The AF sensor is contrast based, so the AF beam simple adds contrast the scene to help the Auto Focus work better. It definitely works, but when using large lenses like the Sony 18-200mm for example, the beam gets partially blocked, and may not work depending on your distance to the subject you’re focusing on.
To the left of the af assist beam we have a much larger hefty grip compared to the Nex-5n. Also note that little horizontal oval towards the top of the grip. That is the receiver for the must have, but optional wireless remote control. The Nex-7 does not have tether support or a port for a wired remote trigger, so the remote is a nice accessory to have. It’s called the Remote Commander.
With a nice large SLR style grip the Nex-7 is much easier to hold with larger lenses mounted. Plus when you lower the camera down to your right side, you can easily hook your fingers around the grip and the camera will balance their just like an SLR does. You can’t really do that with the Nex-5N or the Nex-C3 as the grips are just not deep enough. On the top front of the grip we have the shutter release button housed by the rotating on/off toggle switch. Just to the right of that is customizable button that scrolls through special shooting function modes that you can custom program. I had mine set to Auto HDR, and Scene Modes (which I never use).
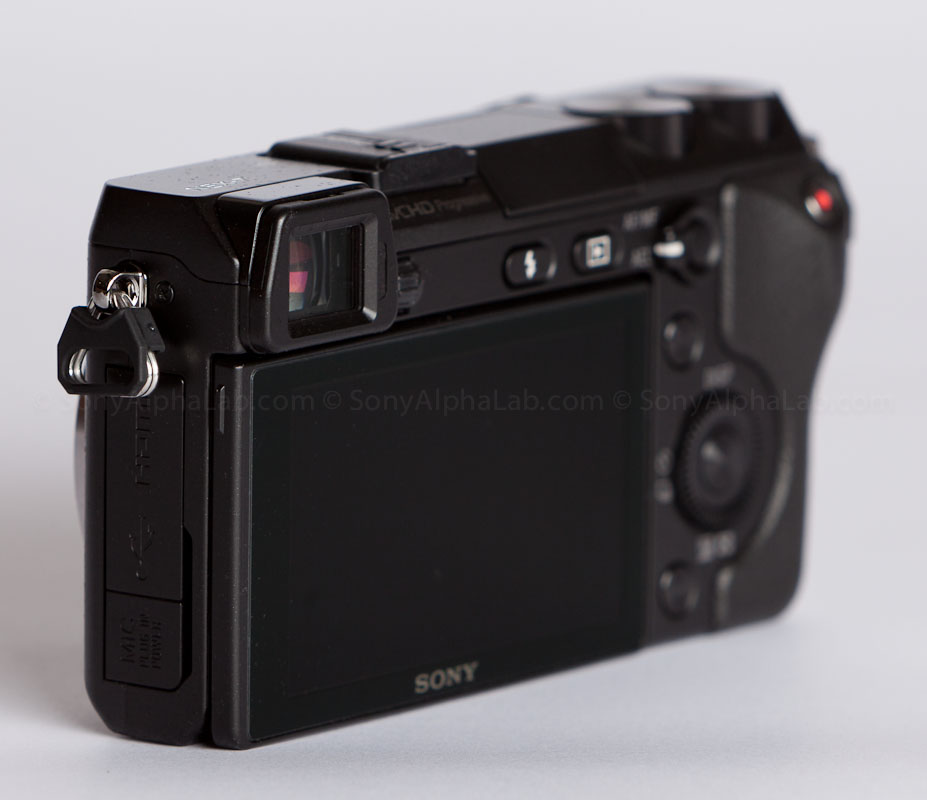
From this left rear 3/4 view above you can see the high quality OLED viewfinder in the upper left. Just to the right of the viewfinder is the little eye focus adjustment wheel for those who need it. Because the Nex-7 is processing the scene and sending the information to the OLED viewfinder in “Real Time”, it’s also capable of rendering your “In Camera” adjustments as well!! Such as white balance, exposure comp, etc.. This is a killer feature of the mirrorless and SLT Technologies in general, but when looking through the OLED it really does look outstanding.
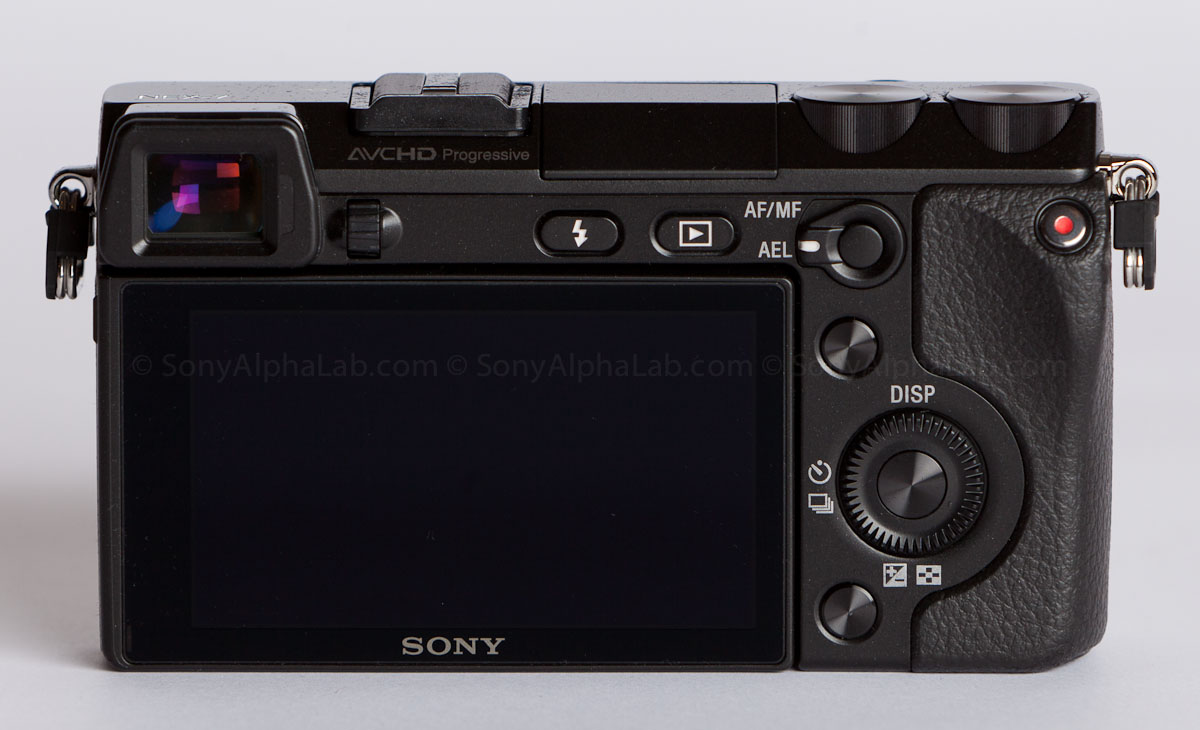
From the back view you can see all the buttons except for the shutter button and the soft key on the top of the grip. To the right of the LCD screen there are two unlabeled buttons. The one on top is known to the camera as Soft Key A. The one on the bottom is Soft Key B. There is also another button in the center of the 4-way navigation wheel and that is called Soft Key C. By default when you turn the navigation wheel it adjusts your ISO, but this sucks as I accidentally changed the ISO constantly. I switched mine to scroll through the camera modes instead and then set the right side of the 4-way navigation wheel as the ISO as it’s programmable as well 😉 Notice it has no label on the right side of the Navigation wheel meaning “Custom” essentially.
Moving up to the top we have more buttons that are clearly labeled, but there is yet another custom button inside AF/MF – AEL Toggle Switch. I set that button to toggle the AEL on and off so I don’t need to hold my finger on the button to have it locked by default. When switched to the MF /AF position you can set options for that as well, but I left mine at default.
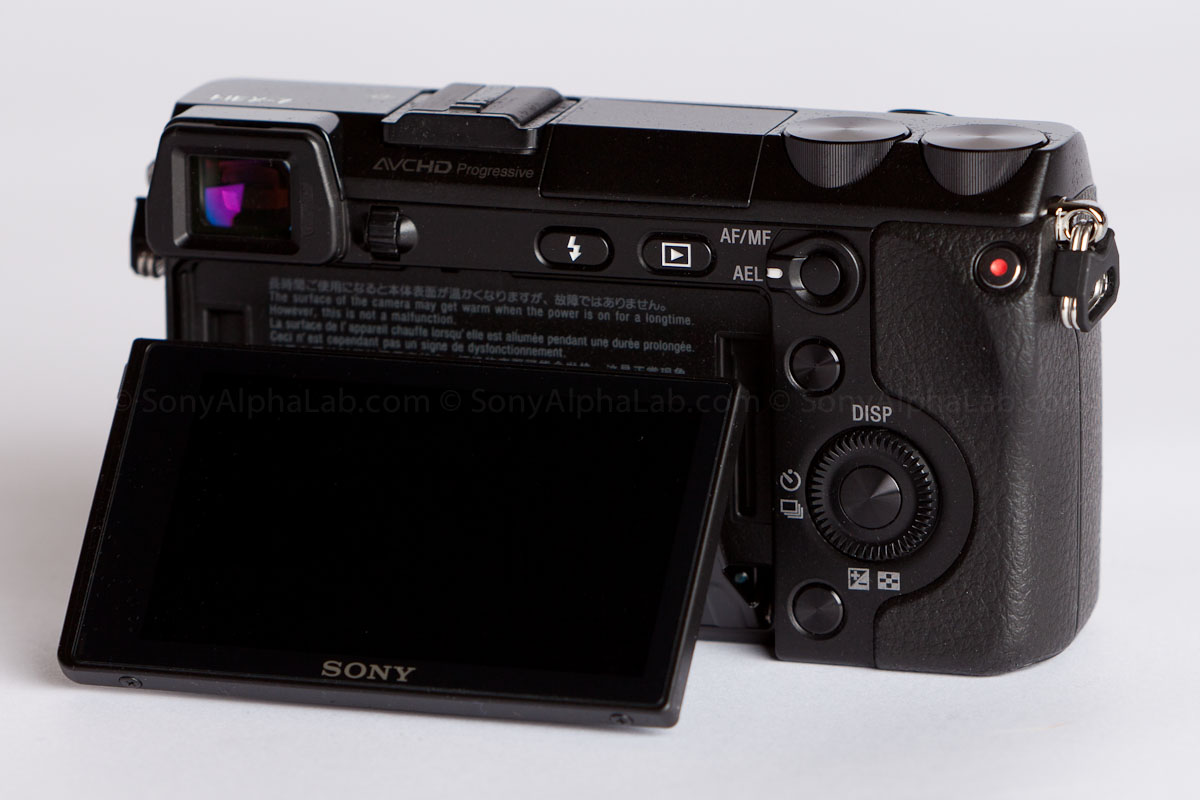
Here she is with the gorgeous 3″ tiltable high res LCD screen. It works awesome in dim to dark conditions and even in some brighter scenes, but in direct sunlight it’s useless. All the more reason why the OLED viewfinder is a must have feature, or accessory for the Nex-5N (Sony’s OLED Electronic Viewfinder for NEX-5N Camera). It is an expensive accessory, but if shooting in the sun is important to you, it’s a must have. Fortunately the Nex-7 already has it built right in!!
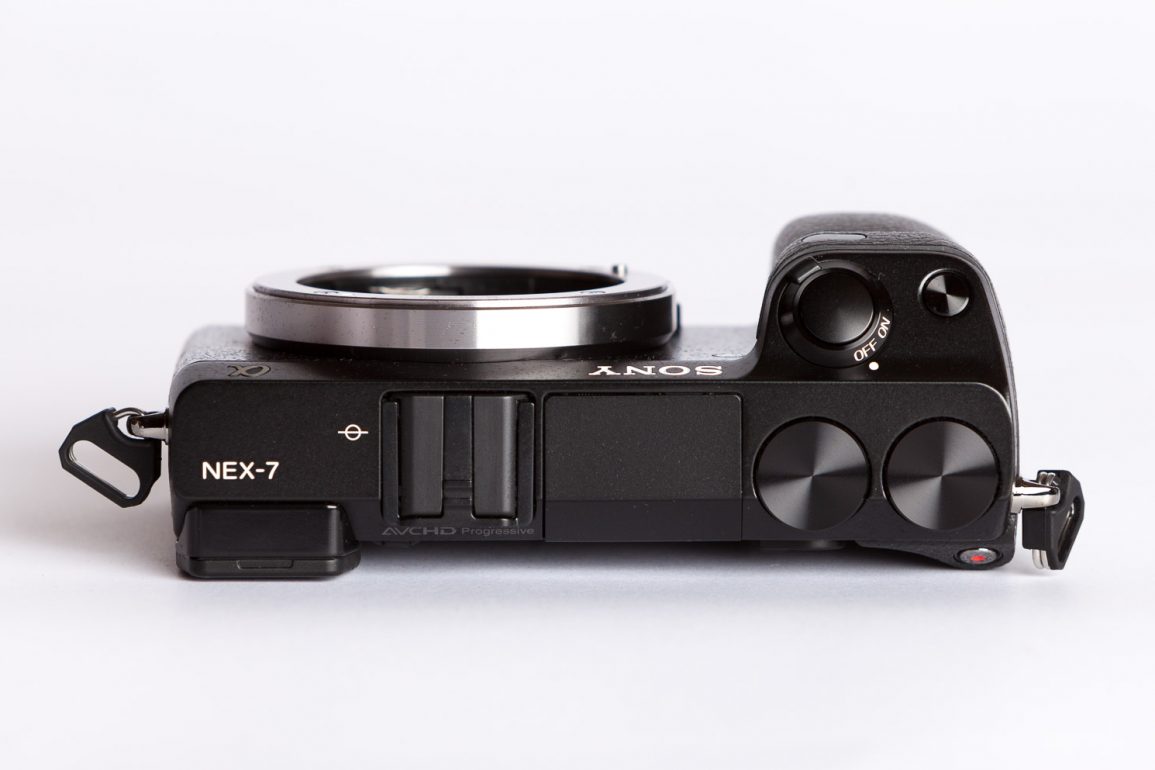
Moving all the way over and up we have the red record button. This button is not in a good spot at all. I must have hit it 30 times easily and I was trying not to hit it!! Your thumb is just resting right below the button on that little arcing ridge, but when you move your thumb upward to hit up the two Nav wheels the button is vulnerable and right under the thumb!
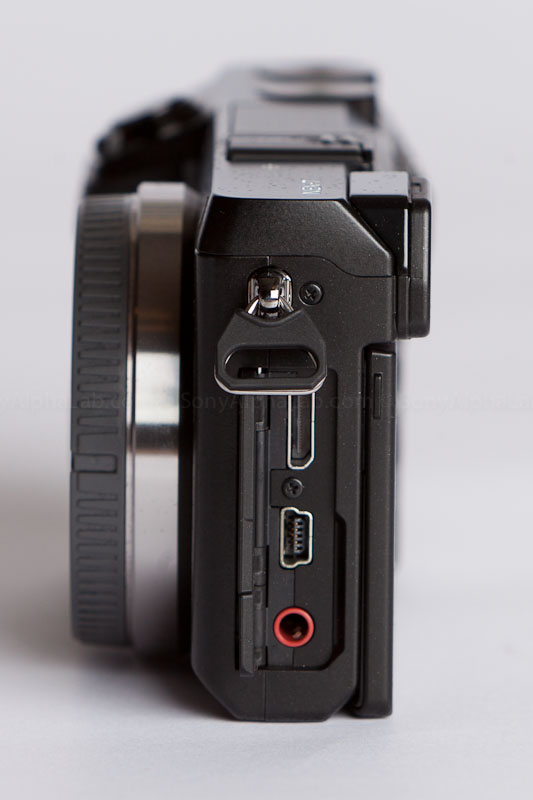
From this left side view above you can see all the ports available including from top to bottom, the Mini High Speed HDMI Port, USB Port, and with its own little door, the Stereo Mic port. The doors are mad of rubber and plug up the port area very effectively. The special mini HDMI can be purchased separately in a kit that comes with an extra battery. You will need that anyway as the Nex-7 is a battery Hog!! Here is the cable/ battery kit link, but I recommend getting a longer mini to regular HDMI cable if you plan on hooking up to the TV as the 4.7 feet kit cable is often not enough to be able to rest the camera on something safely. These cables look like a good deal, but I haven’t used them myself. You can be sure the kit cable will work, but the cheap after market stuff is questionable at times for quality control.
Also note the very sturdy triangle camera strap loops on the sides. Much nicer than the recessed style like on the Nex-5n and Nex-C3 for example.
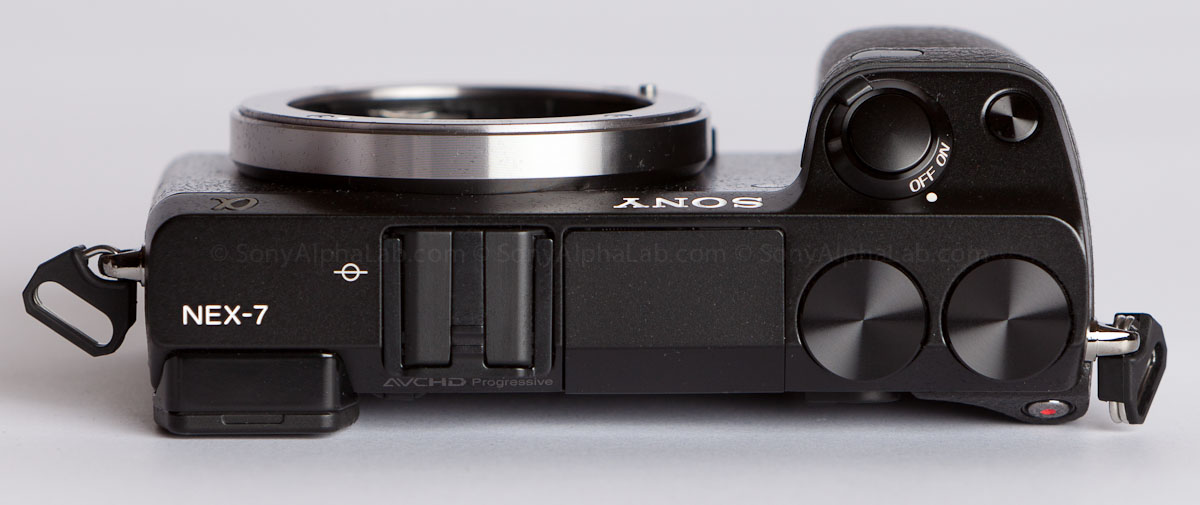
Looking at the top of the Sony Nex-7 we have the built-in Hot Shoe mounted dead center above the E-Mount mount flange. Nice work Sony!! By doing his they had to put the on camera pop-up flash to the right a bit, but priority should definitely go to the hot shoe on a camera of this quality. They put a little plastic slot blocker in the hot shoe for when it’s not in use. I like it as it looks cleaner with it in place.
Moving all the way to the right we have the two Nav Wheels that work the shutter speed and aperture when in manual mode. The right wheel switches to exp/comp when you’re in Aperture priority mode or Shutter priority mode.
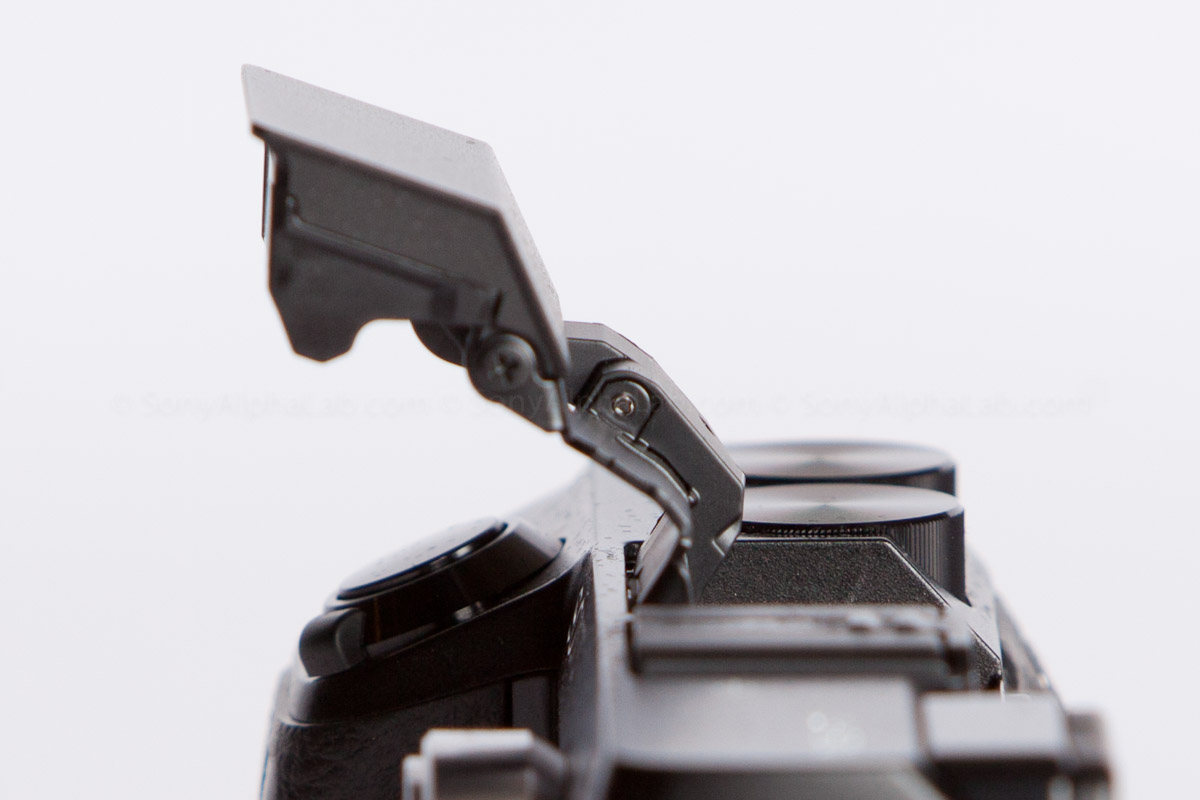
The flash pops out with some authority I must admit, but it makes sense when you see how high and far forward it goes. It works pretty effectively the few times I used it, but with larger lenses your still going to get a shadow in your shot especially if you have the lens hood on.
The Sony Nex-7 with the Sony 30mm f/3.5 Macro Lens
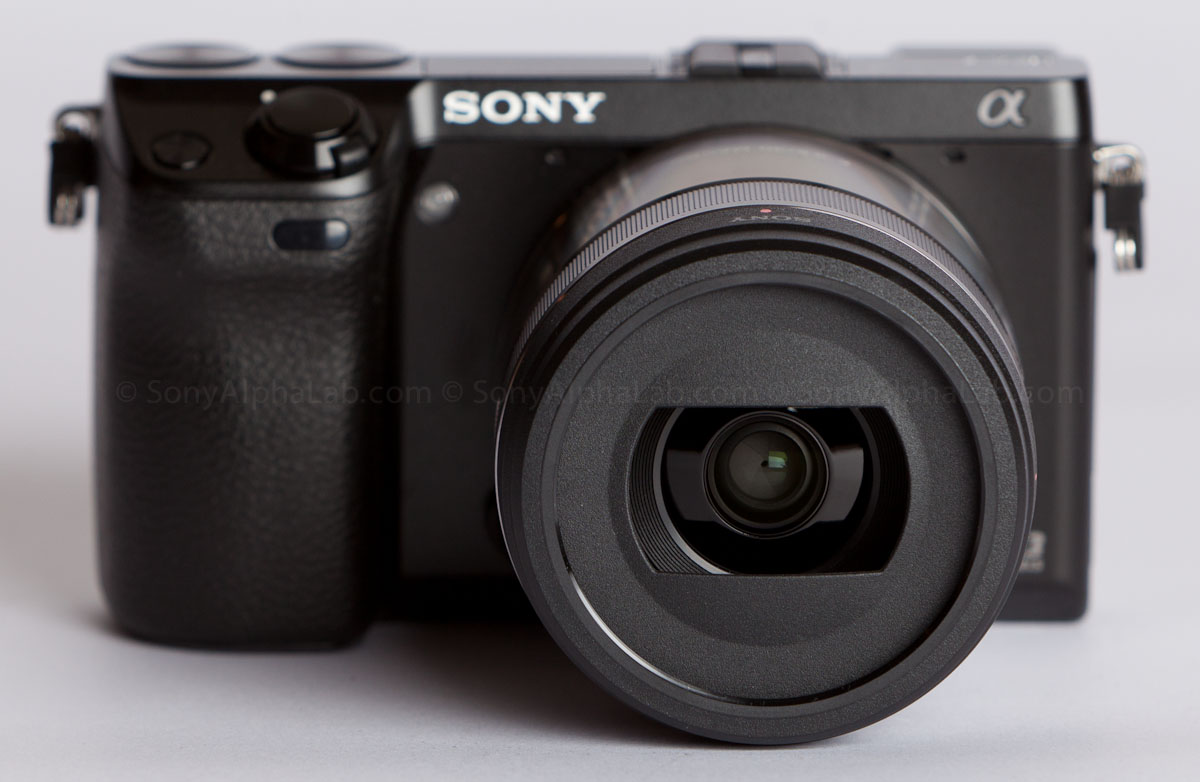
The Nex-7 with the Tamron 18-200mm F/3.5-6.3 Di III VC Lens

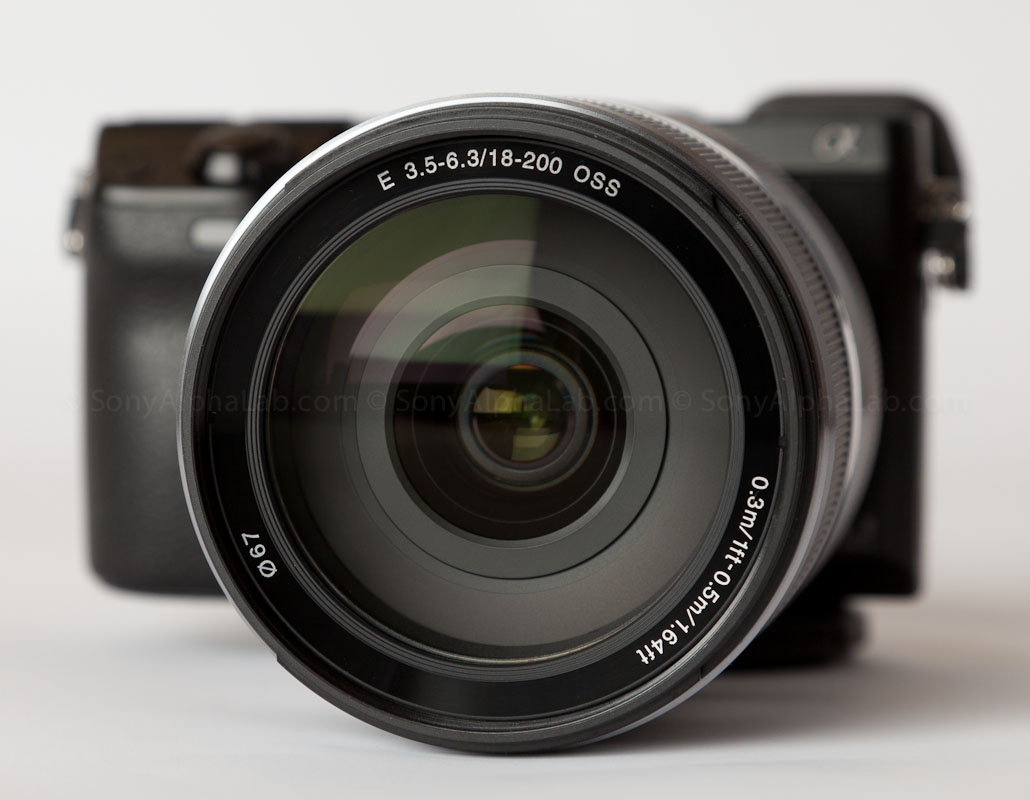
The Sony Nex-7 with the Sony 18-200mm f/3.5-6.3 OSS Lens
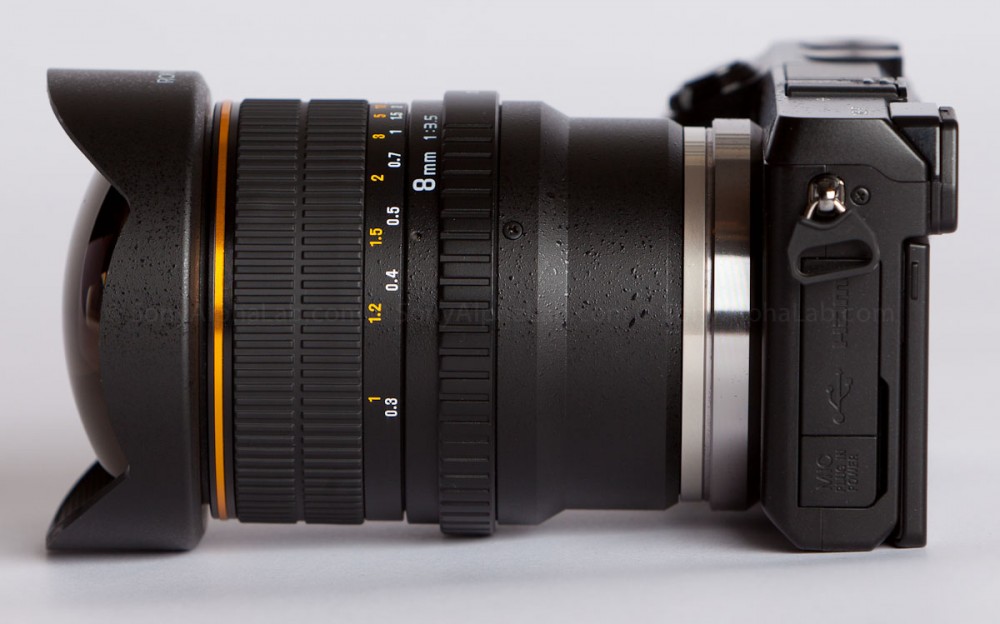
The Nex-7 with the 8mm Full Manual Rokinon Fisheye Lens
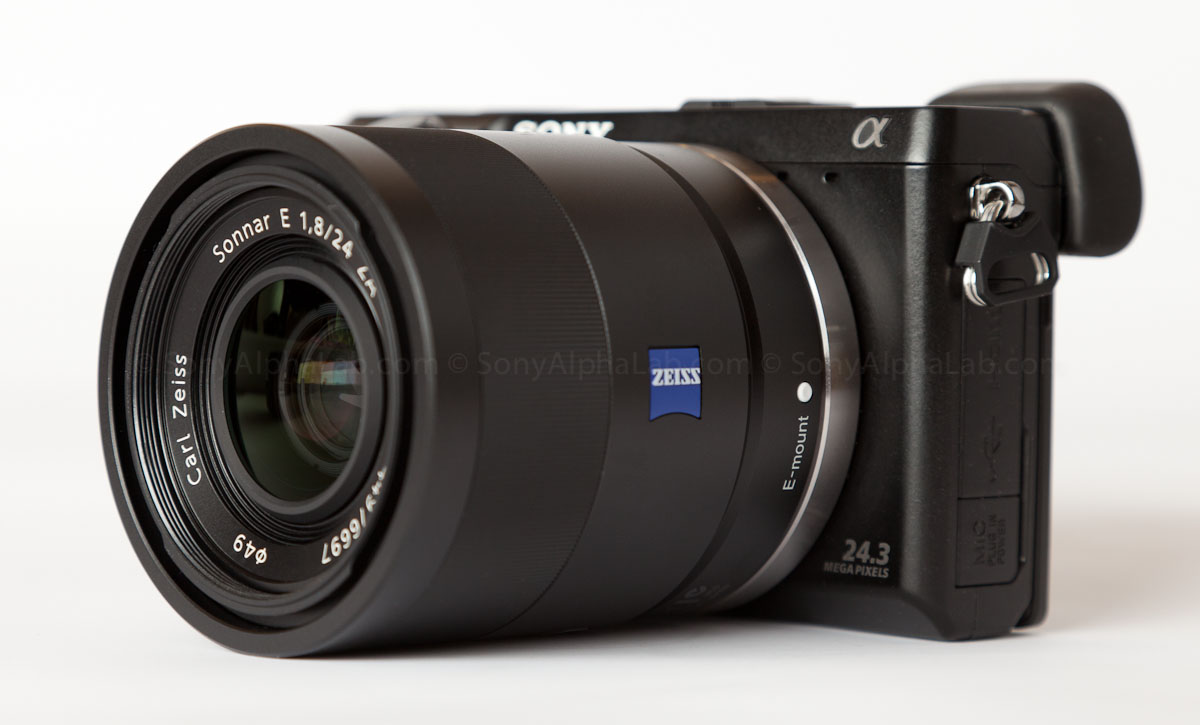
The Sony Nex-7 with the Sony 24mm f/1.8 Carl Zeiss Sonnar Lens
Using Lens Adapters with the Sony Nex-7:
One huge advantage to the Sony Nex system is the ability to adapt almost any lens to it using a simple adapter. The adapters available run the gamut in price, size and functionality.
The most powerful Nex lens adapter fully electronic which allows for full aperture control and image stabilization support!! It runs around $400US and you can check it out over Here>>. It is a brand new item and is next to impossible to get however, so I got the Fotodiox Adapter with adjustable iris seen below. It’s much cheaper as well at around $80 US.
The Sony Nex-7 with the Fotodiox E-Mount to Canon EF-Mount Lens Adapter and a few Canon L Lenses
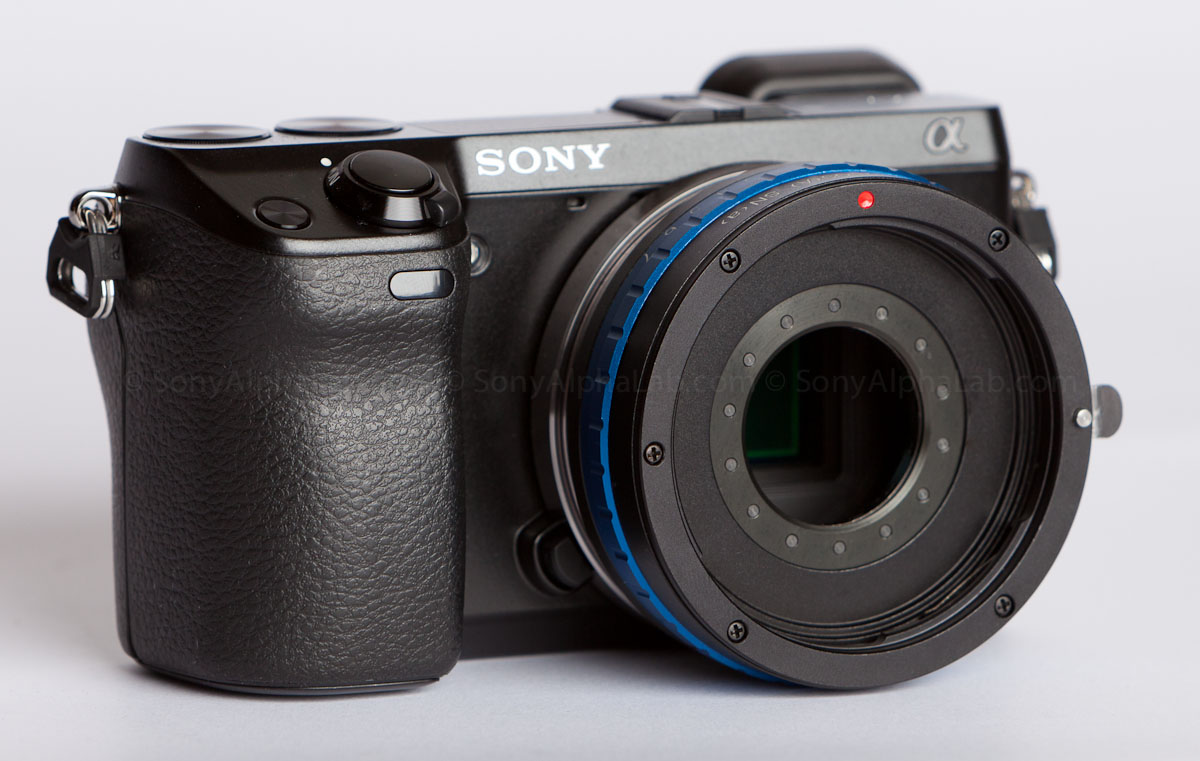
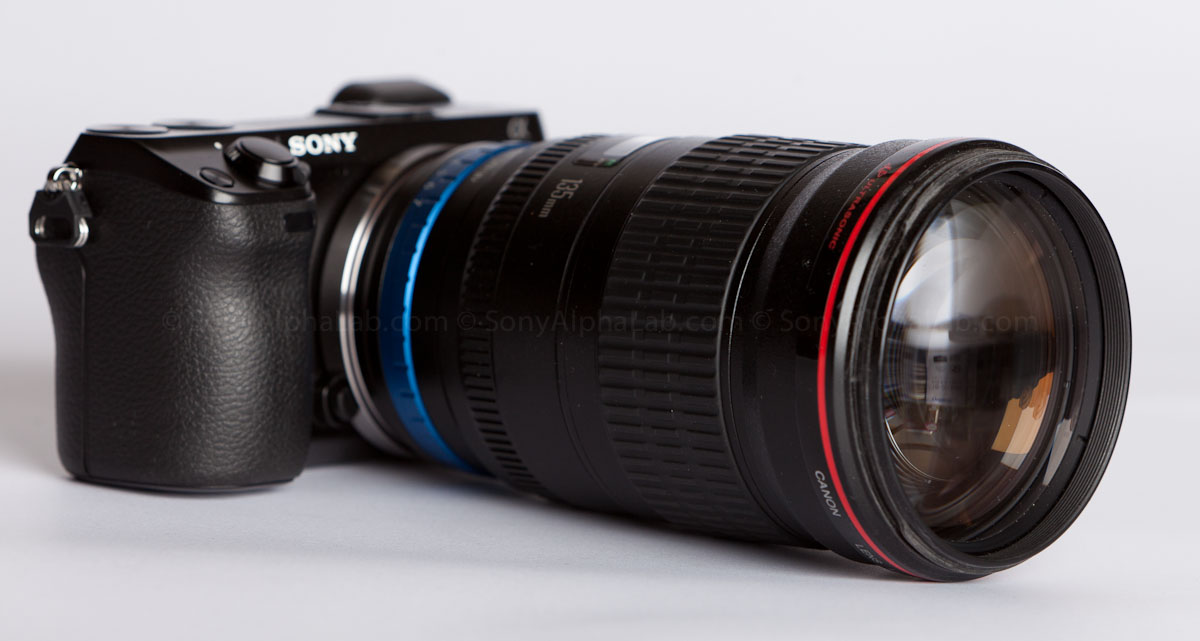
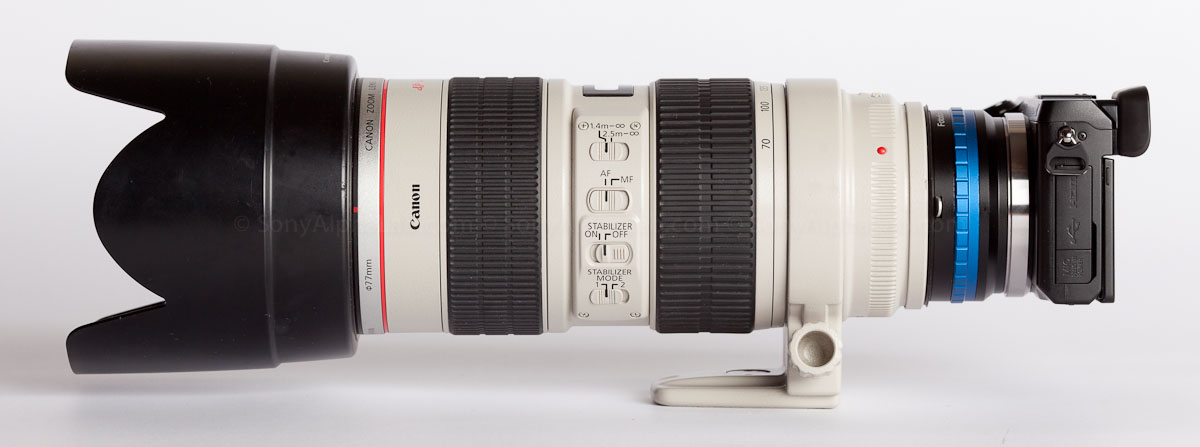
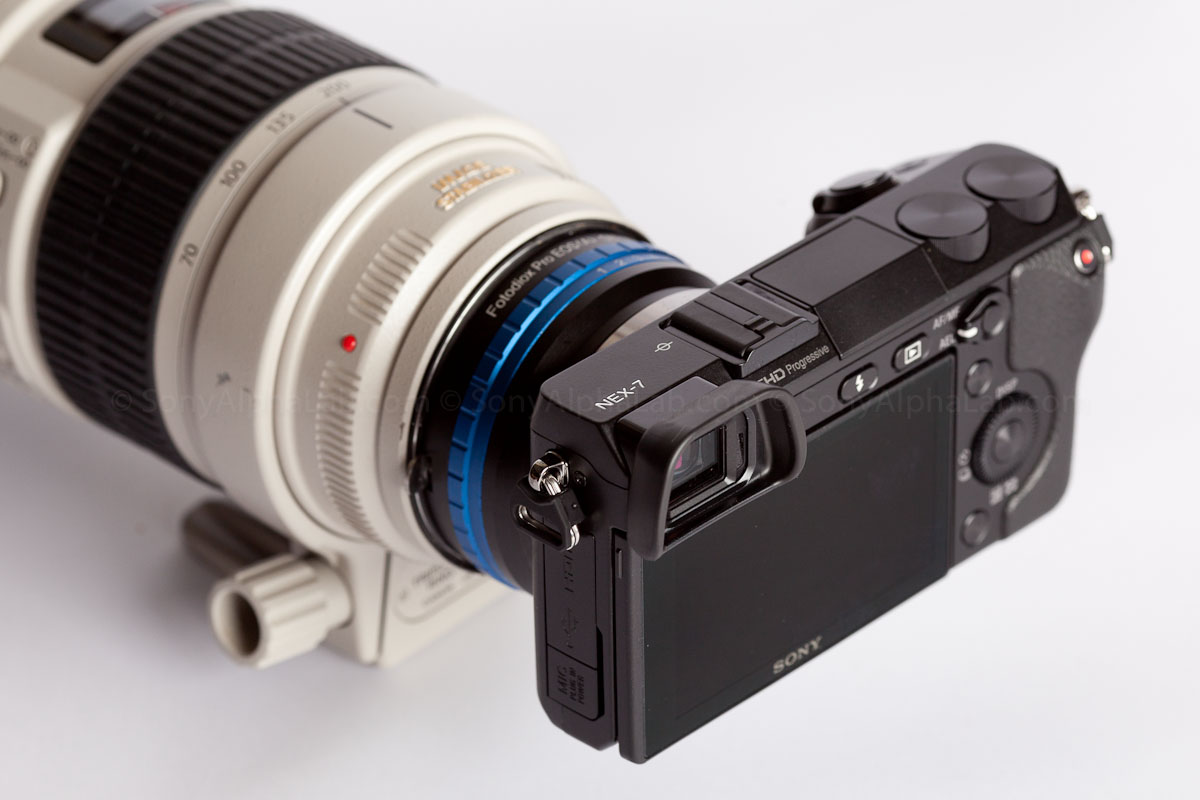
For more info on using lens adapters with the Sony Nex-7 and manual focus, check out this detailed Video Tutorial I put together explaining exactly how to set-up the camera to take advantage of all the features available. Focus peaking being one of the features you will definitely like and want to use!! Basically it turns manual focusing into an absolute joy by adding a colored visual overlay to the screen that highlights sharp edges by looking for high contrast areas. You can even change the size and color of the focus peaking overlay color from red, green, or even white. It works awesome, and every digital camera should have it standard in my opinion. I’m really glad Sony brought the technology over to the Camera Market as it’s been around for some time in the video world.
Note: In addition to focus peaking you will need to enable the “shoot without lens” feature for manual lenses and adapters, or else the camera will say there is no lens attached!
Image Quality:
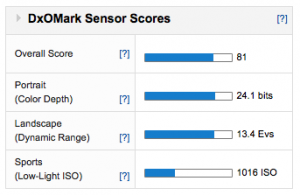
Moving on to what really matters in the end, image quality. The Sony Nex-7 has outstanding image quality and we have DXOMark’s Score to prove out the #’s with their tests, but the images really speak for themselves. I shot almost exclusively raw with the Nex-7 as I prefer to develop the photos myself in Adobe Lightroom. In fact I just finished a highly detailed video tutorial on developing Sony raw files if your interested over Here >>.
Some features on the Nex-7 require that you use jpeg mode unfortunately, but the camera is doing some hardcore processing on those particular files. It makes sense for file size purposes which ultimately results in time savings for the “On Camera Processing” itself. AutoHDR and AutoPano are two examples of this, and if you think about the processing involved it makes sense.
The Nex-7 has been heavily criticized on the forums for the shear pixel density on an APS-C sized sensor. I can understand the concern as this is normally not a good thing. More is not always better. Think about this for a second: 16mp vs 24mp on the same size sensor? Which do you think will have an easier time gathering the light in the most efficient manner?
Higher pixel density means the individual sensor pixels are physically much smaller and therefore not as good in general. This is the exact reason why some of the newer cameras are coming out with less MP. Less pixel density equals physically larger pixels on the actual sensor itself. Larger pixels work better as far as dynamic range goes, and noise in particular.
With this all being said, Sony has figured out how to get incredible quality out of such high pixel density!! Colors are vibrant, noise is totally acceptable at ISO 1600 or less in Raw. Beyond that you will start to notice on prints and need to do some post work. ISO 3200 and above is pretty noisy and the blacks tend to move a bit towards purple in my experience. Post Processing can fix the color shift issues, but the noise really starts to degrade the images beyond ISO 3200. For large prints I would recommend ISO 800 or less if shooting raw.
Using Jpeg mode you can get away with ISO 1600 as it’s pretty clean. Even ISO 3200 yields a pretty solid Jpeg results, but if you’re a pixel peeper like me, you will notice it for sure on large prints. Sony goes pretty heavy on the noise reduction when it creates jpegs. A bit more than I like to use to be honest, but overall it does a great job on most scenes in my opinion. The image quality is pretty much identical to the Nex-5n until you go beyond ISO 1600 – 3200 in raw. At that point the lower resolution Nex-5n is a bit better in the noise department on a per pixel bases.
A Few Sample Photos:
I have the links above to all the sample photos on a per lens bases with 100% crops, but I wanted to share a few of my favorite photos here as well so you don’t have to leave the actual review.
This gallery of photos was taken with the Sony Sonnar T* E 24mm f/1.8 ZA Lens. Be sure to click on the photos for a larger view.


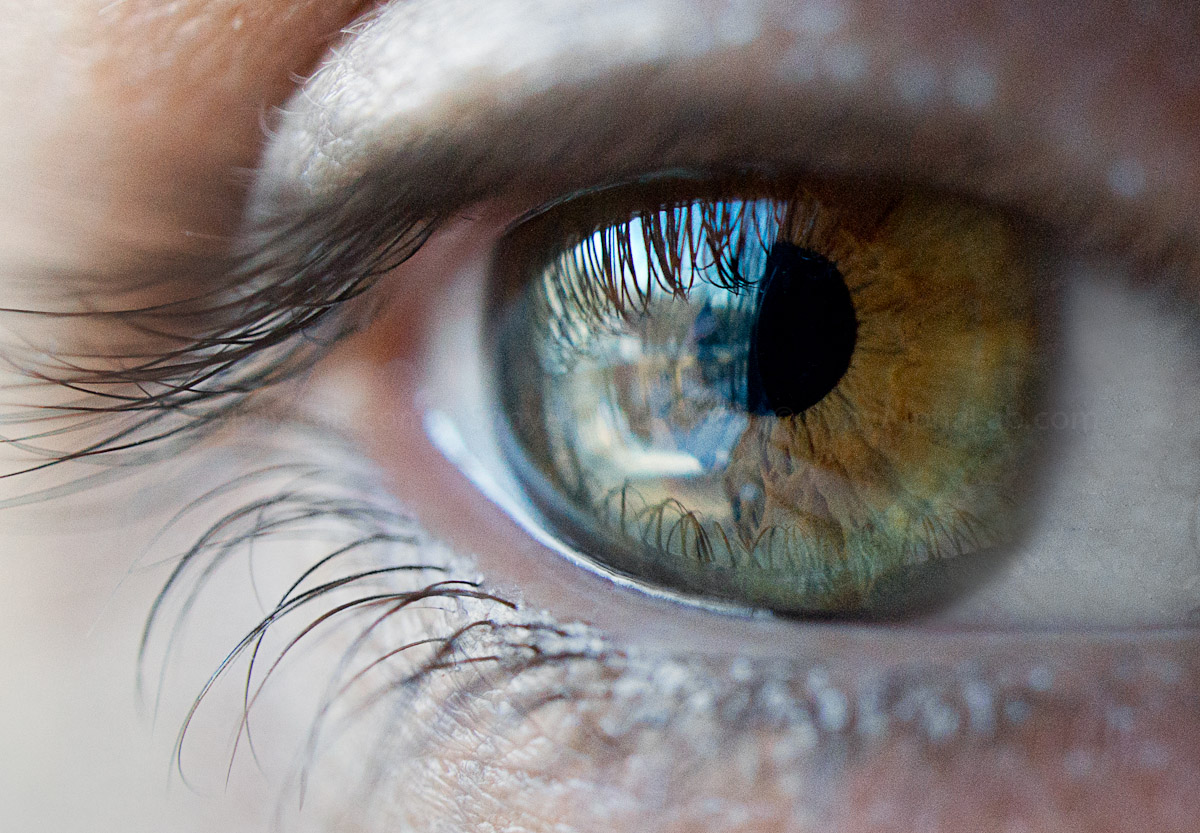
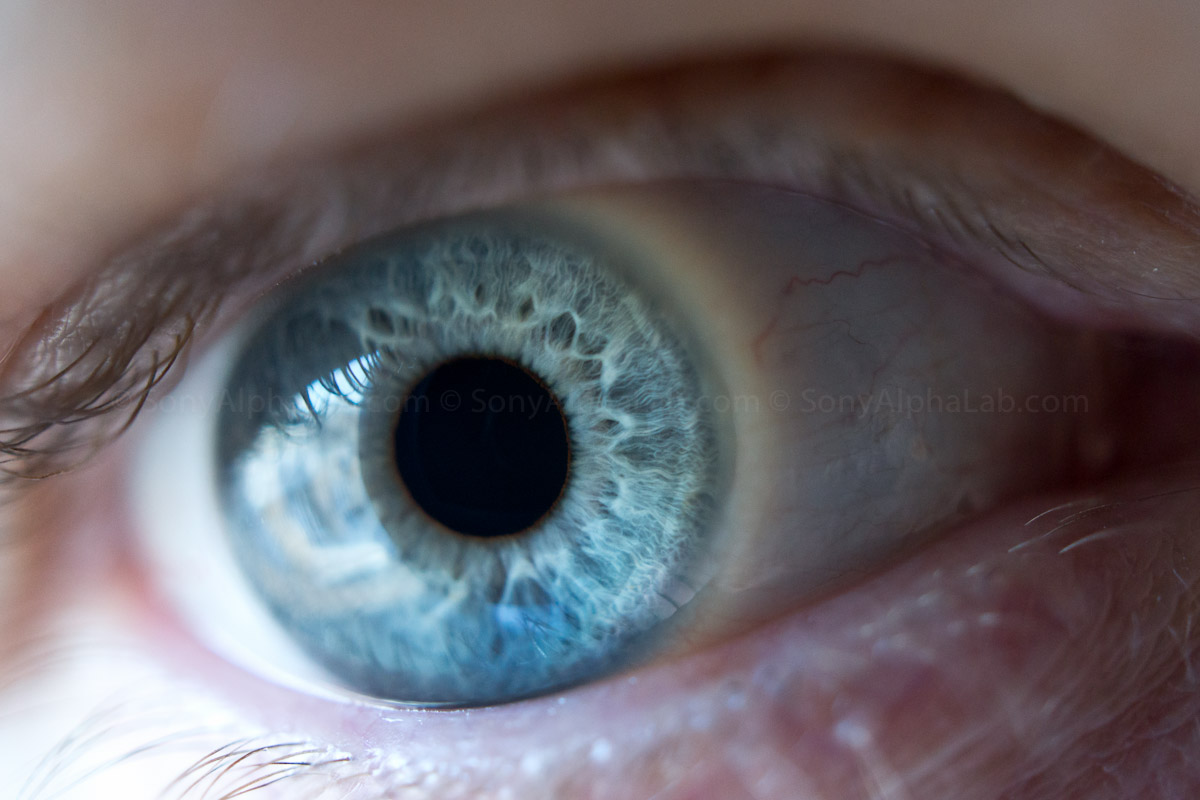
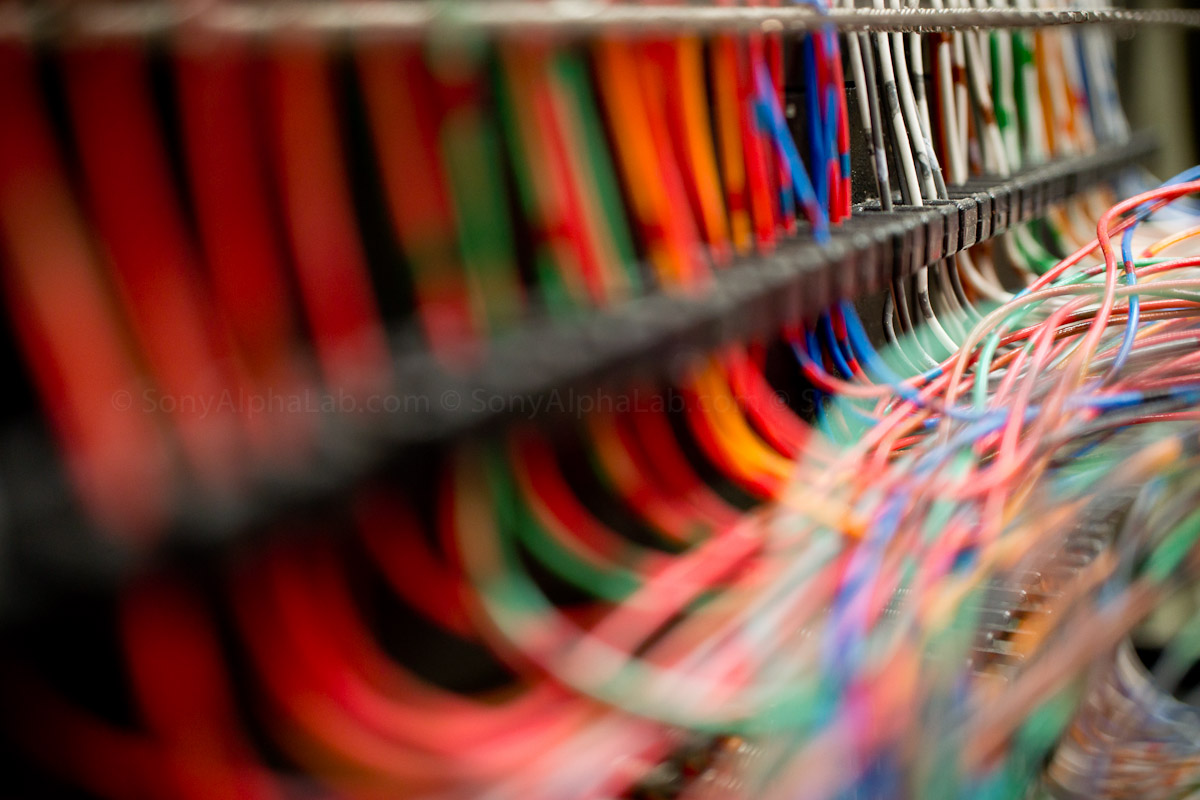
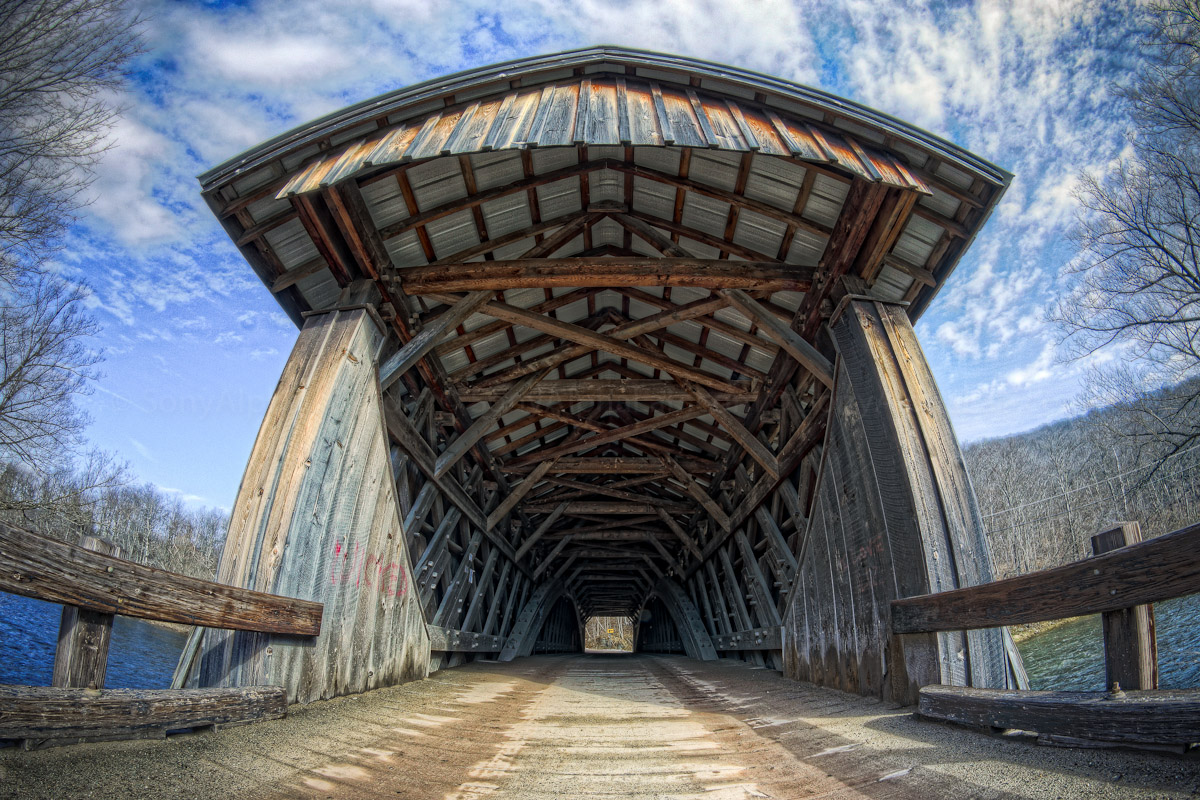
All the images below were shot in Raw except the sign with letters. I put all the pertinent Exif info in the caption just below the images as some photos were edited a bit. Also be sure to Click the Images for the 100% version!!





HD Video:
The Nex-7 takes incredible video. With the combination of a tri-pod or steadycam set-up of some kind, you could absolutely use the Nex-7 to make professional movies. With the ability to use almost any lens, the “artist” is not limited in the creativity at all. I know a ton of people are using the Canon 5D Mark II for real movies, and owning that camera personally, I can tell you the Nex-7 is totally capable. The video is locked down a bit at ISO 1600 max, but you can certainly work with it by using fast glass in low light.
There is a ton of professional sample video on youtube and vimeo for you to check out if you want, but I put together some basic real world video using a variety of lenses if you want to check it out:
Conclusion:
The Nex-7 is the 7th Sony camera I have reviewed and Sony really does make a consistently solid product in my opinion. The Nex-7 just like the Nex-5n is a great mirrorless camera overall in my opinion. It takes killer pictures and with great glass the image quality is excellent as you can see for yourself in the sample images. If your familiar with Professional grade optics, you will see where the Nex-7 becomes a bit limited using the Sony E-mount lenses. As good as they are, they are not Zeiss quality. If you look at the 24mm Carl Zeiss sample pics closely, you will see what I mean. Corner sharpness is the most noticeable weakness of the E-Mount lens line that I notice,but the $1000 24mm Zeiss lens is sharp corner to corner pretty much. We need more high quality E-Mount lenses like the 24mm zeiss!
Costing an extra $500US over the Nex-5n, you might wonder if the Nex-7 is worth shelling out the extra cash?? Well, it is. If you want the OLED viewfinder alone ($350US) it’s worth it! Plus you also get a Hot Shoe, the Tri-Navigation, 24mp Sensor, and Better build quality. In addition to that, the Nex-7 has the ergonomics advantage over the Nex-5n with the huge SLR style grip which is very nice when using larger lenses. Particularly when using the lens adapter and big fast glass that is heavy.
The Menu system is unfortunately picture based only on the Nex-7 which I personally don’t like, but it’s common sense and you’ll figure it out pretty quick. It’s also highly customizable so you can dial it in for your liking pretty easily.
The battery life is pretty poor compared to a regular DSLR like the A580 for example, but for the Nex style camera it’s about 2-300 shots on a battery. Get extra batteries!!! You will absolutely need them on vacation and any extended use for photography or video. The Sony batteries take over 1.5 hours to charge, so an extra charger might be needed as well depending on your needs.
Suggestions for Sony:
I have a few suggestions for Sony to hopefully consider in their next generation models and/or firmware updates.
- Make the grip even bigger so the A77 battery can fit and allow for 2 memory cards with a door that clicks shut like the A77
- Make the DSLR standard menu structure an option
- Allow full customization of the custom buttons. For some reason they are locked down into categories.
- Add tether support so we can work off laptop screens
- Open Source the firmware so developers can get more out of the camera. Especially if your done with firmware releases!!
- HDR Lovers Request – More stops of exposure spread and #of shots for AEB (Auto Exposure Bracketing). 9 exposures 1-stop apart and 6 exposure’s 2 stops apart would be awesome for starters
- Beef up the Tripod mount point so it’s more rigid. Perhaps widen the bottom of the camera in the middle towards the lens flange and move the mount point forward as much as possible. This would allow for more surface area contact for a tripod mount plate. As is, a standard quick re-lease mount plate sticks out past the front of the camera under the E-Mount flange a bit, and out behind the camera going just under the screen. When my Gitzo quick release mount was on the Nex-7, the screen loses a lot of its mobility as the mount being under it hinders the movement almost entirely.
- Create some lens collars for the larger Nex lenses, similar to the A-Mount 70-200mm!! This would greatly help with tripod use and camera shake issues. It would also take a lot of stress off the tripod mount.
That is all she wrote for my Sony Nex-7 Hands on Review. Please feel free to ask questions or add comments below, and if you want to see the Nex-7 Naked, (Click Here!!)
Sony Nex-7 @ BHPhoto (Click Here)

