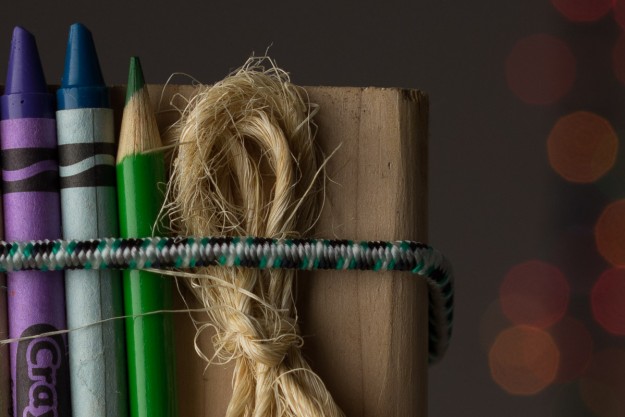
The 36mp full frame Sony Alpha A7r is finally here and I have some sample photos plus first impressions to share with you! I’m using the native E-Mount 55mm f/1.8 Zeiss lens so far and what I can tell you is the lens is very sharp. The detail that the 36mp sensor pumps out is also incredible and better than my Canon 5d Mark II. I could not really say that so easily with the A7 (click here for review) although that was also better than my Canon 5d Mark II, it was not as razor sharp like the A7r is. Keep in mind I used the very affordable 28-70mm kit lens most of the time with the A7 and that softens the smallest details just that little bit. The Anti-Aliasing on the A7 also softens the image a little bit which gives the A7r a pretty significant edge when you combined that with the resolution advantage.
Sony Alpha A7r Sample Photos
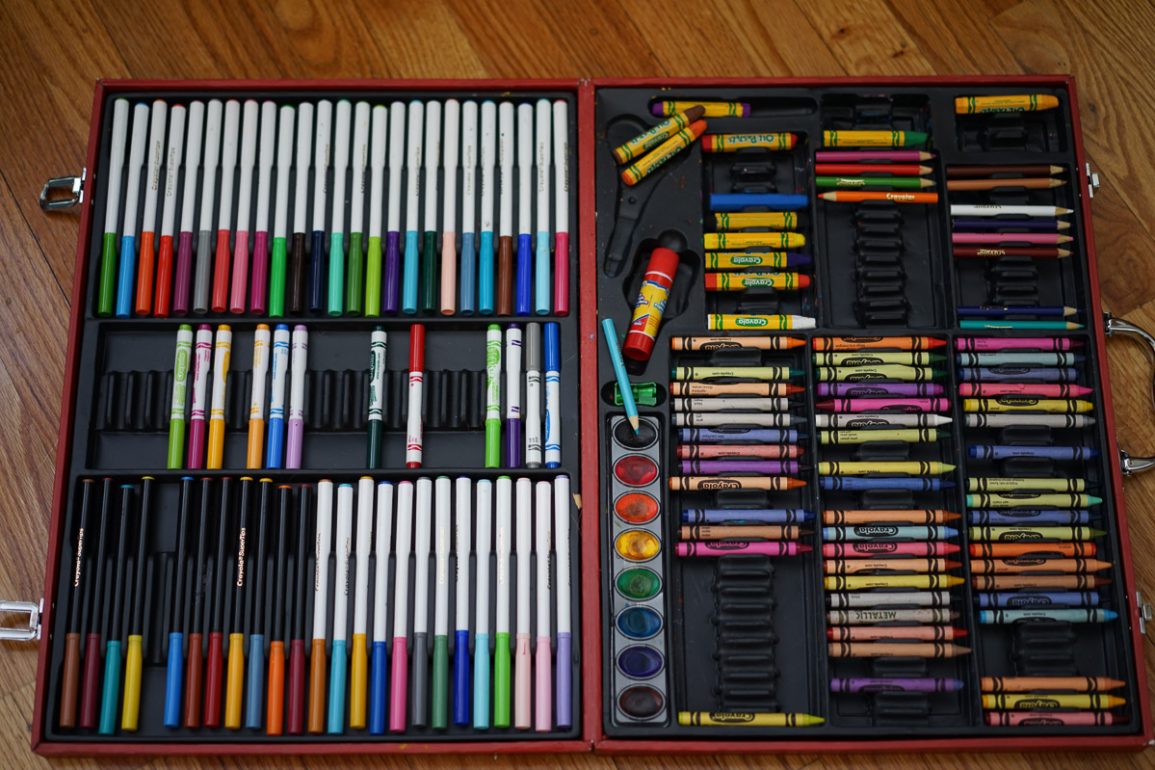
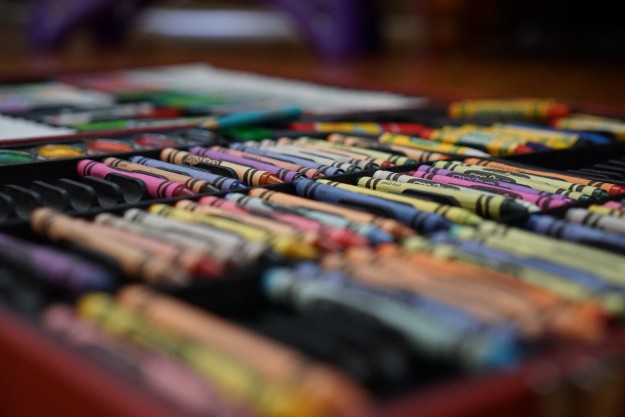
Here are some quick snapshots that I took so far with 100% Crops for detailed inspection!
Sony A7r Dynamic Range?
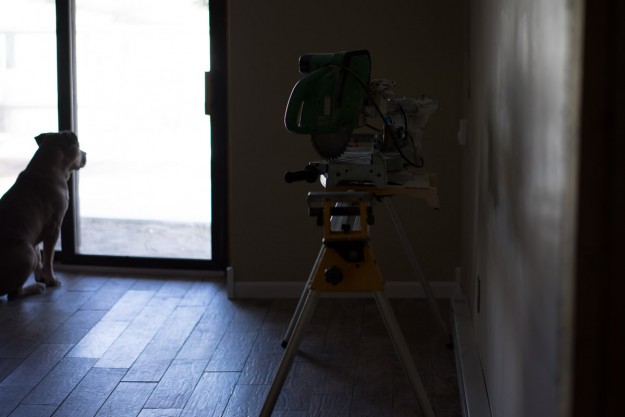
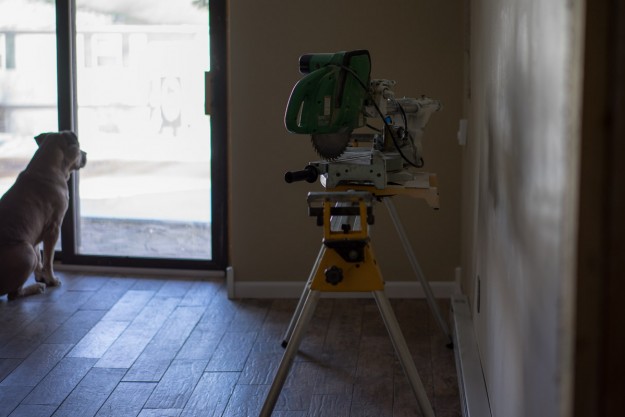
I was downstairs trying to figure out something with the lab and Chubs was barking at something. I had the Sony A7r in hand and figured this would be a great real world high dynamic range test shot. I had the camera set to focus on the right side of the frame, because I was using flexible spot in the lab. So the saw is what the camera focused on, not Chubs.
First, here is the raw file as it looks off the camera.
Click Photos for full size image ~ 1200PX
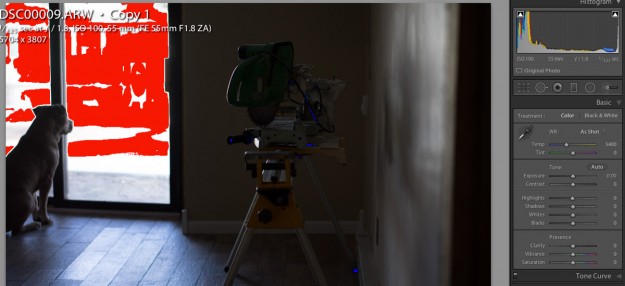
Here is what Lightroom 5 says about the highlight and shadow information. I have the clip warning indicators pressed on the histogram which will highlight the clipping areas in red and blue for the highlights and shadows respectively. It’s helpful when correcting the exposure. Note the histogram and slider settings.
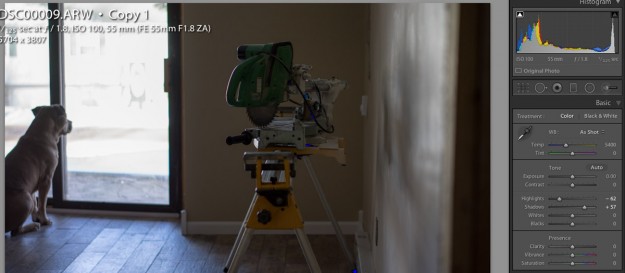
Here is the quickly corrected file screen cap from Lightroom 5 and note the sliders for adjusting the highlights and shadows.
The corrected file full frame.
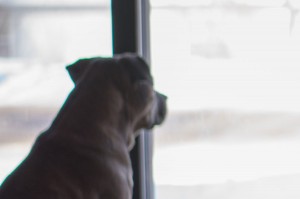 | 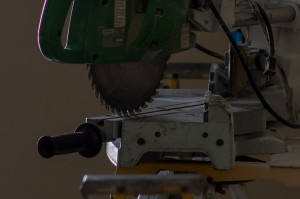 |
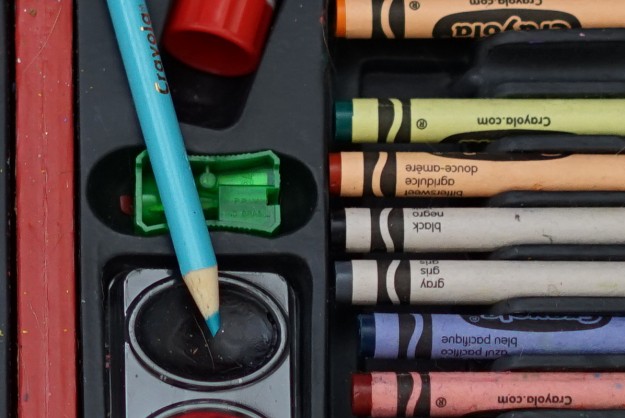
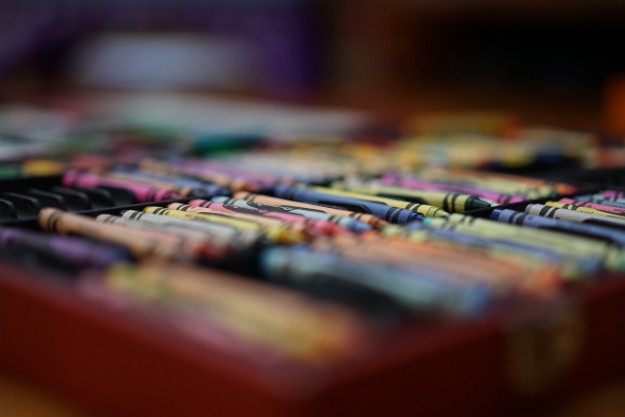
Some pretty nasty chromatic aberrations are visible when shooting raw quality wide open and in high contrast. Around Chubs is the easiest place to see it, but you can also see it on the 100% Crop of the crayons shot @ 1.8 from the low angle.
Sony A7r Jpeg Hand-Held
Hand holding is not that easy with the default 1/60sec shutter speed the camera provides when using Auto ISO. I normally like using Auto ISO, but I also use OSS lenses most of the time. In the case of the longer focal length 55mm Zeiss prime lens and the large full frame sensor on the A7r, the shutter speed needs to be faster. If the lens had OSS this would not be an issue, and was not really an issue on the A7 for the most part. I recommend either using shutter priority mode to raise the speed to 1/100 – 1/160 of a second. If you are like me and want to maintain the aperture, than manual mode is the way to go.
The Sony A7 and A7r are professional grade cameras, and using manual mode is really easy with the three physical control dials at your finger tips. The exposure triangle consisting of Shutter Speed (upper thumb dial), Aperture (front pointer finger dial), and ISO (rear thumb control ring). With these controls you can dial in the shutter speed to whatever you need while watching the on camera meter. That tells you if the exposure is + or – ideal per the camera. More on the basics of exposure in this article (click here)
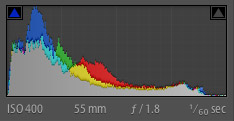
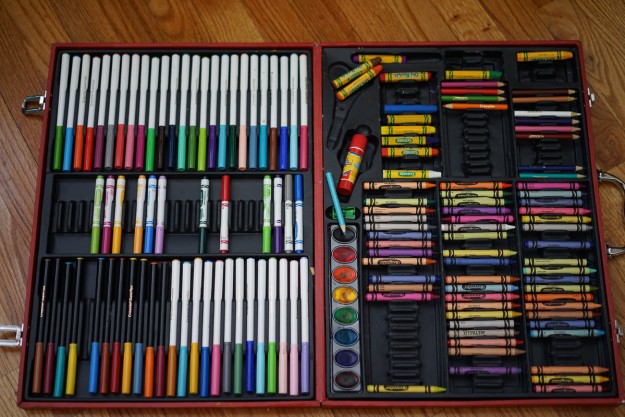
With all that being said, I held really steady and got this snapshot at 1/60sec in jpeg mode. It’s pretty sharp in the center. To the right is the histogram for the image below and is very normal for a Sony camera using Multi Metering Mode. It tends to protect the highlights a bit more than other camera manufactures.
Here is another photo wide open at f/1.8 hand-held 1/60sec.
Click Photos for full size image ~ 1200PX
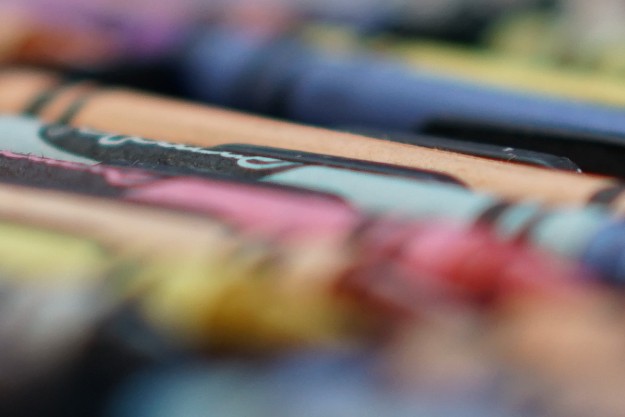
This next image I raised the shutter speed to 1/250sec to make sure the shot was sharp. I also changed the aperture to f/4 which pushed me all the way to ISO 6400. The image is remarkably clean for ISO 6400 and sharp for that matter. Jpeg quality is excellent on the A7r I must say. The lens is also amazing which is really letting the A7r show off it’s 36mp resolution capabilities.
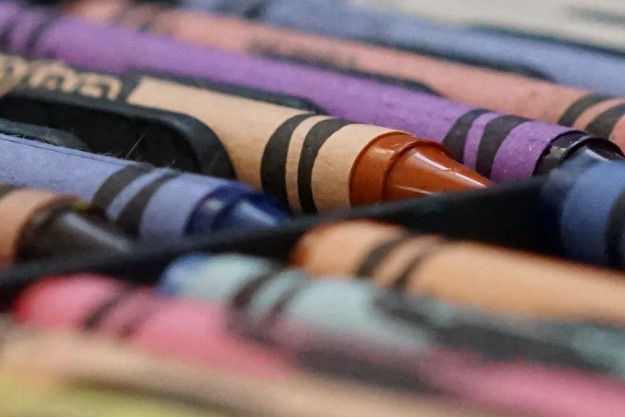
Sony A7r – Raw Quality Edited
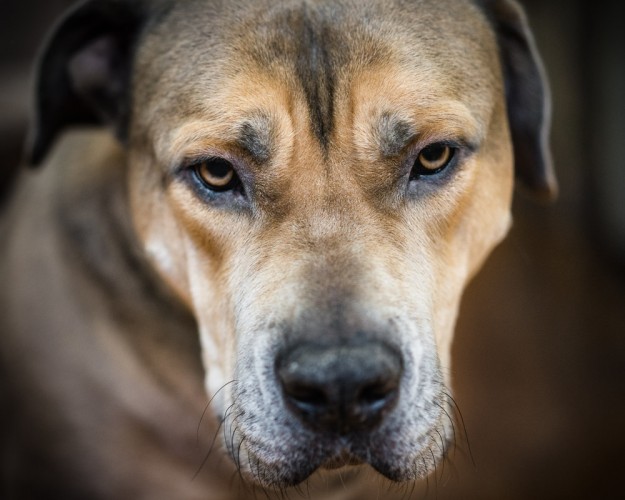
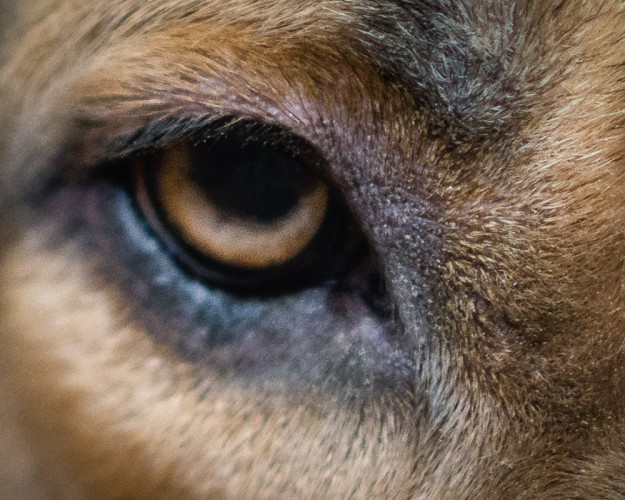
This next photo is of Chubs and I did edit it using Lightroom 5. It started out as a raw file and I used the Nik software color efex pro to add a little pop. I then gave it some vignette and a crop plus some eye enhancement. The focus is not on the eyes, but on his eyebrows. When viewed small the image looks fine, but in the 100% crop you can see how the focus was missed. Most likely my fault for the missed focus, and I still like the shot enough to share. He is my buddy after all 😉
Click Photos for full size image ~ 1200PX
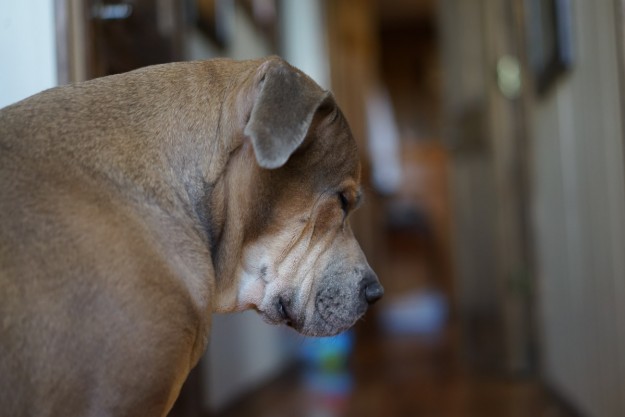
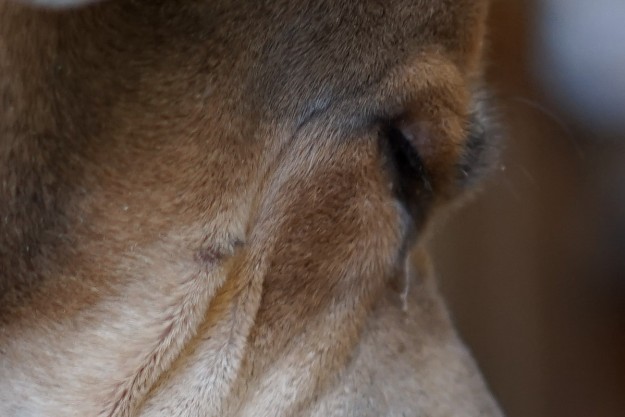
This next photo of Chubs was taken at 1/60sec raw quality and is slightly soft when viewed at 100% crop. I tried to hold the camera as steady as possible, but 1/60sec is just to slow. Auto ISO is no good for this lens in my opinion if you’re in the habbit of using it like myself 😉 With Optical Steady Shot lenses or IBIS in camera stabilization is present the 1/60sec shutter speed is usually fine.
I know I keep repeating myself, but I think a some people might think this is caused by the so-called shutter vibration issue. Supposedly the shutter causes camera shake. So much so it affects the image quality drastically when using slower shutter speeds.
Quick Lab Test
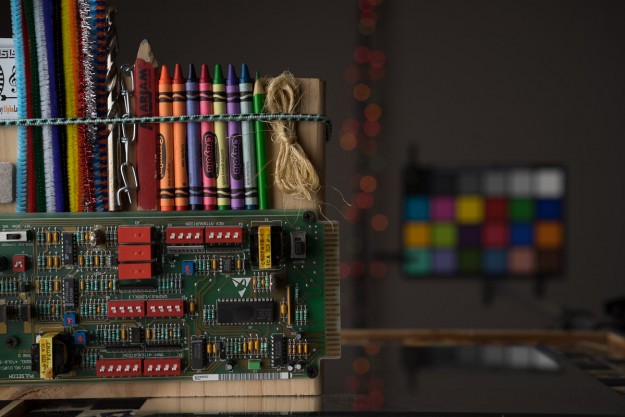
I need to do more testing, but I wanted to share this one quick shot I took in the “lab”
Click Photos for full size image ~ 1200PX
Closing Remarks
That is about it for now, but stay tuned for more Sony A7r sample photos using the HVL-20M flash unit, and in the studio with Layla! I also have some work to do in the lab, but so far it looks pretty good and usable for our purposes. Please feel free to ask questions and comment below. I have the camera for about a month, if I decide to not keep it, so requests welcome!
Have a good day and thanks again for your support,
Jay
Sony A7r Full Frame Mirrorless Camera – $2298 US @ BHphoto | Amazon | Adorama
Sony Sonnar T* FE 55mm f/1.8 ZA Lens – $998 US @ BHPhoto | Amazon | Adorama

