
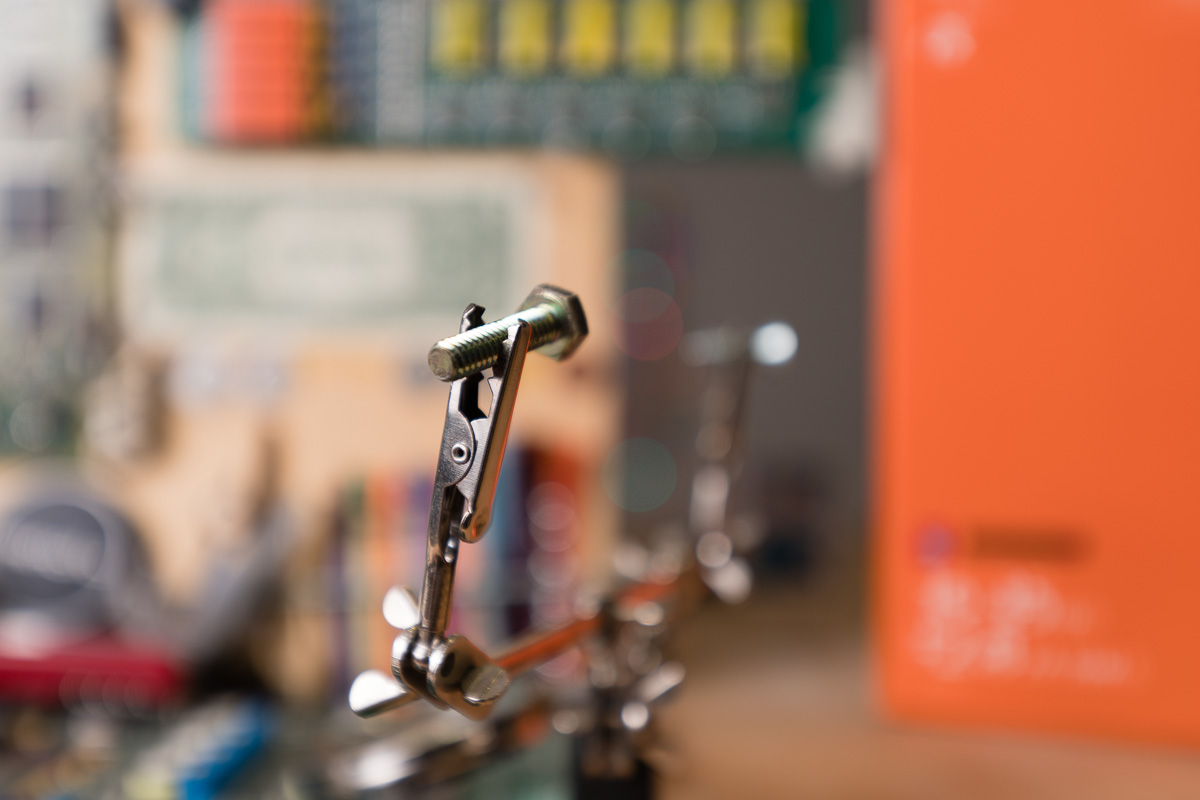
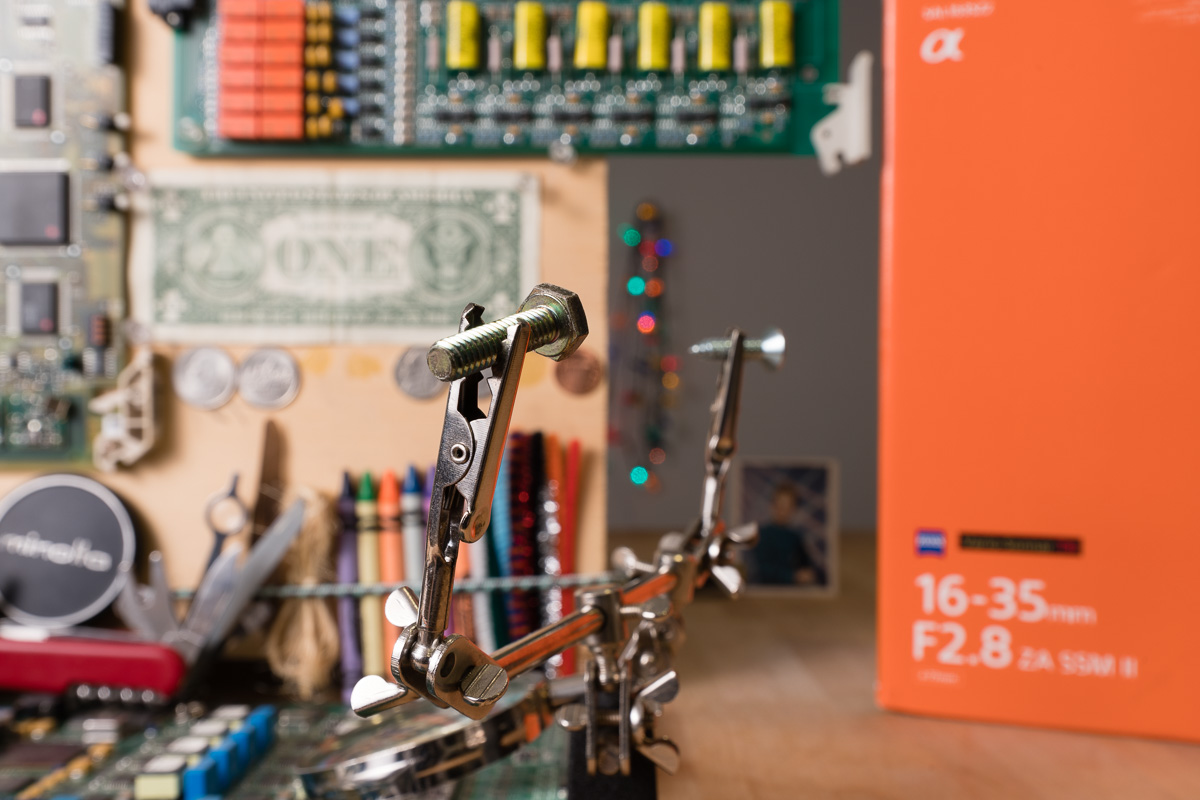
I to do the aperture run in the lab to illustrate the separation that can be achieved by a particular optic, in this case the Sony Vario-Sonnar T* 16-35mm f/2.8 ZA SSM II Lens via the killer Sony A99 II Full Frame DSLR style camera.
This is a top quality ultra wide angle A-Mount lens, and this test will show you what rendering to expect if setting the camera and lens up at the minimum focus distance. In my case I’m using the lab scene, because its a fairly well controlled environment that can be used to compare to other lenses, and it really gives me a good feel for how the lens behaves.
That information helps me determine the overall quality of the lens output like depth of field and bokeh in particular. I also do a sharpness test at all focal lengths and the most common apertures, but that will be saved for another article, and/or the full lens review…
So how about we check out some shinny bolt sharpness and depth of field play with the Sony A99 II and Sony Vario-Sonnar T* 16-35mm f/2.8 ZA SSM II Lens!!
Also, be sure the check out all the Sony A-Mount Lenses Available in my Guide Here >>
Sony Vario-Sonnar T* 16-35mm f/2.8 ZA SSM II Lens – Lab Testing Aperture Run
For a better viewing experience, I decided to lay these images out in order of the image. So first all the full frame photos, then the first crop, then the next crop. I find looking at the images this way offers a better visual flow, but please let me know what you think! I usually put the 100% crops under each full frame photo, but that just doesn’t flow as good to me visually when watching the depth of field change.
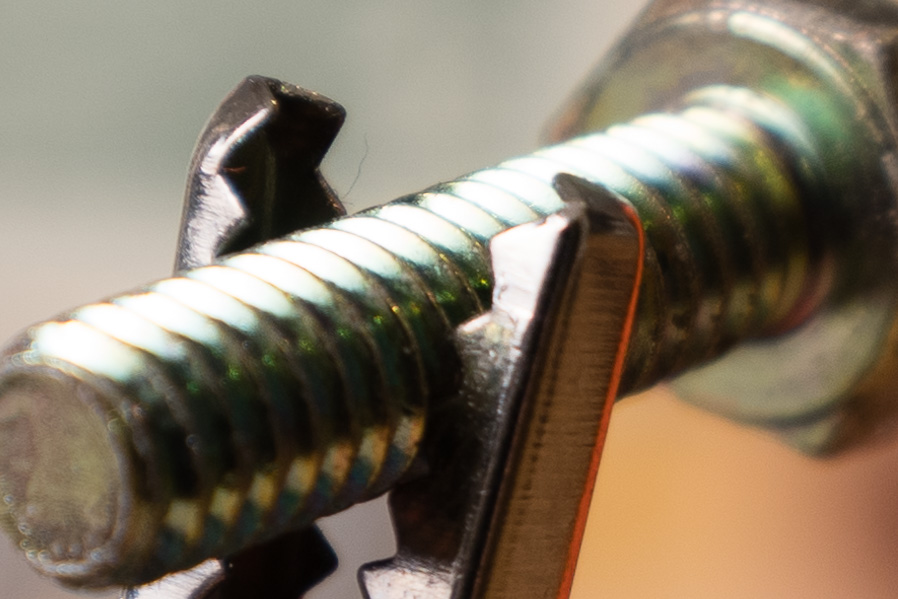
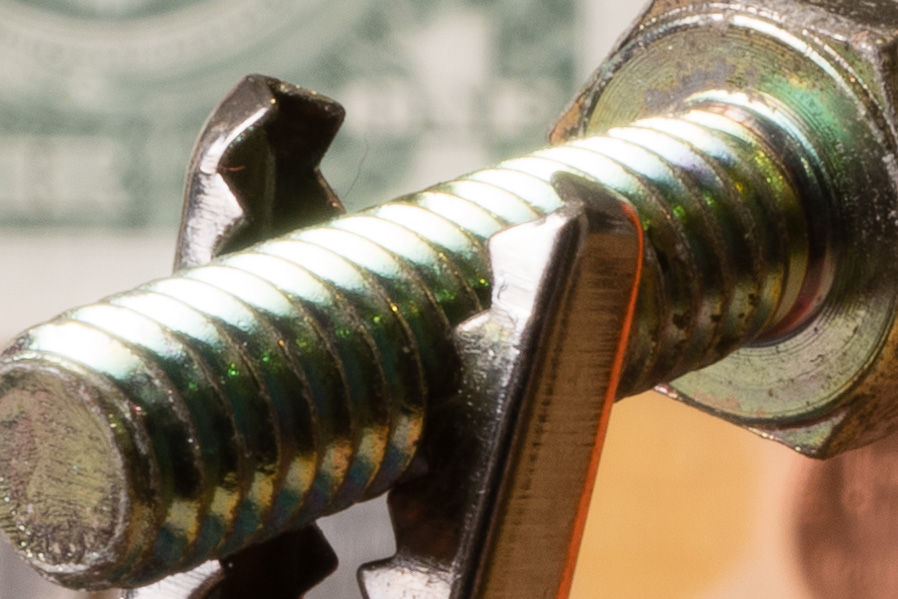
First the full frame scene from f/2.8 – f/22


Now for the 100% Crops in aperture Order: f/2.8 – f/22
Update: This photo is updated with a new version from another test. It’s noticeable sharper in this 35mm f/2.8 photo, so I must have had the focus slightly off for the original I posted yesterday. Sorry about that.


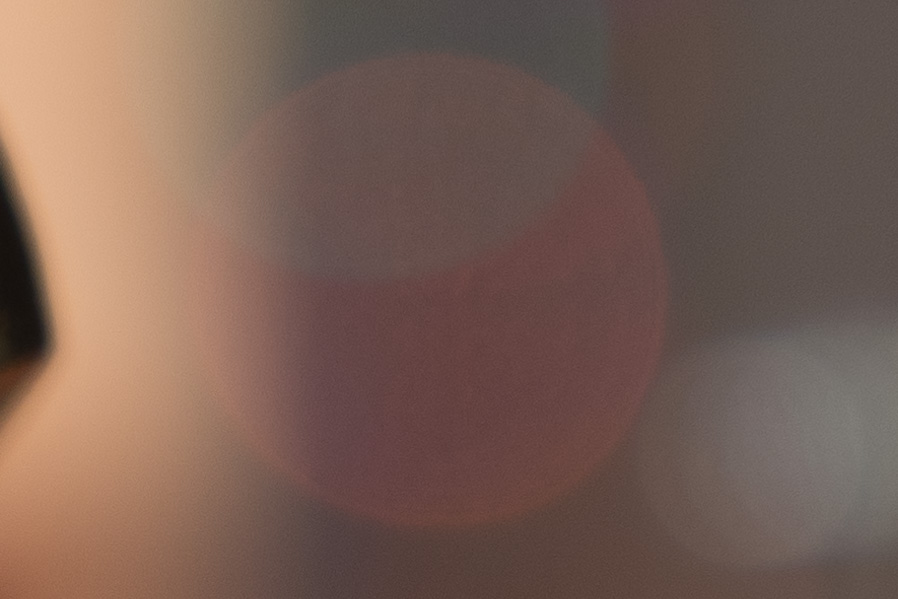
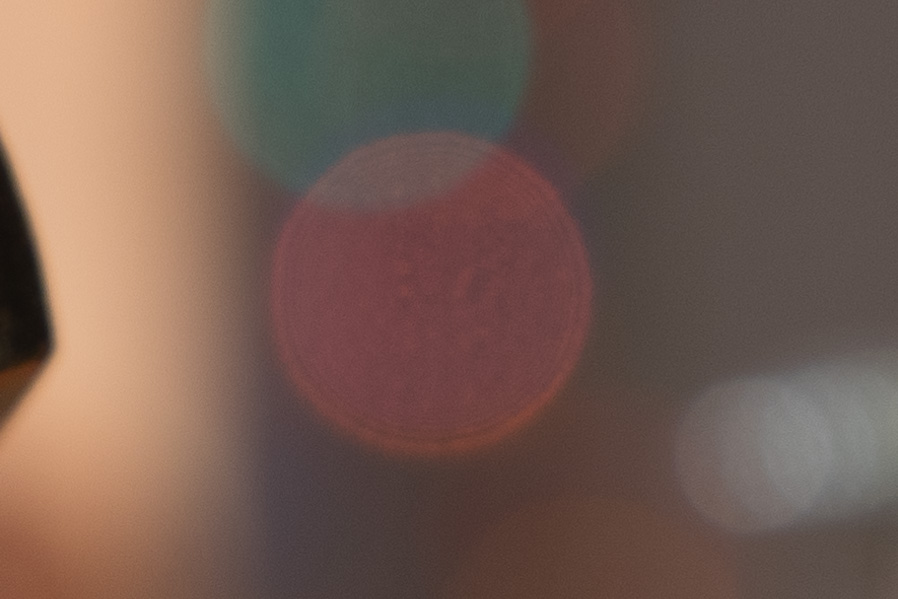
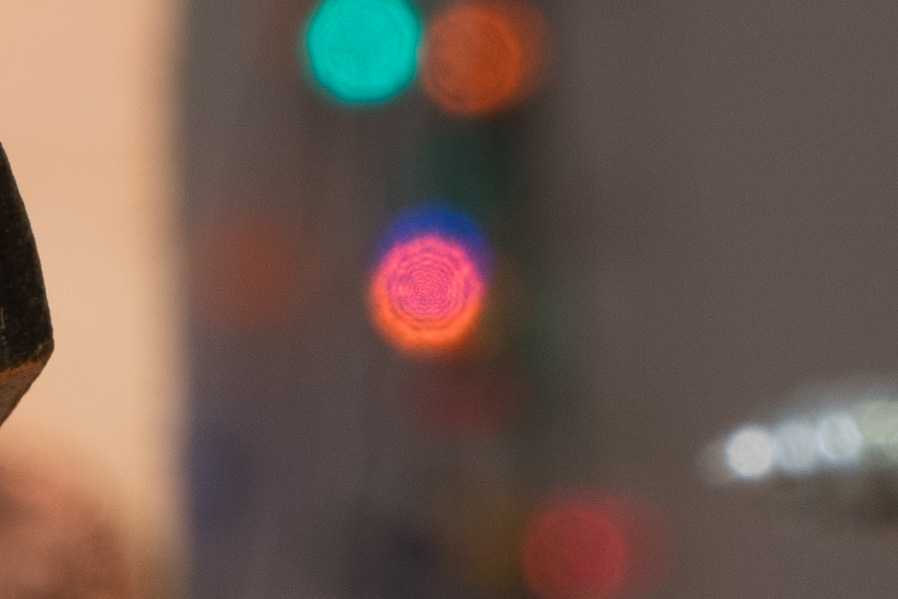
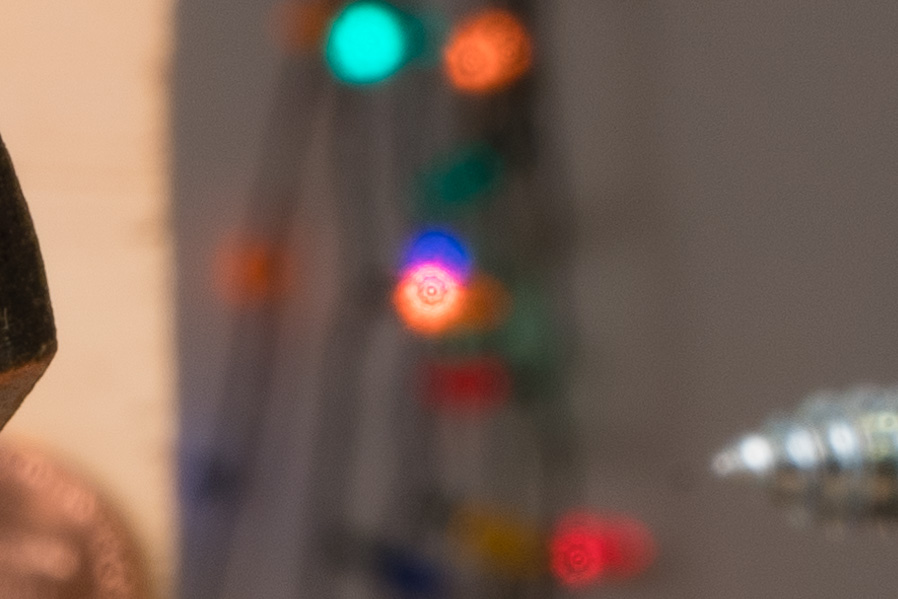
Lights = Bokeh Balls


Closing Remarks
That is about it for this Sony Vario-Sonnar T* 16-35mm f/2.8 ZA SSM II Lens Aperture run test at the minimum focus distance in the Lab. Based on this test, it does appear the lens is a bit soft wide open at 35mm, but looking at the full lab scene sharpness test at f/2.8, 35mm the results are notable sharper. The final determination will come in the full review and I will take another test photo at 35mm f/2.8 in the lab to verify it’s a bit soft. Perhaps the focus was slightly off on that test photo which is possible, but I don’t think so… Sharpness really comes in at f/4 and continues to get slightly sharper all the way to f/8 I would say.
Update: I took another test photo and it’s noticeable sharper at 35mm f/2.8! My original photo must have been slightly off in the focus. I updated the 100% Crop with the new 35mm f/2.8 image.
The lens performance is pretty awesome in my opinion and the bokeh balls look pretty good overall. You can see how round the balls are @ f/2.8 and f/4, but as the lens stops down to around f/5.6 you can start to see some aperture blade edges chopping away at the perfect circles. This is pretty normal from my experience and creeps in beyond f/4. When looking at the full frame this is not really noticeable, but when zoomed in all the way on 42mp images, the detail really shows…
I like to keep you guys in the loop as I go thru my review process, so please let me know what you think good or bad so I can refine the process to make it the best it can be!
Have a great day and I’ll catch up with you later,
Jay
Gear used for this article:


