
In this quick article I will show you how the Sony A9 produces Auto HDR photos and compare them to non Auto HDR photos. I will also tell you how to set the camera up for this feature! Pretty much all the Sony cameras these days offer the Auto HDR feature.
If you are not familiar, HDR stands for High Dynamic Range. Basically when a given scene has a lot of bright and a lot of dark, it’s a high dynamic range candidate. This will push the dynamic range of the sensor, and may cause the highlights and/or shadows to blow out or be clipped. If the highlights are blown out, no detail can be recovered, and same goes for the shadows being clipped at black.
If you want to know more about HDR Photography, I created some highly detailed Tutorials This Way >>
Using Auto HDR allows the camera to take multiple exposures at different exposure values. -4 EV, 0 EV, and +4EV for example. Meaning the -4EV will capture all the highlight detail, the 0EV will capture all the mid-tones, and the +4EV will capture all the shadow detail. The camera then combines these frames using all the information available, and then pumps out a final composite Jpeg image as you will see below.
Auto HDR – Camera Set-Up
To set up the Sony A9 for Auto HDR, you need to do two things specifically:
#1 – Set the image quality to Jpeg.
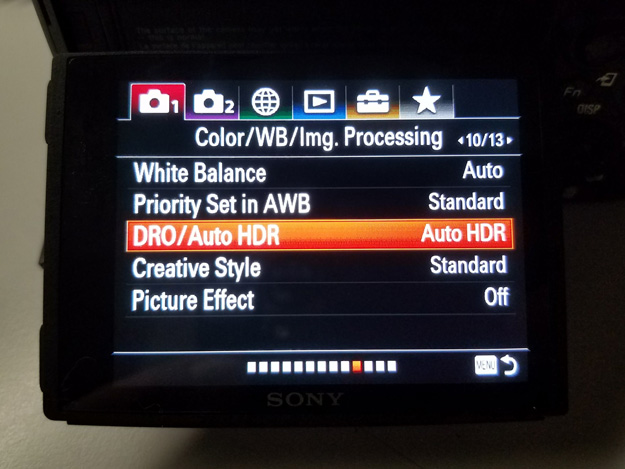
#2 – Set DRO/ Auto HDR to ON, and to Auto HDR
*note – When selecting Auto HDR you can choose the EV range you want. (HDR Auto, HDR 1EV, HDR 2EV, HDR 3EV, HDR 4EV, HDR 5EV, and HDR 6EV)
I chose HDR 4EV, because that setting seams to work best most of the time based on my experience.
#3 – Optional – Change Creative Style to Vivid – This step is not necessary, but I find it does enhance the images to another level when shooting Auto HDR in particular. Since the images are Jpeg quality anyway, miles well jack up the saturation on camera instead of in post I say. Again, this is totally optional and not necessary for using the Auto HDR feature.
On the Sony A9, the DRO/ Auto HDR and Creative Style Features are located in the menu on Camera 1 tab, Page 10 of 13.
See photo below of what the menu screen looks like on the Sony A9:
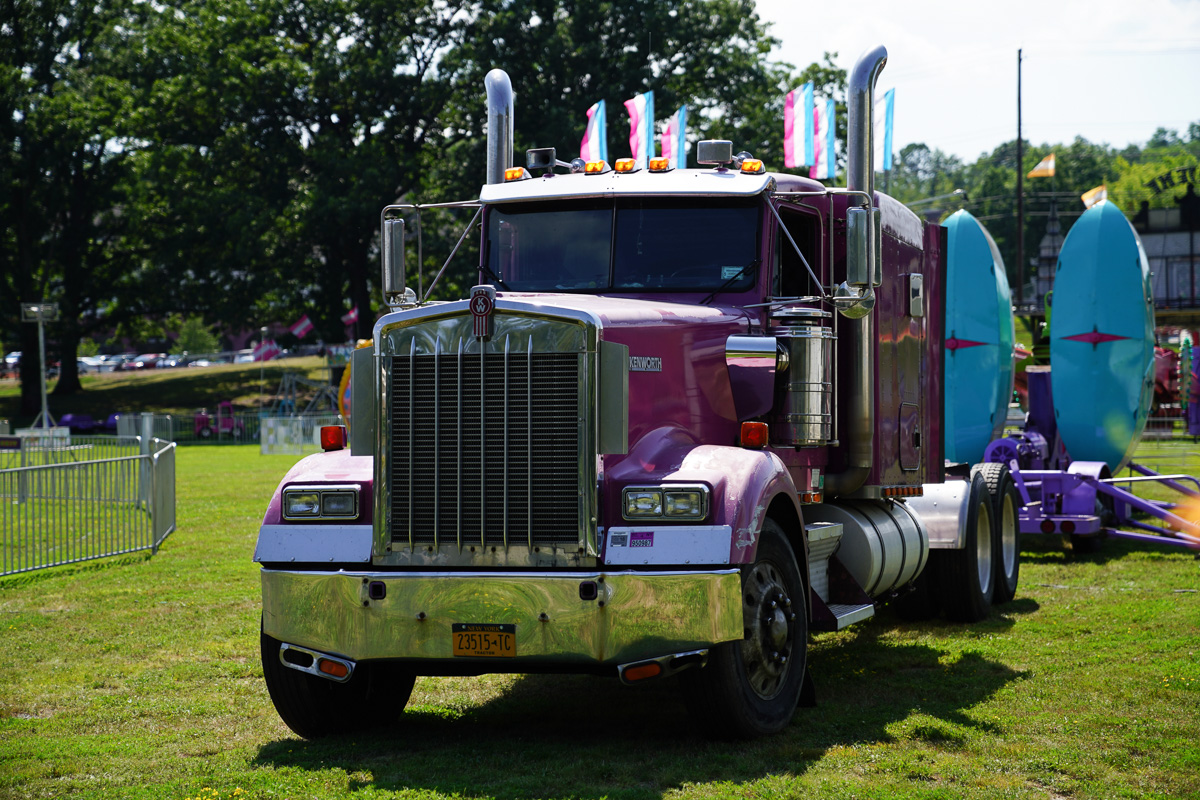
Sony A9 – Auto HDR Sample Photos
Here are the Auto HDR images along with the standard exposure images which the camera also gives you automatically.
Click On Photos for Higher Resolution more Crisp Versions!

Note the enhanced shadow areas in particular on this sample.


In this example you can see the the sky/ cloud detail and the extra shadow information in particular.

Another example of sky detail and shadow detail in this image.

One thing to note about the Auto HDR is moving subjects will become ghosts when the images are combined. as seen below. So stationary subjects are much better for this feature in general, although I have gotten some cool results with moving subjects like water for example…


This image has a large increase in shadow detail and overall brightness in particular.


Closing Remarks
As you can see from these Sony A9 Auto HDR sample photos, it’s a cool feature to use on occasion, and can yield some really good results in my opinion. So why not have some fun one of these days and give the Auto HDR feature a try on your Sony camera!
Do you want me to test and or show you how to use any other specific features??
Have any questions about the Auto HDR Feature or Sony A9??
Please let me know in the comments area below and I will be happy to help.
I hope you guys got something out of this quick article on the Auto HDR feature using the Sony A9, and please have a wonderful day!
Jay
Gear used for this testing:
Sony A9 @ BHPhoto
Sony FE 24-70mm f/2.8 GM Lens @ BHPhoto


