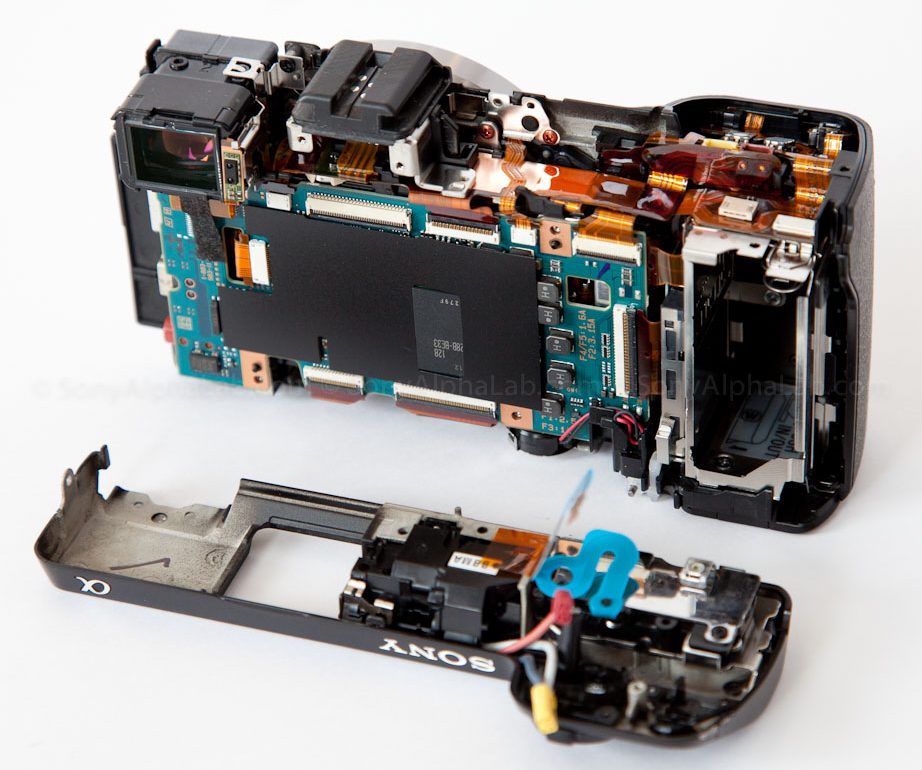
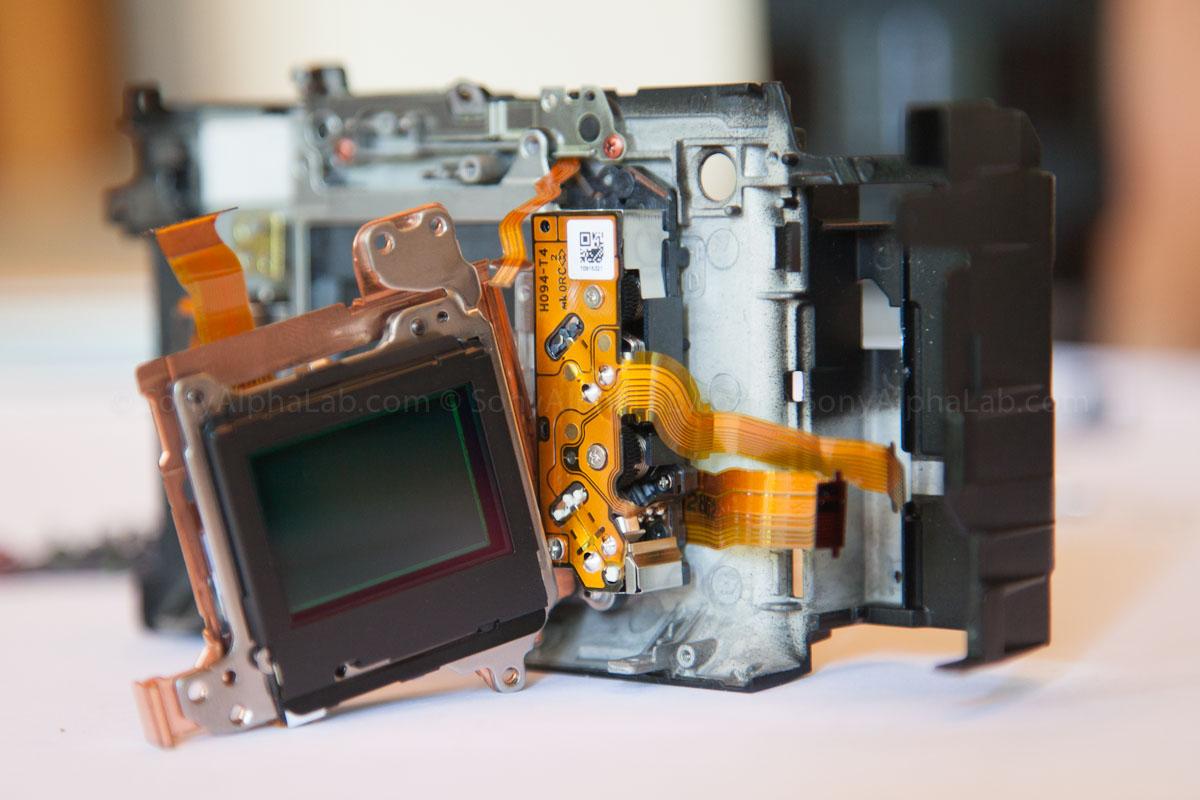
Had a little down time on Saturday and ended up taking apart my Nex-7 with a friend of mine and Michel, to see what it looks like inside. It’s pretty amazing to say the least how they fit all that technology into such a skinny camera body. I was also very curious how the lens mount was connected to the rest of the camera. It turns out the lens E-Mount is the chassis pretty much and everything builds off the main lens flange assemble. Tiny philips screws are all that keep the Nex-7 together and it was pretty easy to take apart I must say. The OLED is also much smaller than I expected considering how much larger the stand-alone model ( FDA-EV1S ) is for the Nex-5n. I guess if you take the housing off it makes sense.
Check this out!
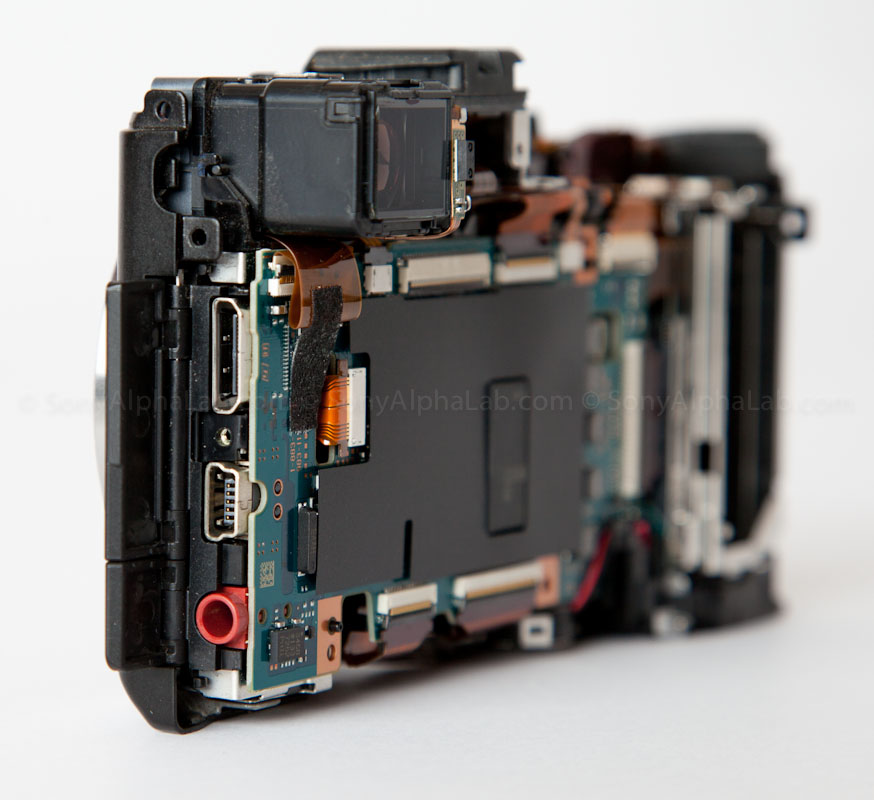
Nex-7 Naked Pics:


Updated with More Pics – 052612
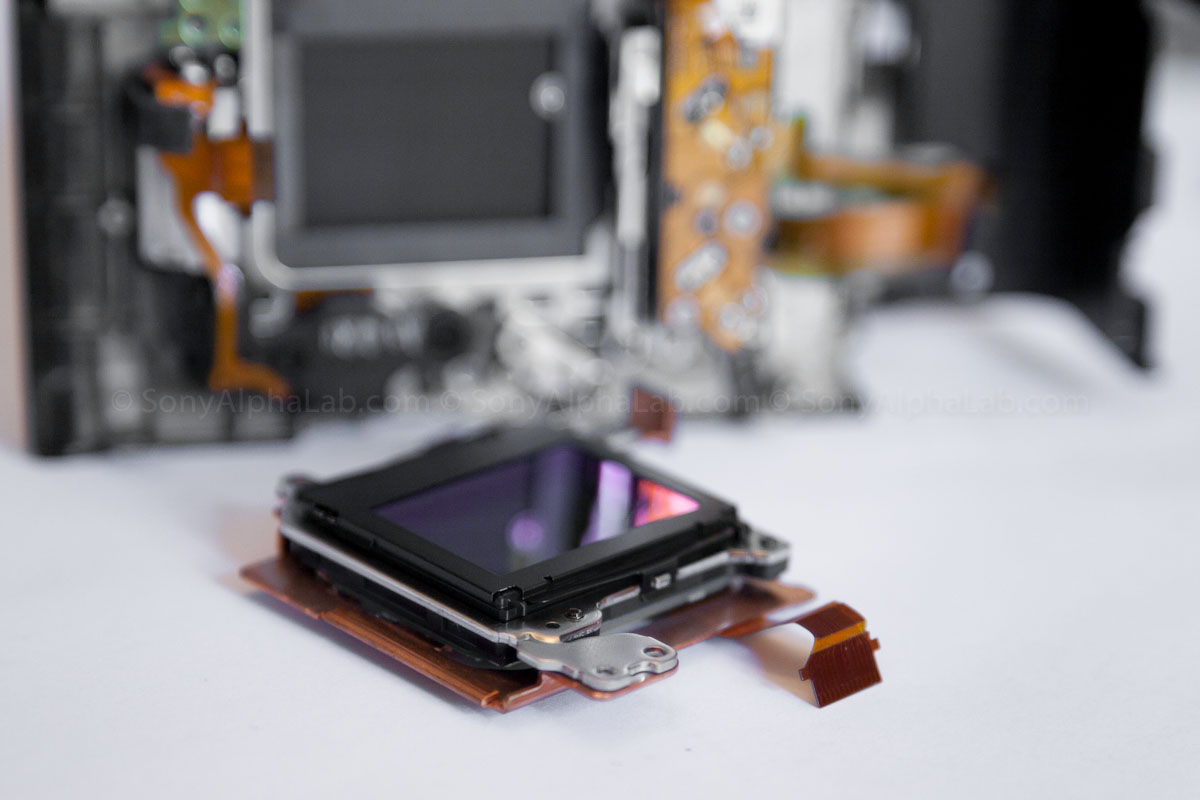
I finally got around to taking apart my Nex-7 the rest of the way and man is it cool!! It to me a long tome to get it apart I must admit as screws were located behind the flat cables and stuff. I tried to get shots of everything, but let me know if you need anymore. I’m going to attempt to put it back together at some point!!


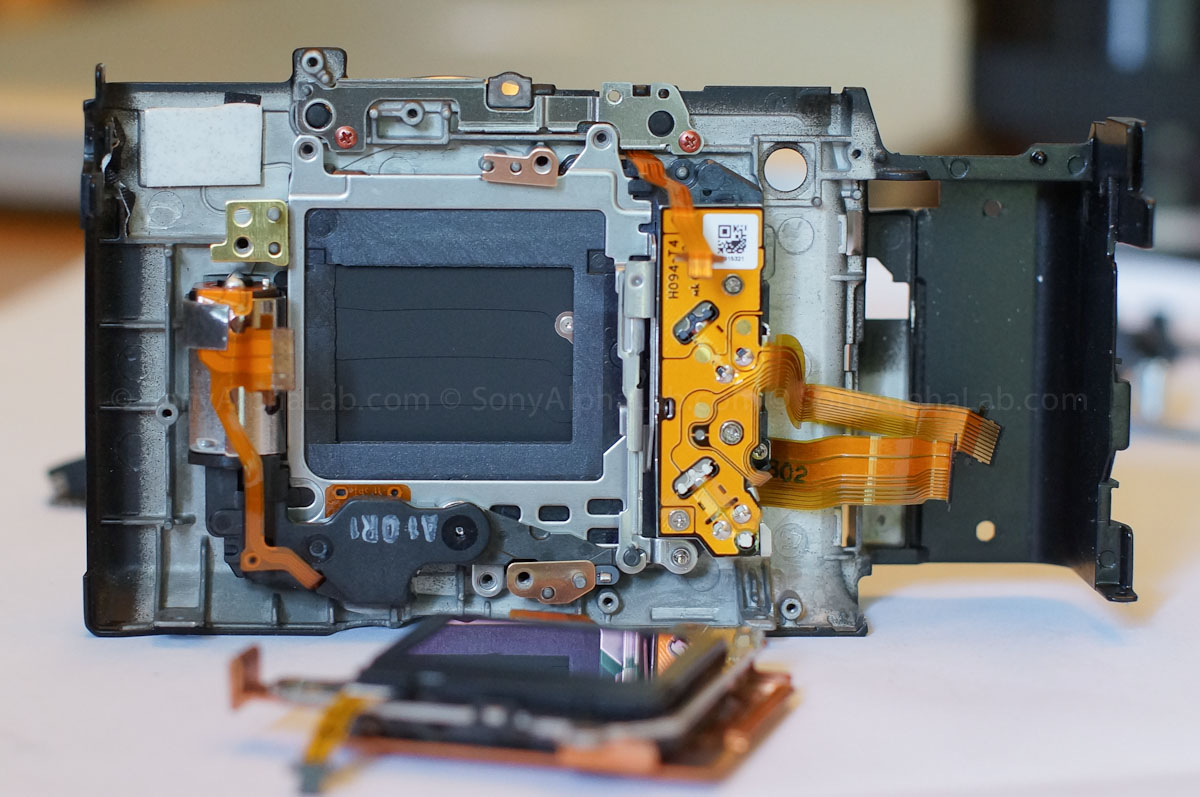
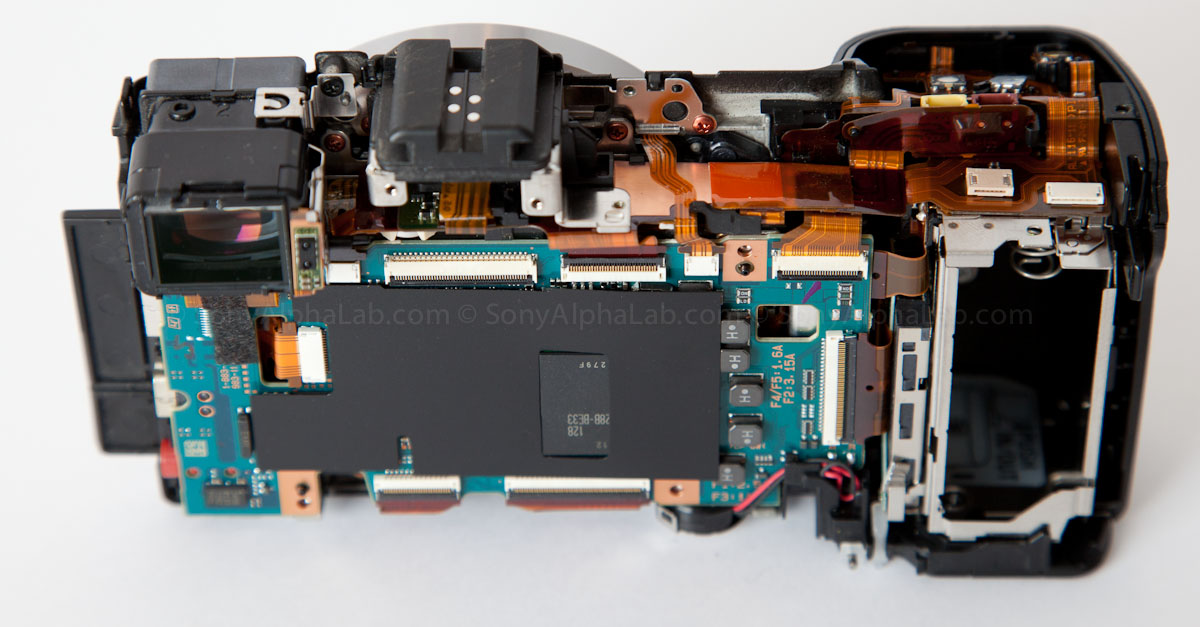
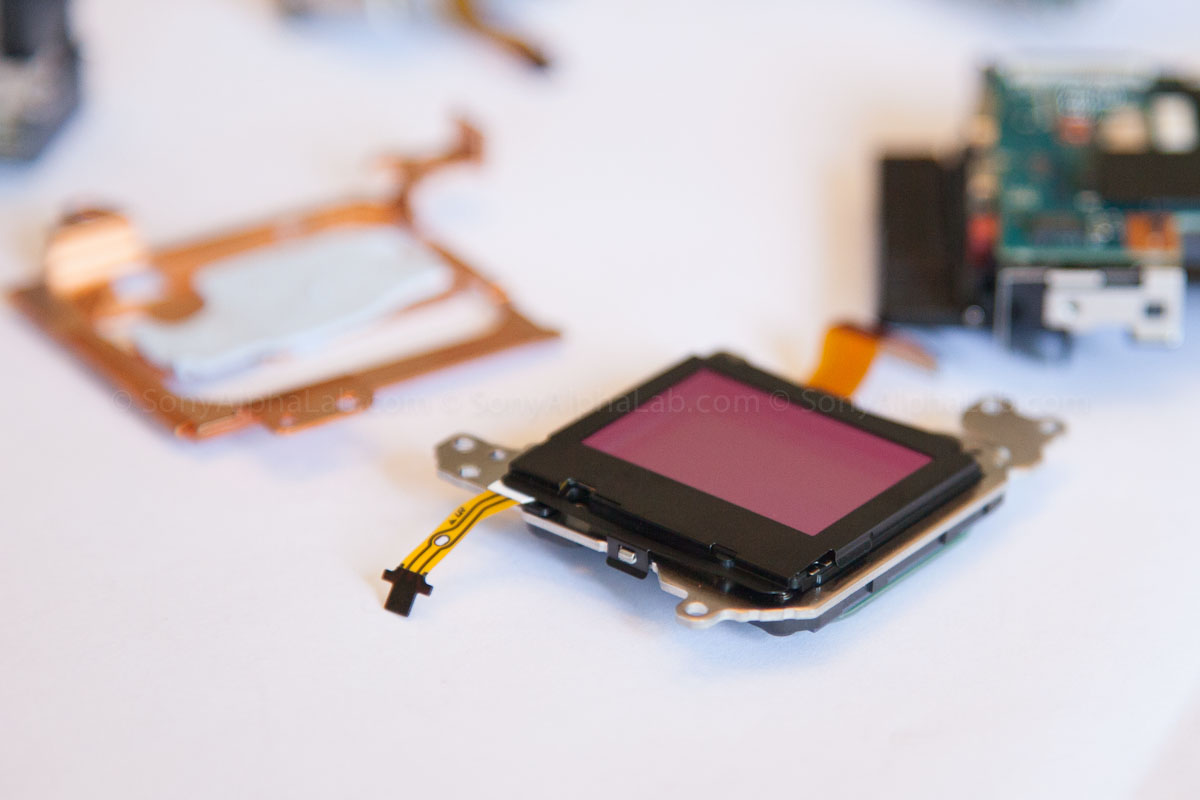
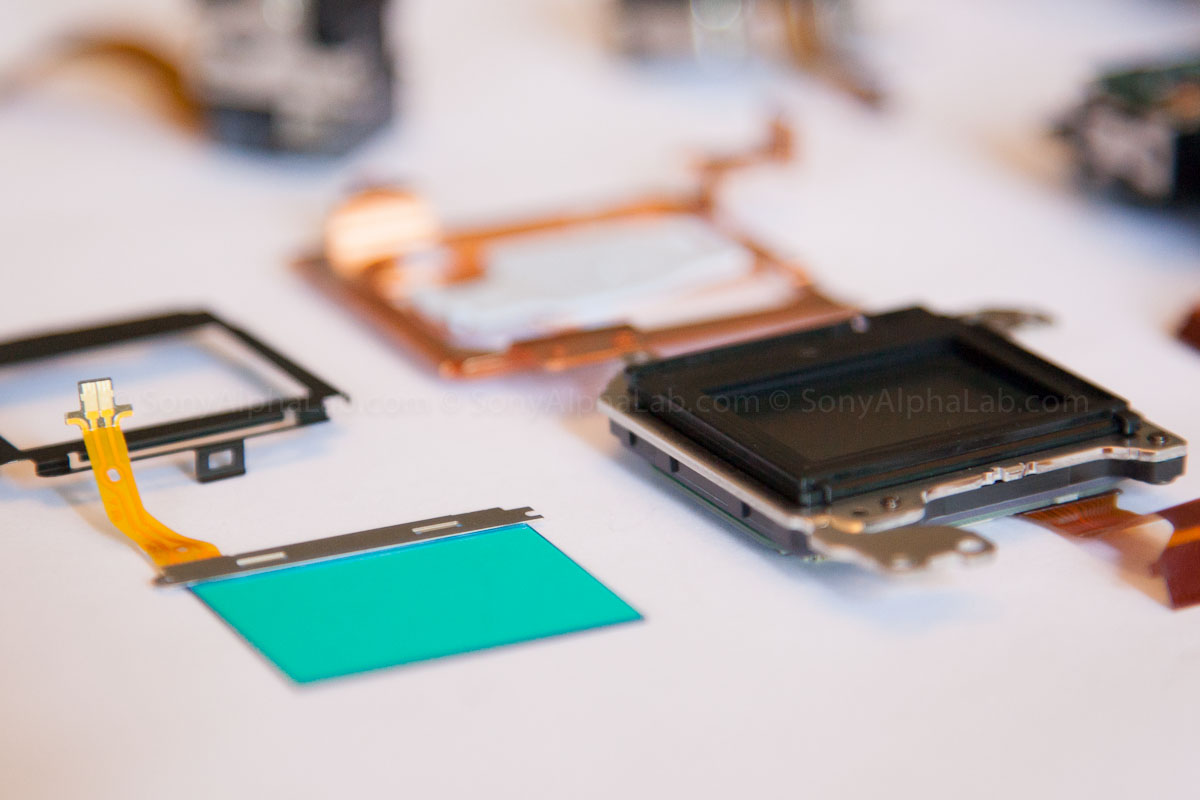
Notice the green looking filter on top of the sensor in it’s own little housing. I’m not sure if this is the AA filter or another filter, but I will find out asap.


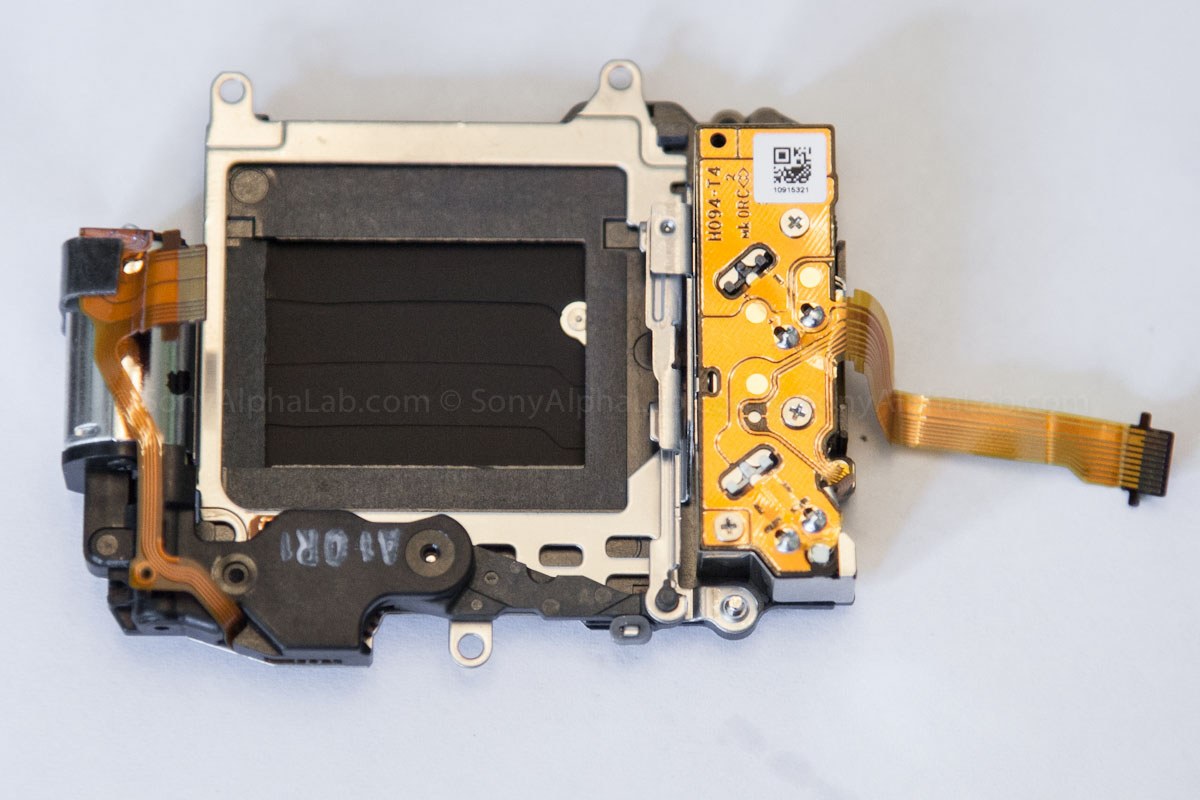

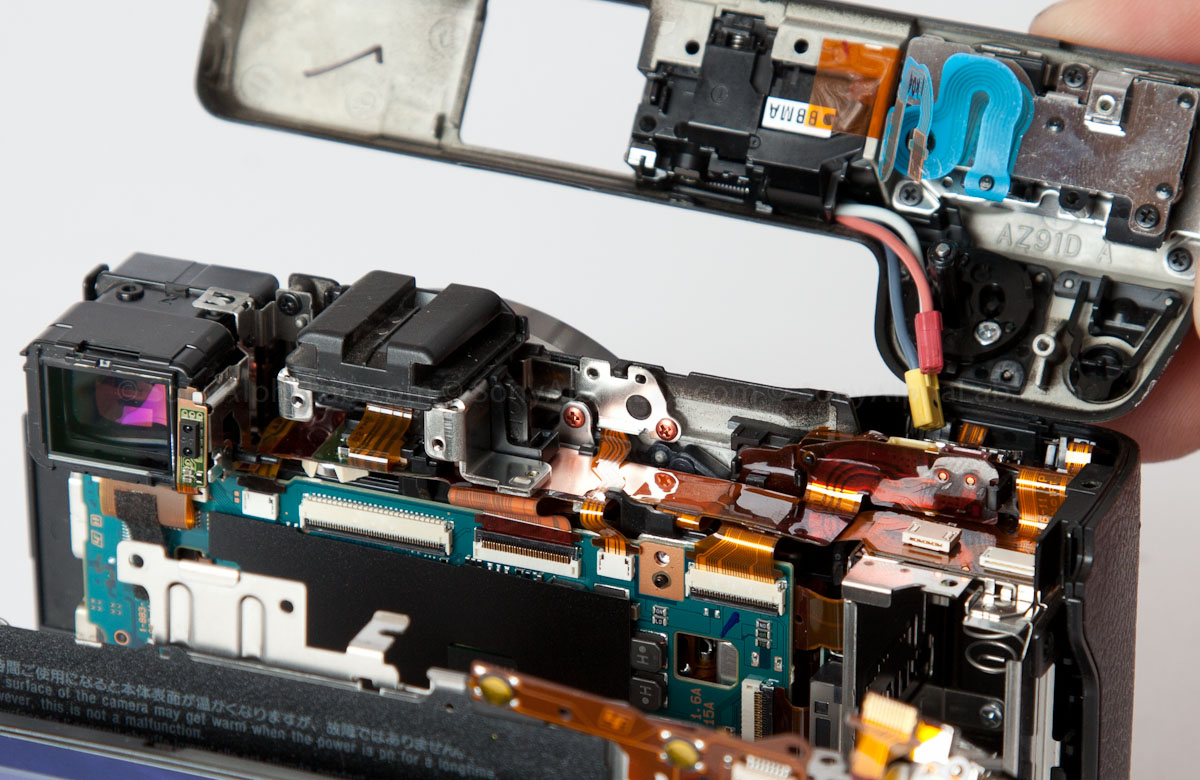
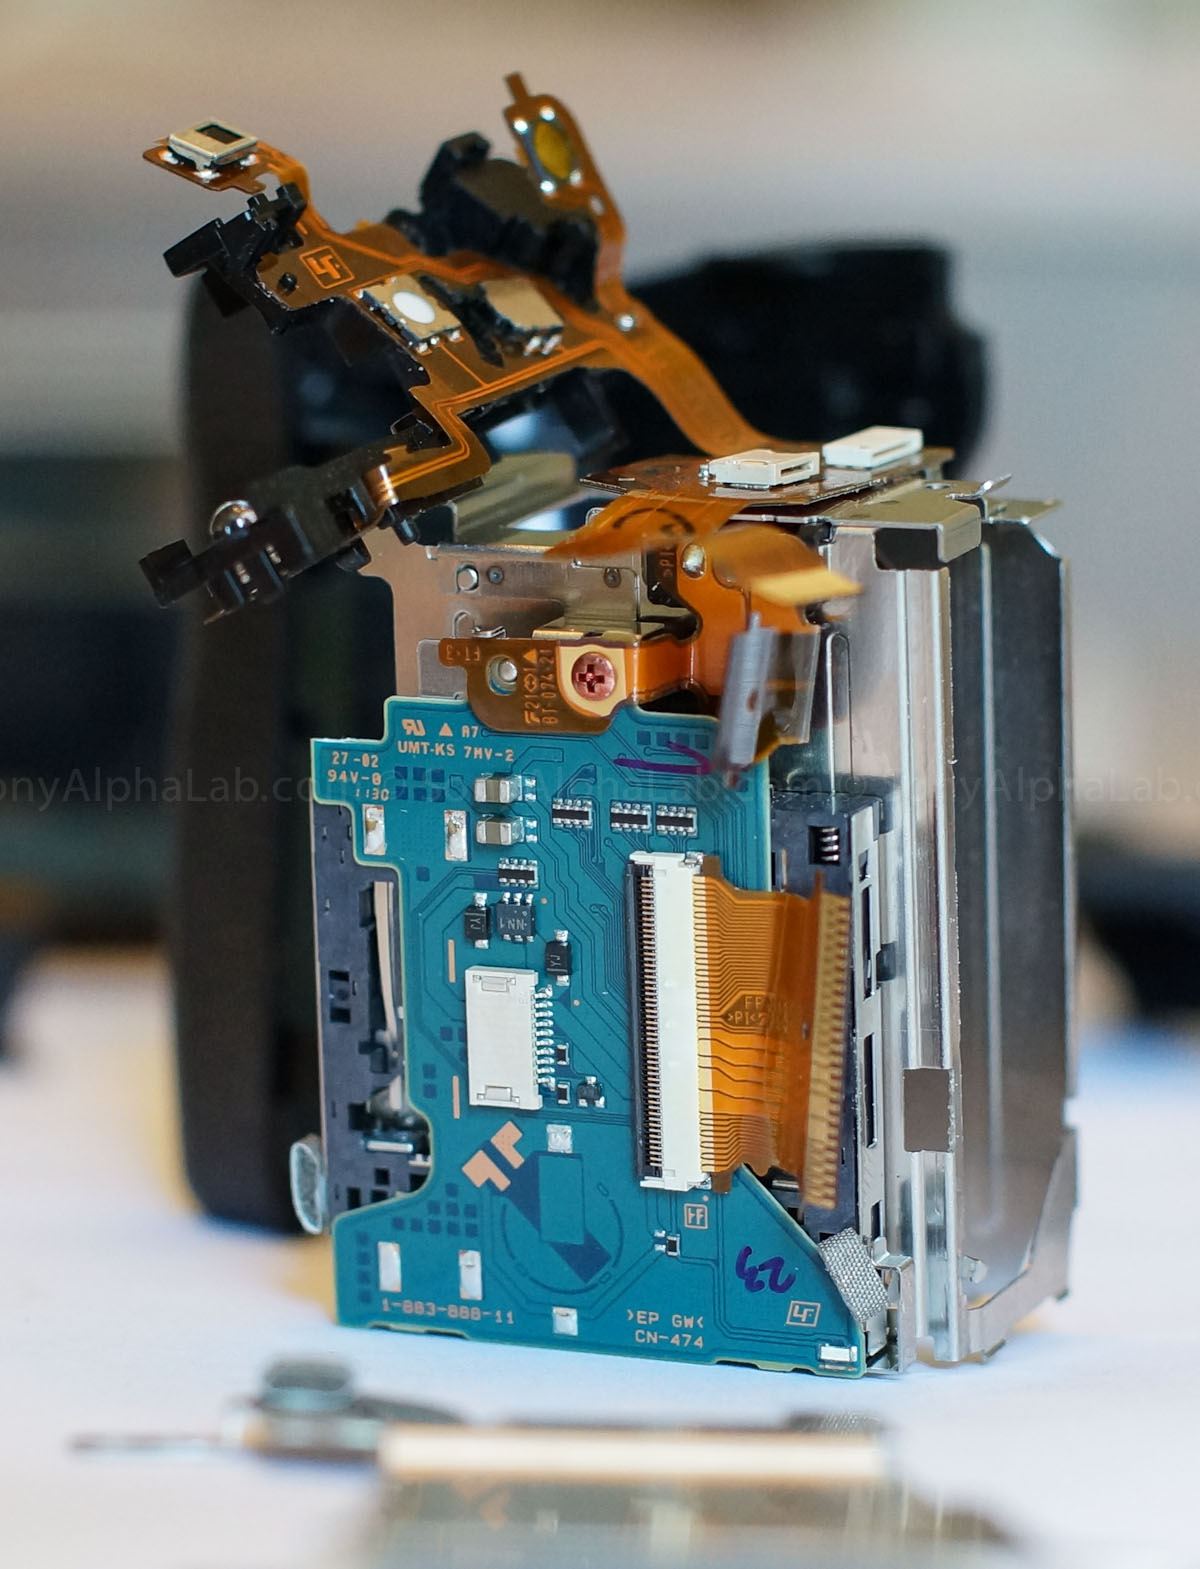
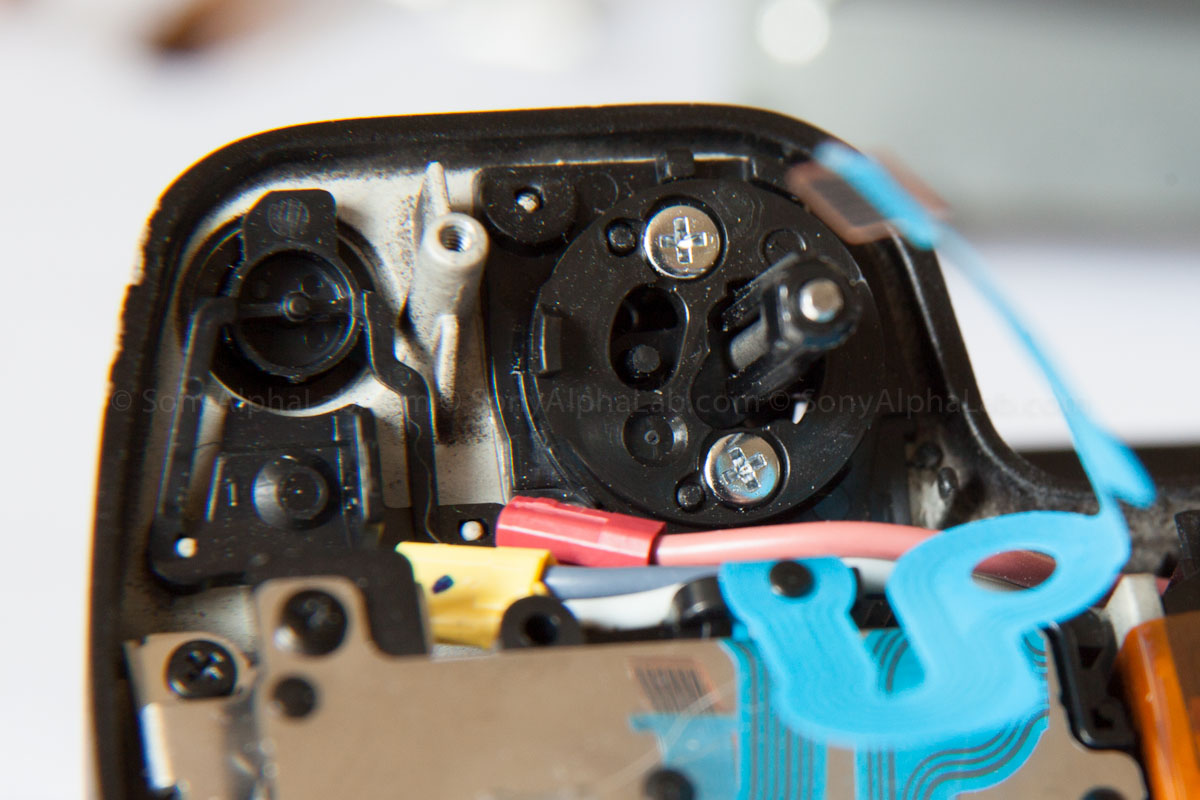
In this image you can see the On/Off switch. It’s right on top of the black arc in the center of the top area in the image.
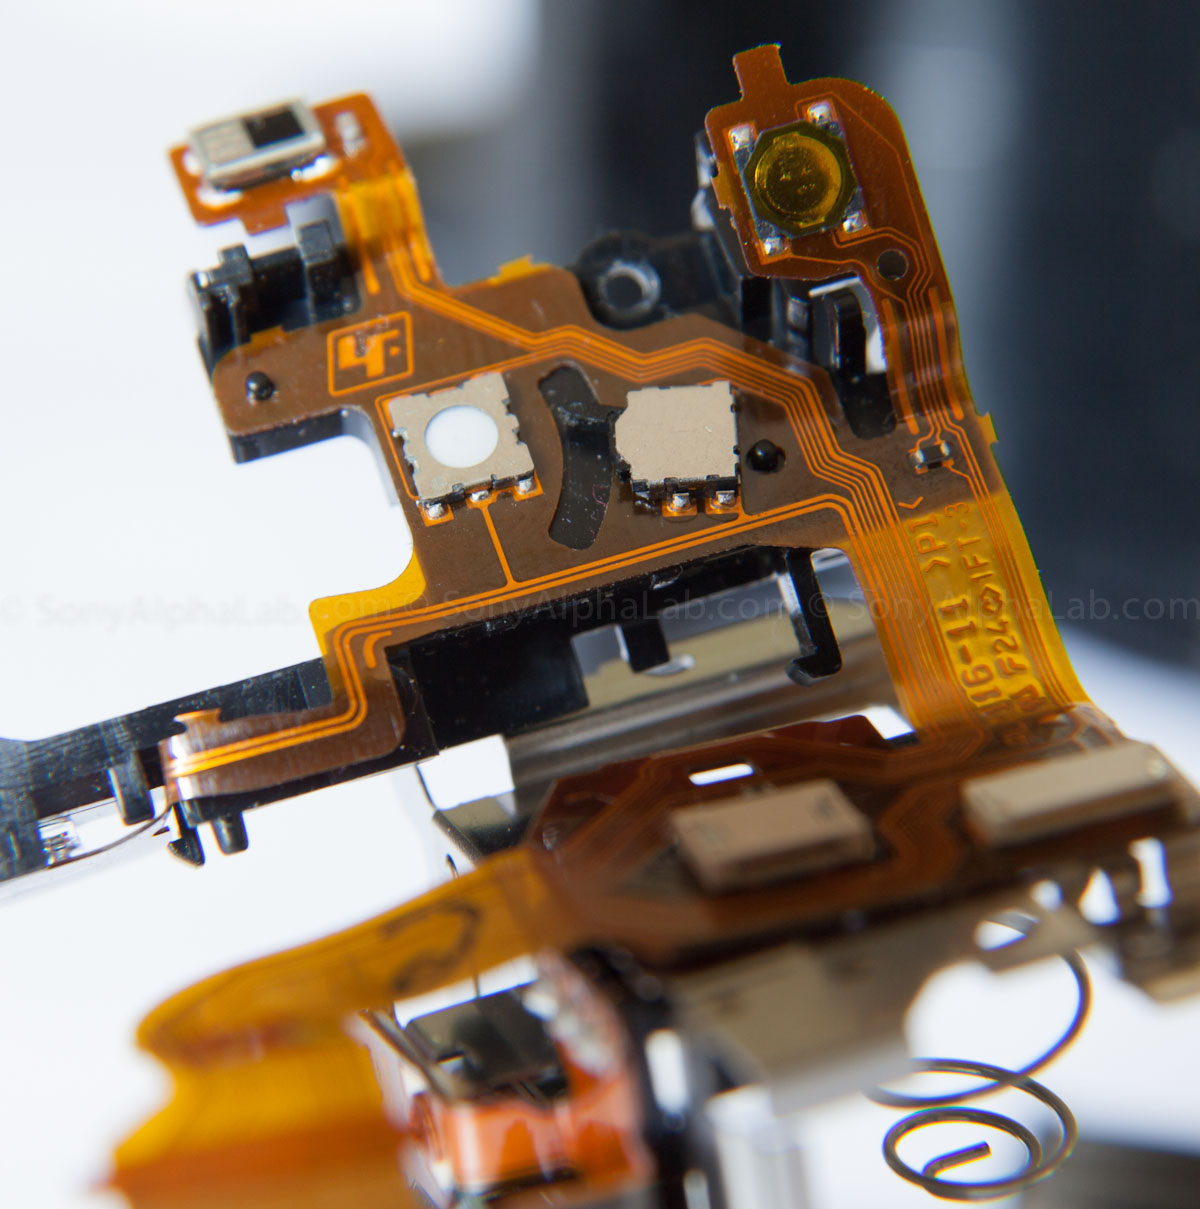
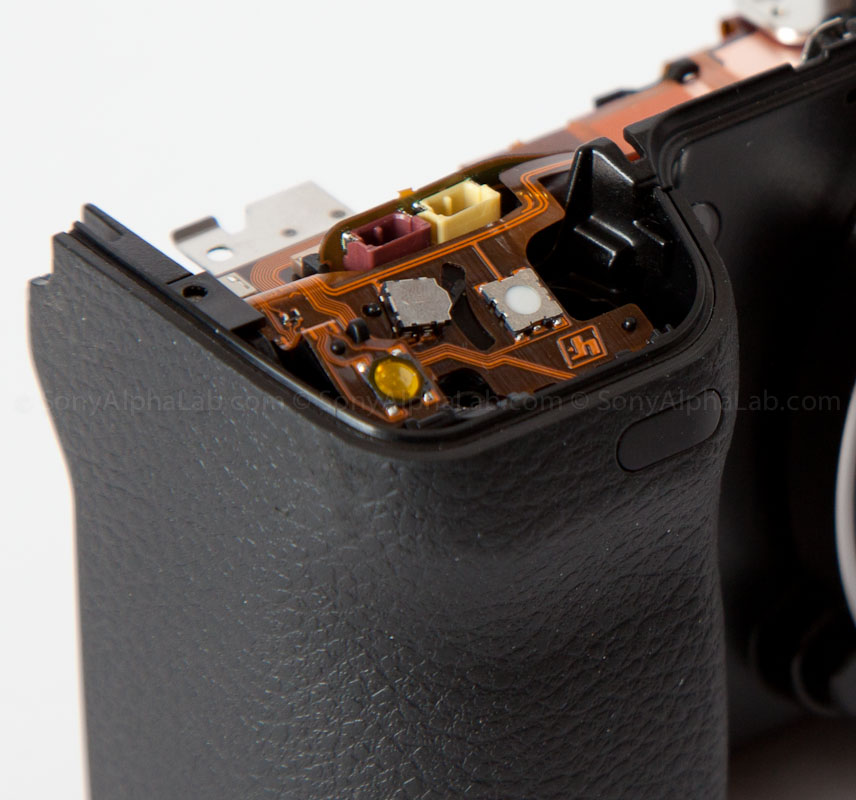
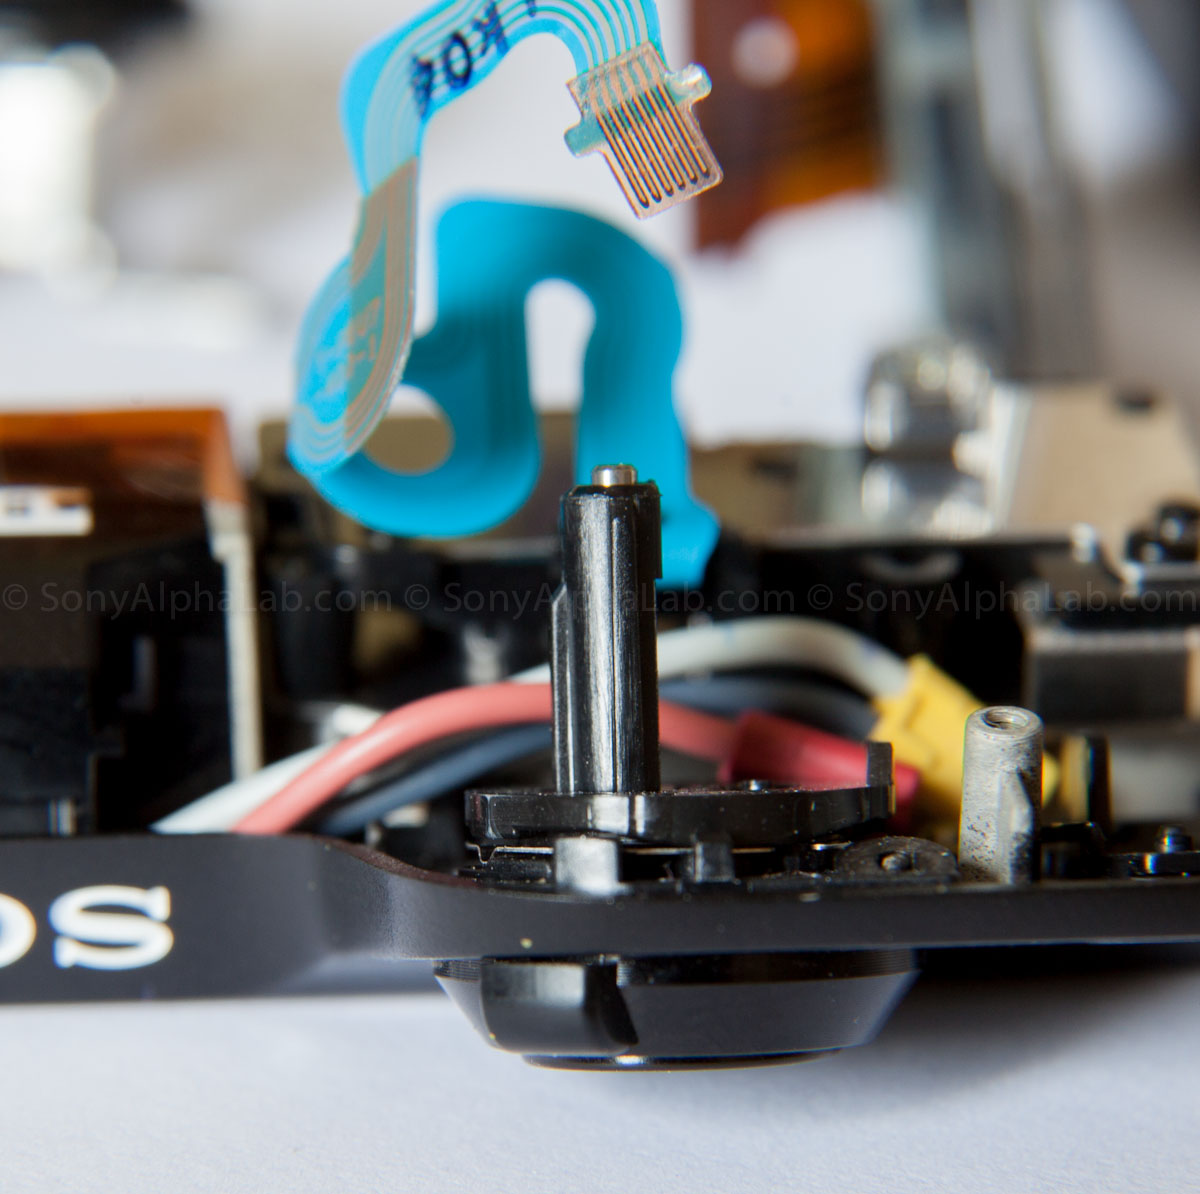
In this image below you can see the shutter release pin that goes through the plastic shaft. That pin is connected to the shutter button and protrudes down when the it’s pressed.
HD Video of the Naked Sony Nex-7
Be sure to select the HD Option in the player preferences once the video starts. It’s the little gear icon 😉
Closing Remarks
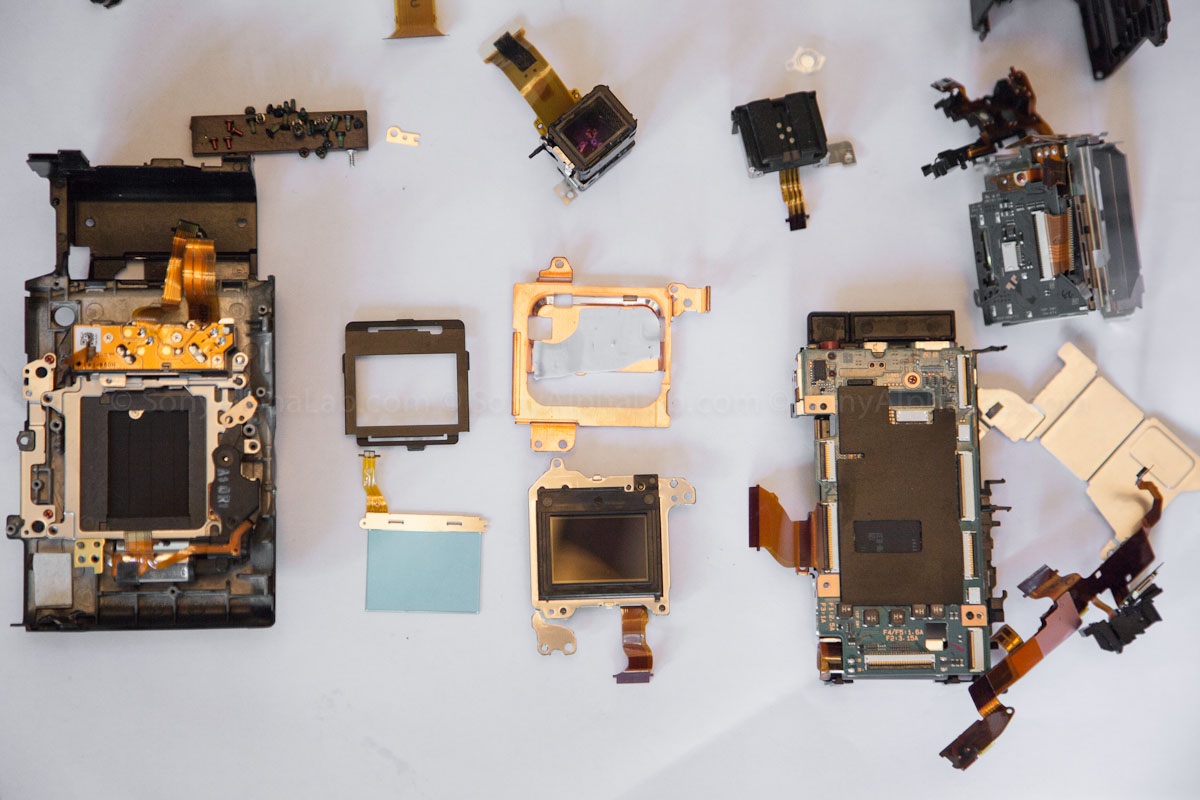
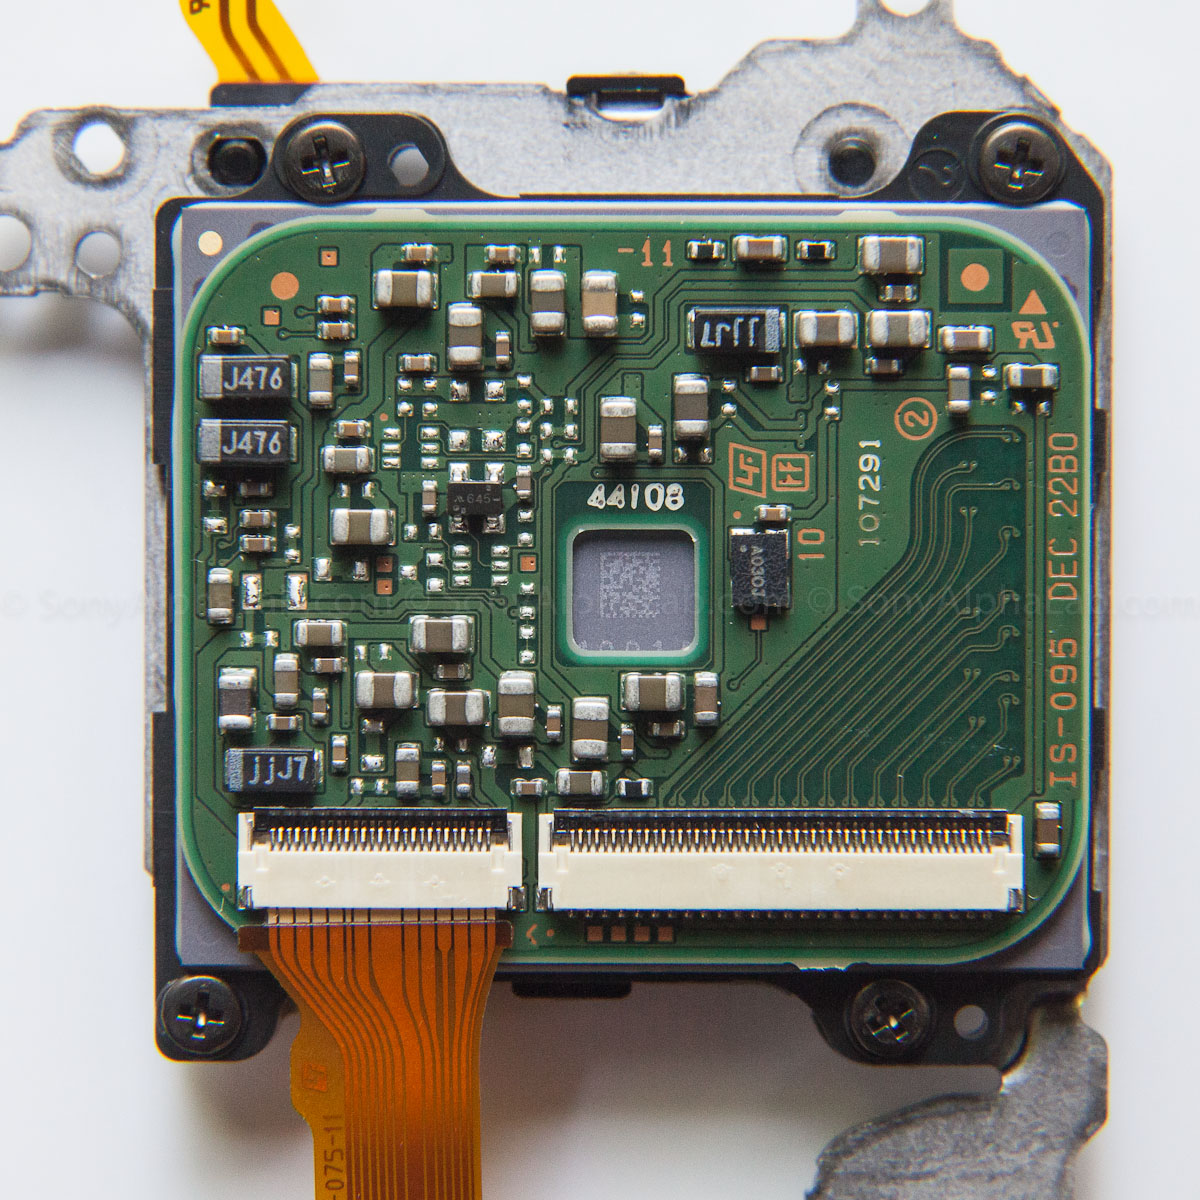
The Sony Nex-7 is a pretty advanced camera as we all pretty much know, but I am amazed at the complexity of the wiring harness and chassis assemble. It’s just amazing how they find a way to fit all that stuff in such a tiny space.
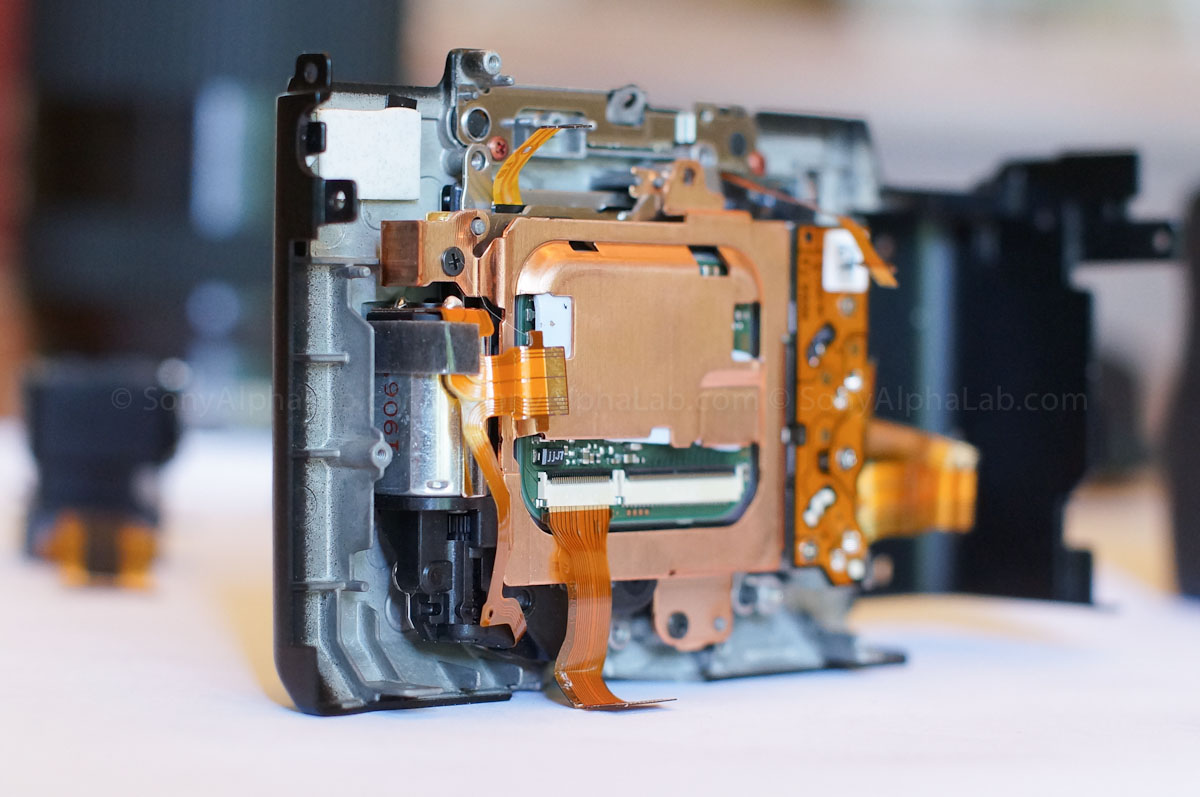
In regards to the Copper Heat Sink, which is designed to help cool the sensor, it’s pretty heavy and much thicker than you might think. It also has a piece of white heat transfer tape which bonds it to the sensor back. I’m really not sure what can be done to help cool this camera down more for extended video recording, but what I’ve learned so far from other users and experience is the fallowing. If you pull the screen out it will allow air behind it, therefore getting cooler air closer to the sensor heat sink. At the very least it should help scrub a little heat away from the camera gutz. Another thing you can do is use a small fan and blow it in the HDMI port area, preferable with a funnel scoop of some sort. If you can get a reasonable seal it will force some are bast the heat sink and possible help cool the sensor down. I have not tried this, nor do I recommend it as dust might get in there. I also have not had overheating issues as I don’t record for long periods of time in a row ever, but enough people have complained about it so…
I hope you guys got something out of this, and if you need anymore pictures or angles, just let me know. I really need to try an put this thing back together at some point!!
Jay


