
In this article I will be showing you how to edit Sony A9 Photos in Lightroom. This will not be hardcore editing, but more of a crash course on how to add some pop to your raw files quickly. I show off my normal workflow when I’m crunched for time, and try to vary things up so you can see multiple ways of getting something done. As you know, you can edit photos a million different ways, and no one way is best necessarily. It’s really a matter of what works for you and your needs.
For example using the Tone Curve adjustment is not necessary, but it’s a great way to add contrast quickly to a raw file without blowing anything out. You could alternatively drag the black slider and exposure slider to achieve the same overall effect. You could also use the Auto Adjustment feature, or try using some of the built in presets for example…
You can also enhance Jpeg files in a very similar matter using Lightroom. However, you won’t be able to push the sliders near as far, and will not need to sharpen very much either. The camera already processed the file for you when your working with Jpegs. The process is the same though otherwise, so don’t feel left out!
Lastly, you can use more advanced programs like Photoshop or a turn key solution like the Free Nik Filters. The Nik Filters are just incredible and a must have for those pressed for time and looking for killer results 🙂 I show the Nik Filters off a little bit towards the end of this tutorial.
If you enjoy this type of video tutorial, please let me know and I will be happy to make more! For example, I can show you how to create HDR’s, I can show you advanced Photoshop editing if you want, or I can show you how to use Lightroom in much greater detail? Please just let me know in the comments section below if you have any requests or questions!!
Lightroom Editing Sony A9 Raw Photos – Crash Course style…
Due to being in a rush while creating the video, I tend to babble, I forgot to add the Tone Curve “medium” to several photos. I added the tone curve to the edited images below and sorry about that silly mistake.
Be sure to select the best quality when watching the video that your monitor and/or web connection can handle! It’s 4k….
Before and After Photos
Be sure to Click on the Photos for the much larger crisp versions!
Layla


Jase

I adjusted this photos crop slightly since the video and added a tone curve which I forgot to do in video….

Jim
Brightened Jim’s face, punched up the colors, cropped, and toned down the highlights a bit…


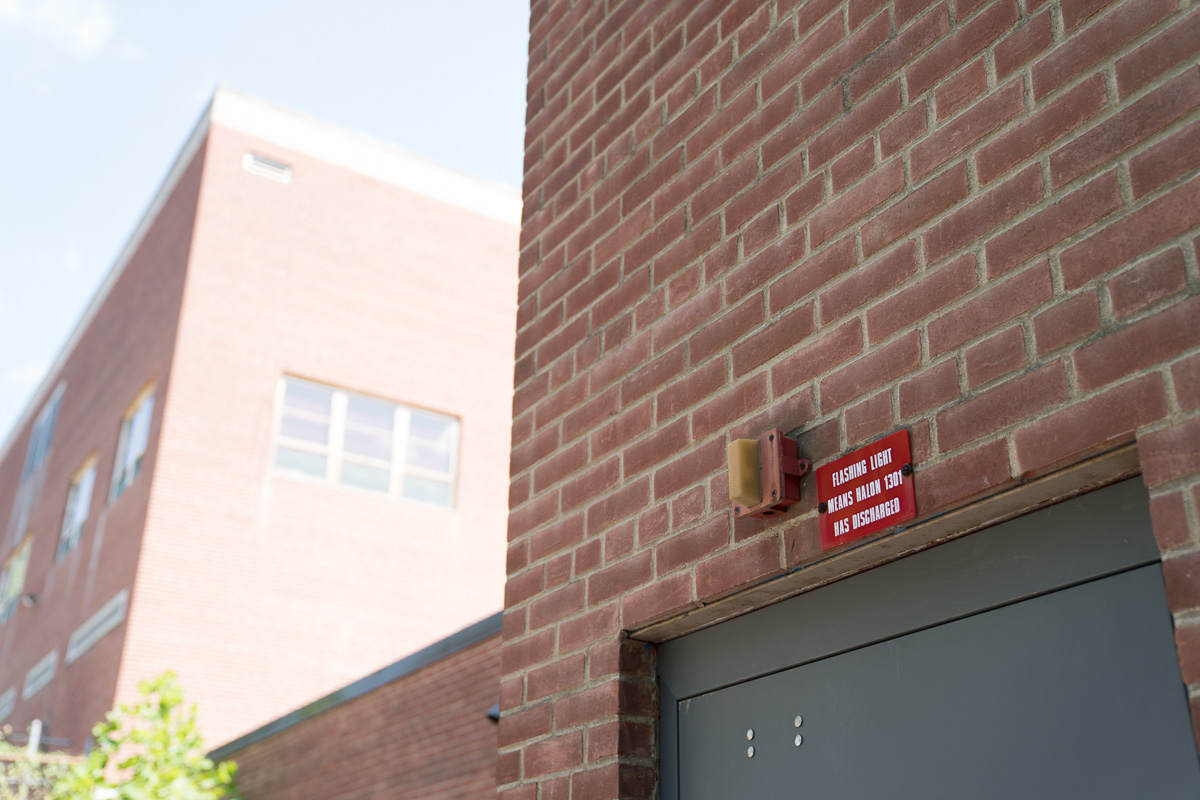
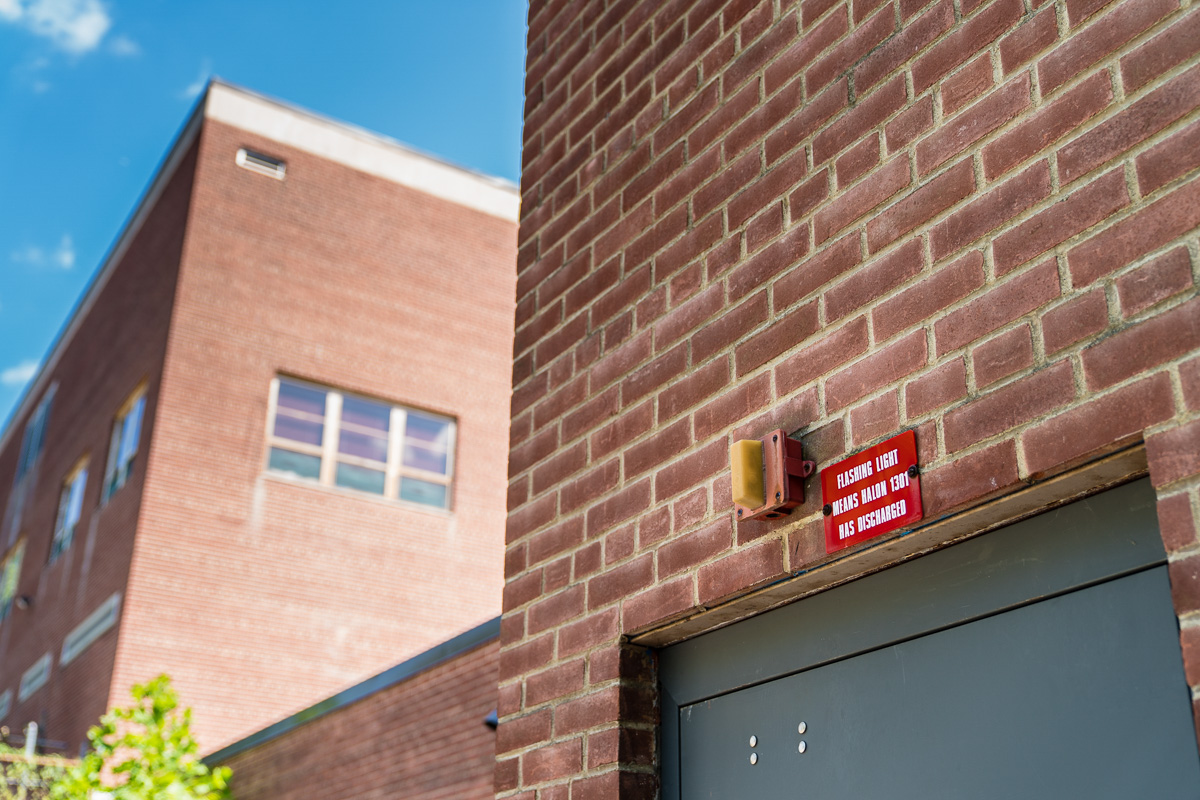
Street Scene w/ Bricks
I added a bit more vibrance and a tone curve to this edited image
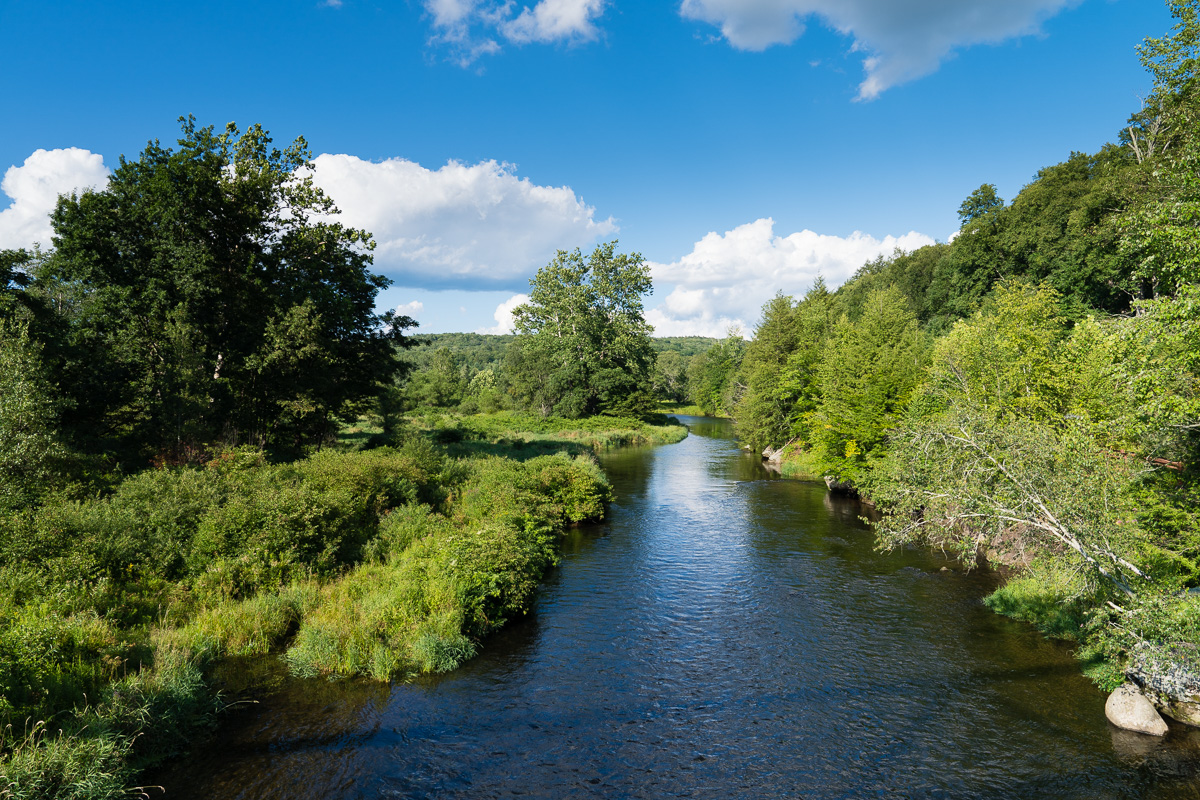
Green Bridge
Really just minor tweaks to this frame…
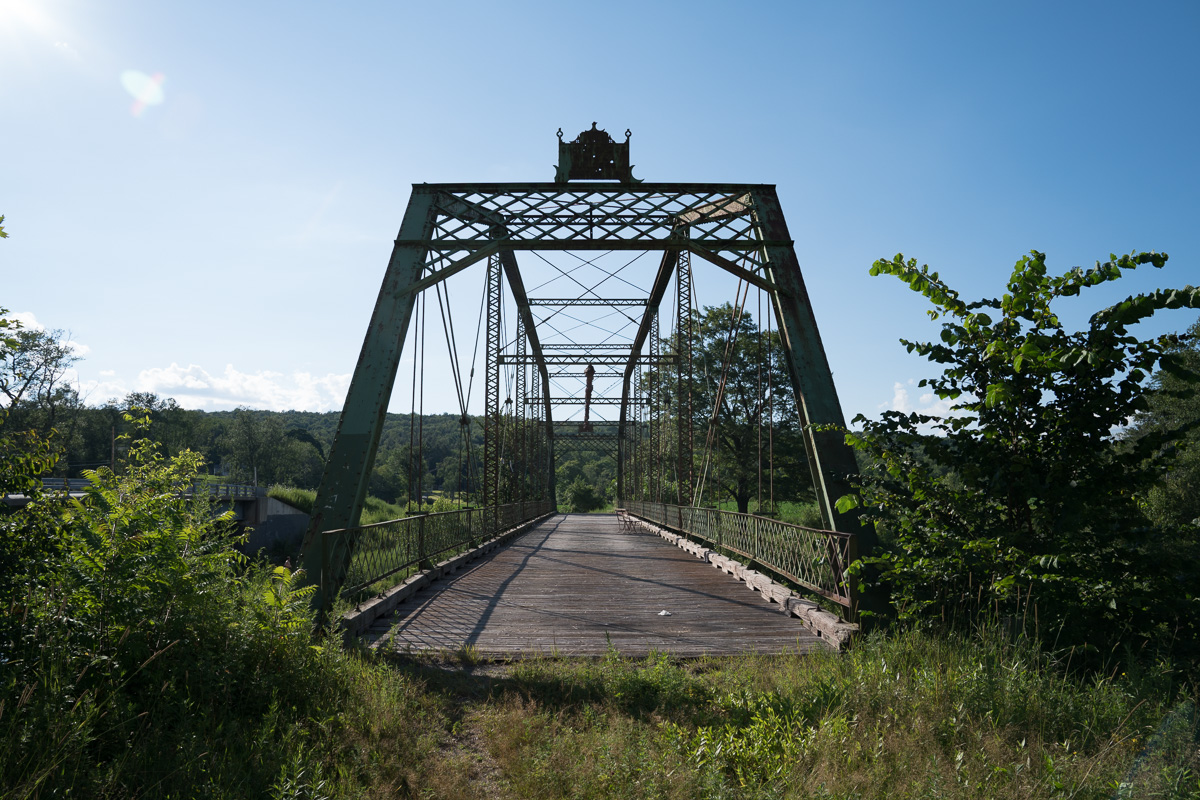

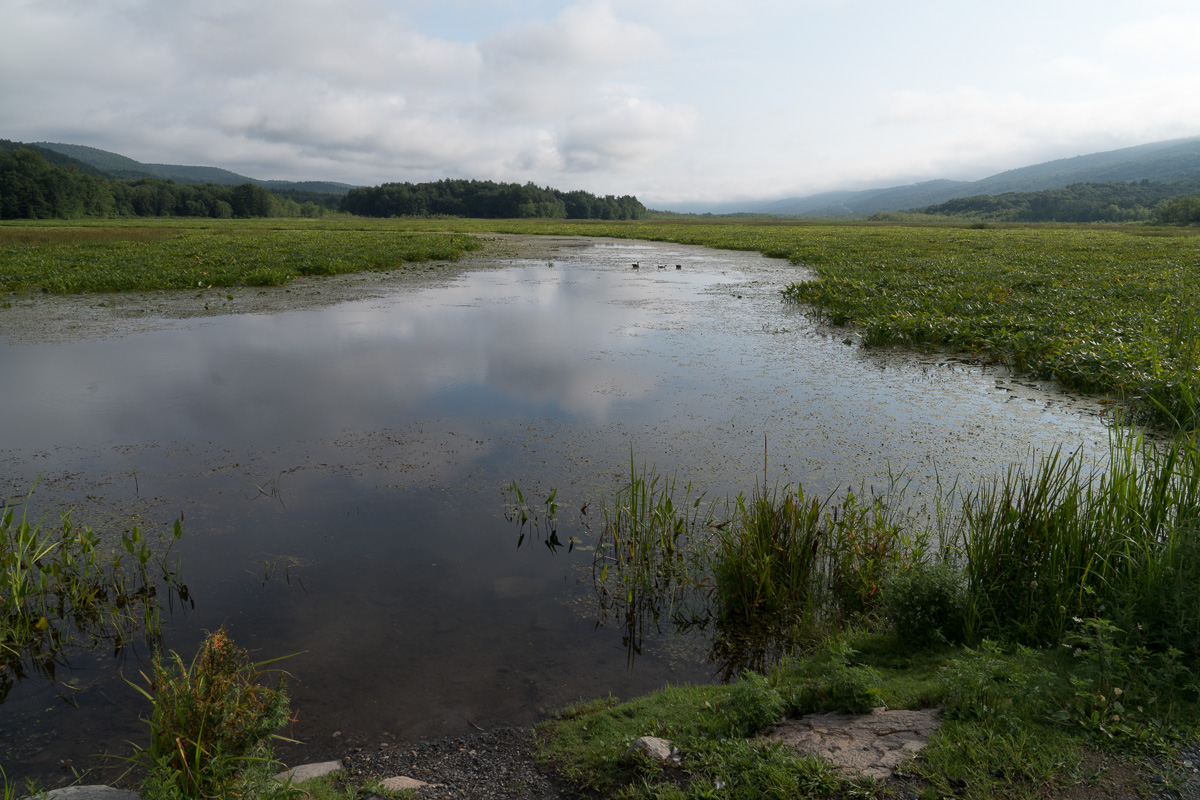
Punched up the colors, contrast, and sharpness in this frame


This frame is from the Minolta MC 50mm f/1.4 Rokkor-X Lens on the A9, Article Here >>

More landscape style photos taken with the Sony A9 in my Review Here >>
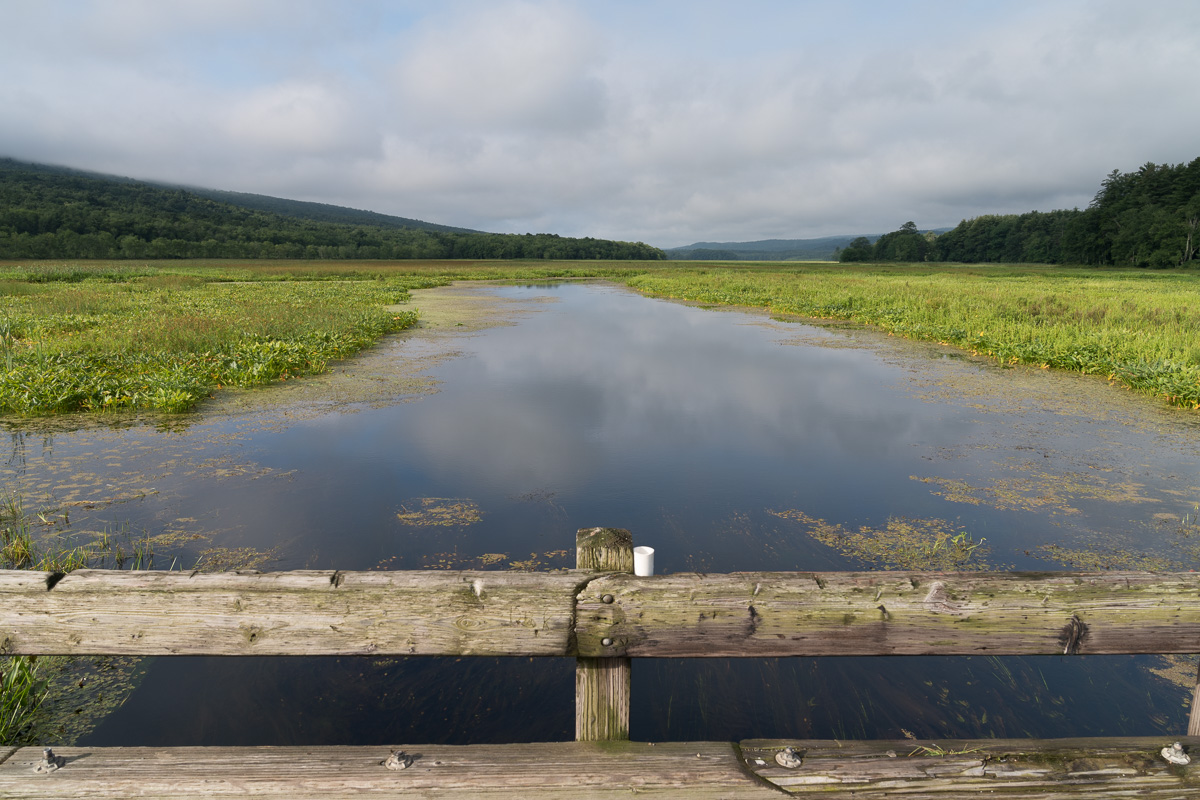
On this first image, I also removed the white fishing pole holder after creating the video. If you want to see how that was done I can create another video on that type of stuff. That type of edit is a bit more advanced and trial and error in a lot of cases. That being said, it’s not hard, but can be time consuming at times.


Closing Remarks
That is about it for this article, so I hope you got a few tips if your new to Lightroom and/ or the Raw photo editing process in general. Please feel free to ask questions below if you have them, and if you want me to create a tutorial like this on a specific topic, just let me know.
If you are interested, I have many more Lightroom Tutorials This Way >>
My time with the Sony A9 is coming to a close, so I will wrapping up this series of articles with this: I really want the A9, but I also want the higher resolution Sony A7r II sensor at times. That incredible resolving power of the 42mp sensor is addicting. Even my older 36mp Sony A7r is addicting in sharpness (no low pass filter), resolving power. Editing the photos reminds me of this… However, the image quality is awesome on the Sony A9 and you can push the raw files really far when editing which is a nice bonus. Plus the AF system, new camera body, and awesome battery life make it a nice improvement over the A7 series.
In closing I wanted to leave you all with this song I heard today on the way to work, so see that just below.
I’ll catch up with you later and have a great day,
Jay


