I often get the question?? How do I take better Newborn Portraits On Location at the family’s house?? What is the best way to do it? Portable Studio Options??
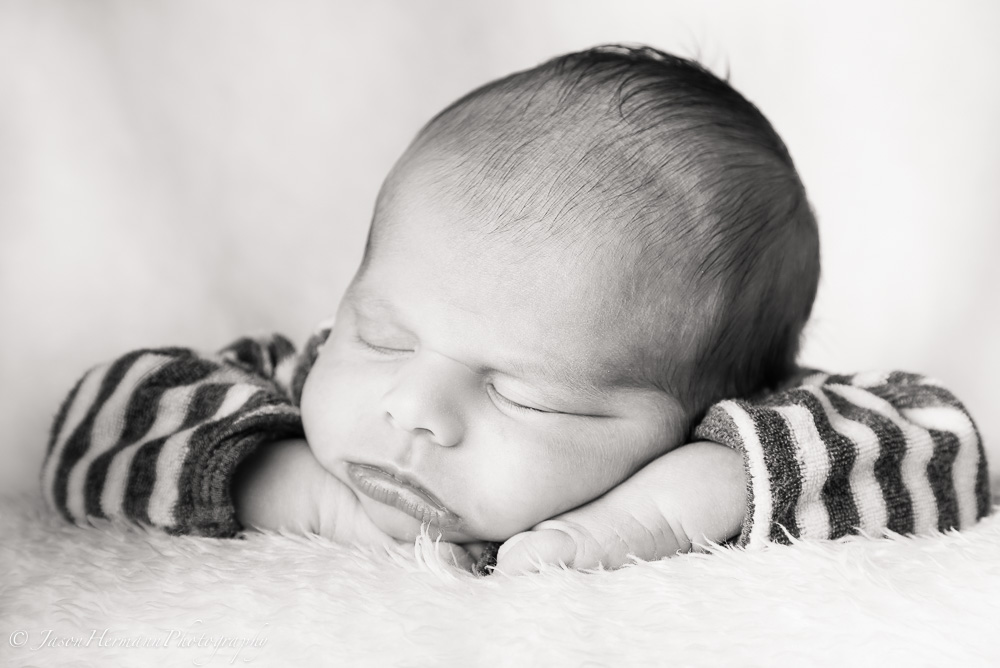
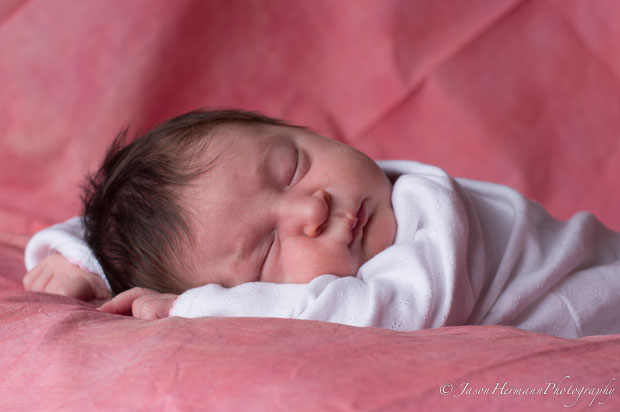
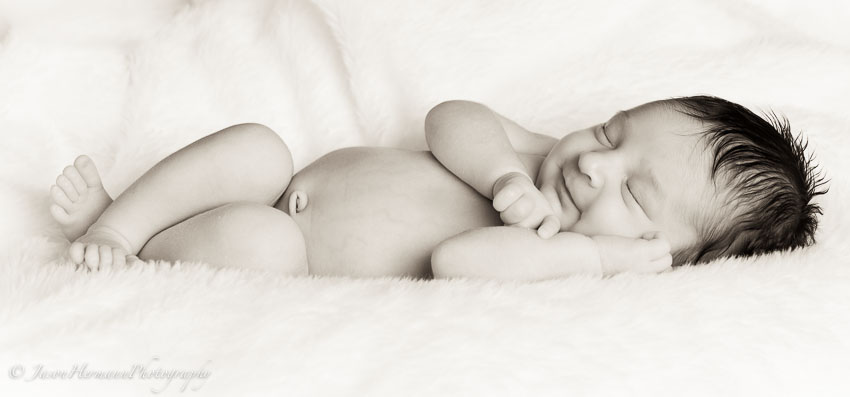
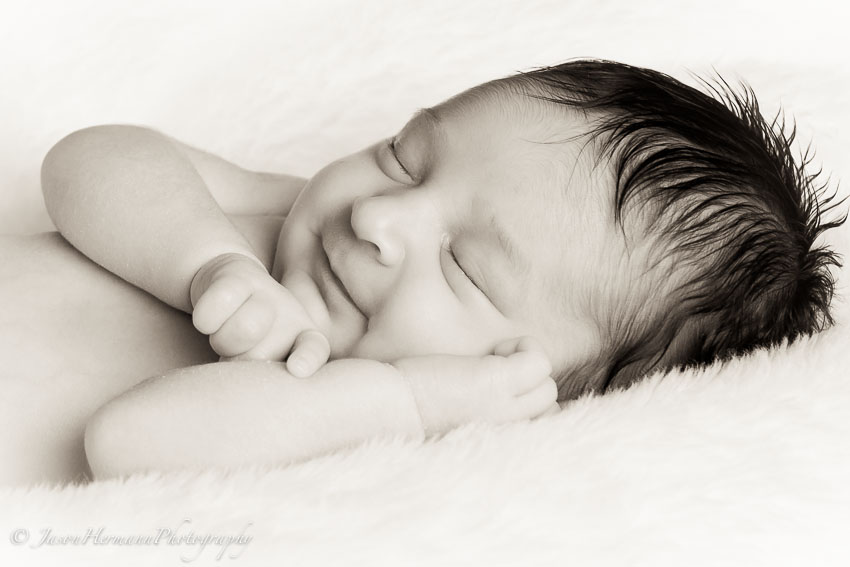
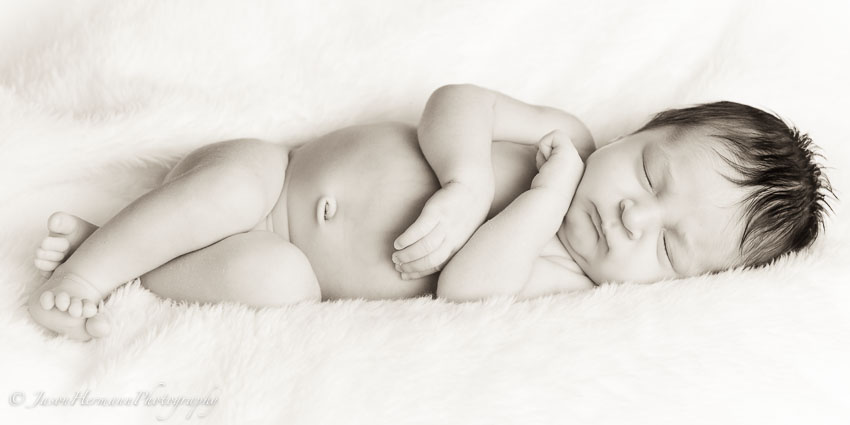
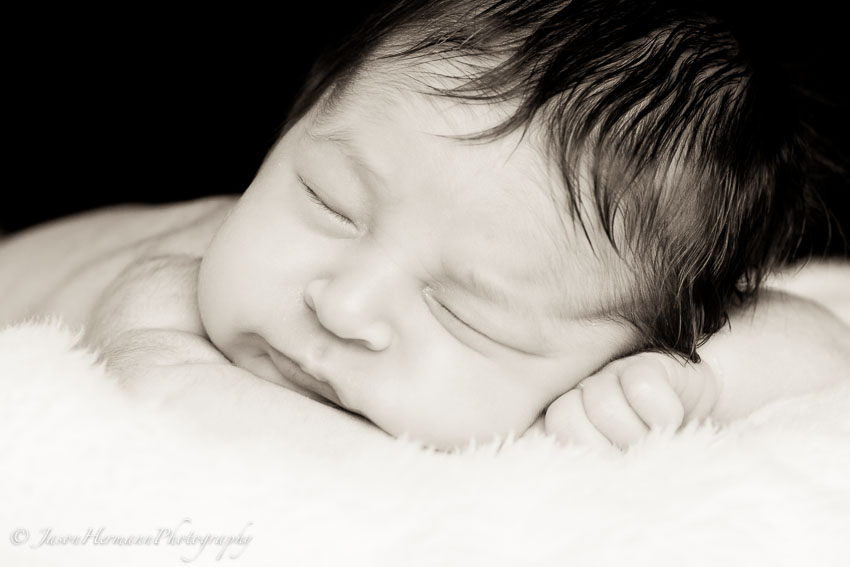
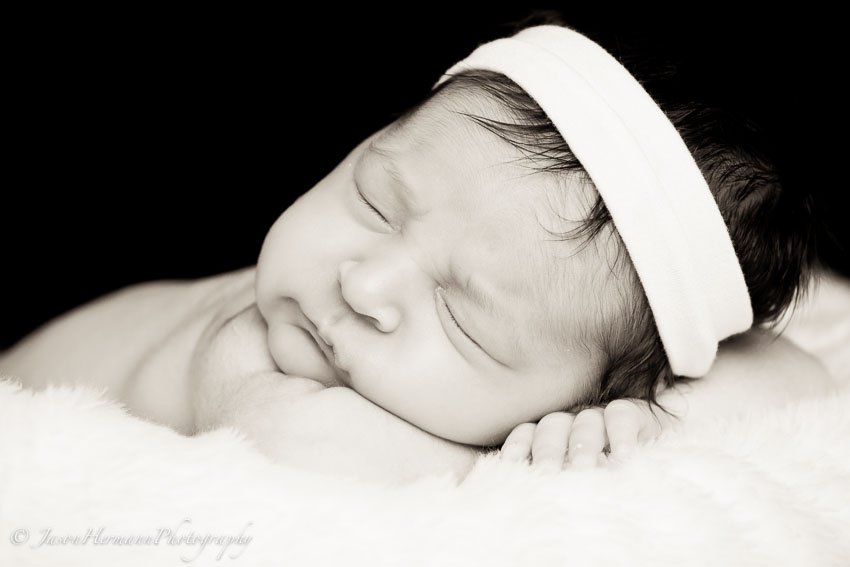
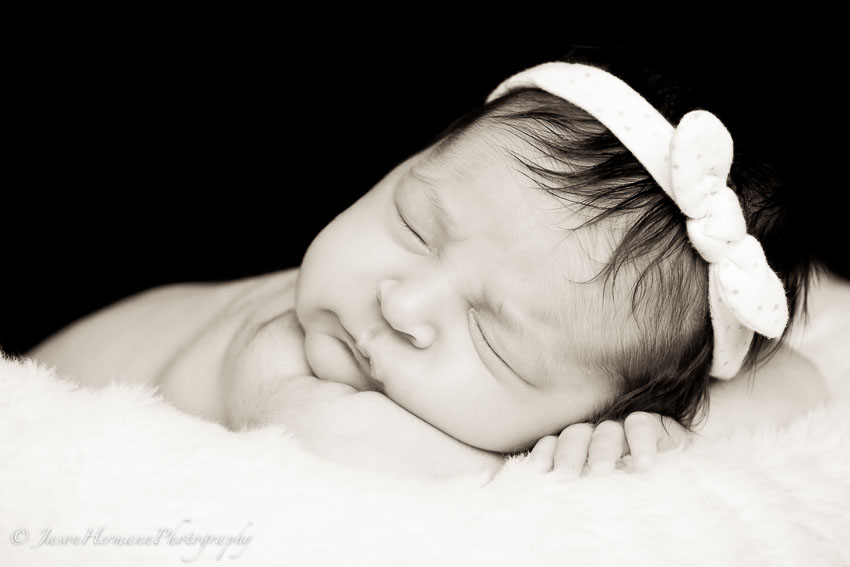
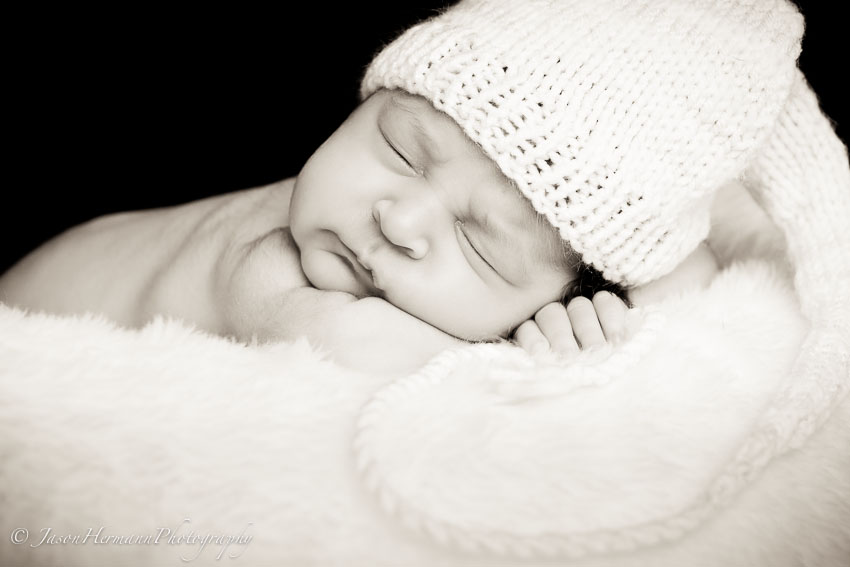
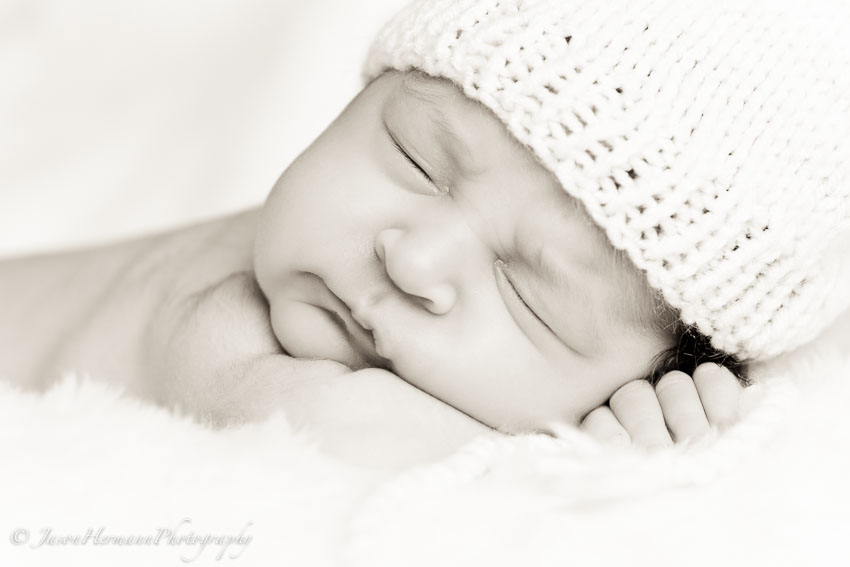
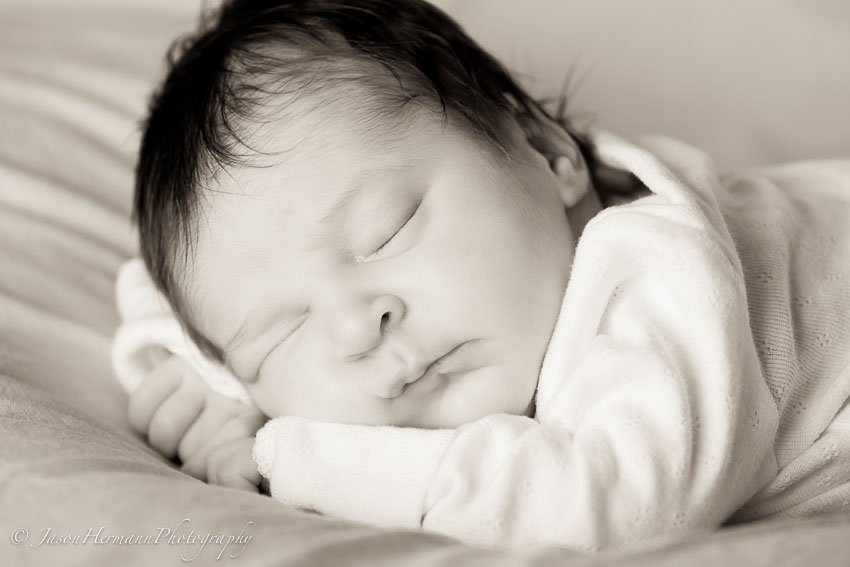
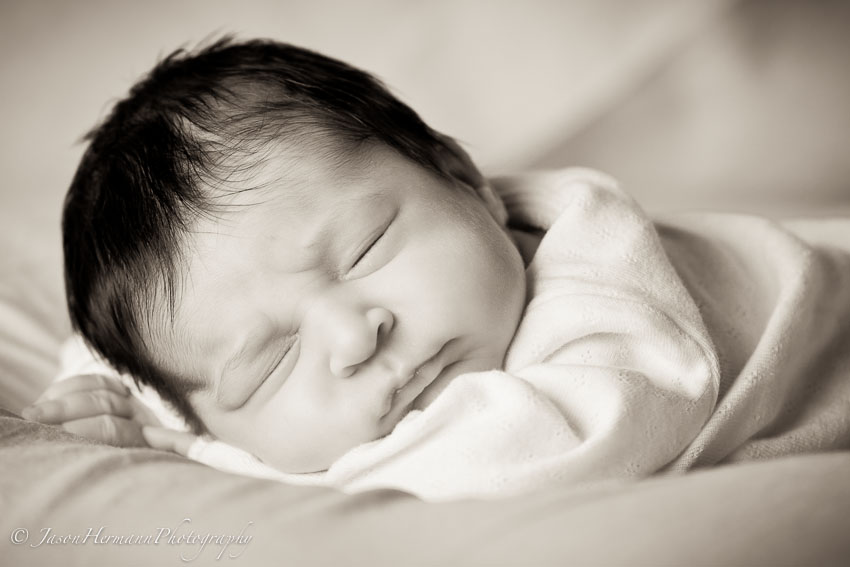
In this article I will go over all of this, as Michele and I just did a newborn portrait session for our very good friends, and I’m all sharpened up with the topic!!We have no done a newborn shoot since Layla, but before that did them regularly. I’m not going to mention any names, but I have to show off a few of these adorable newborn portraits I took yesterday!!
Newborn Portraiture has some unique challenges when compared to other forms of portrait photography like seniors, engagement shoots, or even toddlers for that matter. Newborns are best suited for portraits at about the 2 week old mark. Past that and they start to lose that really newborn look, and before 2 weeks old the skin is often still dry and blotchy. This is totally normal for a newborns though, so be ready with cream and keep the room nice and toasty warm!! More tips here: 10 Tips For Better Baby Portrait Sessions >>
The Studio Set-up
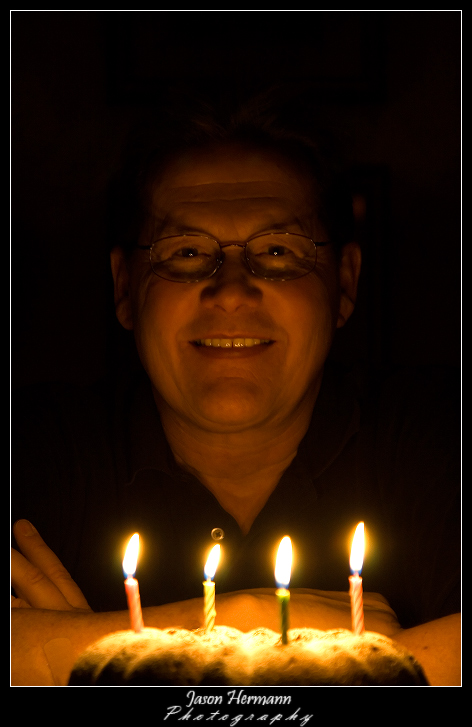
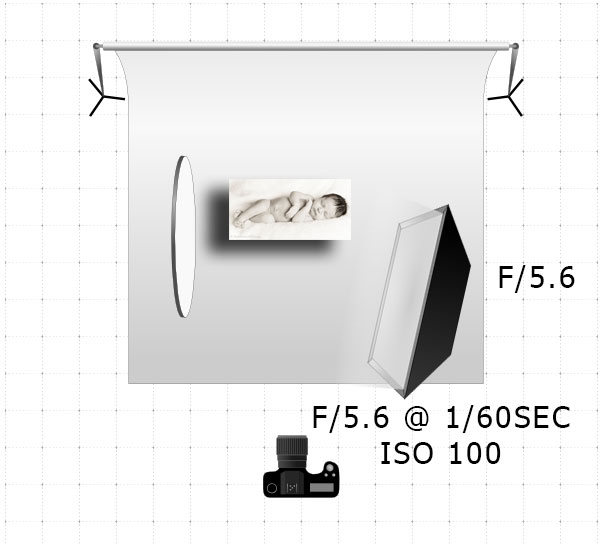
Being int he situation of bring the studio to the customer, we pretty much packed up everything. The Impact backdrop support system, a few backdrops, flash unit, Manfrotto Light Stand, Huge Fold-able Soft box for our single light source. I like to simulate large window light when possible and this set-up works well for Newborns in my opinion!! We also use a large 42″ collapsible reflector set to white, to bounce the light back for filling in the shadows. This makes the light a lot more even across the face, but still leaves subtle dimension. Great for Newborns in my opinion! Also note how the light source is facing the top of the babies head and not the feet. If the baby were posed the other way, I would switch the light and reflector positions. When the light is aiming upward on the face it is not the most flattering and is often used for the Horror look!! I took this photo with only available light way back in the day, but it illustrates why I have the light on the head side of the baby in these portraits.
Set-up
Here is a Diagram of the Studio set-up, so it’s a bit easier to see what is actually going on. Below I will show the real set-up from behind the camera view.
Diagram of the set-up
Actual On Location Studio
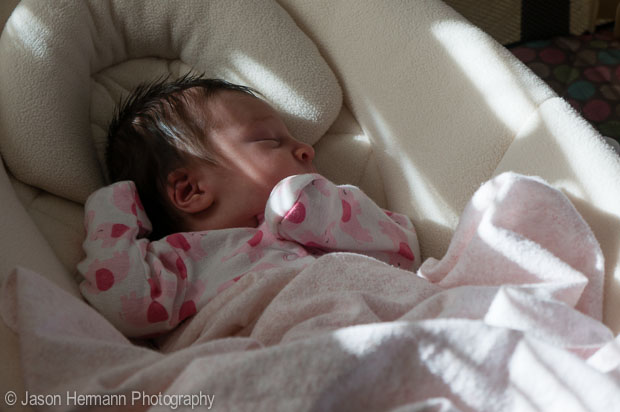
Baby Resting up!!
Pro Camera Gear Used
I went for my Pro camera gear as maximum quality was the goal, and my full frame Canon 5d Mark II is better than the Sony Nex-6 when it comes to this type of photography. The Full Frame format just can’t be beat when comparing with the APS-C format sensors. I also used the Canon 70-200mm f/2.8 L IS Lens, the best quality lens I have with the killer zoom versatility I like for portrait sessions.
Why am I not using Sony Pro Gear you wonder?? Check out this article for all the details and you will be up to speed on all that 😉
If I did have Sony Pro Gear, I would be using the Sony SLT-A99 Full Frame DSLR with the 70-20mm F/2.8 SSM G Lens!!
Calibration
Calibrating the “studio” is critical to getting exact colors and exposures!! What do I mean by calibrate exactly? Well, the white balance needs to be set to custom for starters!! You can do this by going into your WB settings and choosing custom, or select custom, ect.. All cameras are slightly different, but the concept is the same. We then use a collapsible target to set our custom WB under the current lighting conditions of our scene. In this case it’s very simple, but we could be using many lights if we wanted. A Light Meter can also aid in this task, but if you use the calibration target correctly, you won’t need one for this set-up. The light meter is great for getting the studio lights at the correct power setting quickly and accurately. Especially when using multiple lights at different power ratios.
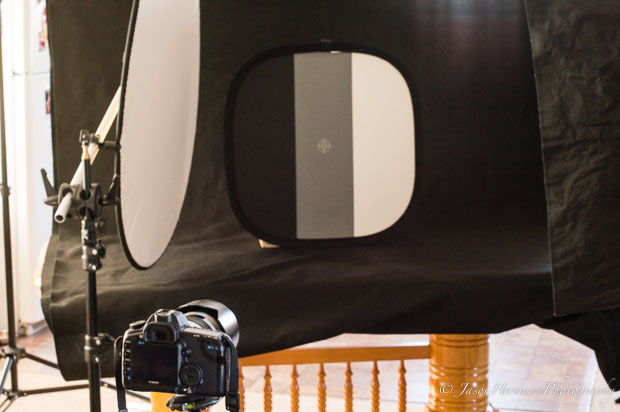
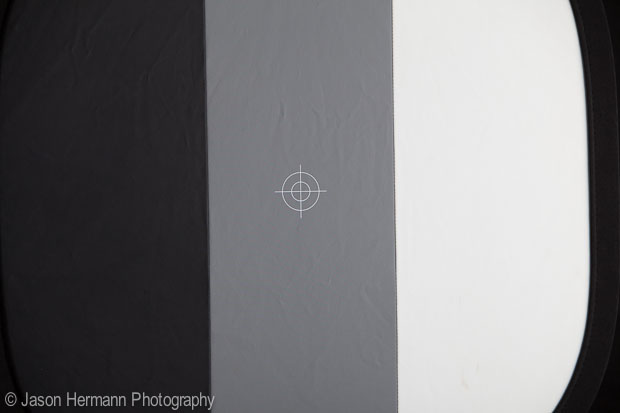
Here is what the target looks like set up in the same spot as our Newborn will be. Note how the highlight side of the target is towards the light source 😉
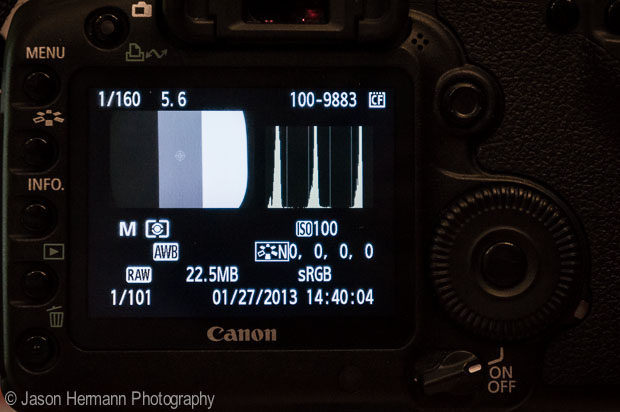
Here is what the back of my Canon 5d mark II looked like so you can see how I knew the light set-up was ready to go!! Check out the three spikes on the histogram letting me know the highlights are just where I want them, and the shadows will be good to go as well. Camera set to f/5.6, 1/160sec, ISO 100, Custom WB, Raw quality.
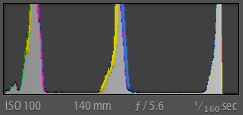
Black, Gray and White represent the histogram spikes. This image is set for the custom WB on the camera as well. So know everything is calibrated and this is what the target looks like.
Target and Histogram – Lightroom Raw File
Newborn Portraits
Could I have used my Nex-6??
Yes, absolutely I could have, and did take one test photo, although I’m not very happy with the composition to be honest. Check it out though below!! I also calibrated the Custom WB on the Nex-6, just like explained above.
This is a Sony Nex-6 RAW file directly exported from lightroom 4 with no adjustments! I wanted you to see the skin tones and exposure accuracy for yourself!! I used my new Minolta MC Rokkor PG 50mm f/1.4 lens and manual focused with not much time for playing around. Time is very limited!! I used the same flash trigger that I used on my canon camera to trip the flash for the Nex-6. The standard hot shoe makes life easy if you have standard mount flash equipment like I do. A simple flash adapter could be used for older Nex models the same exact way.
I also used manual mode and had to set the Live View Display Setting Effect Off. That option is in the set-up menu and basically allows you to see as if you were using an optical viewfinder when in manual mode. Otherwise with the current camera settings of f/5.6, 1/160sec, and ISO 100, the scene would be black on the viewfinder or lcd screen!! Think about it; the ISO would need to be like 2000 for the real lighting in the scene and that aperture without the flash.
Pro Grade Camera
So now you know exactly how we had are portable studio and cameras set-up. You also know how we calibrated the studio for exact colors (skin tones) and exposure!! Now, all you have to do is pose the baby and get a good composition with the camera and lens. No big deal 😉 Point and shoot!! Use the rule of thirds as a guide and sample photos like mine or others you might like on the web. Once you have the lighting set-up correctly your photos will look awesome right off the camera. Very little exposure adjustments should be needed and the skins tones should be dead on!! This makes for little work behind the scenes in Aperture, Lightroom, or Photoshop. Trust me, there is nothing worse than having to fix poorly exposed photos, or terrible skin tone issues!!
Look at this 2 week old baby girl 🙂
Closing Remarks
I hope you guys got something out of this article, and be sure to ask questions www.guvenilirbahissiteleri.org if you have them below in the comments area 😉
Jay

