Sony Nex-6 Mirrorless Camera Review | Hands-On Real World Perspective
Welcome to my Sony Nex-6 Mirrorless Camera Review!! In this Hands On, Real World Experience based review, I will go over everything you Need to Know about the Sony Nex-6. I use pretty much every feature on the camera and have High Res Sample Photos, HD video, ISO Testing, Hybrid AF Testing, and use my Canon EF lenses. I also have tons of Raw files, using various lens combinations, in order to show off the Dynamic Range and image quality of the Nex-6 Sensor!!
If your new to SonyAlphaLab.com I’ve been posting some Sony Nex-6 sample work over the past few weeks and I actually purchased the Camera!! Owning the camera has offered a slightly different perspective on the review I must say, as I usually only have the gear for approximately 30 days normally. This camera is not going anywhere though I can tell you that for sure 😉
I’ll be using the 16-50mm power zoom lens for most of this review, but I also break out my Canon EF L lenses for hardcore sensor quality testing!! Wait till you see what the Nex-6 sensor is capable of with top quality optics!!
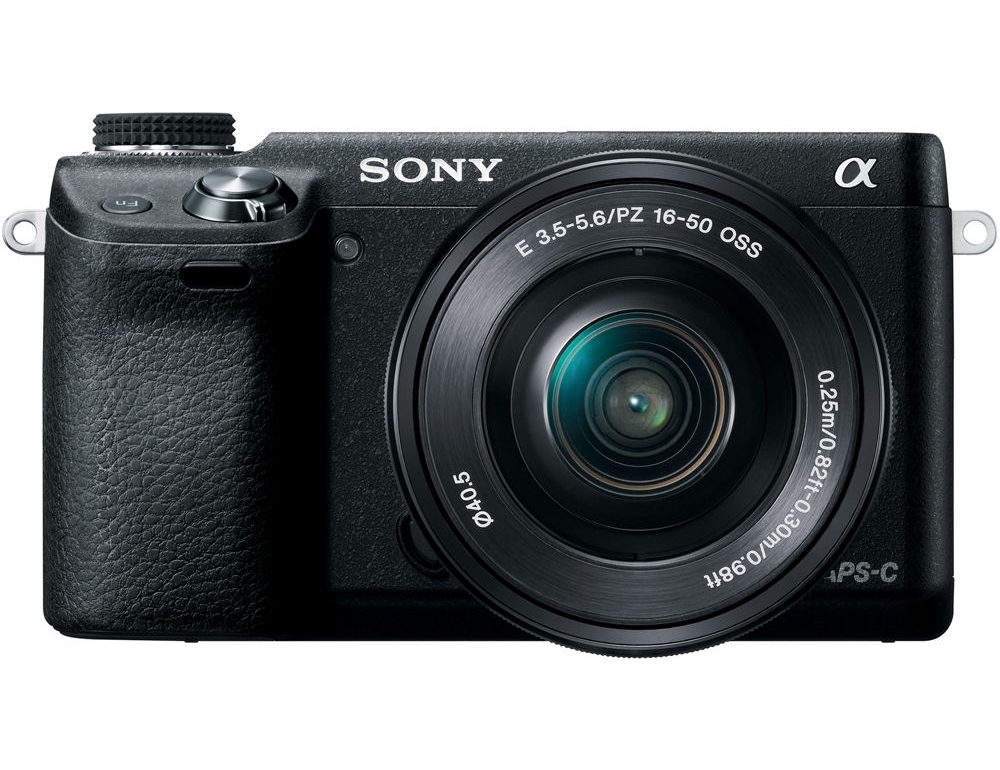
Sony Nex-6 w/ 16-50mm Power Zoom Lens
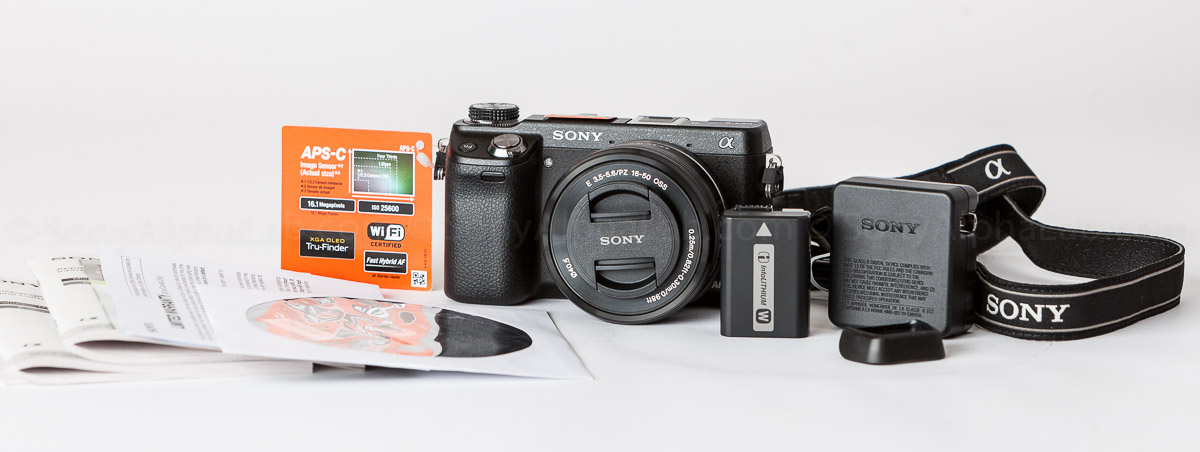
Here is photo of what came in the box with the Sony Nex-6, and I have an Open Box Video Here >> if you want to watch but there is a little wind noise in the video.
Build Quality and Design
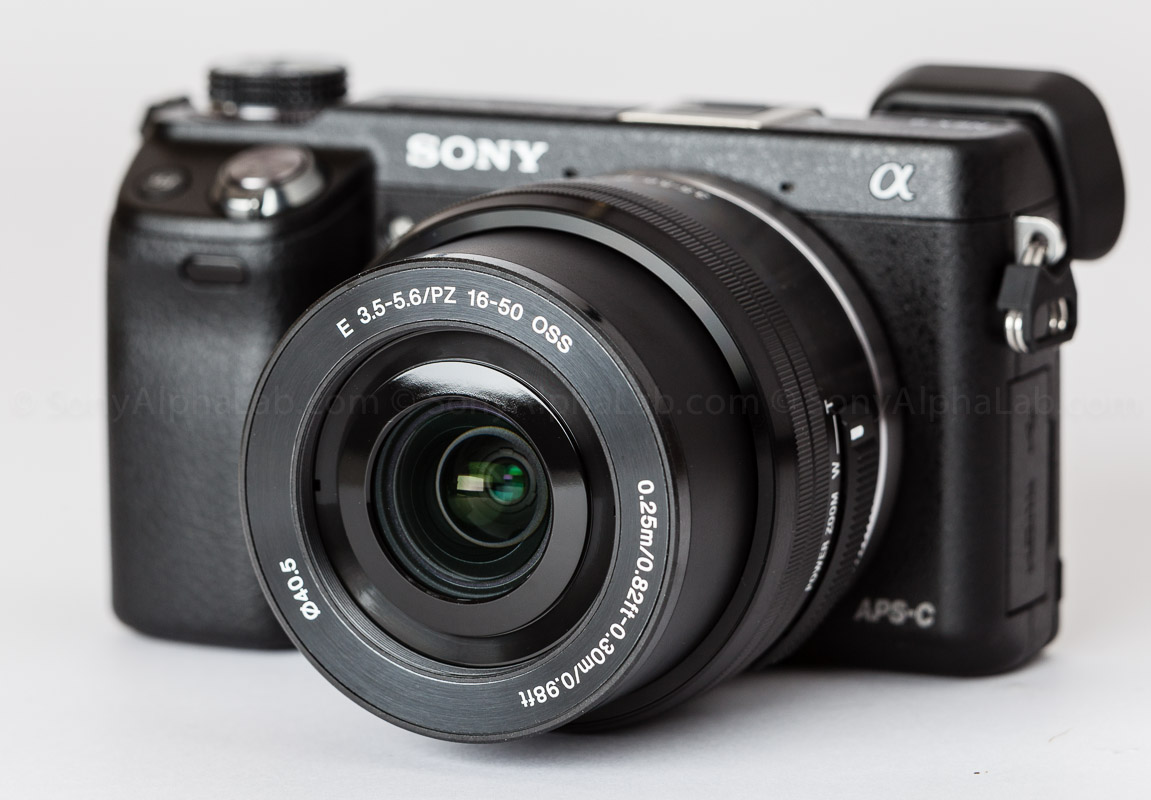
The Sony Nex-6 is a nice upgrade from the Nex-5n as far as build quality, ergonomics and design!! It’s not quite Nex-7 build quality, but certainly good enough for what I want to use the camera for. Everyday real world photography is what I’m into these days.
Size and Weight
- Nex-6 Dimensions (Approx.) : Approx. 4 3/4 x 2 3/4 x 1 1/16″ (119.9 x 66.9 x 42.6mm) (WxHxD)
- Sony Nex-6 Weight (Approx.) : Approx. 10.1 oz (287g) (excl battery & media) Approx. 12.2 oz (345g) (w/battery & media)
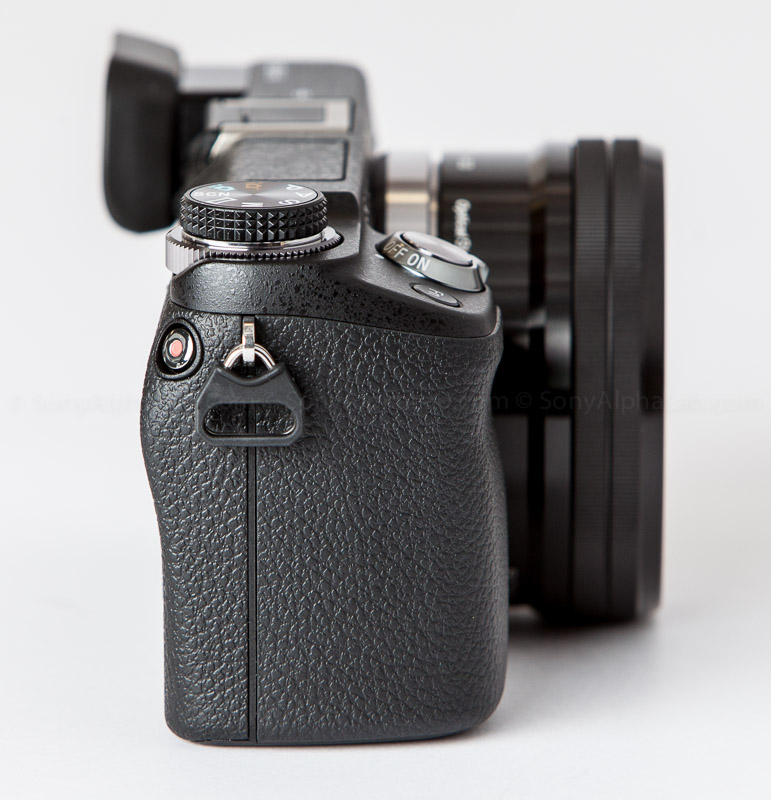
Sony Nex-6 Textured Skin
The skin on the Sony Nex-6 is pretty much identical to the Sony A57, and is made up of a rugged textured plastic. I would put it in the Semi-Pro Build Quality Category. It’s not rock solid metal metal like the Nex-7, nor is it that smooth cheaper feeling plastic found on the Sony Nex-F3 for example. It feels like it could take a mild impact in my opinion.
3 Inch High Res LCD Screen
The 3″ LCD screen is excellent and usable in most daylight situations, but in direct sun I recommend using the Electronic Viewfinder (EVF). [quote]
- LCD Type : 3.0″ (7.5cm) wide type TFT (921,600 dots)
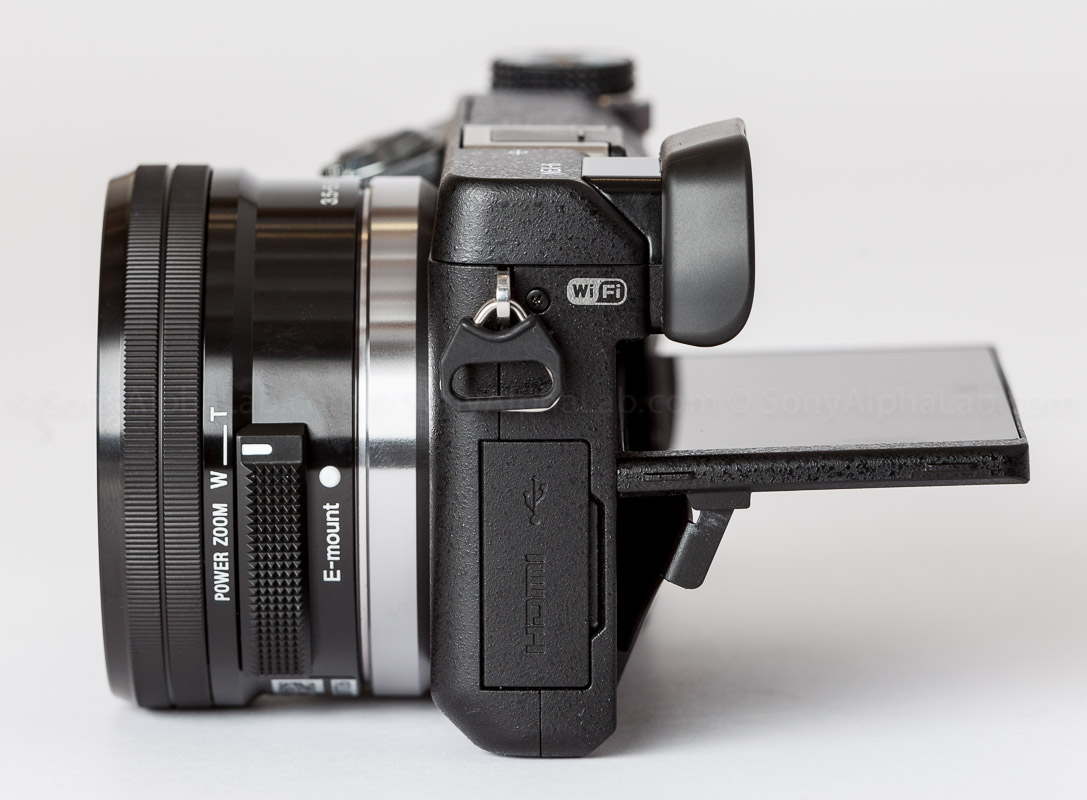
- Angle Adjustment : Up: Approx. 90 degrees, Down: Approx. 45 degrees
- Brightness Control : Manual (5 steps between -2 and +2), Sunny Weather mode
- Real-time image adjustment display : On/Off
- Peaking : Yes (Level setting: High/Mid/Low/Off, Color: White/Red/Yellow)
- Customization : Graphic display/Display all info/Big font size display/No display info/Levels/Histogram/Viewfinder
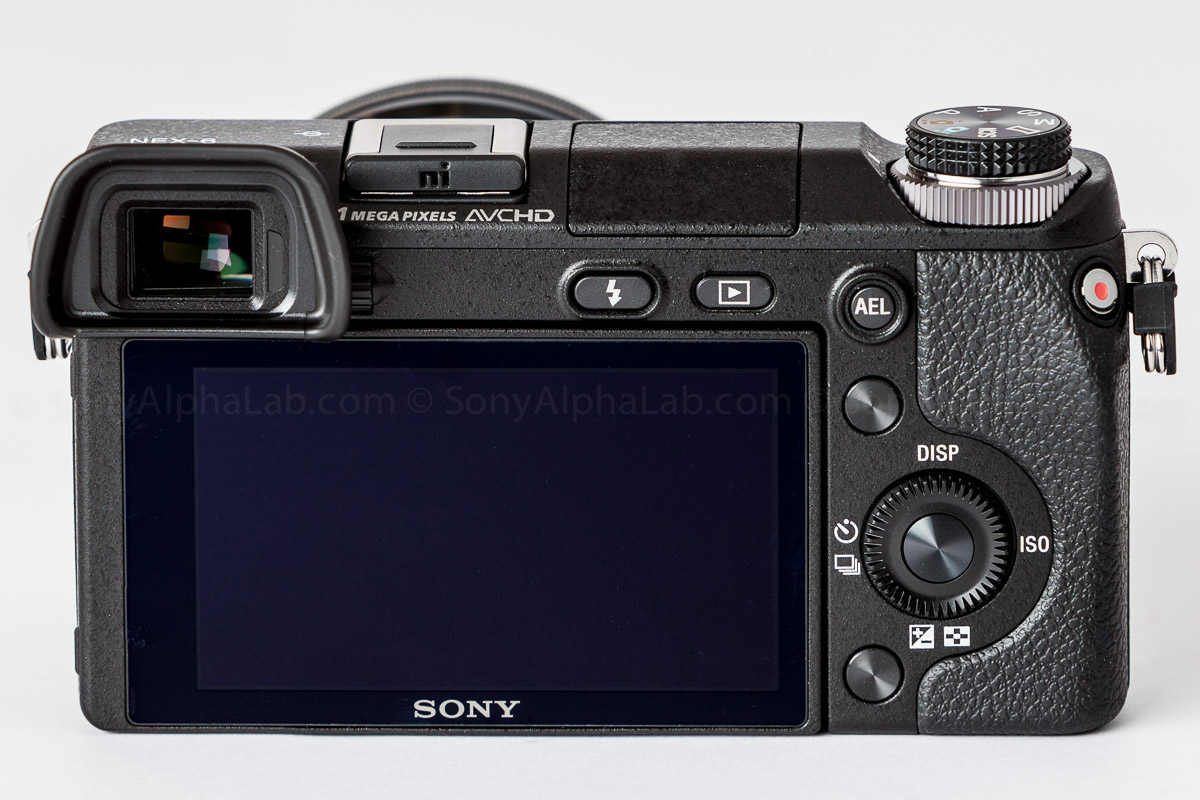
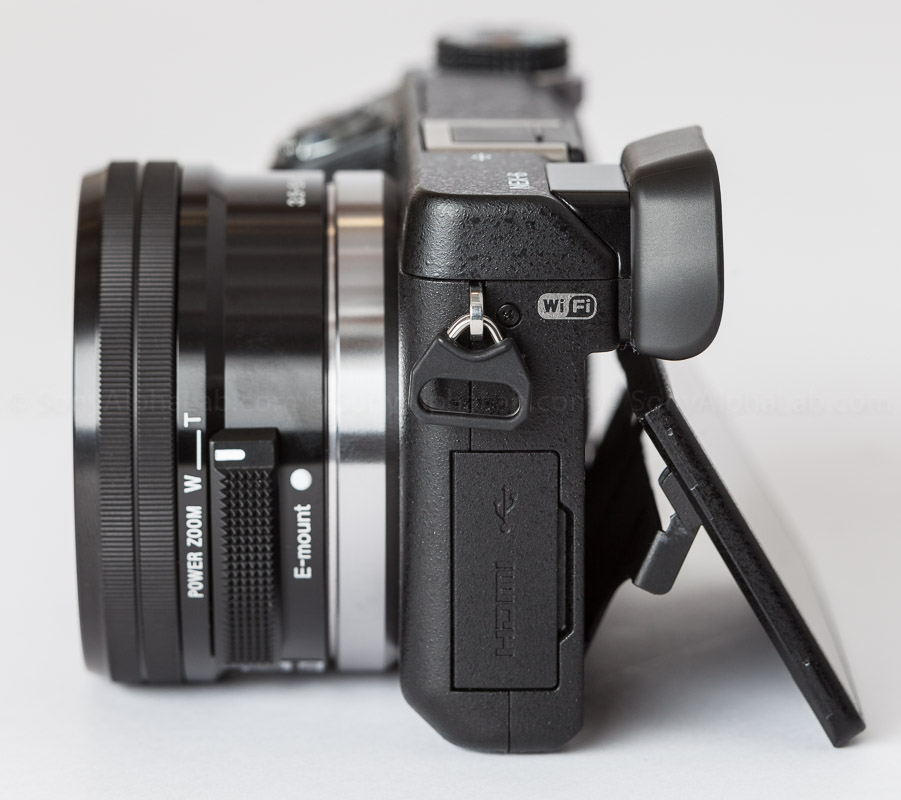
Check out the Sony Nex-6 LCD screen articulation for shooting low to the ground, at the hip, or over your head which I find lots of uses for!
Navigation and Buttons
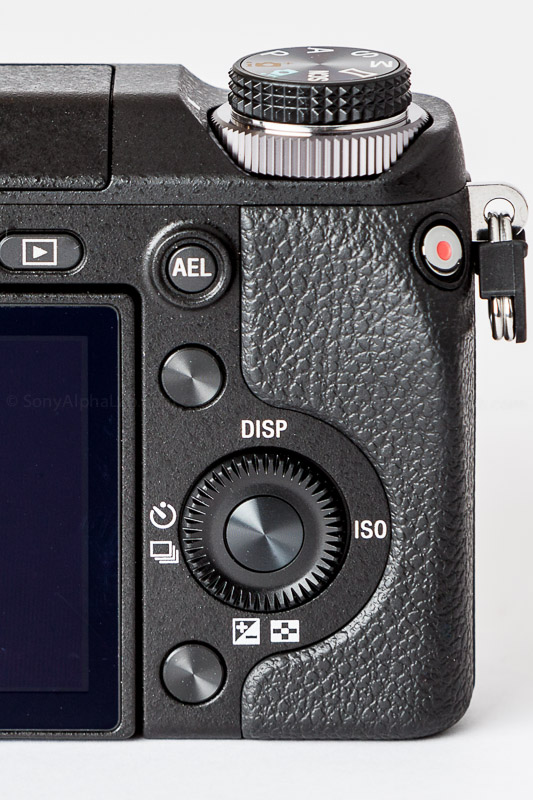
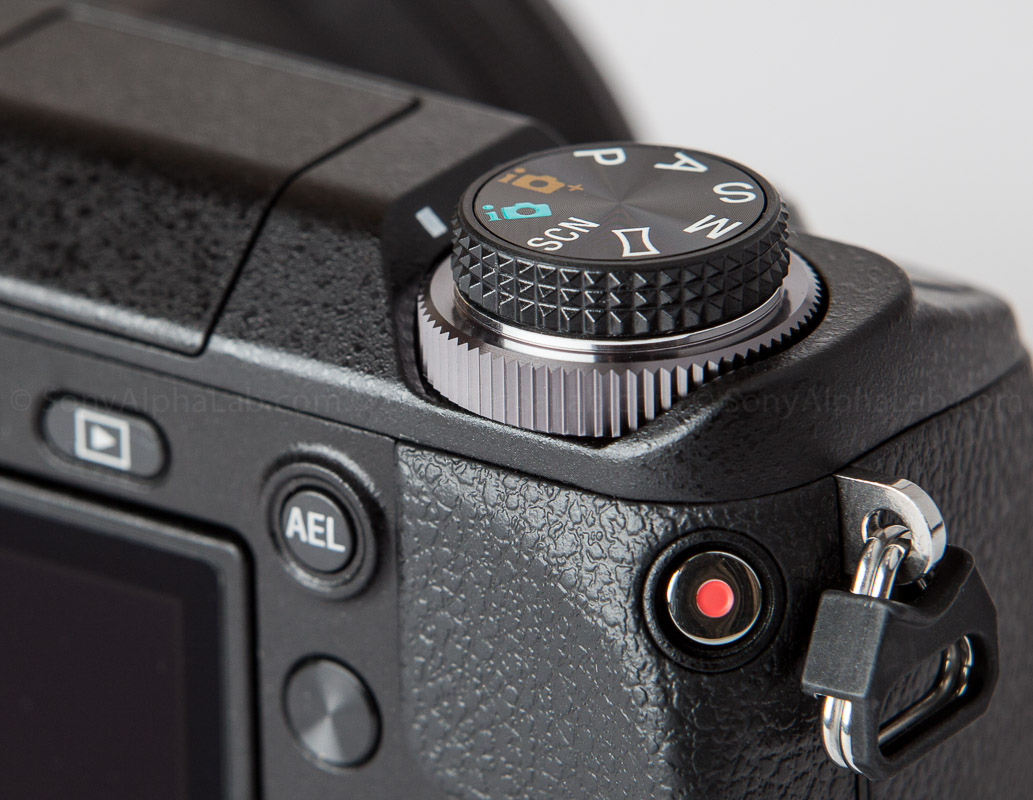
The New Quick Navi control knob up top is excellent and a very effective alternative to the Nex-7 tri-nav design, and overall huge improvement over the Nex-5n Navigation layout. The Nex-5n has a touch screen though, so it does make sense. Also notice the nice re-position of the Record button. No more accidental presses 😉
Check out ergonomically friendly thumb notch area which is also a welcomed improvement and makes it easier to hold the Nex-6 firmly with a larger lens. There is also a function button located just to the right of the shutter release. It is custom programmable with a few options which is nice! The less I have to go into the picture based menu system the better.
The Menu system on the Nex-6 is picture based on the first level and makes common sense for the most part. I personally prefer the pro oriented menus found on the Nex-7 for ex, but they are perfectly usable and have everything you need. I will create a video tutorial going over the menus in the upcoming weeks, so watch out for that!!
Default Navigation for Manual Mode:
In manual mode, the default set-up on the Sony Nex-6 is Aperture assigned to the top silver navi wheel, and the thumb wheel on the back next to the LCD screen becomes the Shutter Speed. ISO is the right hand side Push activated part of the wheel. The thumb wheel spins clockwise and counter clockwise, but also acts as a 4-way button (up,down,left,right). ISO = Right default as seen below.
Battery and Memory Card Area
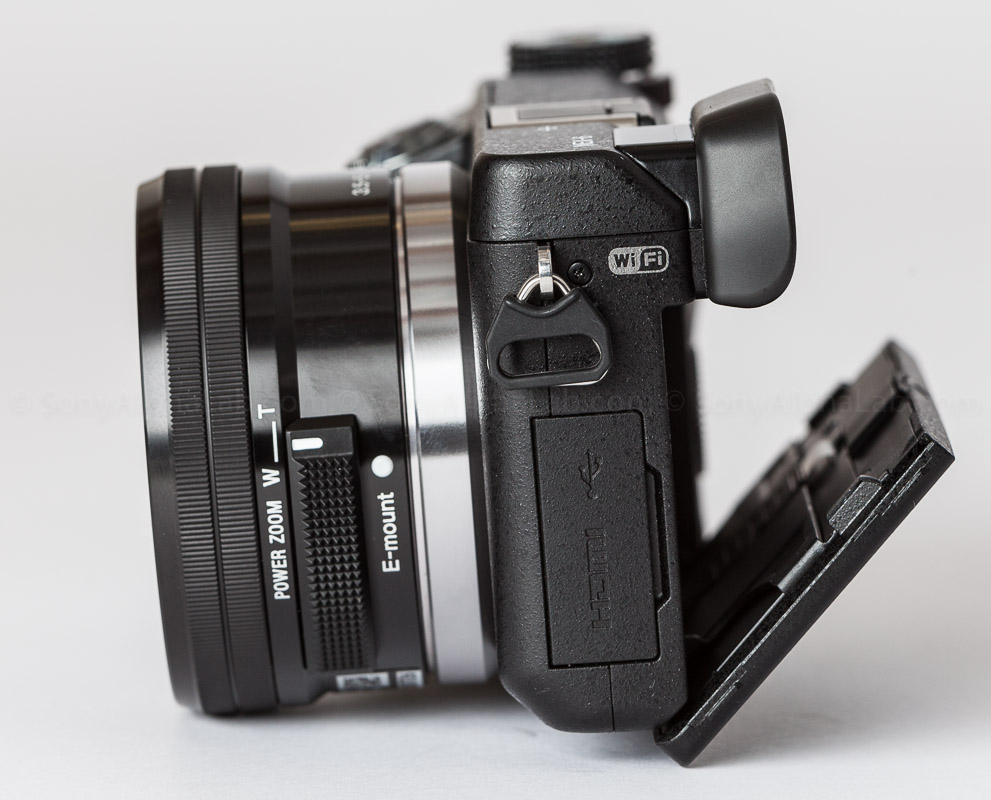
Memory Card Slot : Dual slot: Memory Stick PRO Duo™/Pro-HG Duo™/PRO-HG HX Duo™ media – SD, SDHC and SDXC memory card [/quote] The battery and memory card area on the Sony Nex-6 is pretty much the same as the Nex-7. Really not much going on other than the memory card direction faces away from the battery. In other words, the memory card logo faces towards the open battery door. The Nex-6 takes the Sony NP-FW50 battery!
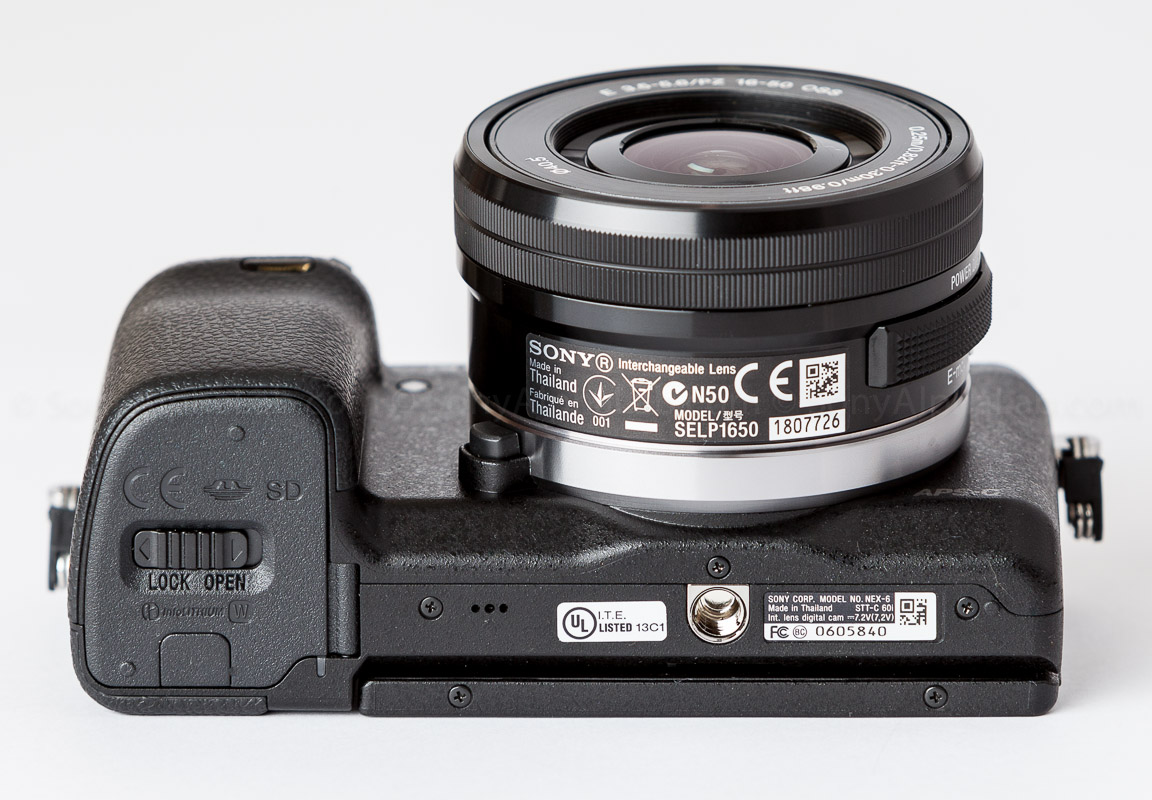
Tripod Mount and Nex-6 Bottom
The bottom of the Nex-6 is flat and fairly clean. The Tripod mount point is firm, but I would not put a large lens on and trust the mount point on a tripod!! My Gitzo Ball head quick release plate mounts up nice and tight to the bottom, and the screen still open’s with it mounted!! At first I did not think that would work and was glad to see it does. You can’t aim the screen downward though with a quick release plate mounted. At least the few I have. It sticks out the back completely blocking any downward movement.
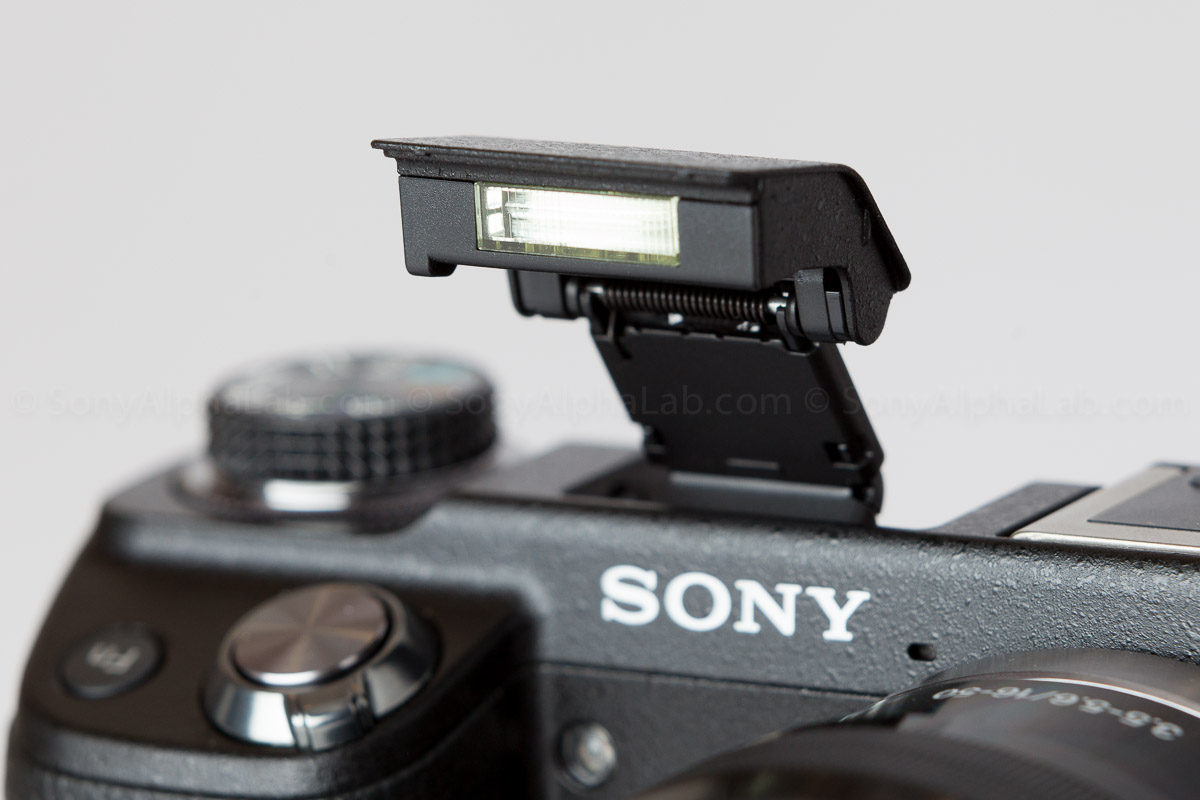
Sony On Camera Flash
- Flash Compensation : +/- 2.0EV (1/3EV steps)
- Flash Coverage : FOV coverage up to 16 mm (in the focal length)
- Flash Modes : Autoflash, Fill-flash, Rear sync., Slow sync., Rear Sync., Flash Off, Wireless (with external flash sold separately)
- Flash Type : Built-in flash. Sony ? System Flash (Compatible with Multi Interface Shoe and Auto-lock accessory shoe with the adapter (ADP-MAA (Sold separately)))
- Guide Number : 6 (in meters at ISO 100 equivalent)
- Recycling Time : Approx. 4 sec.
I did not have a chance to use the on camera flash yet, but stay tuned for an upcoming article on Using Flash with the Sony Nex-6!!
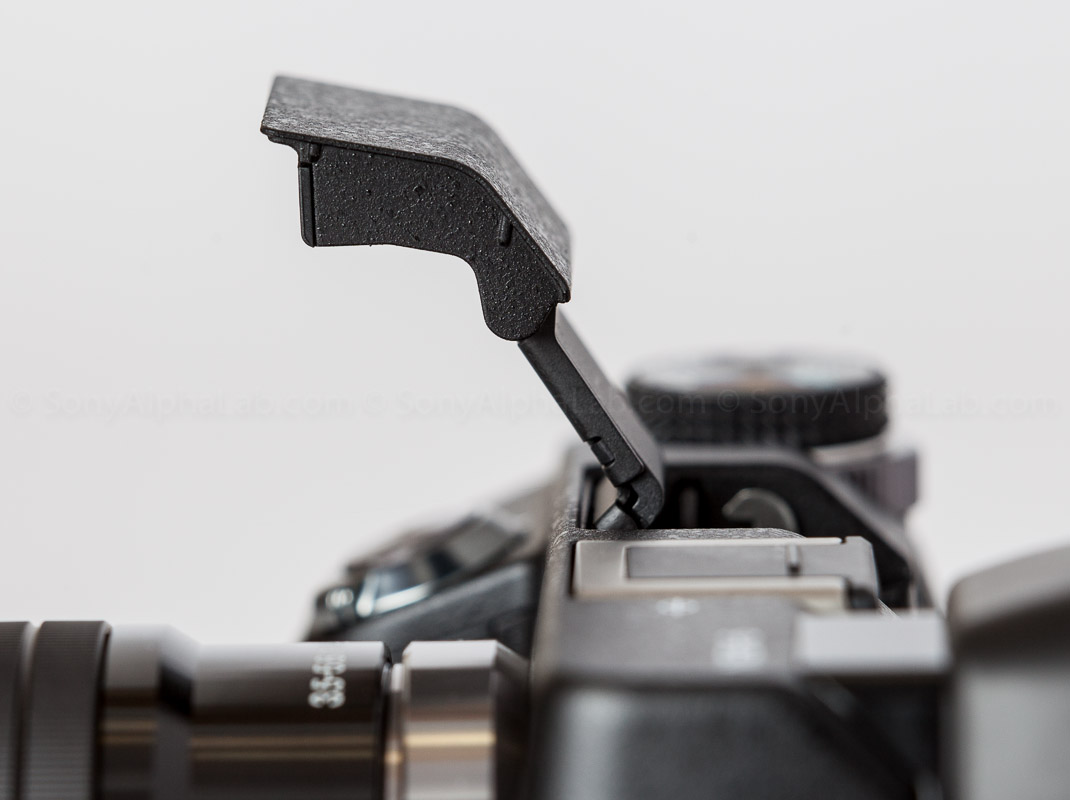
Multi Interface Shoe and EVF
I did have a chance to try the multi interface shoe with my Alien Bee Wireless Flash Transmitter and it worked flawlessly!! More to come on Off Camera Flash and Studio Lighting with the Nex-6 in future articles!!
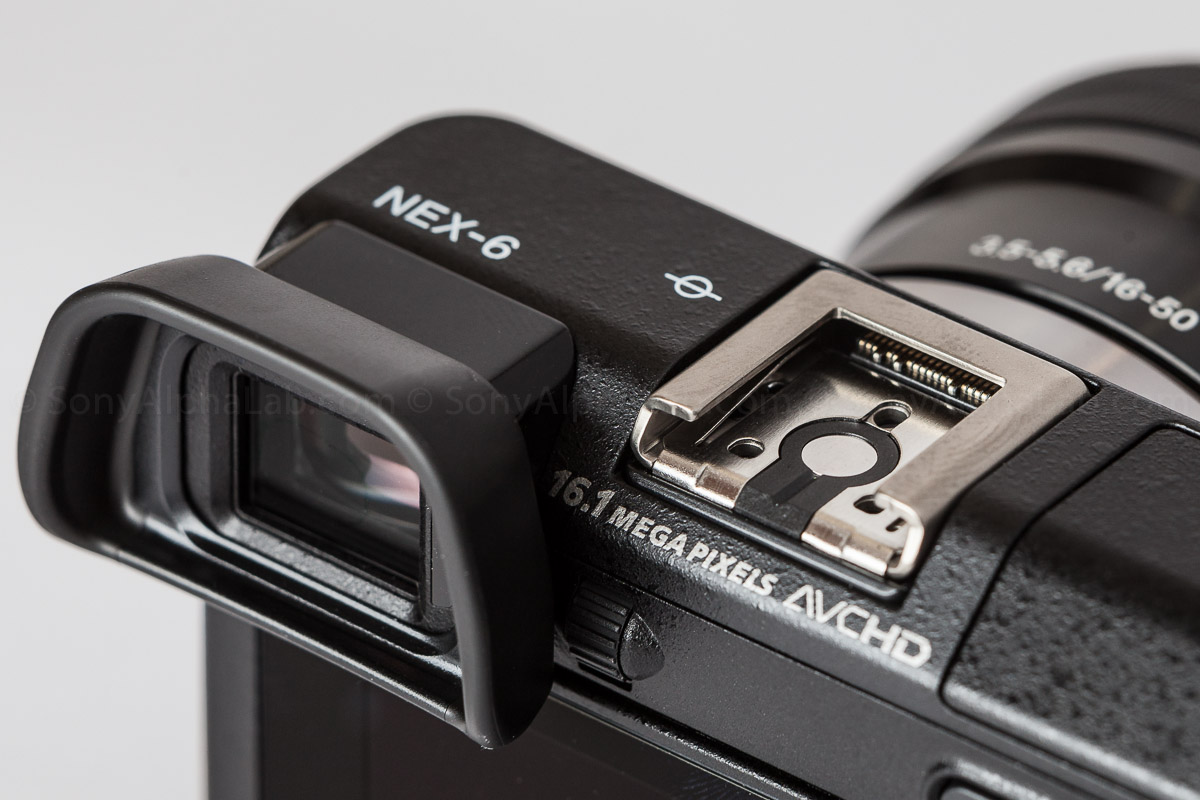
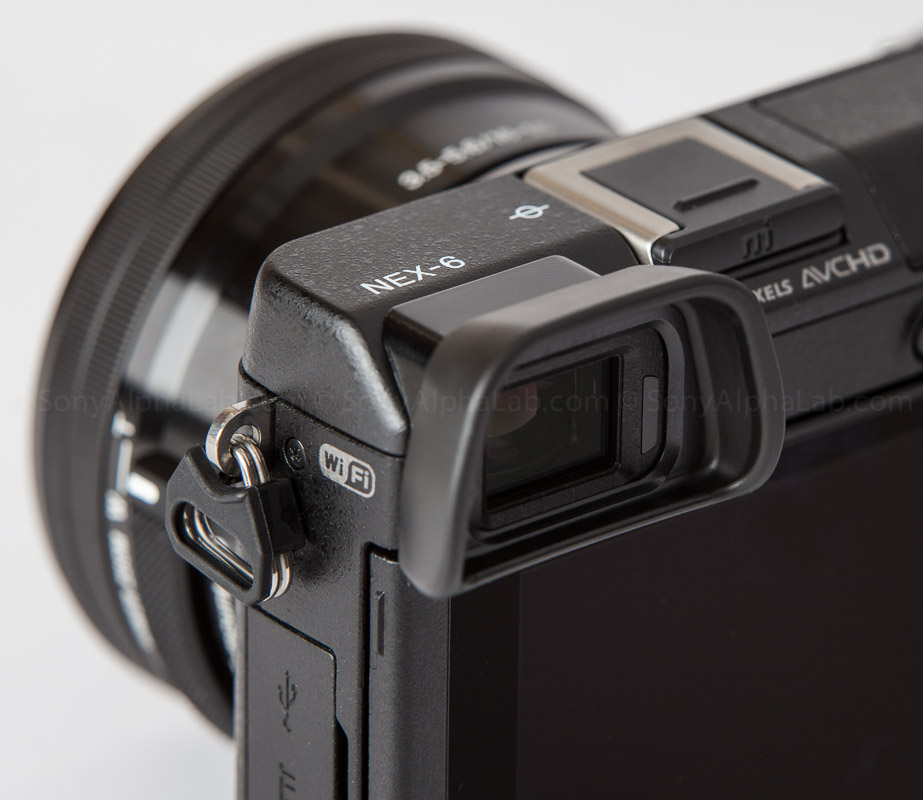
The Nex-6 EVF works great just like the Nex-7 and A77 for example. It’s very easy to see just like an optical viewfinder and updates live with no noticeable lag. The EVF also switches quickly and automatically when you put your eye up to it. The removable eye-cup piece could be a little deeper for my particular eye socket, but it’s a minor personal nit-pic really. Colors, resolution and dynamic range are all excellent on the EVF, although it eats through battery life when using it compared to the LCD screen. You only get ~270 Photos on a full chage using the EVF vs ~360 photos using the 3″ LCD screen. That is very significant and pretty poor battery life overall. This is really the only major negative I have to report about the Sony Nex-6, but it is common on the newer battery hungry cameras these days. I highly recommend having a few spare batteries!! The Sony NP-FW50 is the model that all the Nex photography cameras use 😉 [quote] EVF Specs:
- Type : 1.3 cm (0.5 type) Electronic viewfinder. 2,359,296 dots. Approx. 23mm from the eyepiece, 21mm from the eyepiece frame at -1m-1(diopter). Display: Basic info, levels, histogram. Brightness control: Auto, Manual (3 steps between -1 and 1)
- Diopter Adjustment : -4m-1 to +1.0m-1 (diopter)
- Field of View : 100% coverage
Ports and Wi-fi
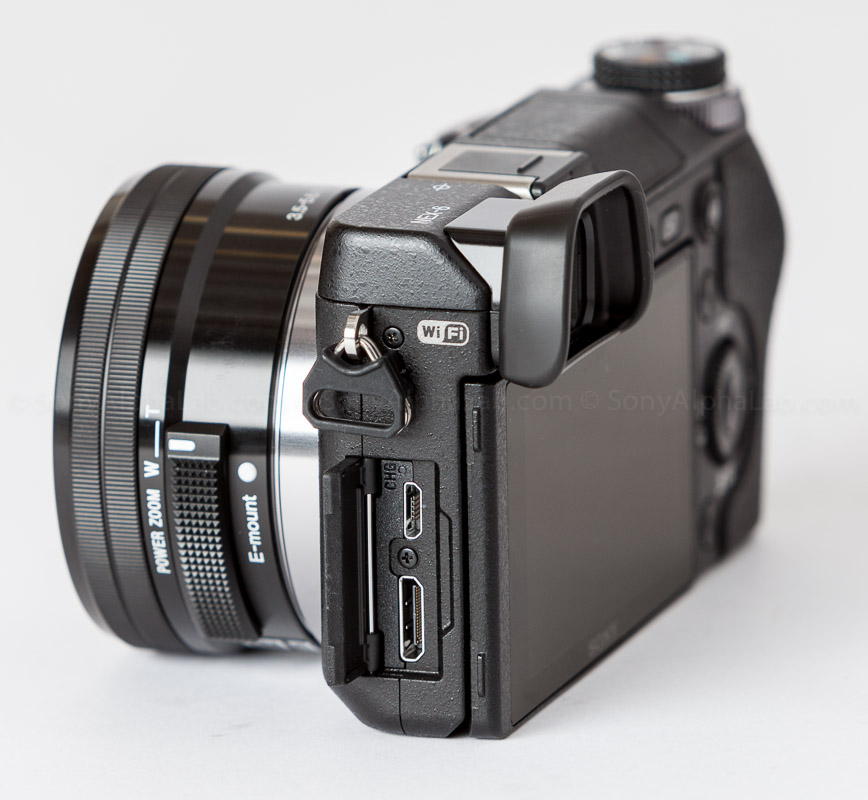
The USB port changed to a Micro size to make room for the built in Wi-Fi module located right behind it, and towards the front of the Nex-6. The HDMI Port is a (typeC mini). The Wi-Fi works, and works well!! More on that later in the review. There is also a little tiny LED just above the Micro USB port to indicate the the camera is charging. It will go out when the charge is complete. If the led is flashing the charging stopped most likely do to overheating.
The Sony 16-50mm f/3.5-5.6 Power Zoom Lens
The Sony SELP1650Lens works pretty good overall, but is odd to me zooming in and out with a toggle button on the side of the lens. I found it easier to use the lens ring itself for precision zooming. It was much faster and seemed easier to fine tune. Very similar to the Sony DSC-Rx100 lens in that respect. [quote]
- Lens Type : E-mount 16-50mm F3.5-5.6
- Lens Mount Type : Sony E-mount lenses
- Aperture (Max.) : f/3.5-5.6
- Aperture (Min.) : f/22-36
- Digital Zoom : Approx. 4x (still images and movie) Smart Zoom (M: approx. 1.4x, S:approx. 2x)
- Smart Zoom® Technology : M: approx. 1.4x, S:approx. 2x
- Focal Length (35mm equivalent) : 24mm-75mm (35mm equivalent)
- Filter Diameter : 40.5mm
- Lens Groups-Elements : 8 groups, 9 elements (4 aspheric surfaces)
- Minimum Focus Distance : 9.8″ (0.25m)
- Angle of View : 83o – 32o
- Aperture Blade : 7 blades (Circular aperture)
- Aspheric Elements : (4 aspheric surfaces)
- Dimensions (Max. Diameter x Length) : 2-5/8″ x 1-13/16 (64.7 x 29.9mm)
- Distance Encoder : Yes
- Exterior Finish : Black
- Internal Motor : Yes (Stepping motor)
- Lens Weight : 4.1 oz (116g)
- Maximum Magnification : 0.215x
- Steady Shot Mode:Active : Lens-based Image Stabilization (OSS)
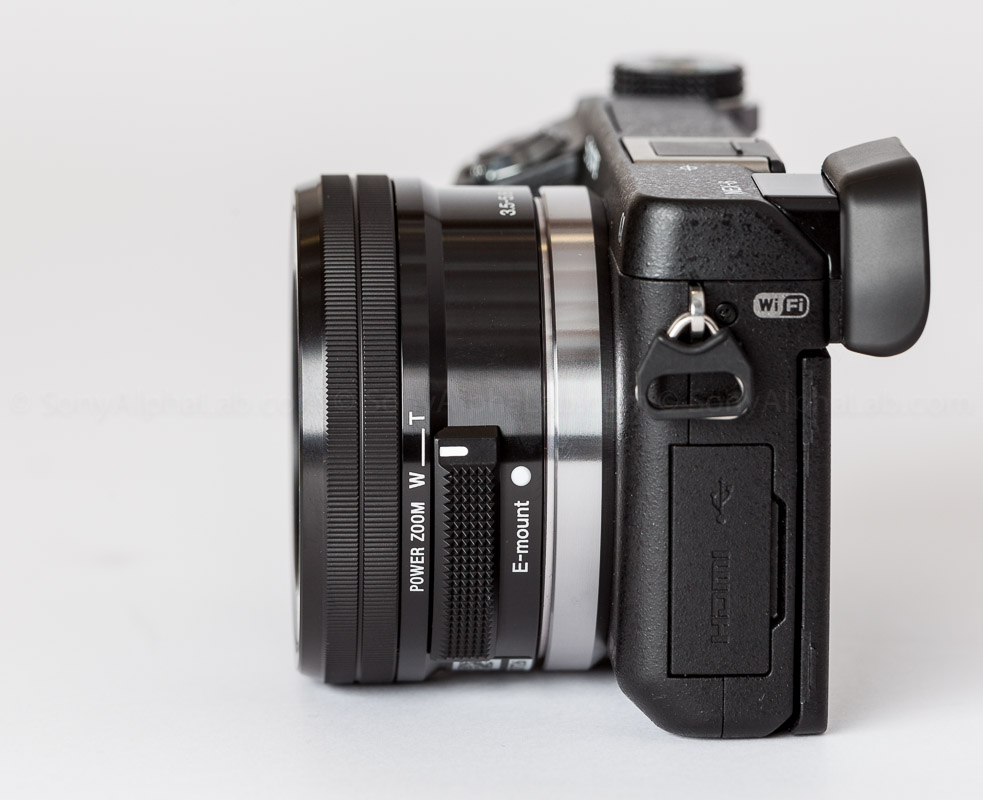
Here is what the Sony E-Mount 16mm power zoom lens looks like OFF in it’s most compact position.
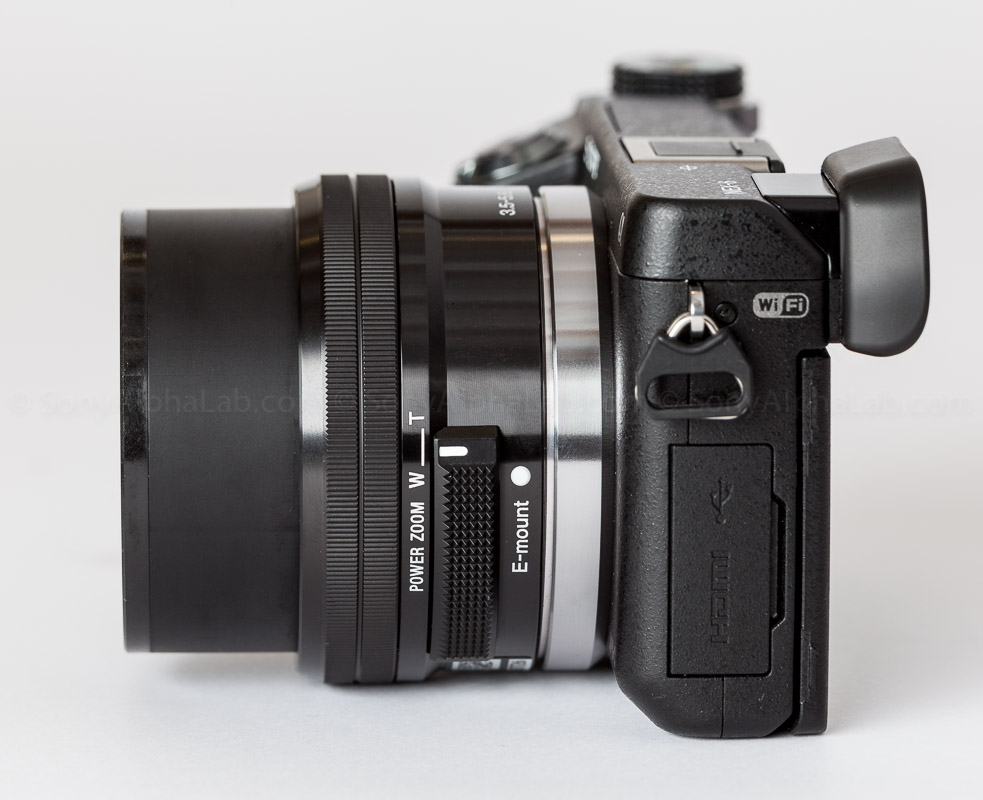
And here she is turned ON. The zoom movement really doesn’t change the length of the lens much at all as most of the movement is internal to the lens.
Sony Nex-6 Review | Video Version
Sony Nex-6 Sample Photos Using Jpeg Fine
The Sony Nex-6 takes a great picture due to the huge 16.1MP Exmor APS-C Size CMOS Sensor located in the belly of the beast. The optics in front of the huge sensor make all the difference in the quality of output. You can potentially put any lens on the Sony Nex camera system, so clearly a $1000 dollar lens is going to yeild better results than the ~$350 dollar SELP1650 kit lens. This is important specifically as it relates to sharpness, contrast, color, and even dynamic range to a smaller degree. I have tons of sample photos using some high quality Canon L Glass which really shows you what the sensor is capable of. When you see those in comparison to the 16-50mm power zoom lens photos, it’s almost laughable at the difference in quality. It really is night and day and you need to keep this in mind when judging a cameras sharpness and actual resolution ect.. That being said, the 16-50mm lens is 1/3rd the price and has a powered zoom which is pretty awesome for video. It also pumps out a pretty good photo overall, but has some flaws we will discuss in more detail below with sample images to reference. The lens flaws are much more noticeable when shooting Raw, because the lens correction profile information is only applied to the jpeg files. It’s important to note that when looking at the raw files on the Nex-6, you are actually seeing the Jpeg preview with the lens profile corrections applied. You will not see that once the photos are on your computer though as the raw files don’t have the profile applied to it. It’s “RAW”!!
Sony Nex-6 Sample Photos Using Jpeg Fine Quality and 100% Crops!!
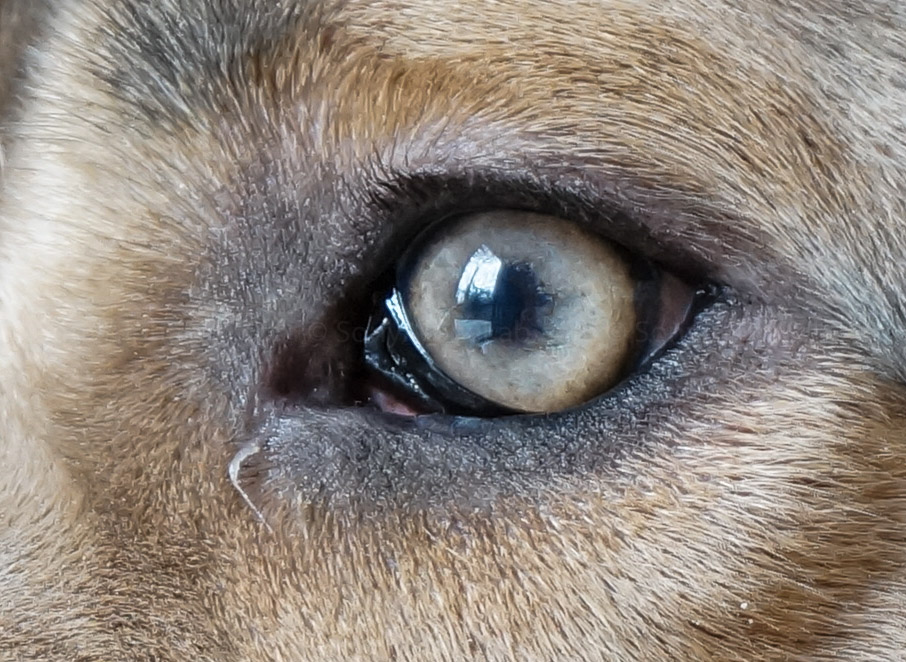
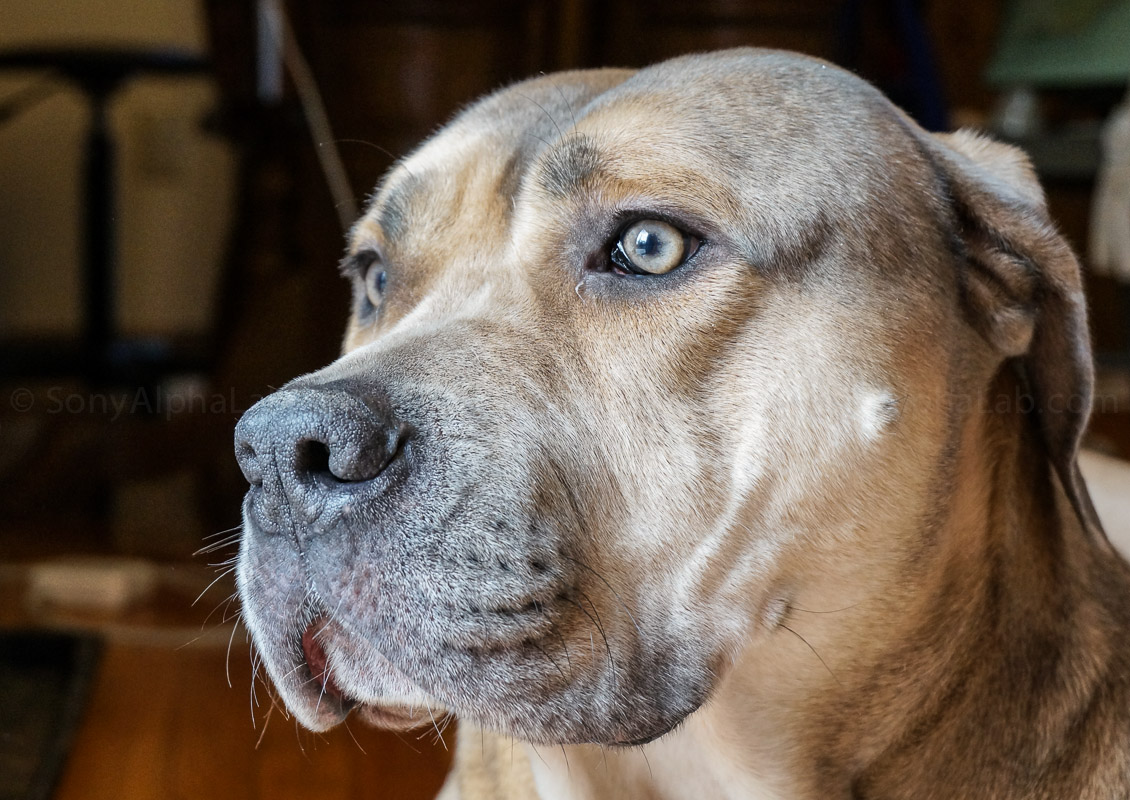
One of the first photos I took for this Sony Nex-6 Review was my buddy Chubs who happened to be laying by the door like the lazy dog he is 🙂 He really is the best!! This photo of chubs was taken at ISO 1000 and the detail is retention is excellent!!
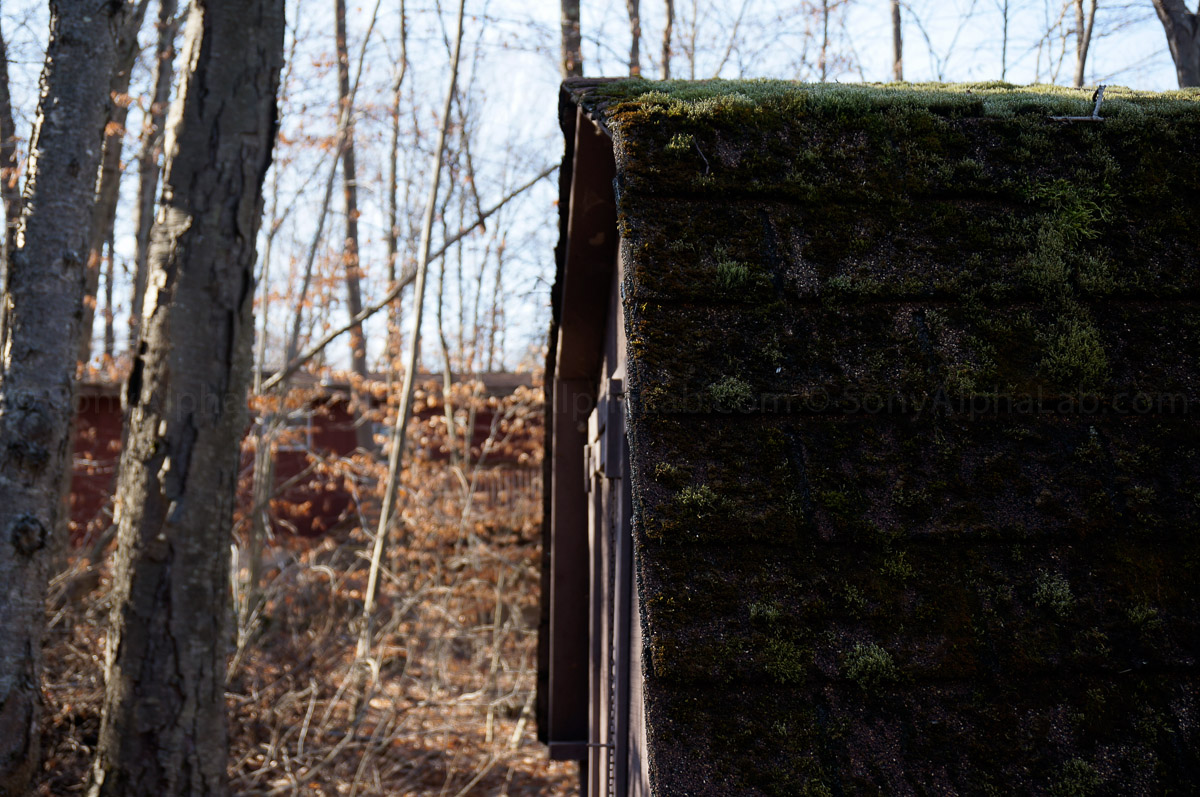
For this next scene I was testing the Dynamic Range of the Nex-6 while shooting in Jpeg Fine mode. It did a really good job in both the shadows and highlights. Better than I expected for jpeg quality.
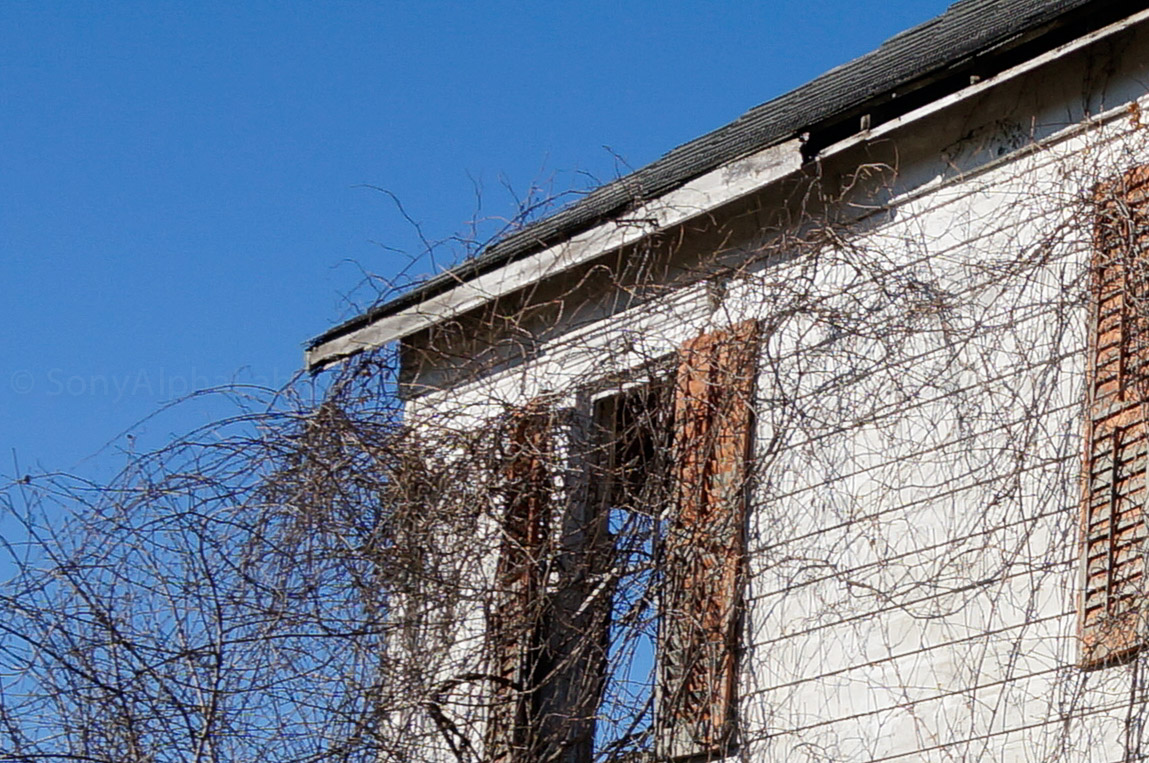
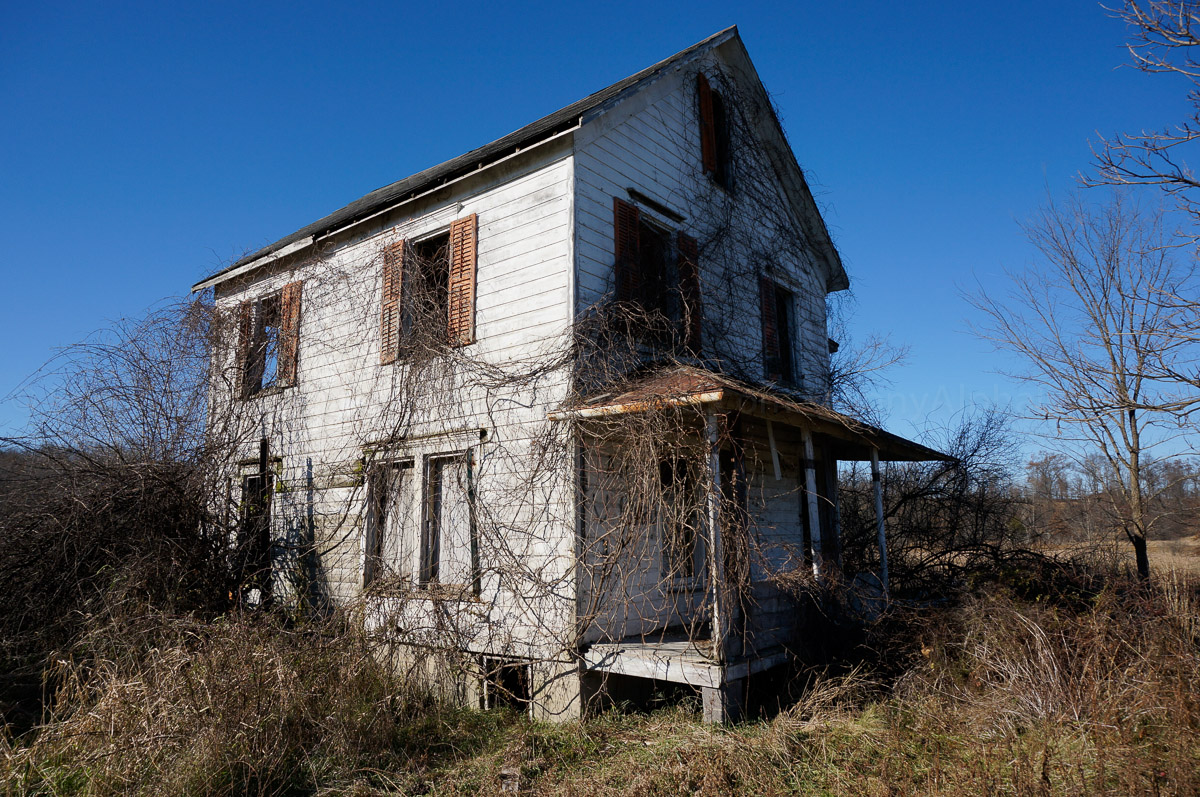
Next we have a really bright creepy abandoned house in the early morning with a brilliant blue sky for a nice contrast and background color.
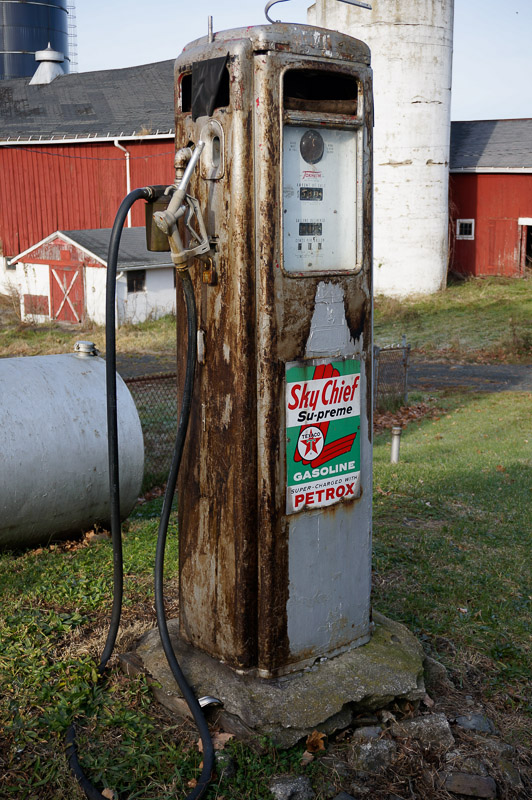
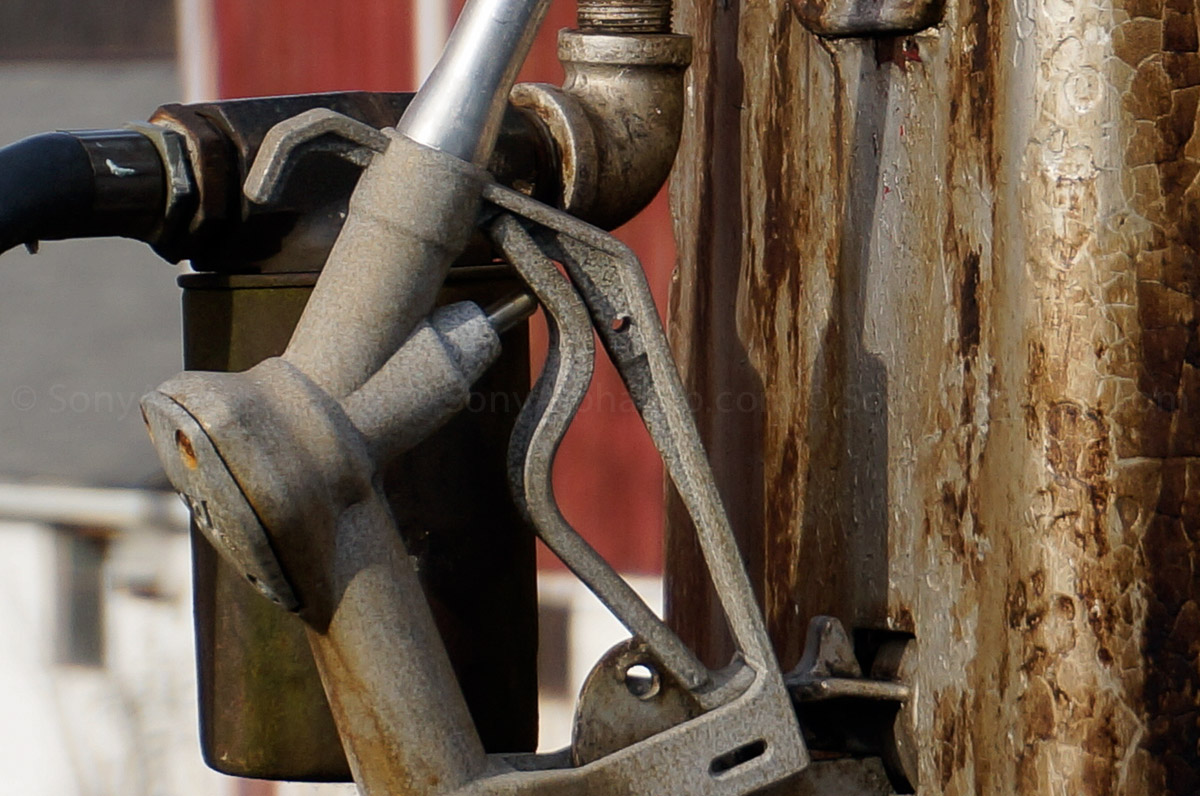
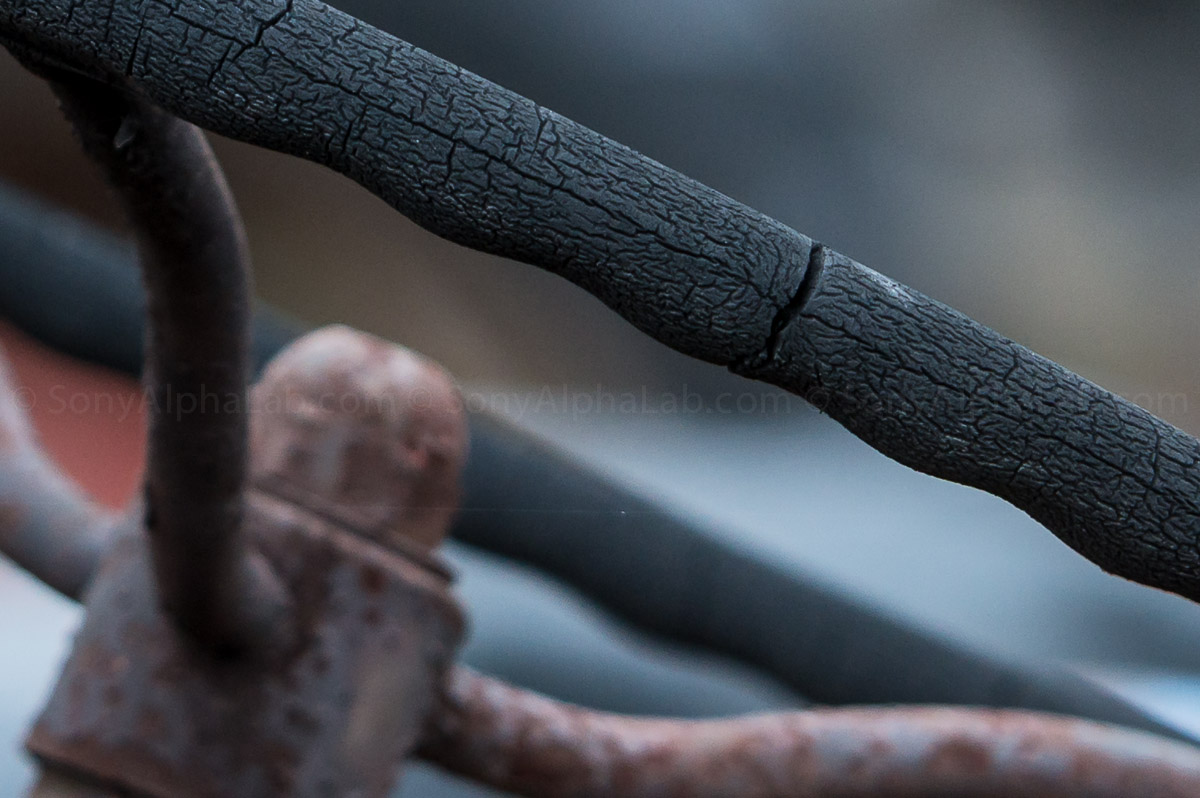
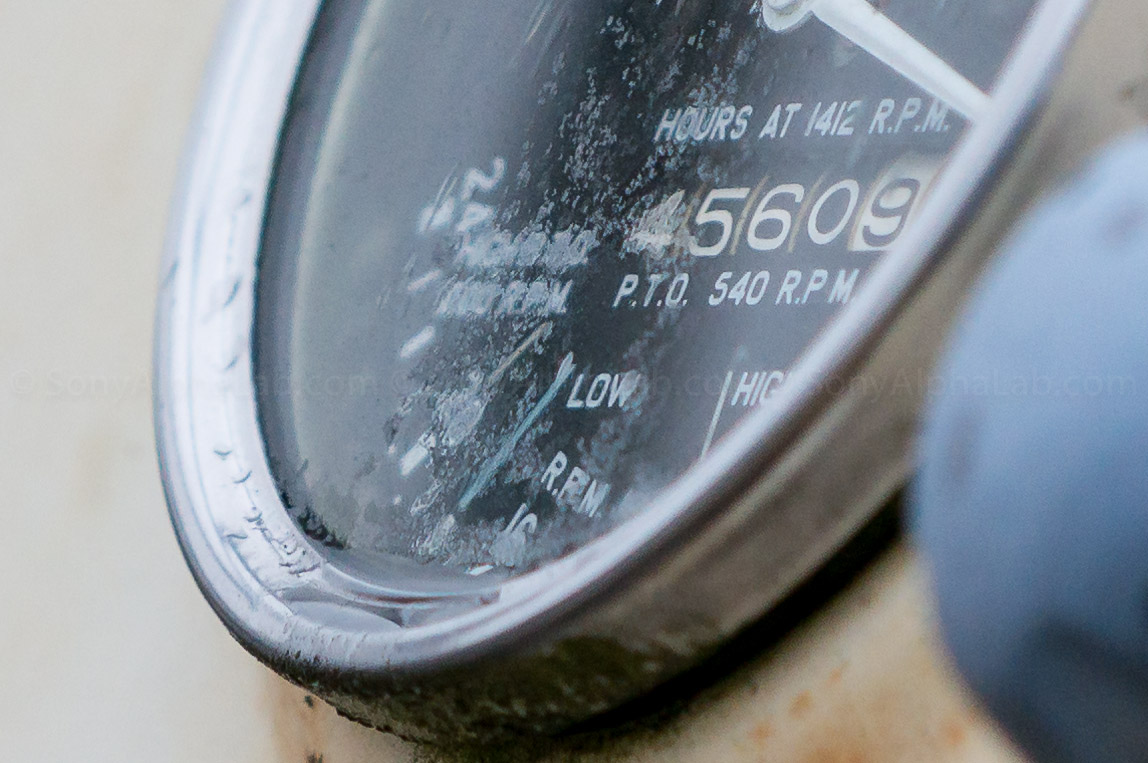
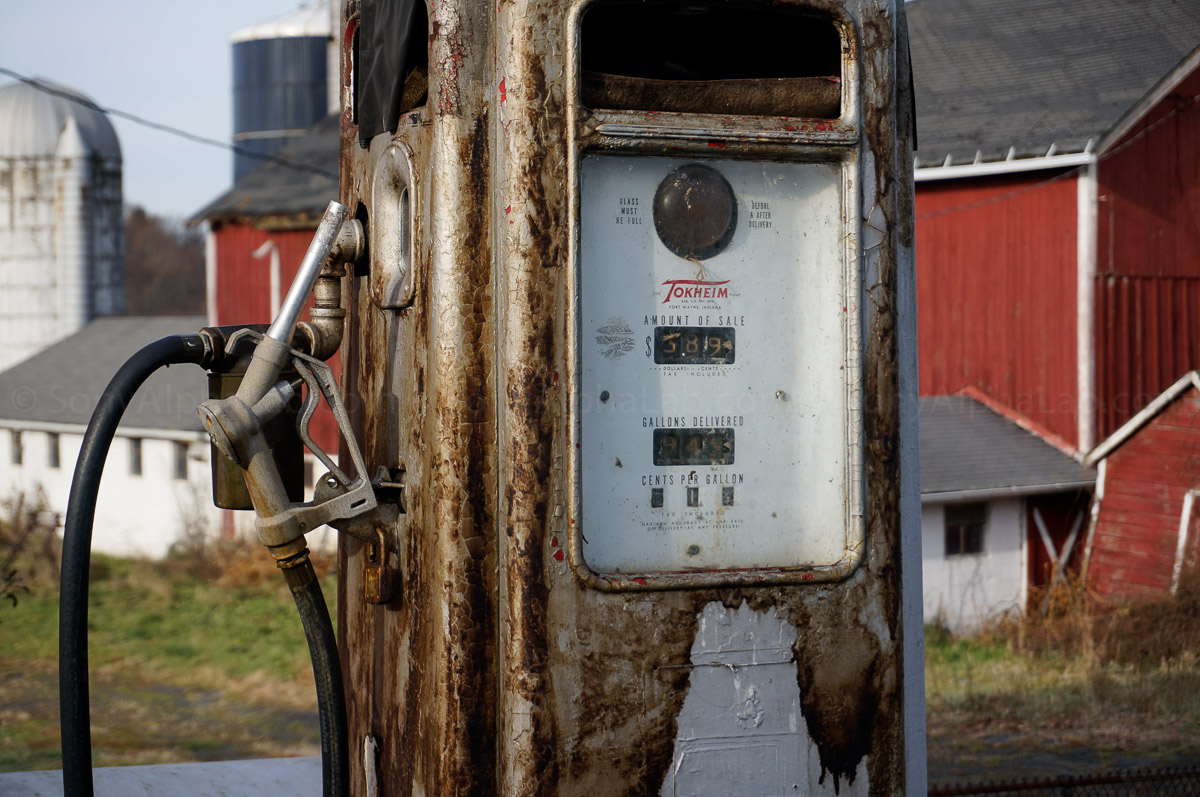
I found a pretty nice old gas pump on an old farm property and will definitely be back to compare lenses with this subject!! Zoomed in to 28mm for this 1st photo.
Zoomed in to 50mm for this 2nd photo.
This next scene was very colorful and highly detailed!!
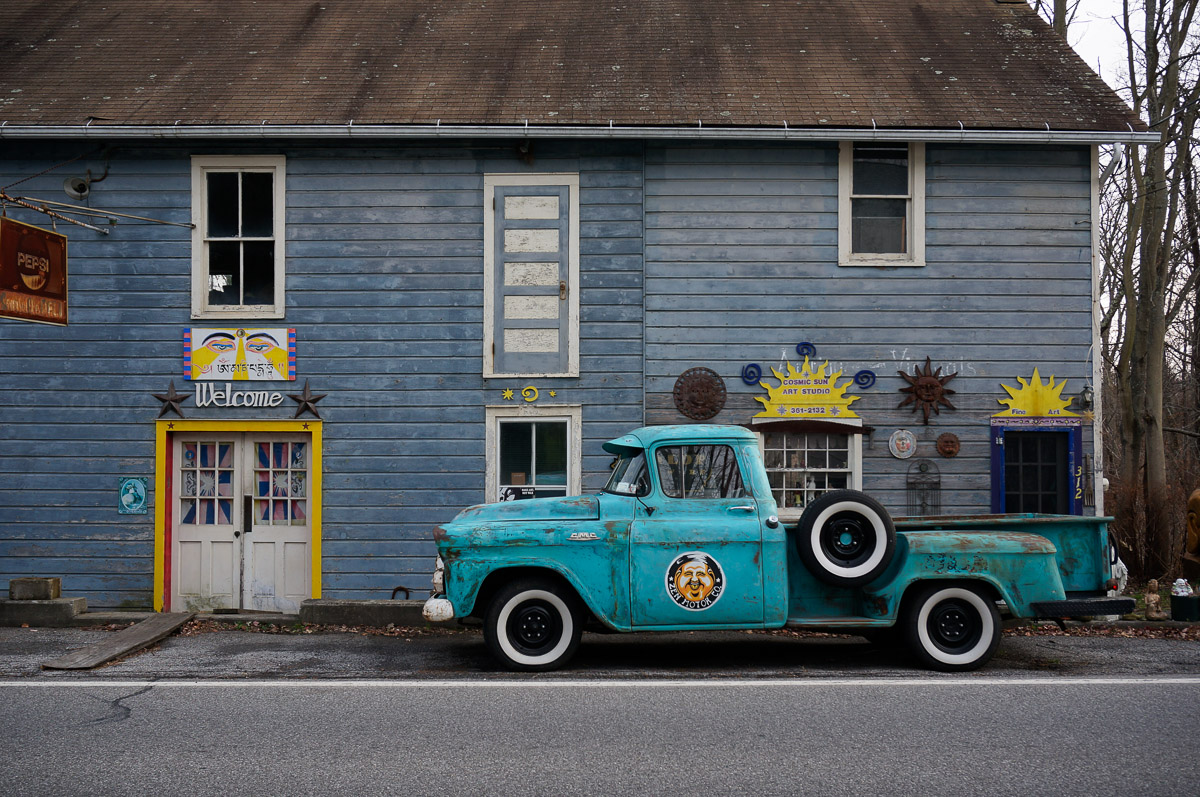
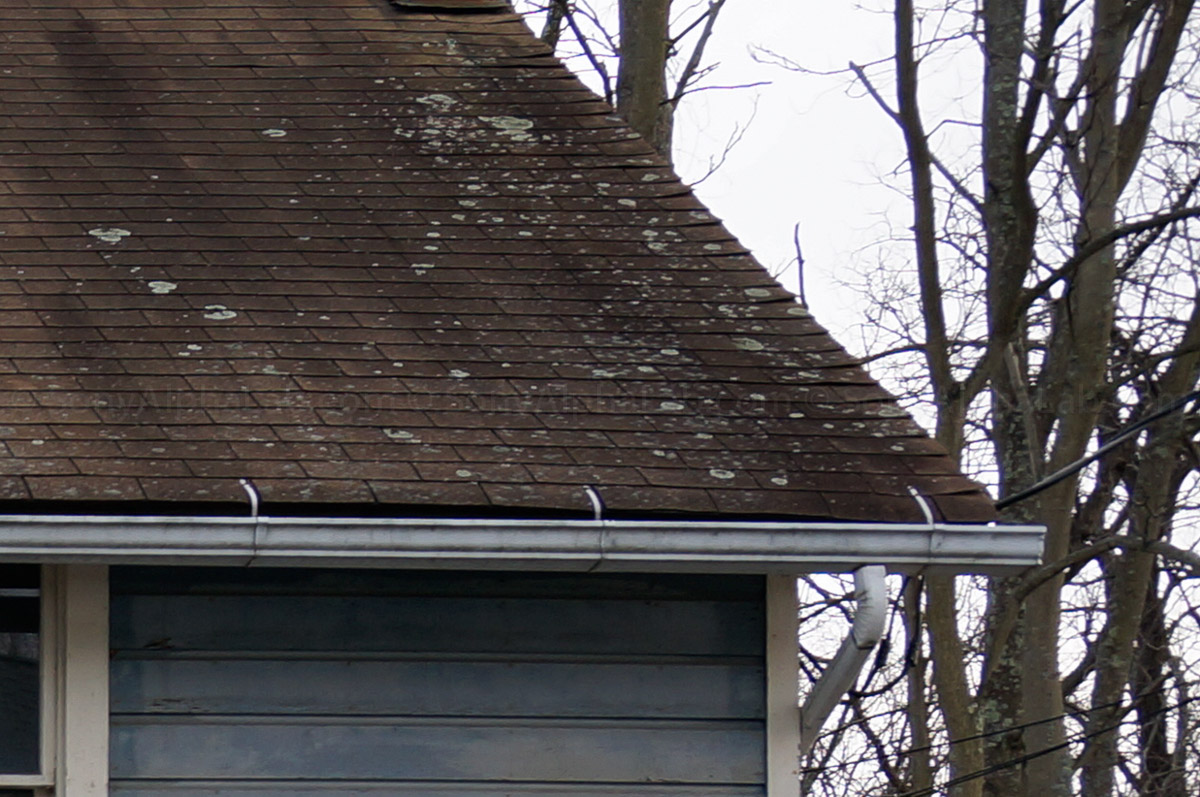
As you can see from these jpeg images, the colors are vibrant, highlight detail is pretty well protected and shadow detail is very good. The sharpening is a bit much as well as the noise reduction on Higher ISO images as you will see later. I much prefer shooting Raw and developing the files myself as the results are more to my liking than the straight off the camera jpeg images.
Sony Nex-6 Raw Sample Photos Using 16-50mm Lens
Now for some Sony Nex-6 Raw files!! I used Adobe Lightroom 4 to develop the Nex-6 Raw files and they look fantastic strait off the camera. Keep in mind as mentioned earlier that Raw files are not developed strait off the camera like the Jpeg images are. You basically have to do the developing yourself to a degree, which gives amazing power and flexibility in return. What I did with these photos below is very basic and I will create a video tutorial when I finish this review to show you exactly how and what I did in Lightroom 4. Stay tuned for that. For a quick crash course, or for those familiar with Lightroom 4, basically what I did was slightly adjust the contrast, added a little sharpening, a touch clarity, and vibrance, lens distortion correction if applicable, and lastly a slight crop on a few.
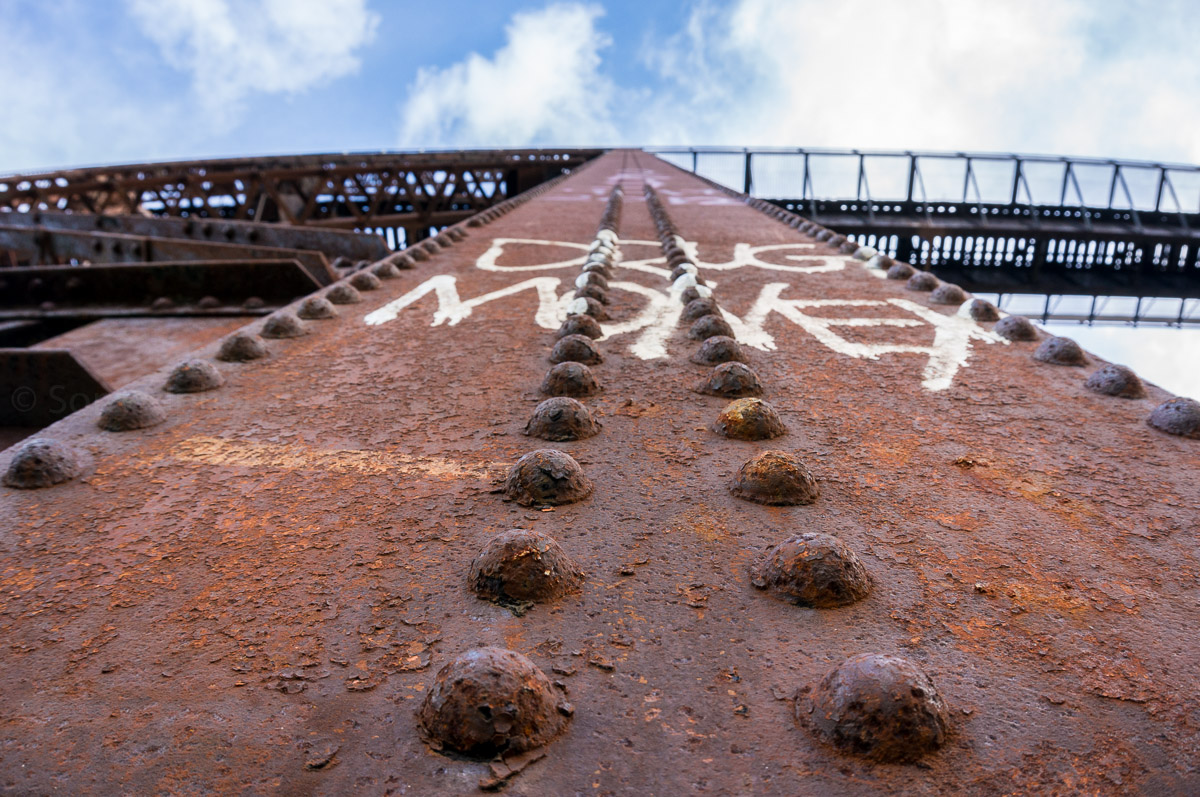
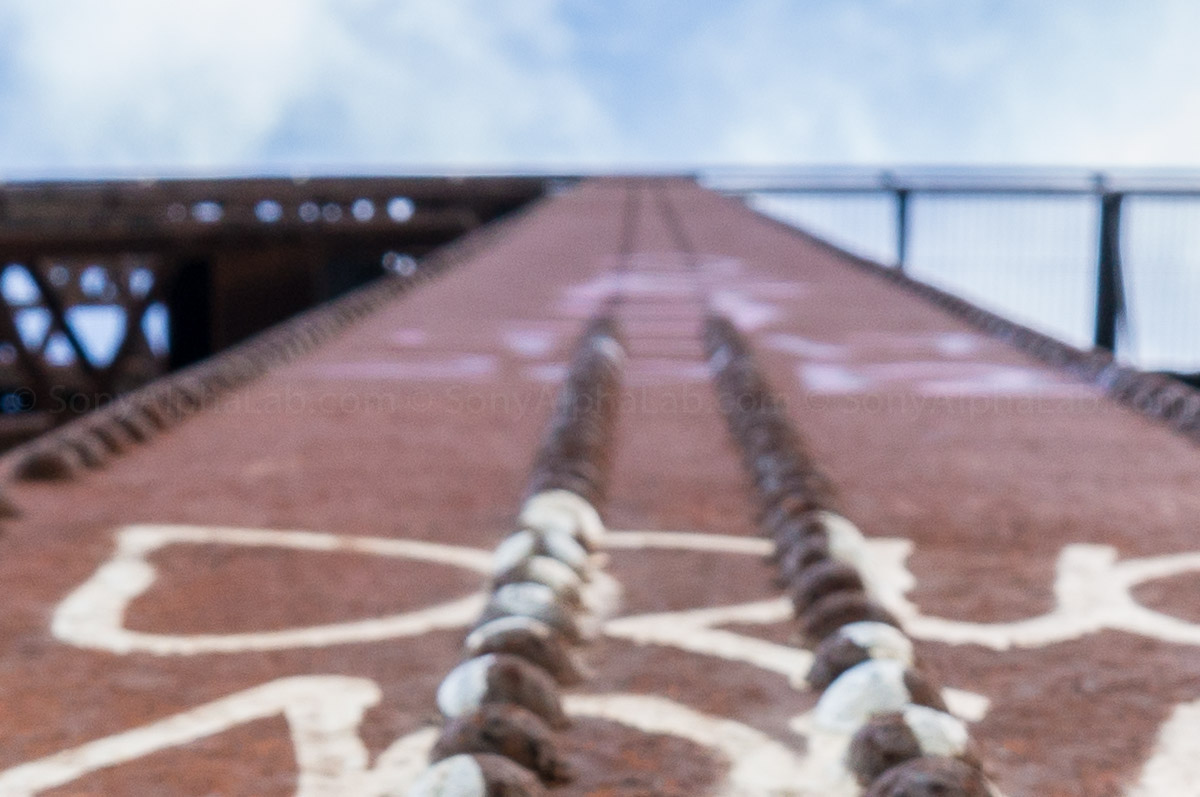
Here is another angle of the bridge with No Lightroom Corrections applied to the Raw file. Notice how at 16mm the lens flaws are very noticeable!! It’s really not that bad, but way more noticeable than when shooting in jpeg mode. The built in lens profiles on the Nex-6 do a pretty good job fixing these flaws, but when shooting raw the profiles are not applied to the files.
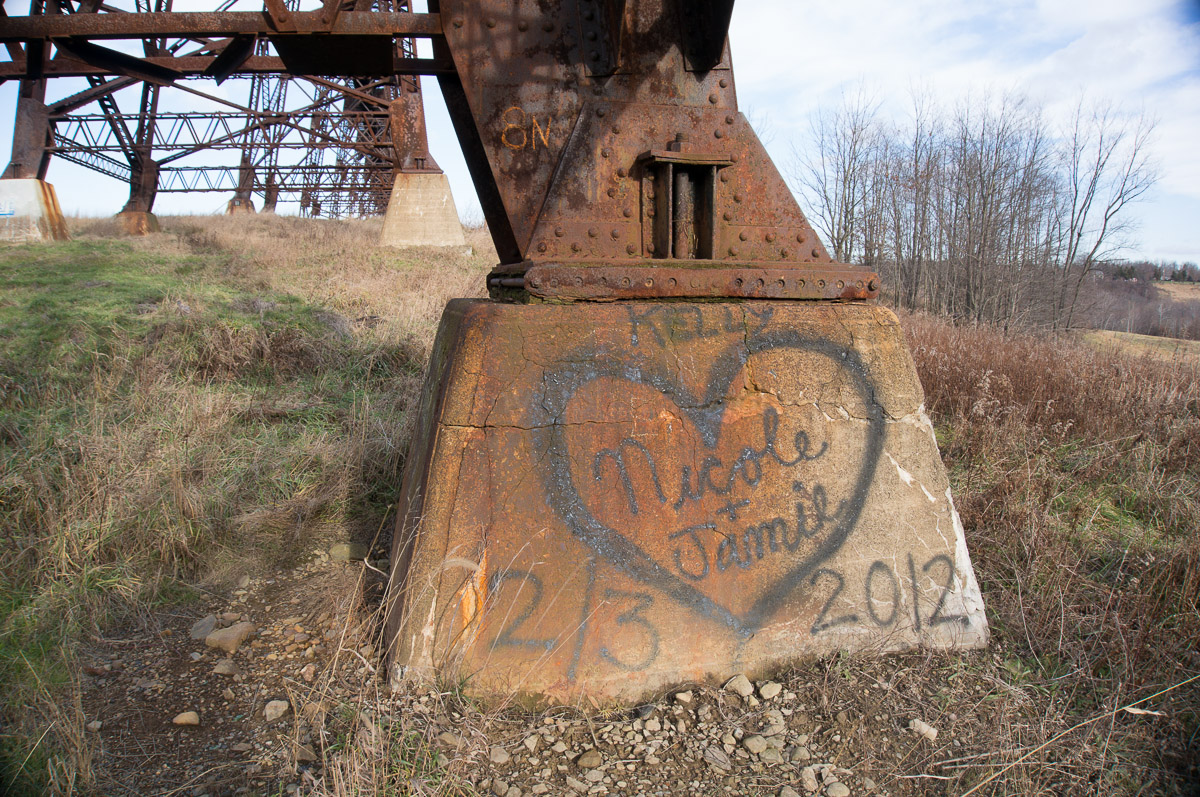
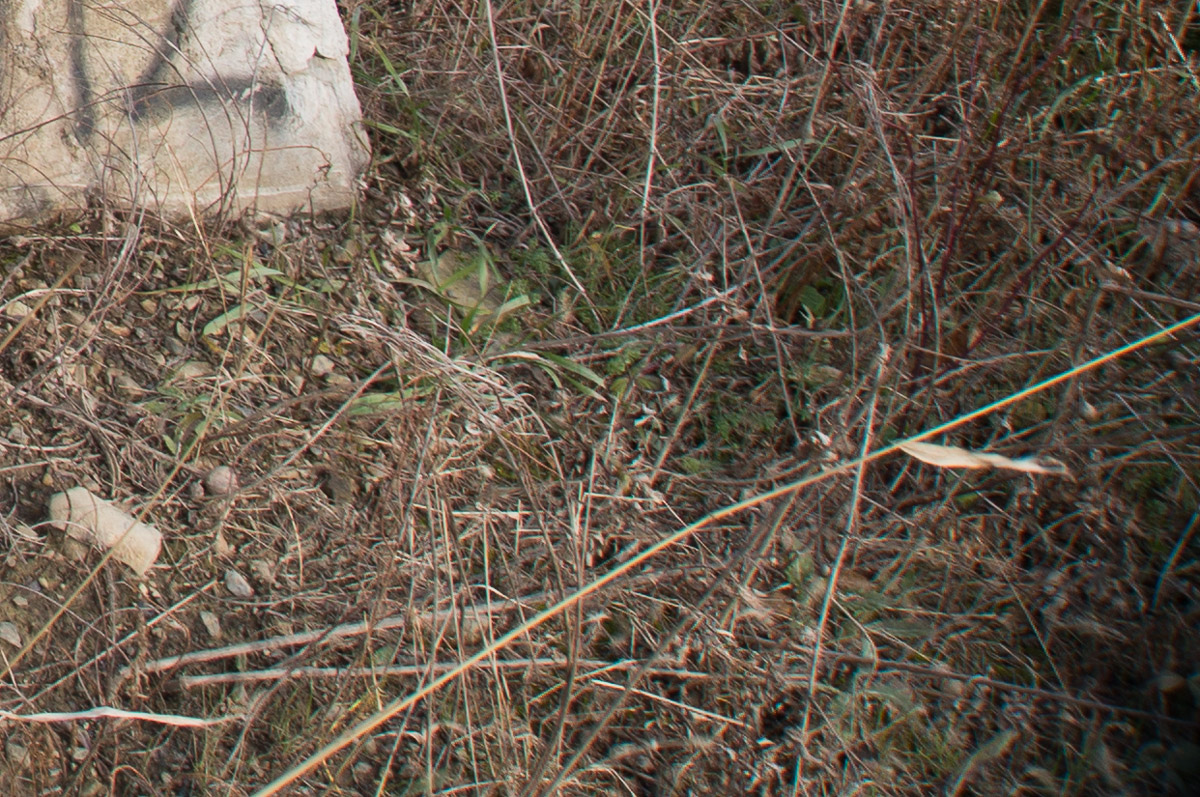
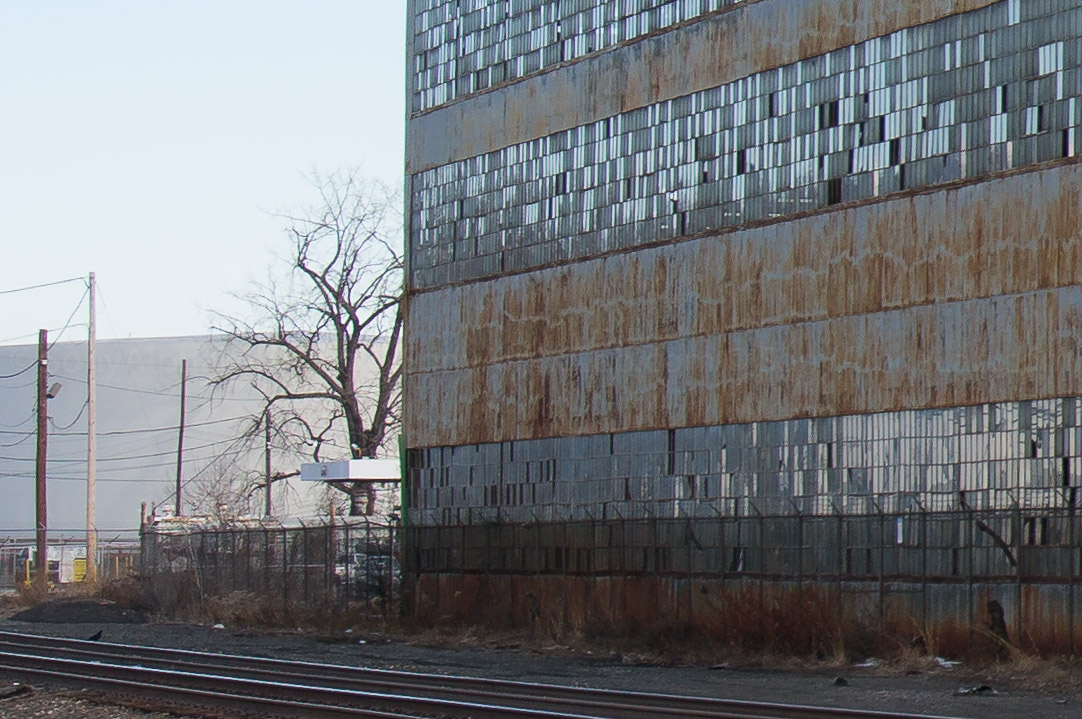
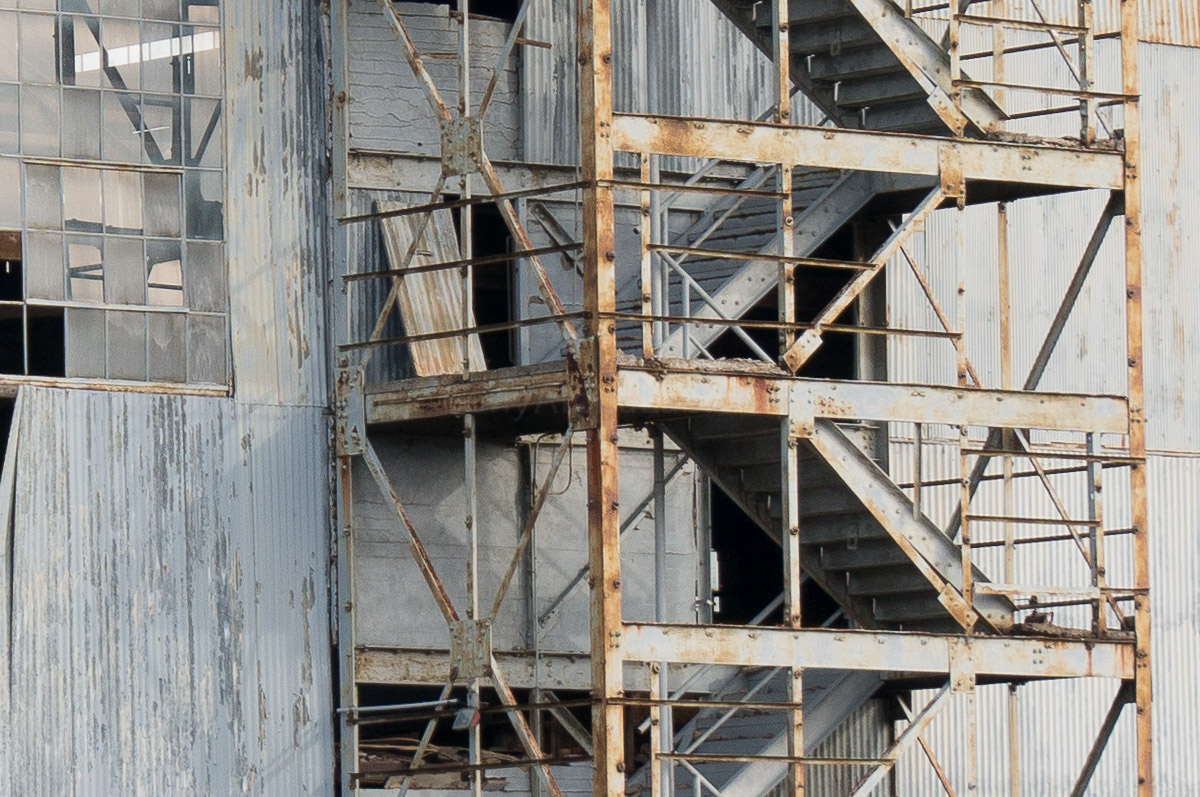
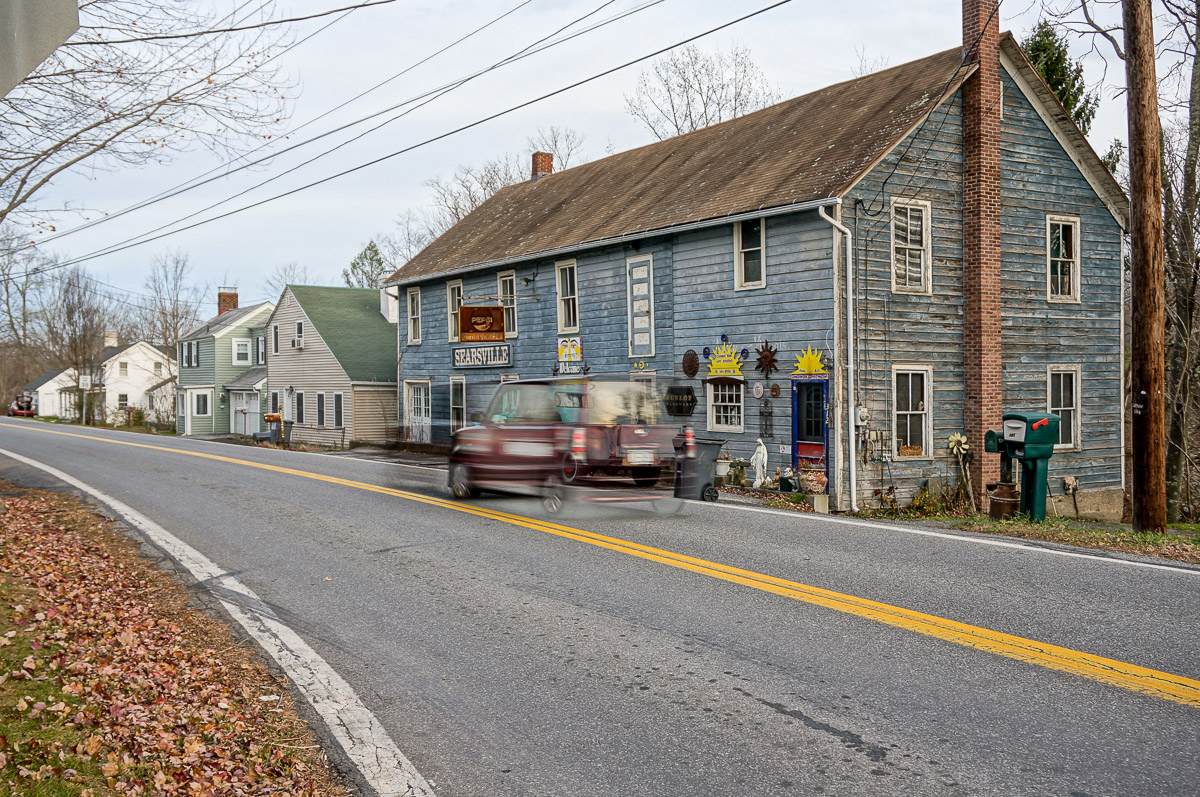
These next few images were taken by the Hudson River over in Newburgh, NY. It used to be a place of great industry, but due to the evolution of technology and whatever else, they are abandoned all over the place and have been for as long as I can remember. These photos were shot handheld leaning out the window of my car.

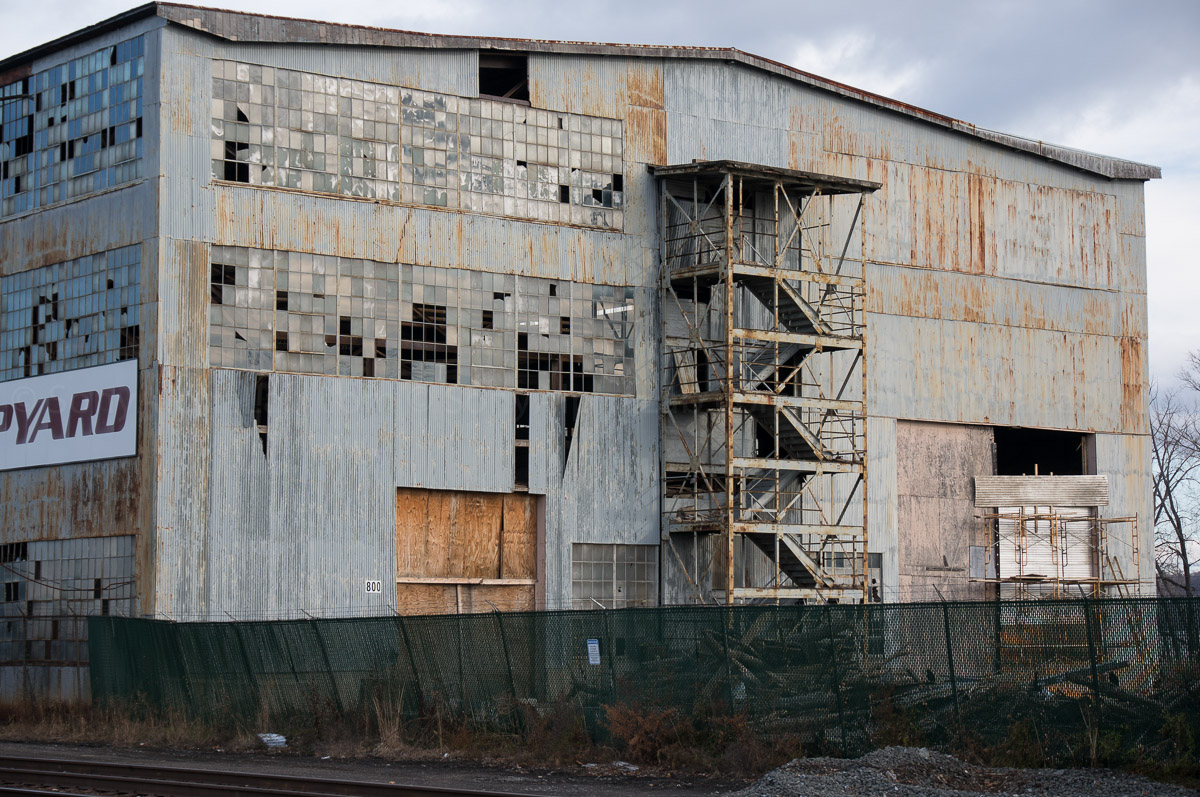
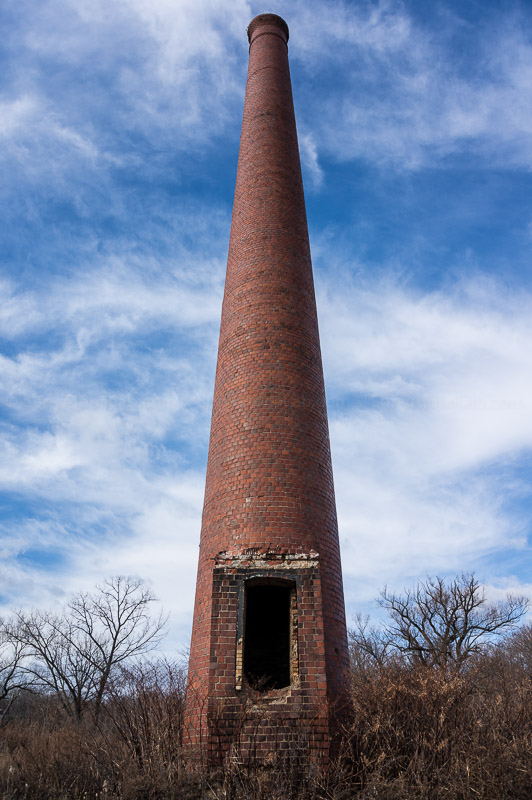
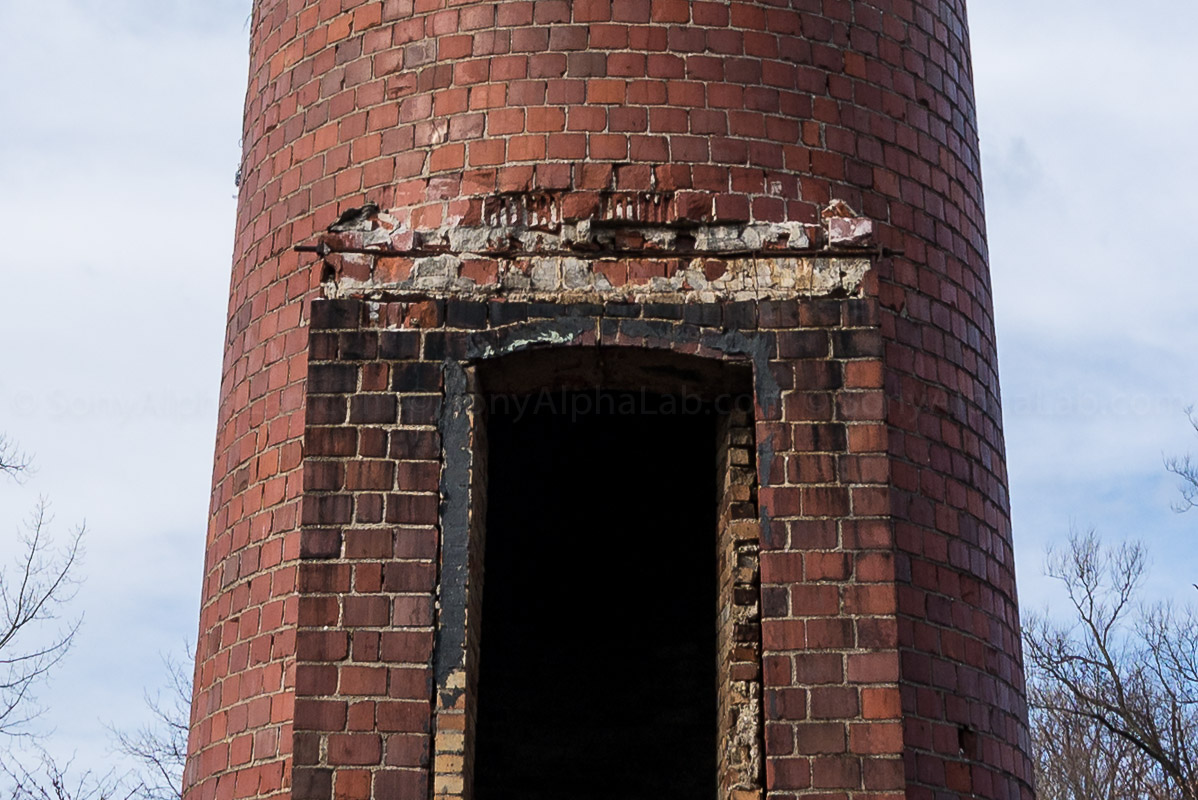
This really tall smoke stack was pretty much directly behind me from where I took the picture of the old factory above. 16mm was wide enough to capture the entire stack although I had to move back about 20-30 feet.
I always try and grab a decent flag photo during my Sony camera reviews, and this shot presented itself when I was over in Newburgh, NY the other day.

This next scene has some dramatic lighting and I was loving it!! The Golden Hour as they call it, and I was in a spot I’ve been wanting to photograph for some time. I was also shooting directly into the sun, so the lens and sensor really got a work out for this frame.
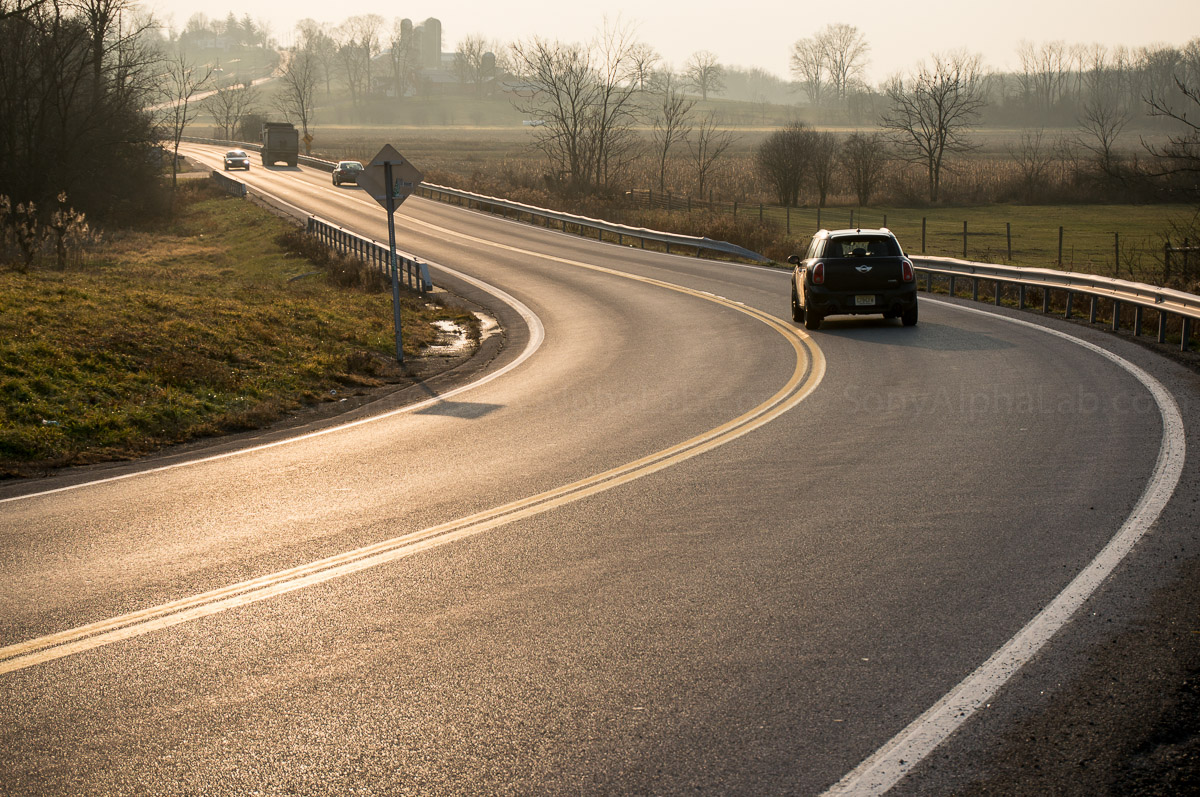
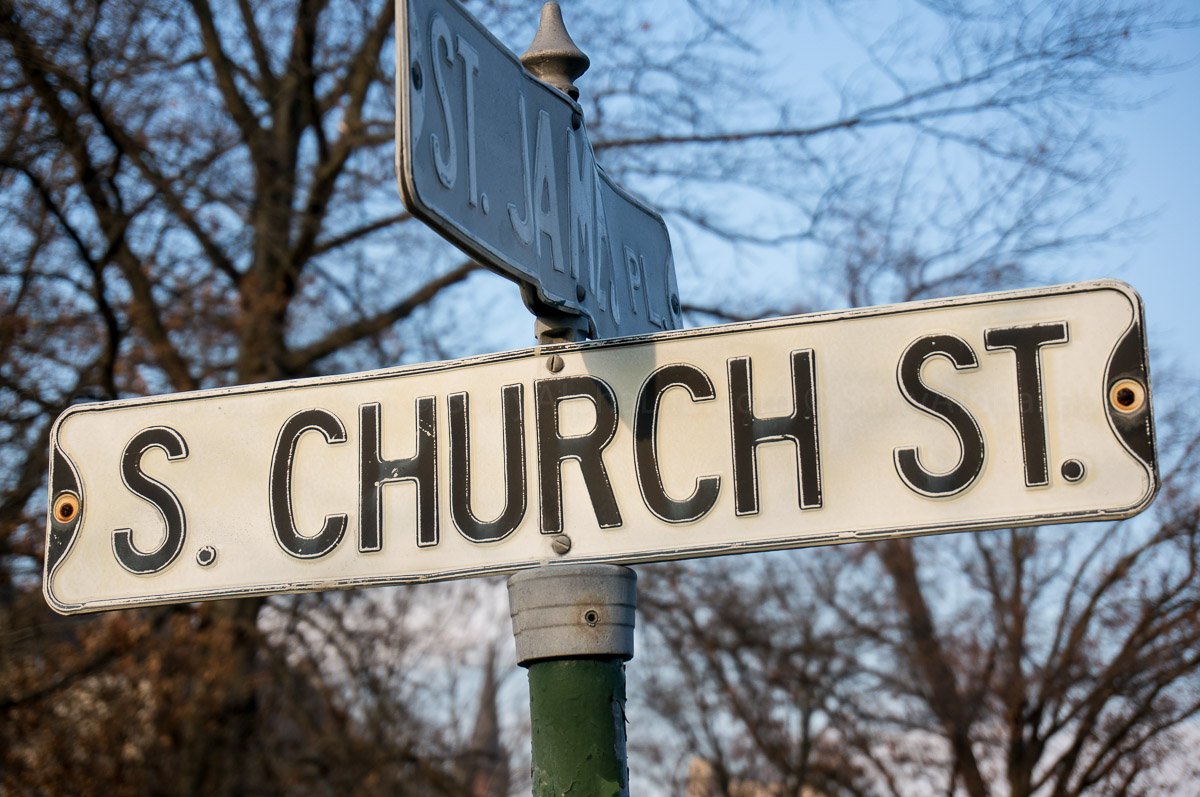
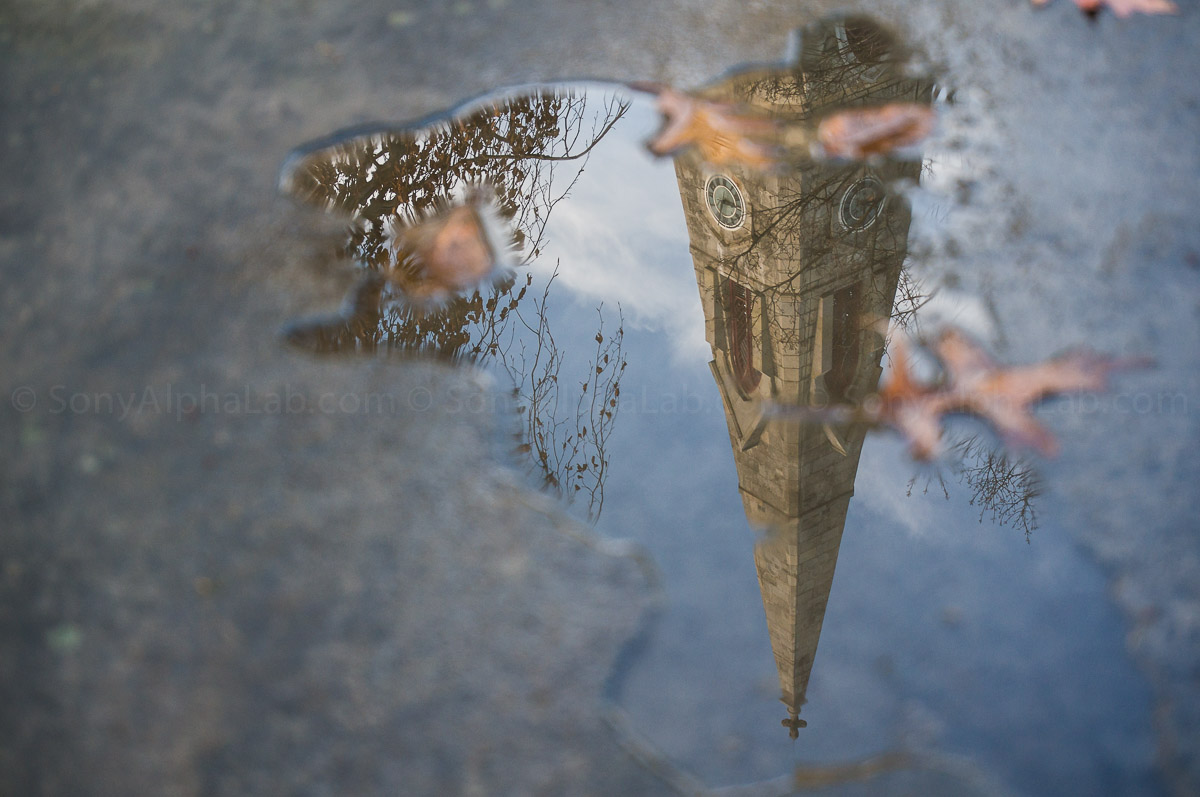
Lastly for the Sony Nex-6 with the 16-50mm Power zoom lens Raw Sample Photos we have an old school farm truck hanging out in the afternoon sun soaking it all in!!

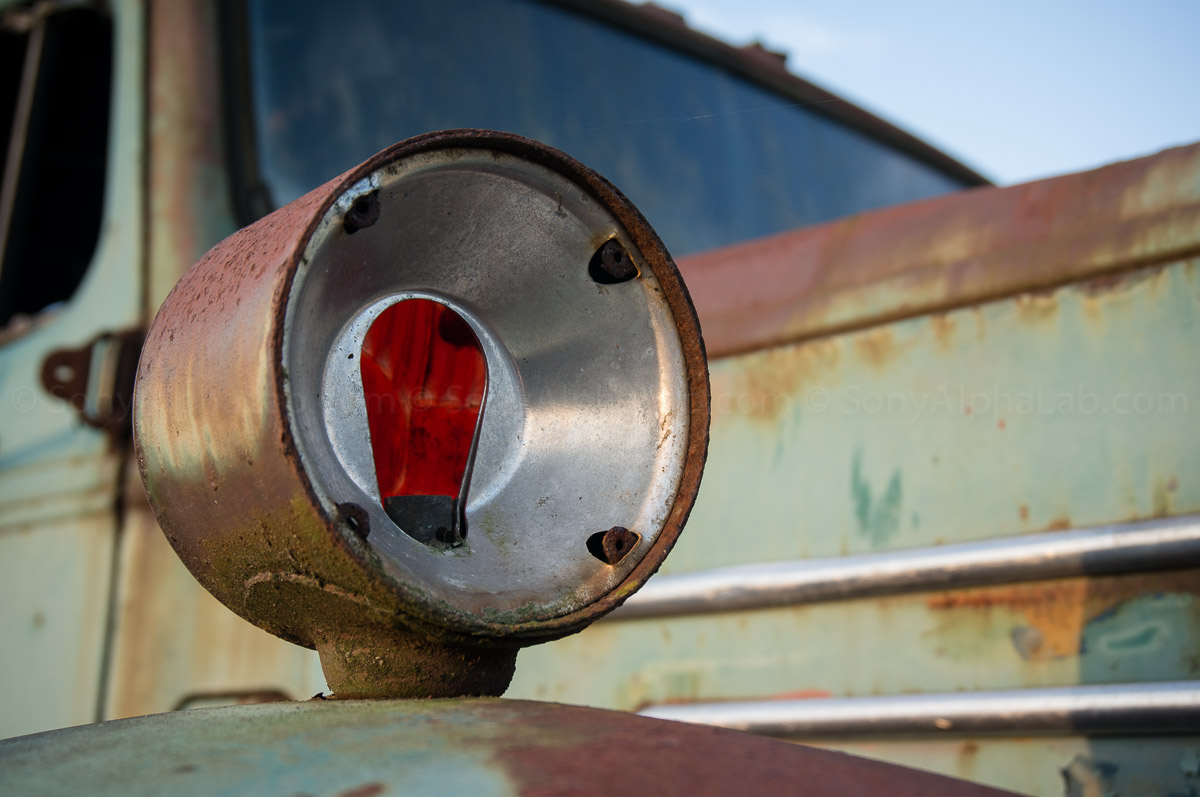
Overall the Nex-6 Raw Sample Photos, in combination with the 16-50mm Power Zoom lens are pretty good in my opinion. At 16mm the SELP1650 lens has noticeable distortion, harsh lens vignetting, and is a bit soft in the corners. The optics are definitely the weak link in this combination!! The Nex-6 is capable of producing much higher quality images using alternative lenses and lens adapters as you will see shortly On a side note, I personally prefer the 18-55mm kit lens (sel1855) over the 16-50mm power zoom lens. The 18-55mm lens is sharper, has much better distortion and vignette control, and on top of that I really don’t care for the power zoom feature. It’s great for video, but for photography it just makes the camera feel like a point and shoot or something. Plus it can be harder to get the zoom to stop at a specific focal length at times. I’ve grown accustom to using the zoom manually over the years, and I much prefer this for photography purposes. Just my opinion mind you as I’m sure a lot of you would like to try this lens specifically for the power zoom feature!! [divider]
Nex-6 – ISO Performance Testing
For this Test I used my GregMcbeth ColorChecker chart. It worked really well for illustrating and noise and color shifts at Higher ISO values. I decided to compare the jpegs and raw images so you can see the difference side by side. I had the Sony Nex-6 set to Jpeg fine with Noise ReductionTurnedON by default. I used a tripod, self timer, and custom WB, so the colors should be fairly accurate and edges sharp. I also exported as jpeg’s with No Post Processing at all other than re-size for the web and 100% center crops. Make sure you click on the photos to see the 100% Version as they are around 1200px and highly detailed. I also included the un-cropped versions of the High ISO 12800 and 25600 Nex-6 sample photos. This way you can see all the colors and the picture as a whole if your curious.
The Sony Nex-6 performs incredible well in this ISO performance test. The Nex-6 has the best High ISO performance I have ever tested to date. The Nex-5n was pretty close, but the Nex-6 is better I feel. ISO 6400 and even ISO 12800 are usable! At ISO 25600 the color starts to shift and the noise is very noticeable. I would still use it for BW though if need be as the noise often works for that type of photography depending on the scene and mood.
Real World High ISO Sample Photo
I use Auto ISO most of the time when shooting jpeg mode, and the camera never went above ISO 3200 the entire time. Check out this snapshot of Santa at ISO 3200, handheld @ 1/8sec in extremely low light!! I was overall impressed with the Nex-6 noise control at ISO 3200, but more impressive was the OSS of the 16-50mm Power Zoom maintaining a sharp image at 1/8th of a second!!

Nex-6 Auto HDR Sample Photos
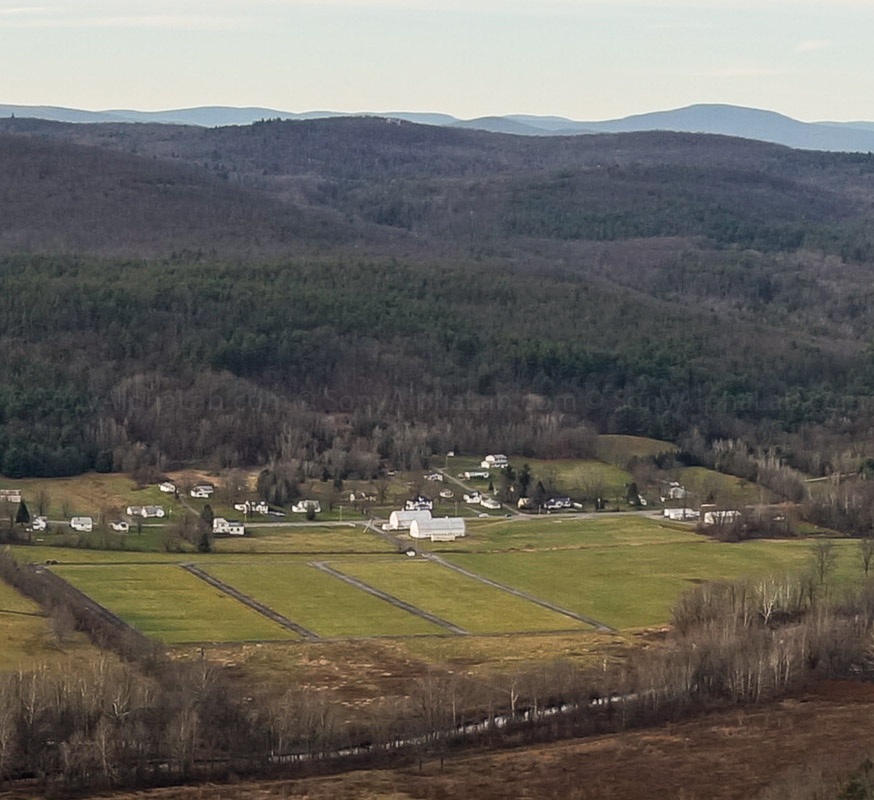
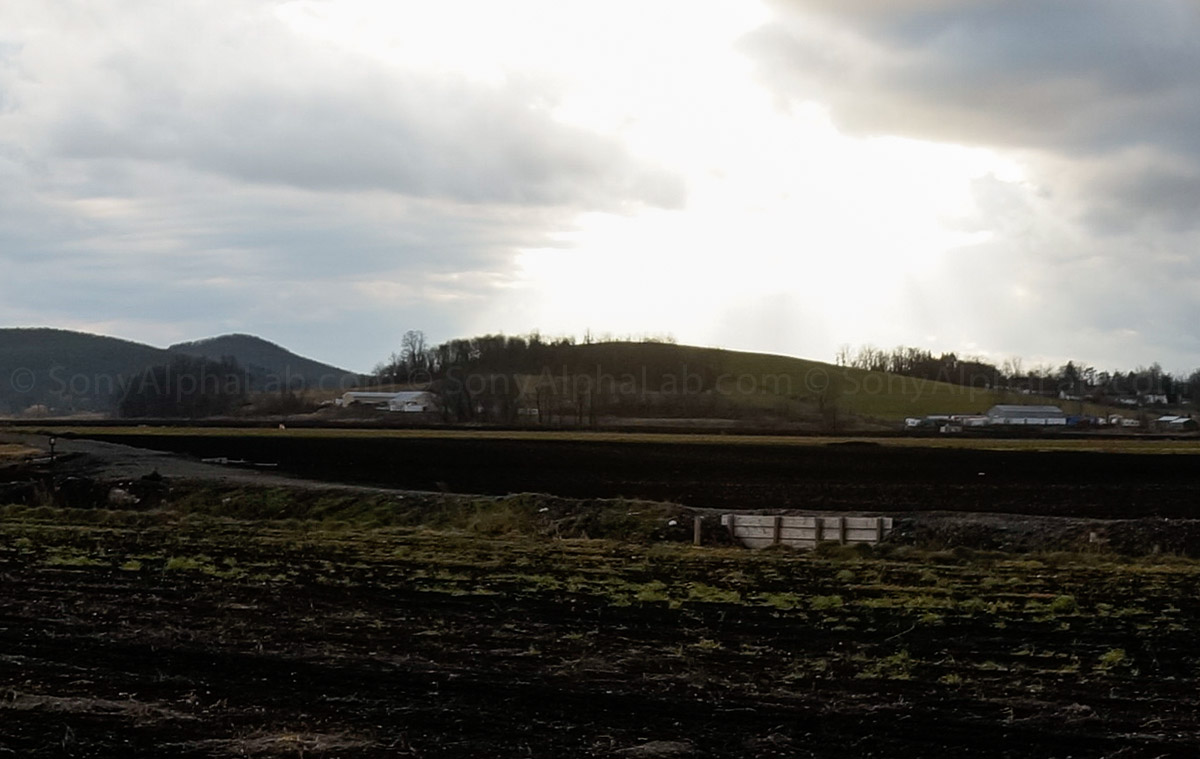
The Auto HDR Feature on the Sony Nex-6 is another very powerful feature that actually works!! Here is a few sample photos of a farm with a very dramatic sky and lots of dynamic range!! Tip: Set your ISO to a fixed value as low as possible!! Auto ISO does not yeild the best results.
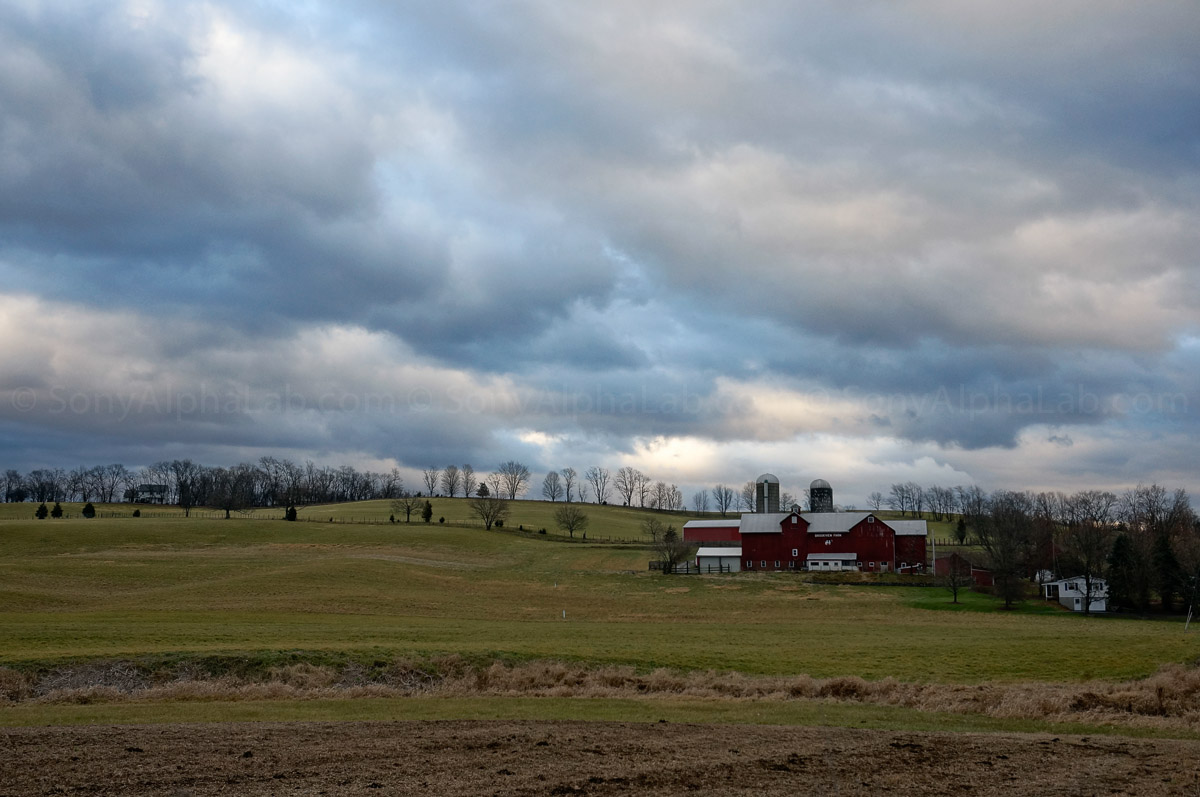
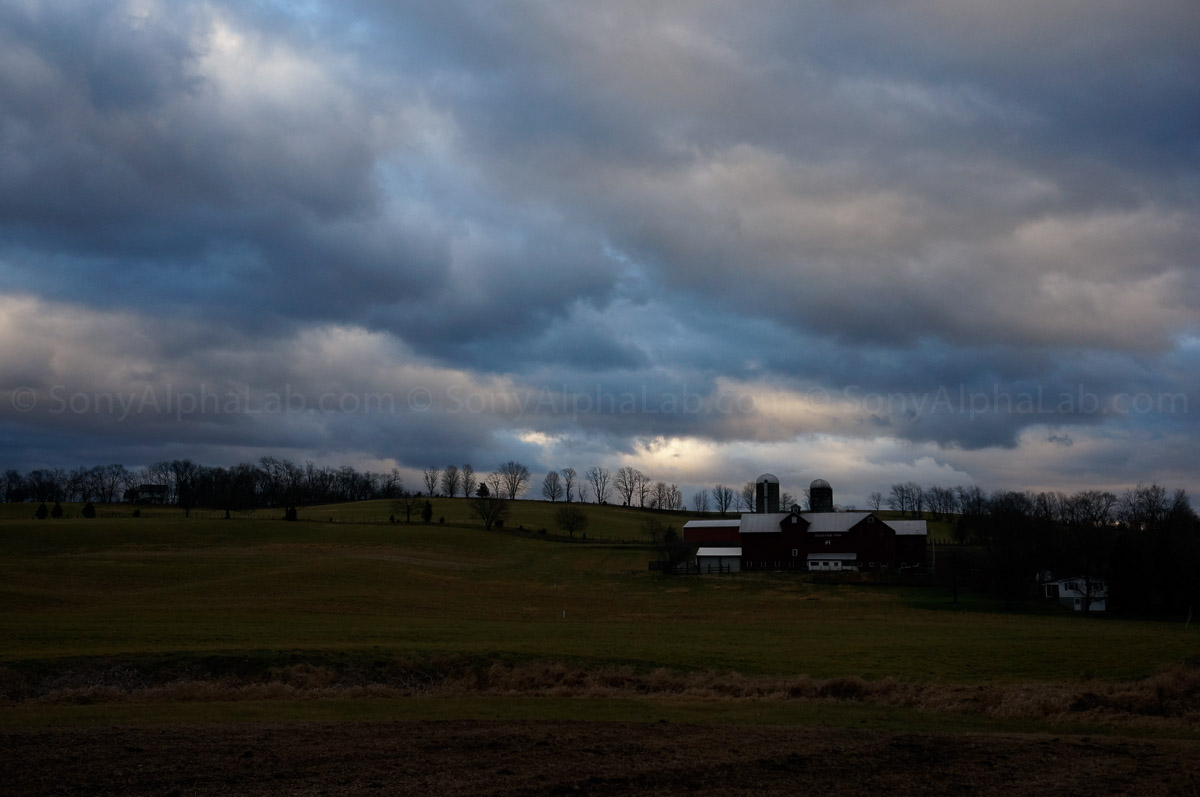
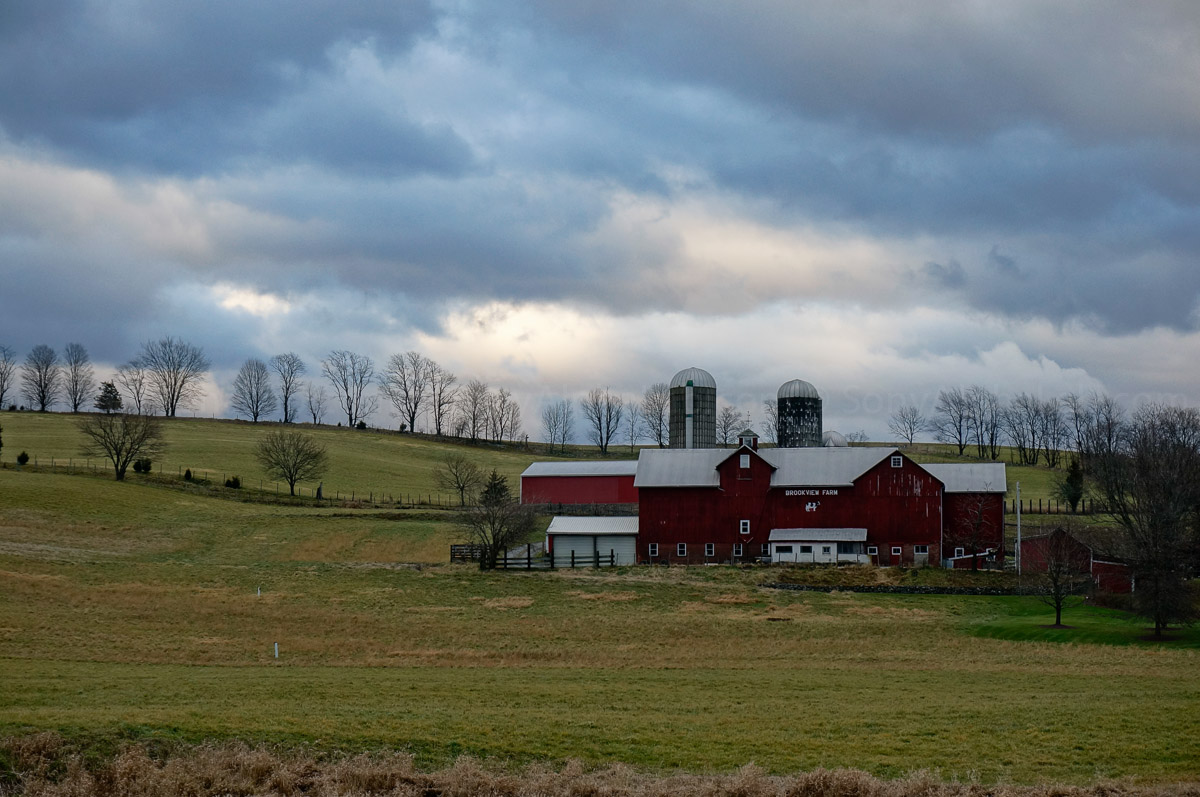
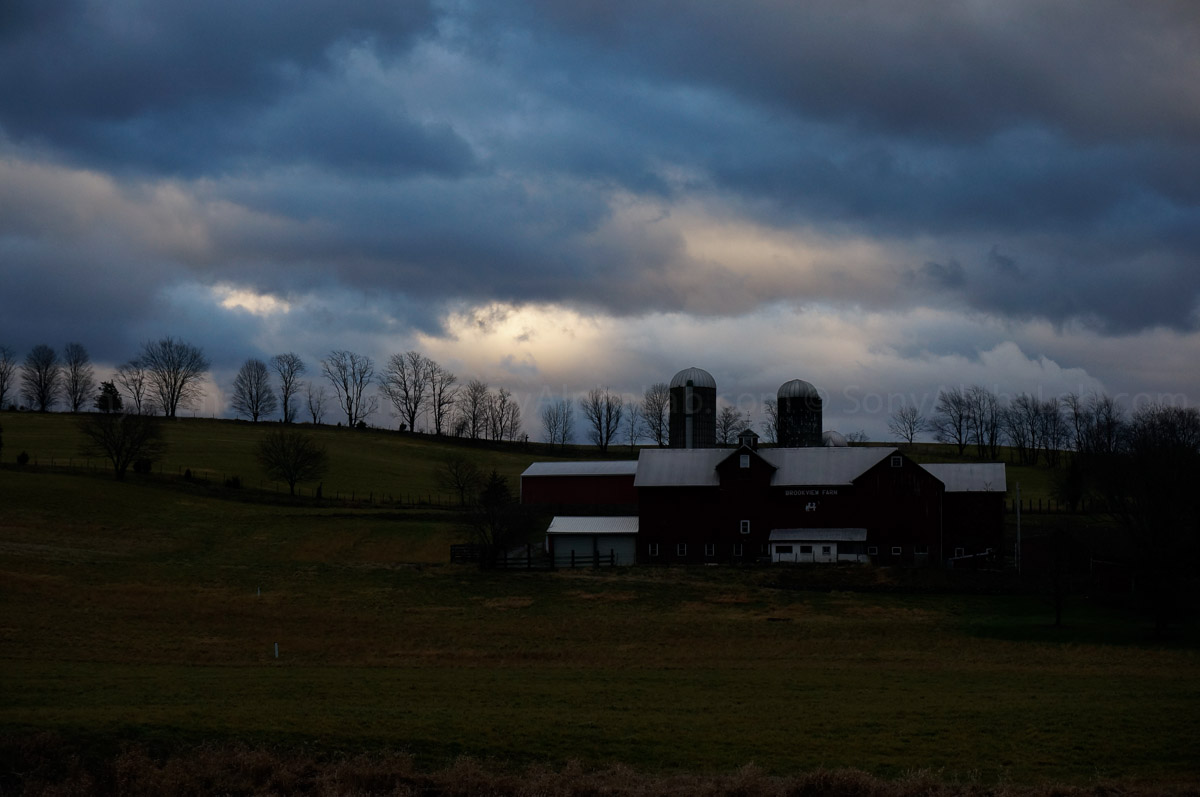
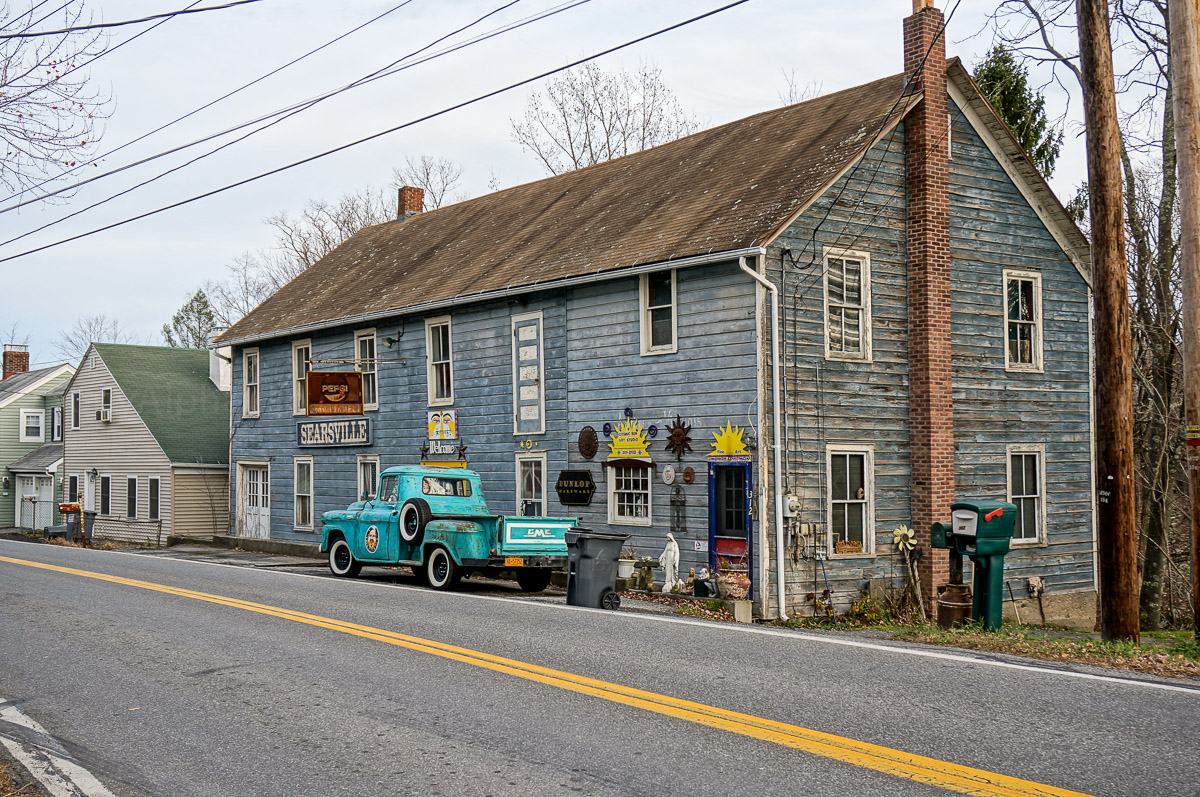
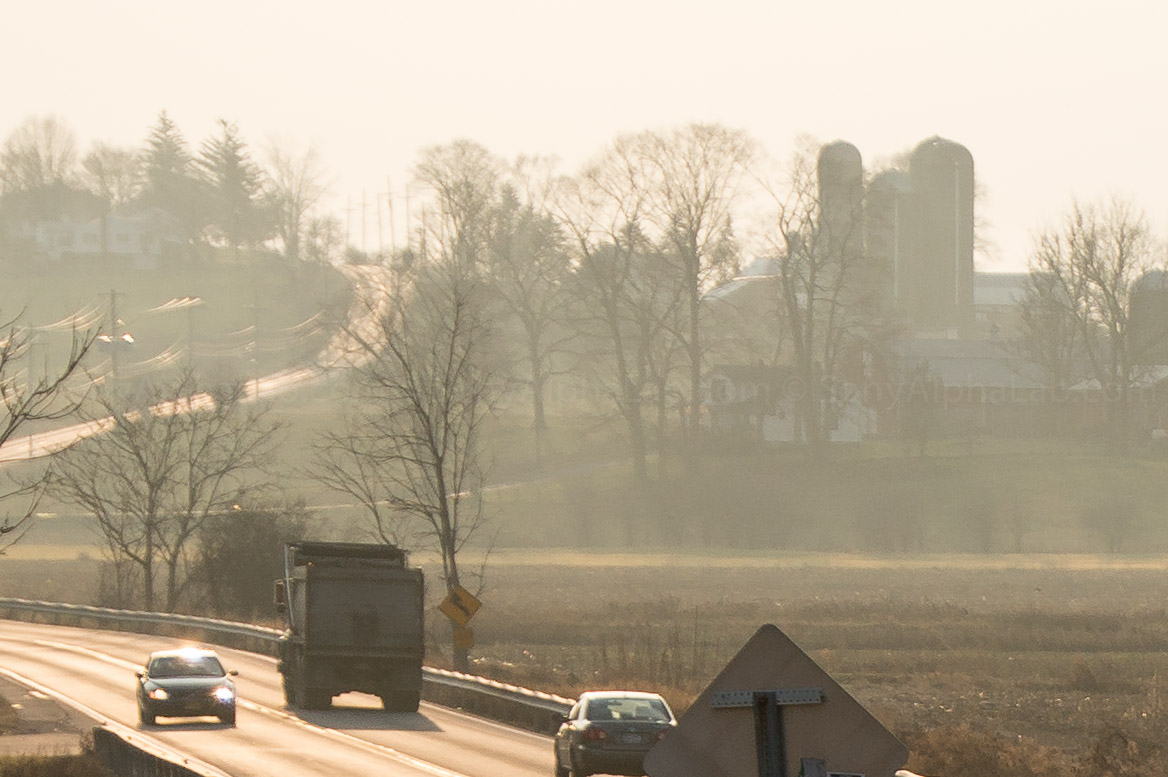
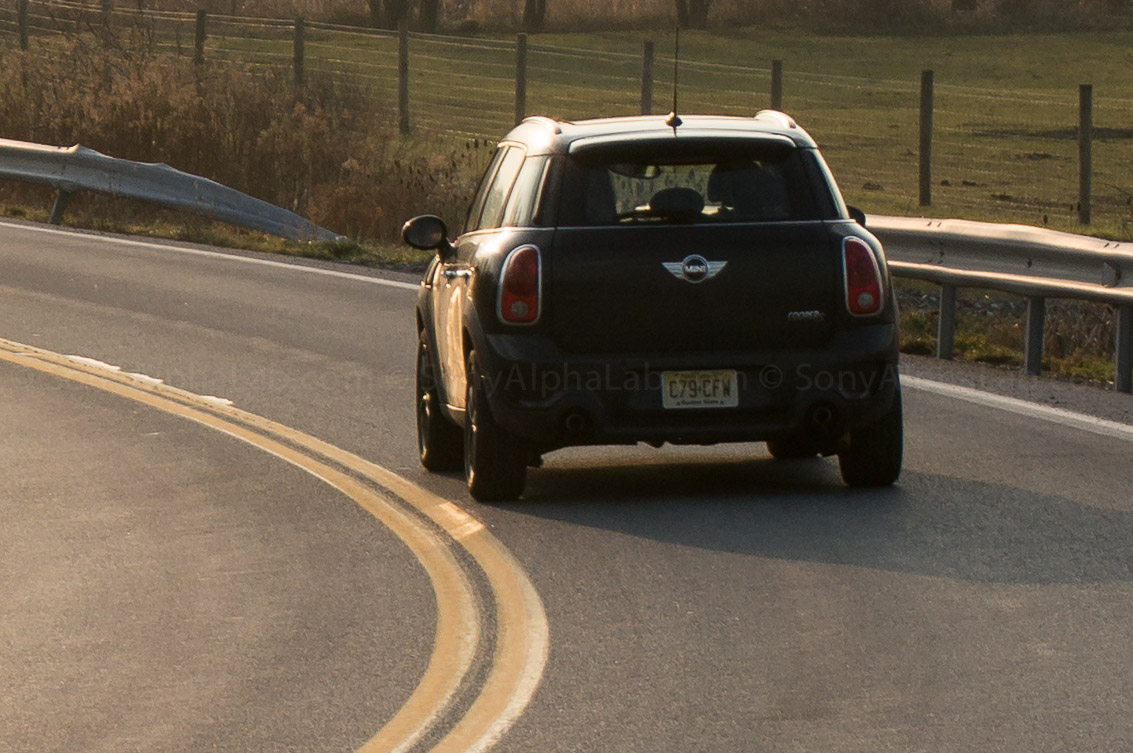
Check out what happens when a car drives through the scene while taking the multi-frame Auto HDR 😉 This feature is best suited for still subjects.
As you can see by these Sony Nex-6 Auto HDR sample photos, the feature works well, and blows away what a standard exposure produces in the right conditions. More Sony Nex-6 Auto HDR Sample Photos Here >>
Auto Pano – Sample Photos
Panorama Still Image Sizes : Horizontal Wide: 12,416 x 1,856 (23M), Vertical : 5,536 x 2,160 (12M), Horizontal Std: 8,192 x 1,856 (15M), Vertical Std: 3,872 x 2,160 (8.4M) [/quote] Auto Pano Mode on the Sony Nex-6 is a powerful feature that I find myself using more and more as I review the Sony Cameras. It’s incredible fast, does a good job most of the time, and it adds a really nice touch to a series of photos that I normally would not take the time to do manually. If I was going to use the Panoramic for a Print, then I would take the time necessary to get a perfect series of frames and use Photomerge in Photoshop CS6 to stitch the photo together for me. This will yield a sharper Panoramic in most cases. To use the Auto Pano Feature on the Nex-6 you simple change the mode dial to the Pano symbol. Once there the camera by default will have you set up for a standard wide pano shooting from left to right. You can change the direction to Up, Down, Left, Right, and you can also change the direction of the camera when your taking the actual pano. This way you can get more printer friendly panorama’s if you want. Auto Pano Mode requires Jpeg and cannot be used with Raw!! Check these Panoramas out and be sure to click on them for the larger viewing size. I also included a 100% crop of each Panoramic so you can see the actual detail captured.


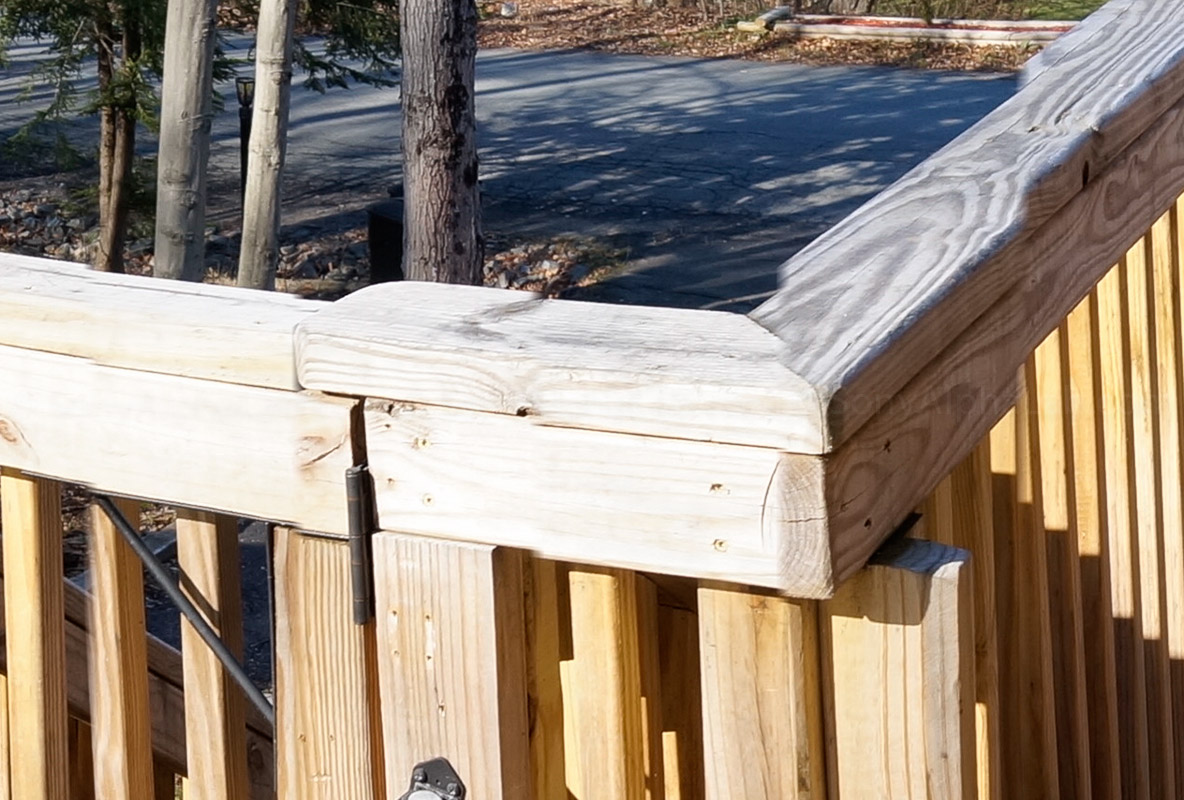
This next Sony Nex-6 Auto Pano Mode Photo was a test shot taken on my deck. I wanted to show you how good the stitching works on ridiculously hard scenes like this!!

You can see on the 100% crop below that the Auto Pano Feature is not perfect as the railing by the corner has a glitch. There are a few other minor glitches in this scene, but photoshop would have a really hard time as well.

The next Pano was taken by changing the direction to the UP position. I then rotated the camera 90 degrees clockwise, like I was going to take a portrait, and fired away across the scene taking a more printer friendly panoramic photo 😉
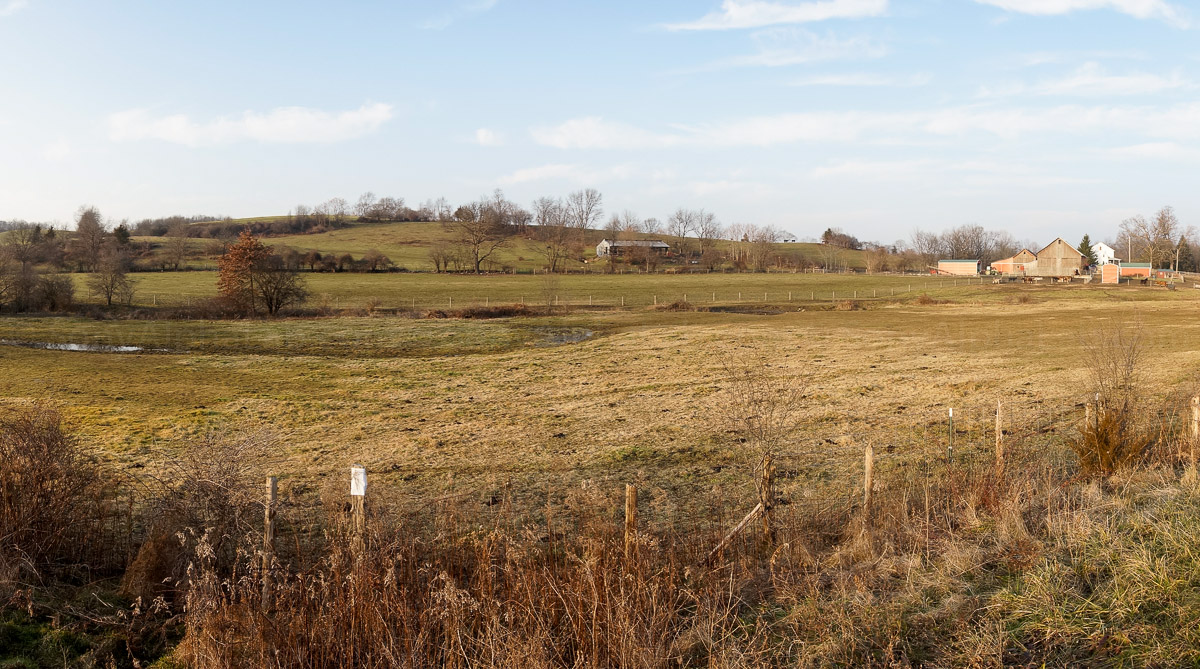

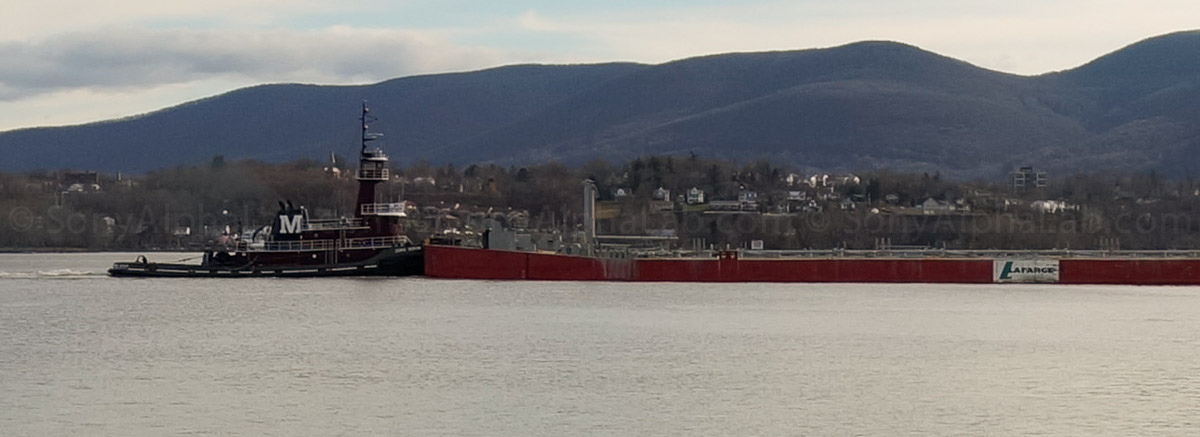
This scene was shooting into the sun with a really bright sky. The Sony Nex-6 did a good job compromising as I see detail in the foreground and sky pretty well consider the dynamic range.

Sony Nex-6 and Using Lens Adapters
Sony Nex-6 and Canon L Lens Sample Photos!!
For these photos below I used the Sony Nex-6, Fotodisox lens Adapter, Canon EF 135mm f/2 L lens, and the Canon EF 70-200mm f/2.8 L IS Lens. Both of these lenses are high quality pro grade optics, so the images will be noticeable different looking. If your interested in learning how to set-up the Sony Nex-6 for using lens adapters and manual focus, check out this detailed Article with video tutorials explaining it all!! Sony Nex-6 – Manual Focus and Focus Peaking with Fotodiox Lens Adapter and Canon EF Lenses >> Here is what the Nex-6 looks like with the Canon EF 135mm f/2 L lens mounted to it:
Sony Nex-6 and Canon L Lens Sample Photos
Check out what the Sony Nex-6 can do with pro grade optics in front of the sensor!!





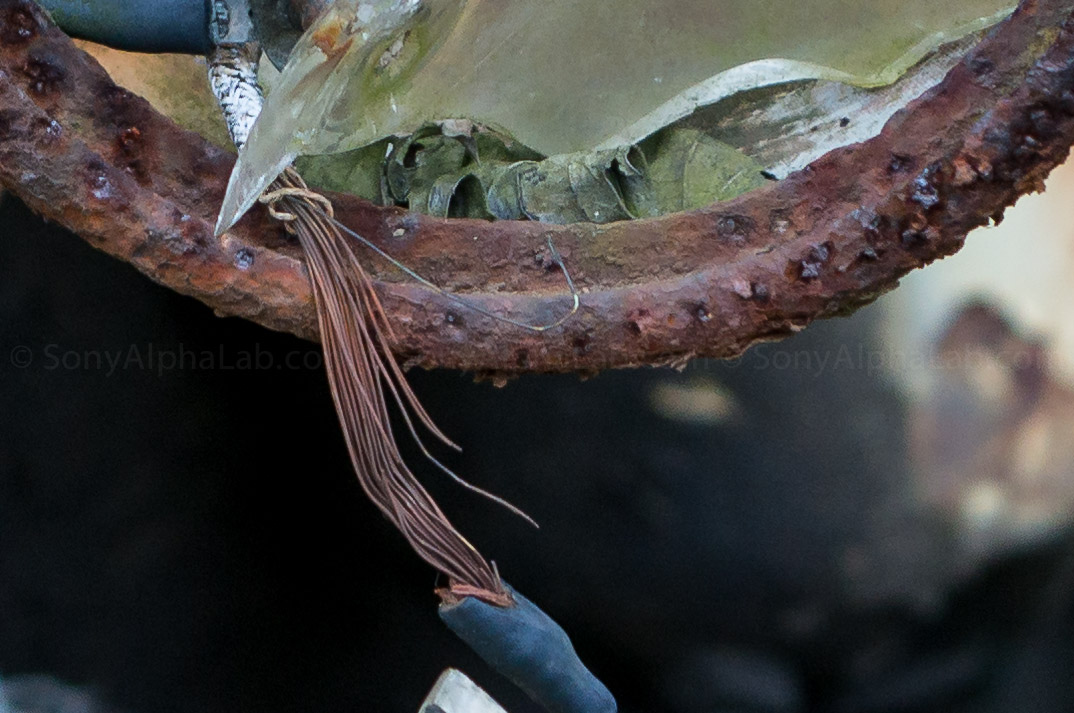

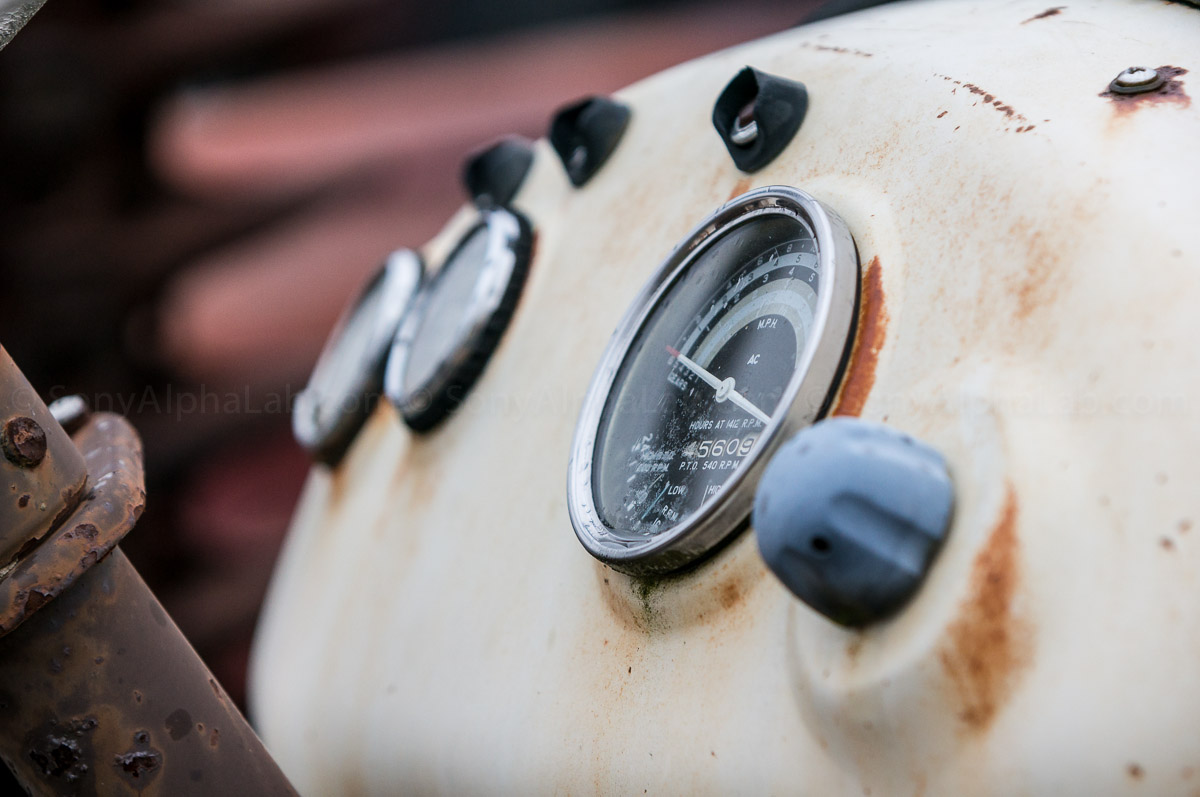
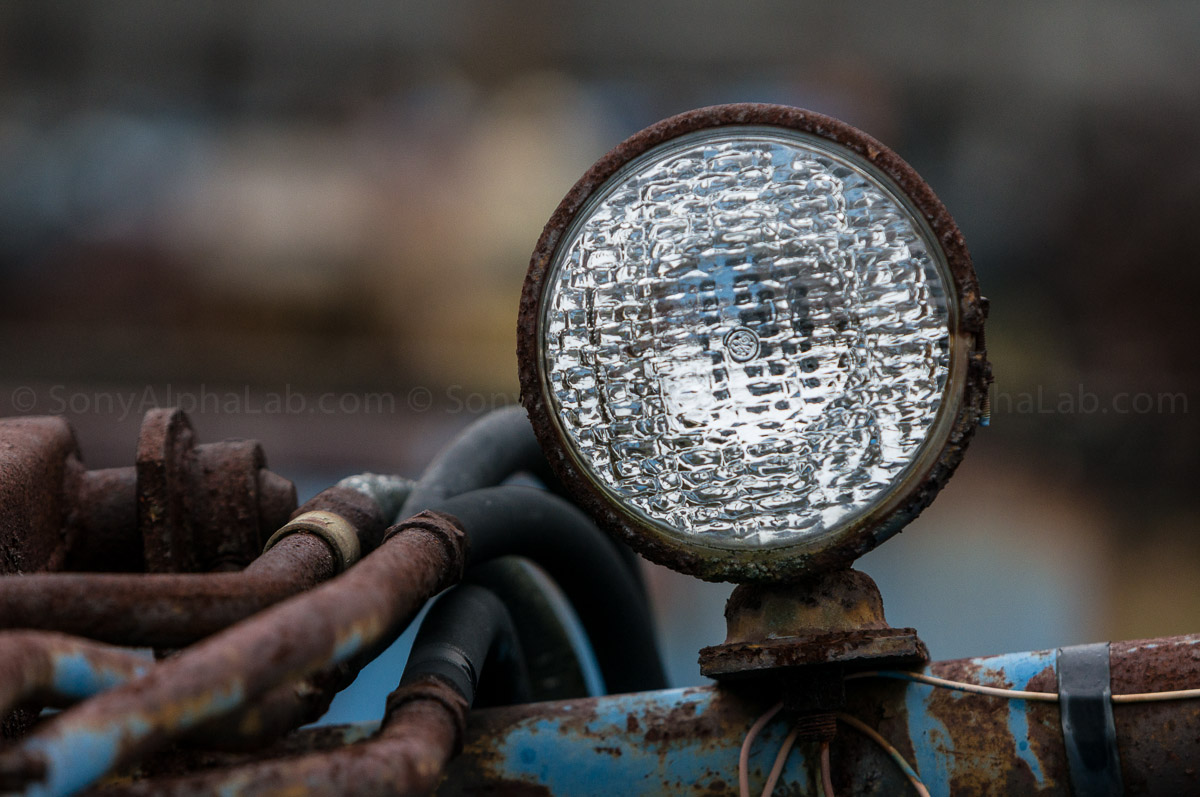


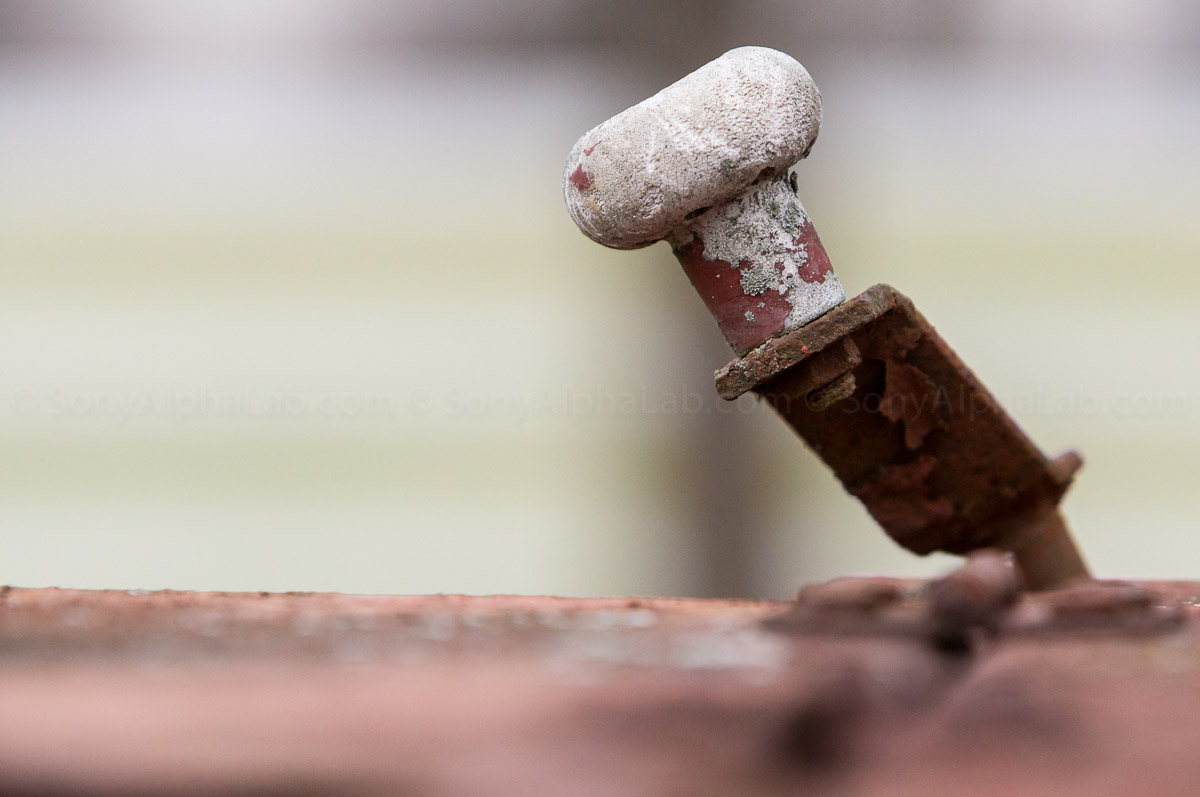

Here are a few images taken with the Canon EF 135mm f/2 L lens mounted to the Nex-6 using the fotodiox lens adapter. I accidentally had the camera set to jpeg mode on this next set just to let you know.


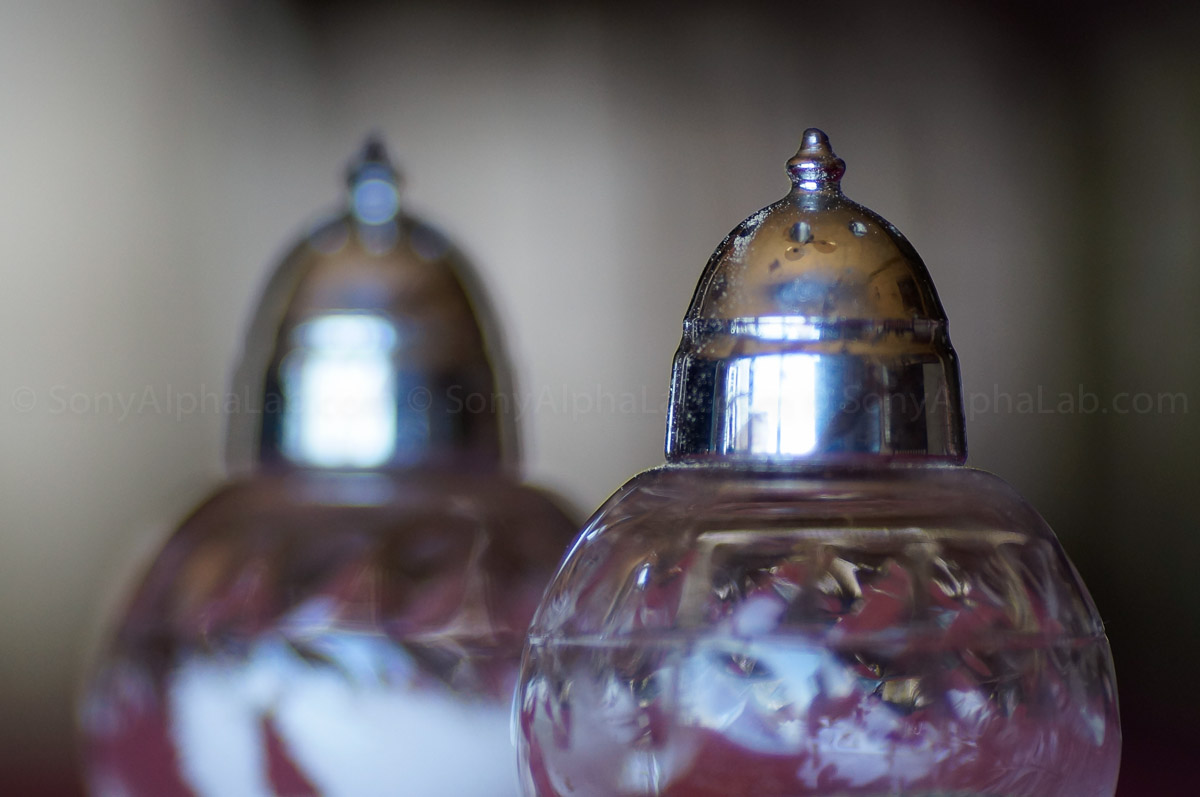
As you can see from this series of photos, the Sony Nex-6 is capable of taking incredible photos with killer lenses mounted to it. It’s versatility like this that makes the Sony Nex Camera System so attractive to photographers like myself. I’m really looking forward to getting some old school Minolta MC type lenses for my Nex-6 as well!! More Sample Photos using the Canon 135mm f/2 L Lens with the Sony Nex-6 here >>
Apps and Wifi on the Sony Nex-6
The Apps and Wi-Fi features used in this Sony Nex-6 Review are something I had mixed feelings about when first getting the camera. I did not have any interest in instant uploading for example, but did have interest in remote shooting capabilities, and sharing the photos with family and friends. I also was interested in the fact that the camera can be potential upgraded with more powerful features over time for a small price. I opened the PlayMemories Camera Apps Program and was able to download the Free Picture Effect+ and Smart Remote Control Apps. I first connected the Sony Nex-6 to my wifi network which was pretty simple, just like a PC or smartphone, the Nex-6 found my network and I entered my password. I will have a more detailed article on this later, but it’s really straightforward. Here is the link to the Sony Play Memories Portal >>
Picture Effect+
Partial Color+ lets you select up to two colors before turning the image in to a black and white photo. Any object with the selected colors remain as colored highlights, creating eye-catching accents. Soft High-Key+ lends a light, airy look to photos by changing the ambiance of the lighting. Choose from blue, pink or green as the soft high-key color. Miniature+ expands on the conventional Miniature function, letting you combine it with either Toy Camera or Retro Photo for truly unique photos. Toy Camera+ lets you control the brightness of the vignette in a Toy Camera photo. Watercolor transforms any image into a lovely photo resembling a delicate watercolor. Illustration creates bright punchy images with subjects starkly outlined much like you would find in comic books or cartoons. Using Illustration Mode set to High, I took a few sample photos on Thanksgiving and around the house.

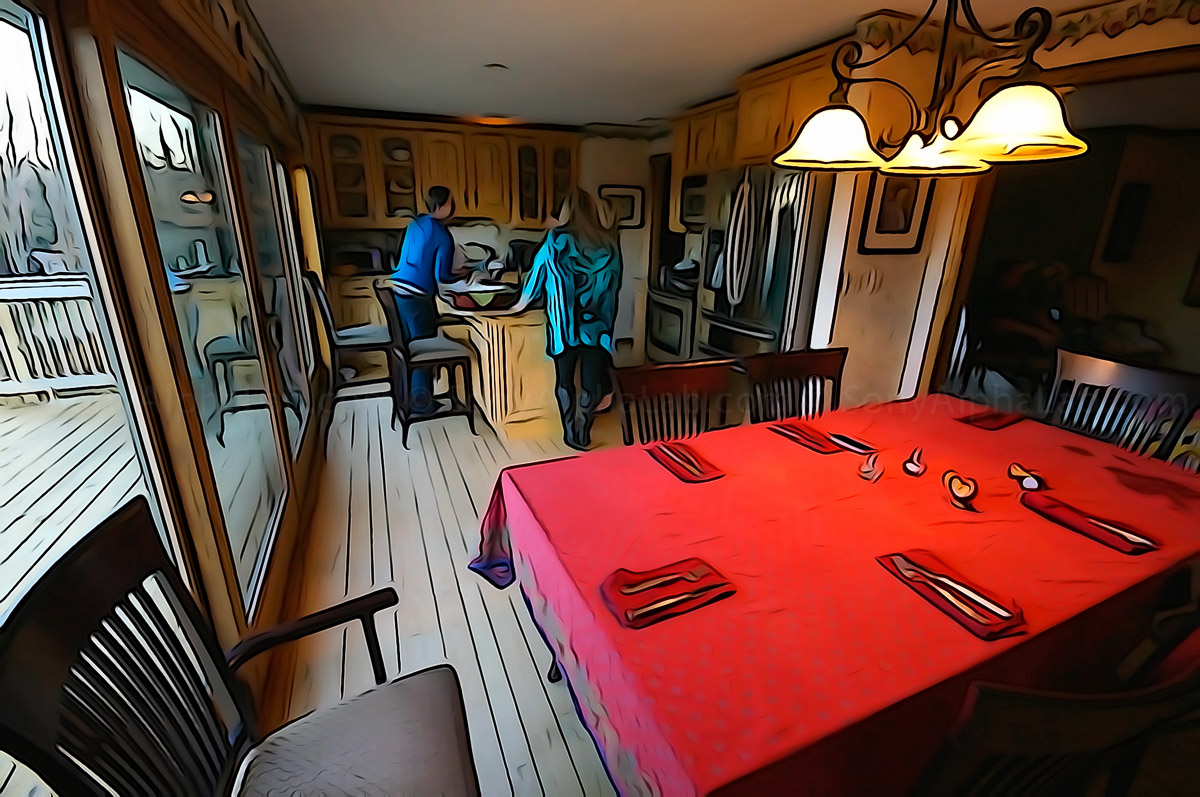

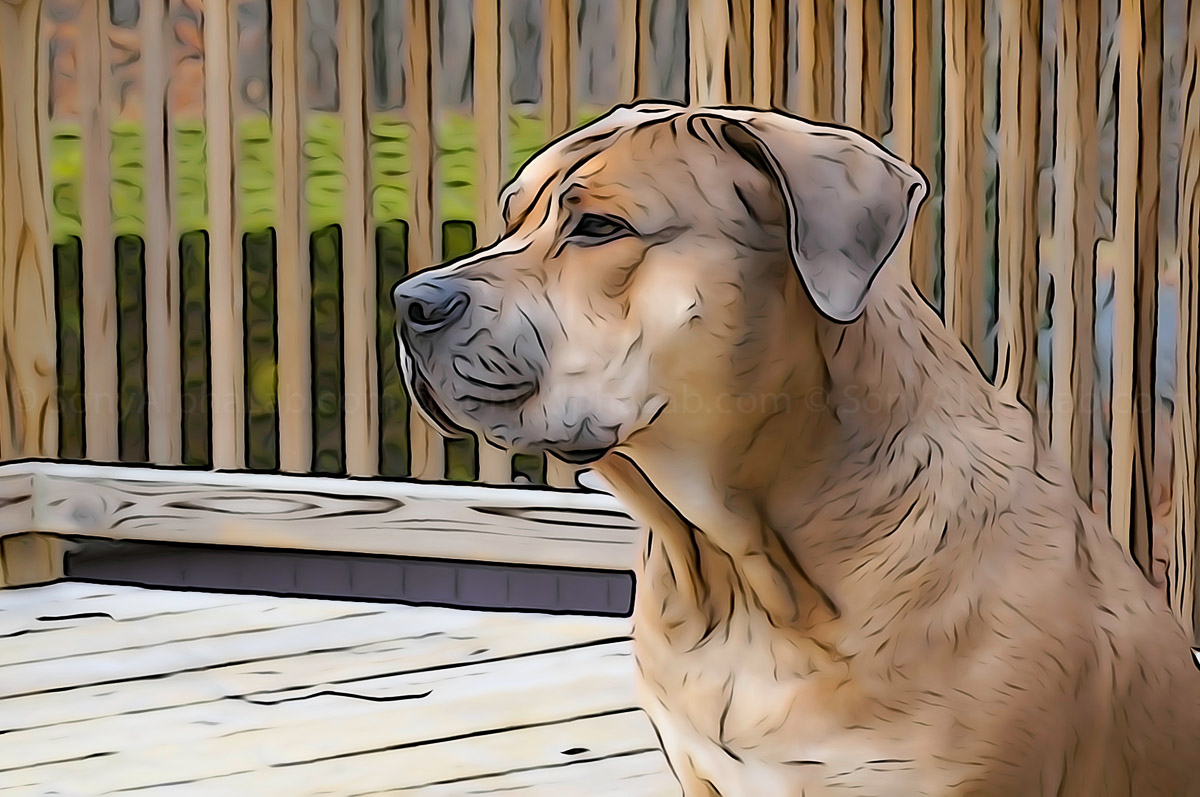
I also used the Partial Color + feature with a few different colors to show you how it works.
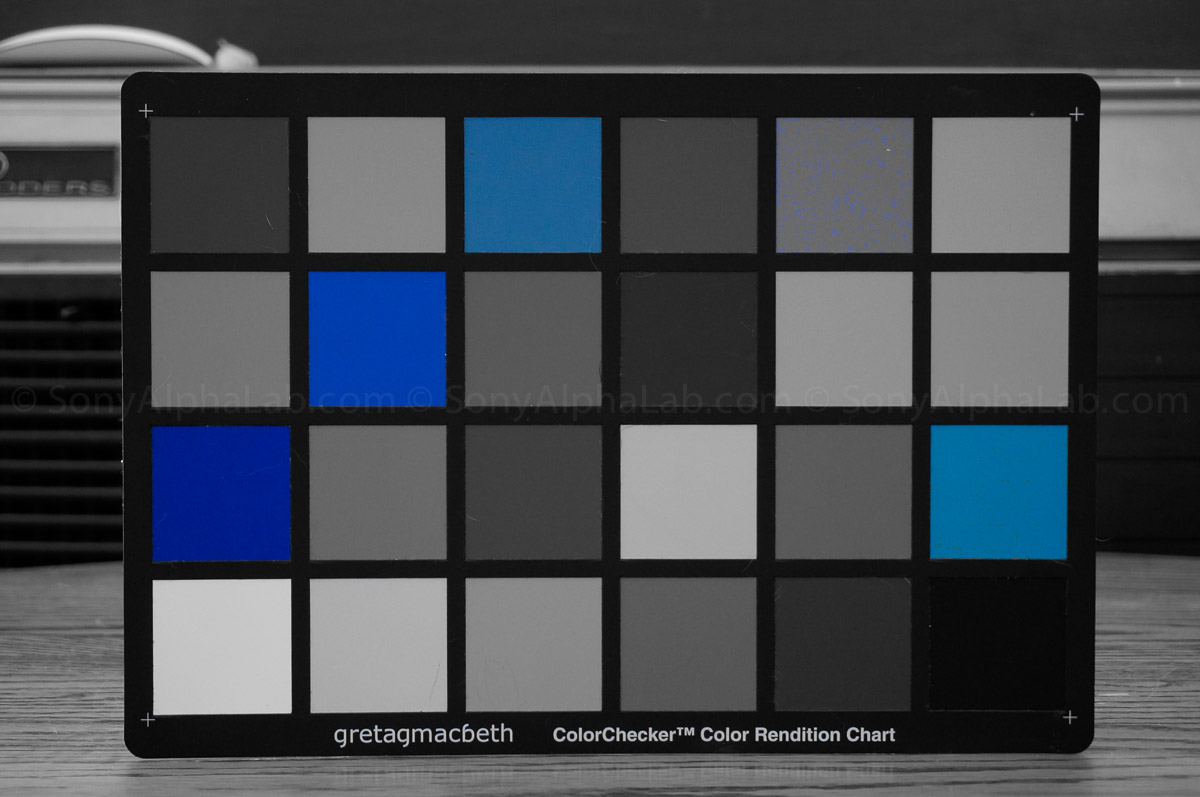
Smart Remote Control App
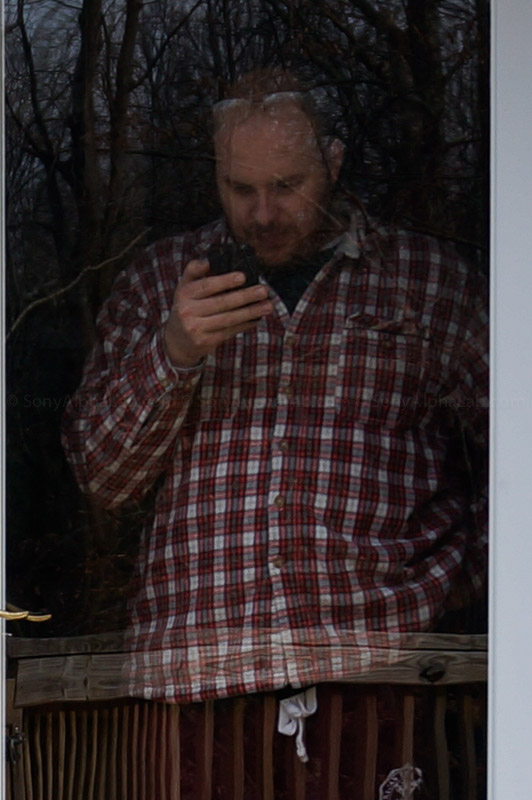
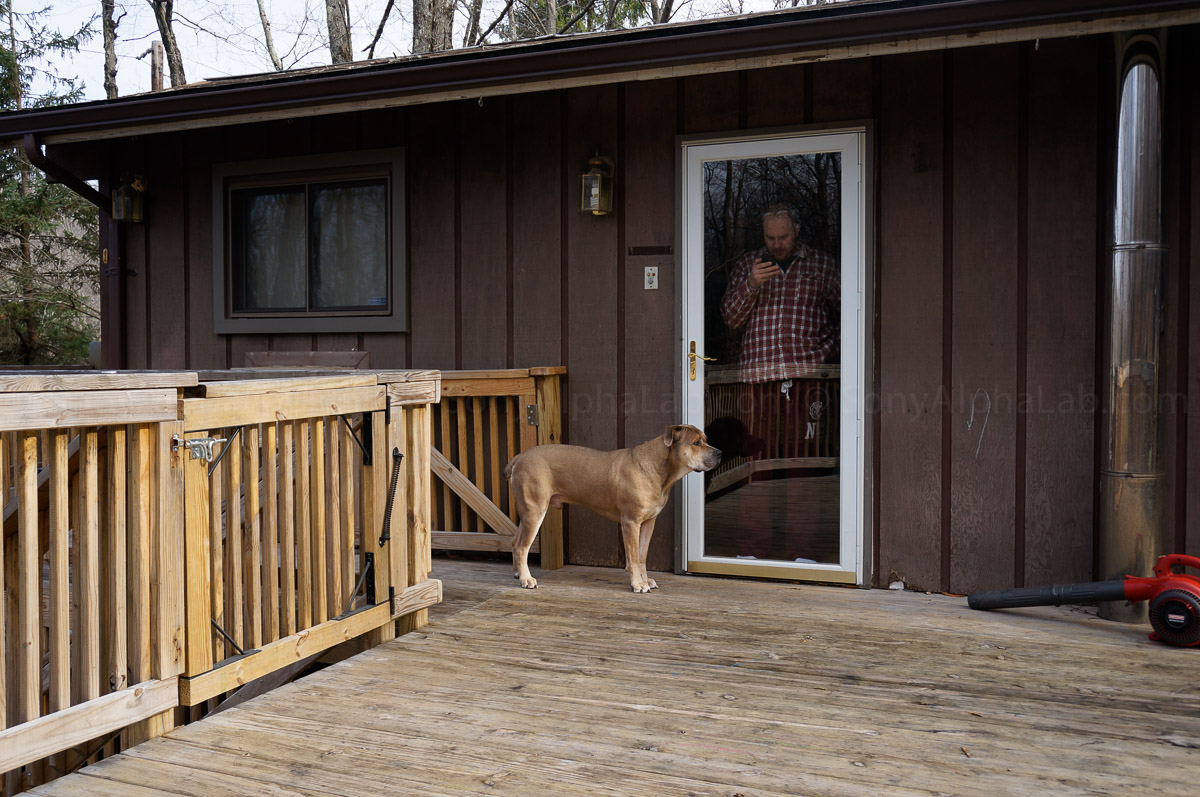
Using the Smart Remote Control App I was able to take a picture of myself with the camera on the deck railing and me in the house looking at my iPhone looking at what the camera sees on my screen!! Pretty awesome, but I was having a few connection issues for whatever reason. I need to do more testing and remote shooting and will dedicate an article to the topic.
Nex-6 Hybrid AF Performance
The New Hybrid AF on the Nex-6 is Awesome!! It is more accurate and significantly faster at focusing in all situations I’ve tried so far.
The Sony Nex-6 16mp Sensor has 99 PDAF points (phase-detection AF), 25 CDAF points (contrast-detection AF) which work together as a Hybrid System. The PDAF points are used for speed and telling lens where to start focusing from. Then the CDAF points take over to lock down the focus. The bottom line is this; the New Hybrid AF System blows the doors off the standard CDAF found on the Nex-5n for example. The focus is faster all conditions used so far, and I did some extensive testing about two weeks ago by trying to photograph my Brothers dog Sandy running around his back yard. She is really fast and I managed to get several pretty sharp shots. Check out the Hybrid AF Speed Test Over Here >> if your interested, as this Nex-6 Review is getting really long!!
Nex-6 HD Video Sample and AF Testing
Here is a video that shows of the New Hybrid AF on the Sony Nex-6 using the 16-50mm power zoom lens pretty thoroughly!
I recorded a decent amount of video with the Nex-6 and what I notice most is the improved AF performance. The 16-50mm power zoom lens really shinned here as zooming in and out was very smooth and relatively quiet, but not silent. The focus transitions from one object to another are also smooth with a soft ease in/ ease out effect. It’s honestly hard to tell because the focus sort works that way also, but worth mentioning. I will be doing more extensive video testing in the upcoming weeks, so stay tuned for that!!
Nex-6 Overheating Test
I performed a decent OverheatingTest on the Nex-6 by recording HD Video at 1060/60p with a fully charged battery!! The Nex-6 only allows for 29 minute clips, so I had to re-start the recording as soon as it completed. It took two formats of my 8GB SanDisk Memory card which gave it ~one minute to cool down. I recorded a total of 96 minutes on one charge at 1080/60p. I also had the screen closed the entire time except for checking the back of the camera for temperature occasional. The Nex-6 got progressively hotter as time went on. I can’t say whether it would keep recording for another complete battery cycle without over heating or not as I only have one battery still. Once I get another Battery I will do a full two battery cycles and update this review.
Sony Nex-6 Battery Life
The battery life on the Sony Nex-6 is not that good compared to a traditional DSLR style camera. You can expect to get about 3-400 shots on a fully charged Sony NP-FW50, if you Only use the LCD screen. However, if your using the EVF expect to get ~2-300 photos on a full charge. That is a full 100 photos less on a single charge. I really wish Sony would just bit the bullet and either design a larger battery or design the compartment to fit the Sony NP-FM500 battery used in the SLT-A57 for example. Same issue with all the Nex cameras though, so nothing new here except the EVF sucking down extra juice.
More Nex-6 Sample Photos and Video
Check out out Disney Vacation where I took massive amounts of sample photos using both the 18-55mm kit lens and the 55-210mm zoom.
Conclusion
The Sony Nex-6 delivers big time in my opinion, and I’m very happy I purchased it!! I figured I could just sell it after the review if I didn’t want it, but no way I’m selling the camera body anytime soon. However, the 16-50mm power zoom lens I could live without personally. Overall it’s very good and compact lens for the money, but with other options available it wouldn’t be my first choice. I would rather save up and shell out the cash for the E 16-70mm f/4 ZA Lens which I reviewed Here >>
The Nex-6 really does fall in between the Nex-5n and the Nex-7 in a few ways. For instance, the EVF, better build quality, and Hybrid AF make it a nice upgrade from the Nex-5n. The Nex-7 offers a Higher Res 24mp sensor and brick like metal skin. The screen on the back is also tighter and more sturdy feeling. The Nex-7 also has the Tri-navi controls, and a pro oriented menu system which is much nicer then the picture based menus the Nex-6 has. So, the Nex-6, in my opinion, still falls right between even though it has significantly better autofocus performance compared to the Nex-7.
Would I recommend this camera?? Yes!! Highly recommend in fact. My only real beef with the camera is the battery life, but I’ll get a few extra batteries ASAP!! Not that big of a deal really.
Thank you for reading my Sony Nex-6 Review and please feel free to ask questions and/or comment below 🙂 Jay
Nex-6 (body only)~$898 US @ BHPhotoVideo >>
Nex-6 w/16-50mm lens – NEX6L/B~$998 US @ BHPhotoVideo >>

