My Sony A7r Camera Review | Real World Perspective
In this Sony Alpha A7r review I will go over everything you need to know using a real world photography and perspective, plus lab testing and comparisons with the 24mp Sony A7. I also included a 30+ minute Sony A7R video review down below if you don’t feel like reading 😉
The Sony Alpha A7r sets a new standard in full frame mirrorless image quality and it’s the best Sony camera I’ve reviewed to date! At the time of this review the Sony A7r is retailing for $2298 US.
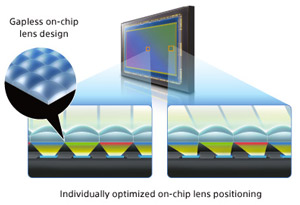
Featuring a new 36mp sensor with a gapless on chip lens design which insures the most amount of light gets to each pixel as efficiently and accurately as possible. Even the corners are angled inwards in relation to the center on a per pixel bases as you can see in the illustration from Sony below. This Sony A7r also has no anti aliasing filter in front of the sensor which gives the images extra fine details. I reality the lack of low pass filter in front of the sensor does make a slight difference, although the extra 12mp of resolution makes more of an impact with fine details in my opinion.
Tons more information including sample photos and detailed conclusions below the Sony A7r video review, but I recommend checking that out first.
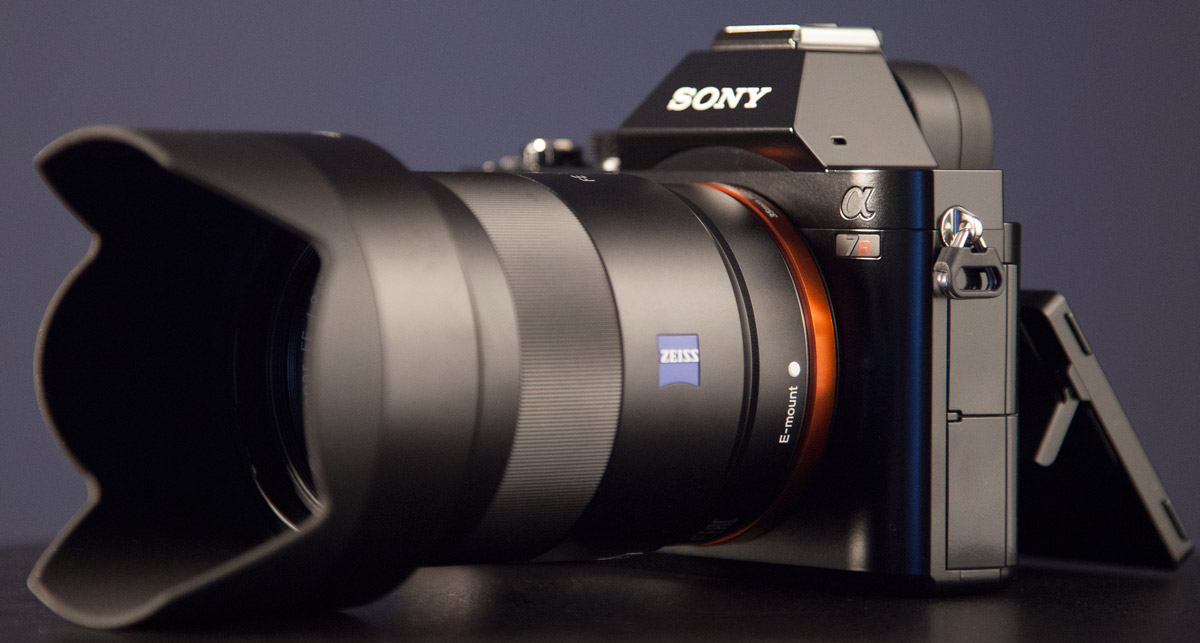
Quality Optics
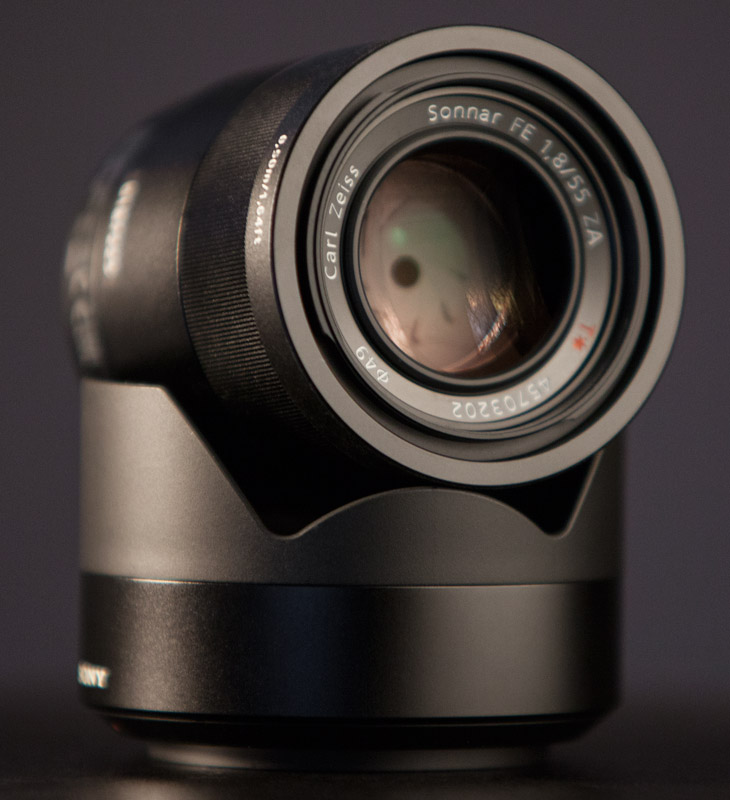
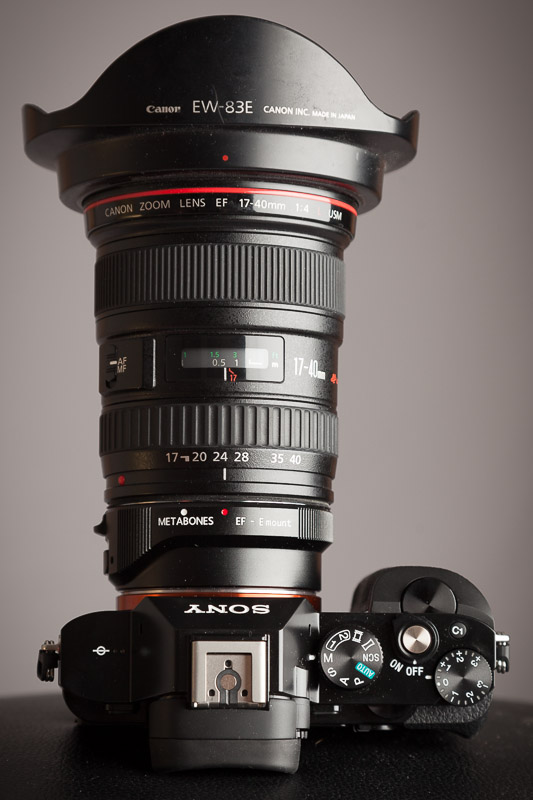
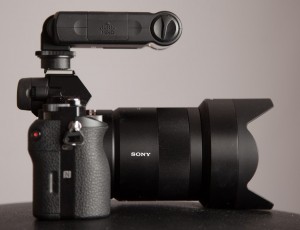
A quality lens is required to get the most out of this 36mp sensor, and Sony introduced some of the best full frame lenses ever tested by DXOMark including the 55mm f/1.8 lens, 35mm f/2.8 Zeiss lens, and Zeiss 24-70mm f/4 OSS Zoom lens. For this Sony A7r review I will be using the 55mm f/1.8 lens as you can see below. I will also be using the Metabones III lens adapter and various Canon EF L lenses to check versatility and image quality at other focal lengths using top quality optics. The Canon EF 24-105mm f/4 L IS lens and the EF 17-40mm f/4 L lens are the two I used to be specific. They are very high quality lenses and should be able to handle the 36mp resolution that the A7r offers. I also wanted to compare the A7 and A7r using the same lens, and without having both cameras at the same time, I felt the 24-105nn was the best option.
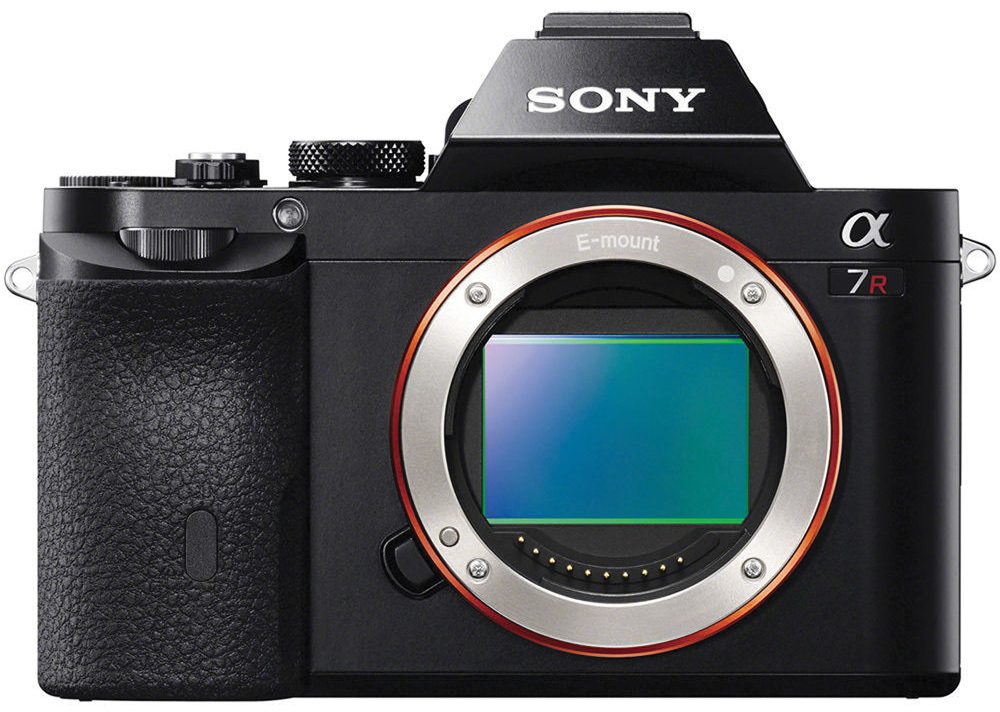
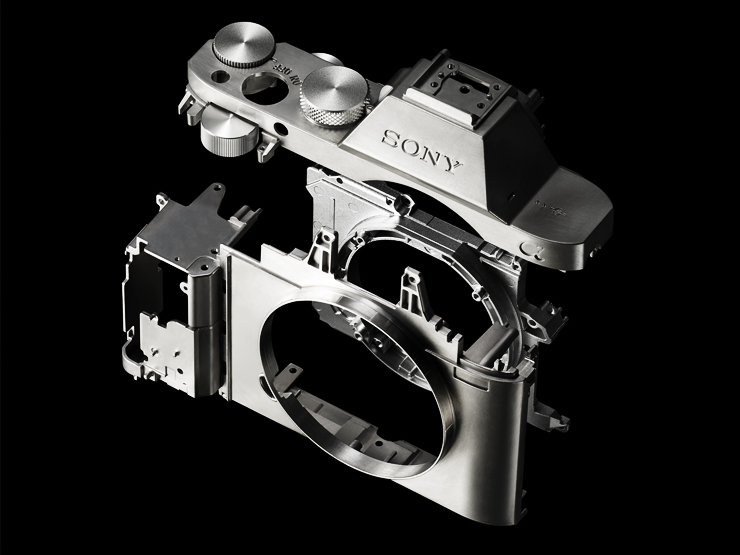
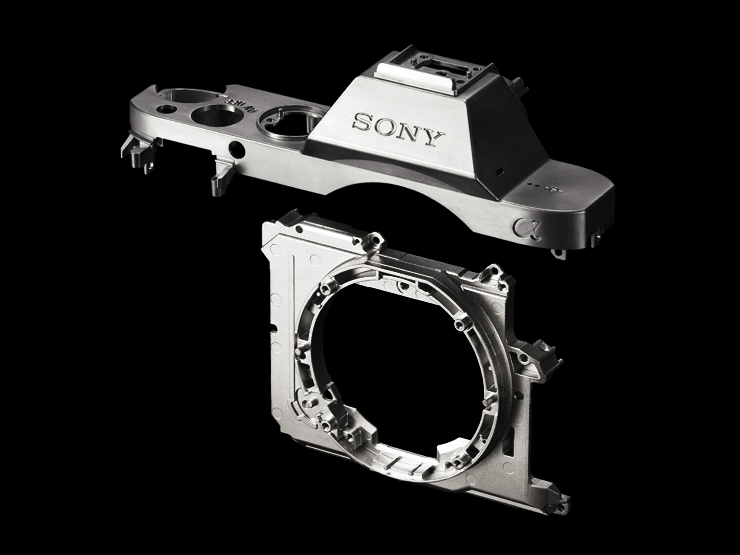
The Sony A7r body looks identical to the A7 in appearance, but actually contains a lot more metal. This results in a more rigid design for heavier lenses according to Sony and it weighs in at 407 grams which is actually 9 grams lighter than the A7 (416 grams) Clearly the A7r has the advantage in build quality if you factor in all the extra magnesium and slight weight advantage. Take a look below at the internal chassis and partial camera body differences between the two below:
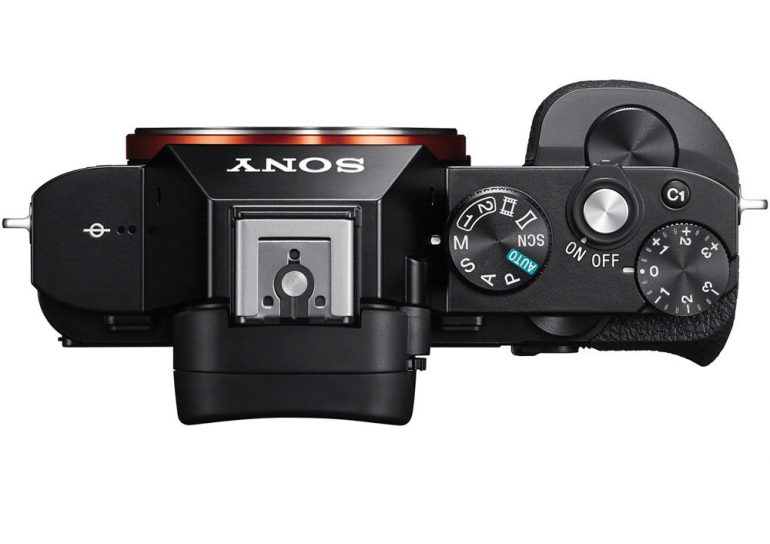
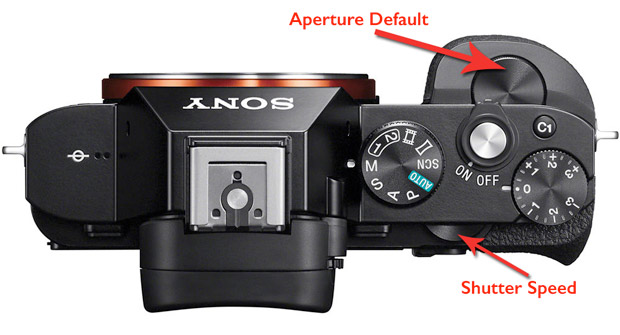
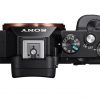
Full manual controls, including an exposure comp dial and tons of customizable buttons insure you can set the A7r exactly how you want it. From this top view you can see a control wheel just above the shutter button and on/off switch. By default that controls the Aperture in manual mode. The control wheel on the back that your thumb would use is the shutter speed in manual mode. You can see that wheel sticking out directly below the word on and it’s just above the thumb grip.
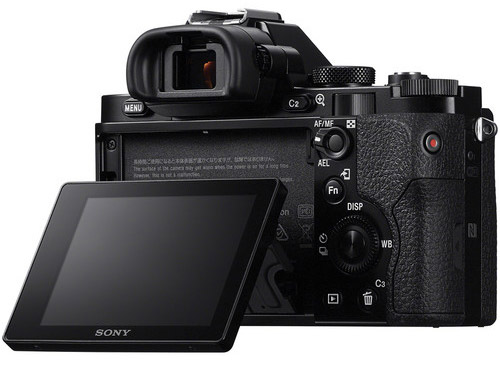
The control ring on the back of the camera with the DISP button on top and WB on the right side also rotates clockwise and counter clockwise which is ISO when using manual mode. The function button acts as a shortcut to the most used settings on the camera and is completely customizable. You can also program the C1, C2 and C3, to whatever you want. In addition to that, you can switch the control wheels around any way you wish. I’m working on another article/ video which will go into detail on how to use the A7r in manual mode and customize it, so stay tuned for that!
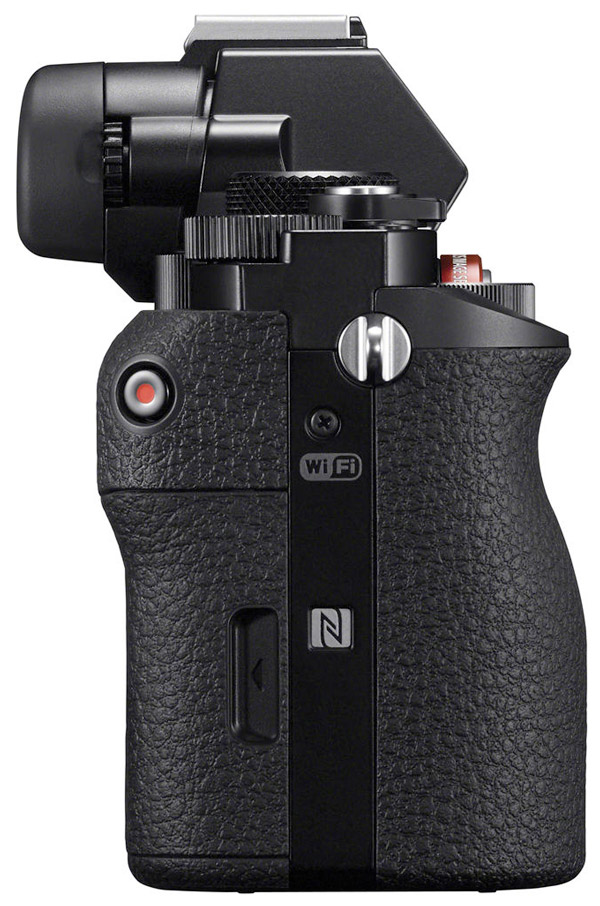
A beefy well designed grip provides plenty of leverage and has a nice ergonomic feel to it. The memory card is also located in the grip and has a door just below the red video record button. The battery goes in on the bottom of the grip just like the Nex-6. Wi-Fi and NFC is also built in to the A7r and apps are available to expand your creativity and the camera capabilities. The remote control app is the one I use the most, and you can get them from the Playmemories Portal Here >>
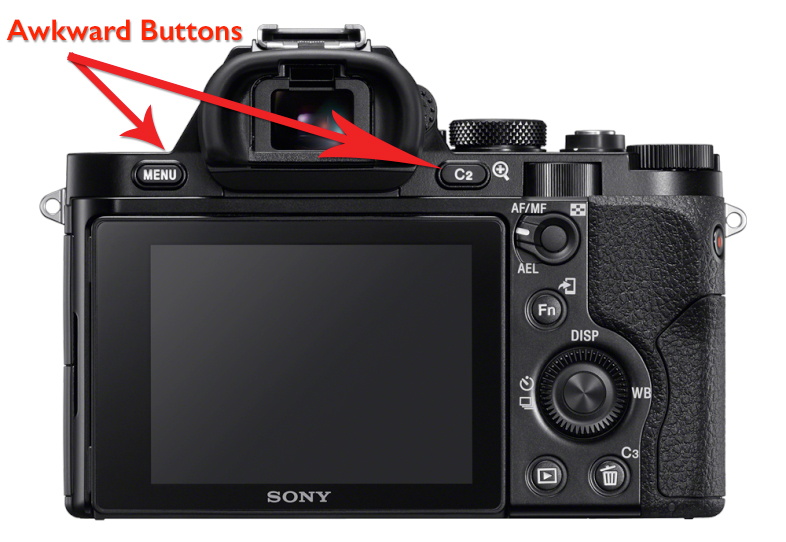
The Menu button and C2 button are not in the best physical location along the top above the LCD screen ridge in my opinion and are slightly awkward to press. Other than that I’ve really come to love the ergonomics of the A7r/ A7 camera body.
I did a lot of A7 vs Nex-6 comparisons in the detailed Sony Alpha A7 Review (Click Here), So, I’m going to compare the A7 vs the A7r in this review and show you tons of real world sample photos using various lenses. My Canon EF 17-40mm f/4 L Lens in particular was of personal interest to myself and I think you will like the photos I captured with that lens. I also really enjoyed using the Zeiss 55mm f/1.8 lens. The quality is incredible corner to corner, and even at f/1.8 the images are very sharp.
Sony A7r Key Features:
- 36.4MP Full Frame Exmor CMOS Sensor
- No Optical Low-Pass Filter
- Gapless On-Chip Lens Design
- BIONZ X Image Processor
- Direct Compatibility with E-mount Lenses
- 3.0″ Tiltable TFT LCD with 1,229K-Dots
- 2.4M-Dot OLED Electronic Viewfinder
- Full 1080/60p Video with Remote Capture
- Built-In Wi-Fi and NFC
- Multi-Interface Shoe
- Retail = $2298 US @ BHPhoto
My Sony A7r Review – Video Version
Be sure to select the HD Quality once the video starts playing. It’s on the lower right hand side and looks like a gear. The images will look much sharper. Comments, feedback, and questions are always appreciated so please don’t hesitate…
Similar Comparison Sample Photos
I took a lot of sample photos and below are a bunch w/100 Crops so you can see a better quality version than the video provides.
The Sony A7 vs the A7r – High ISO – Raw Quality
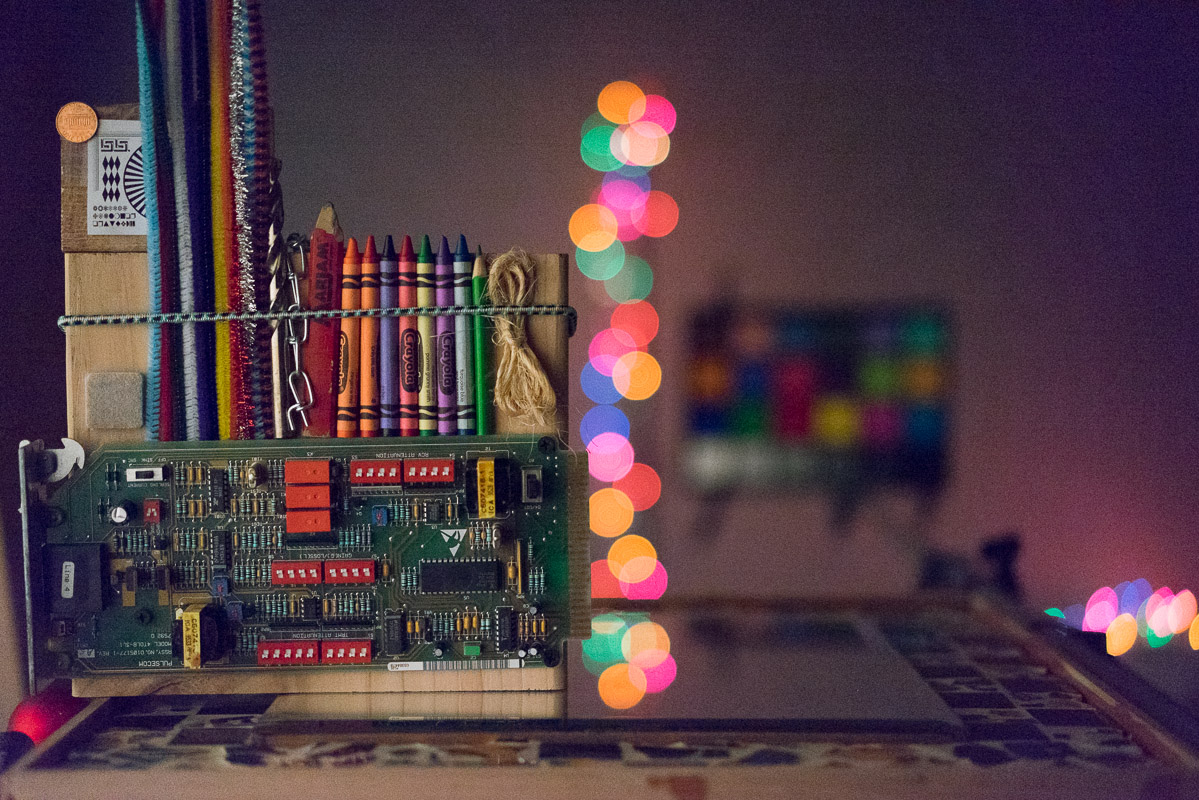
Full Lab Scenes first @ 25600
Sony A7r
Sony A7
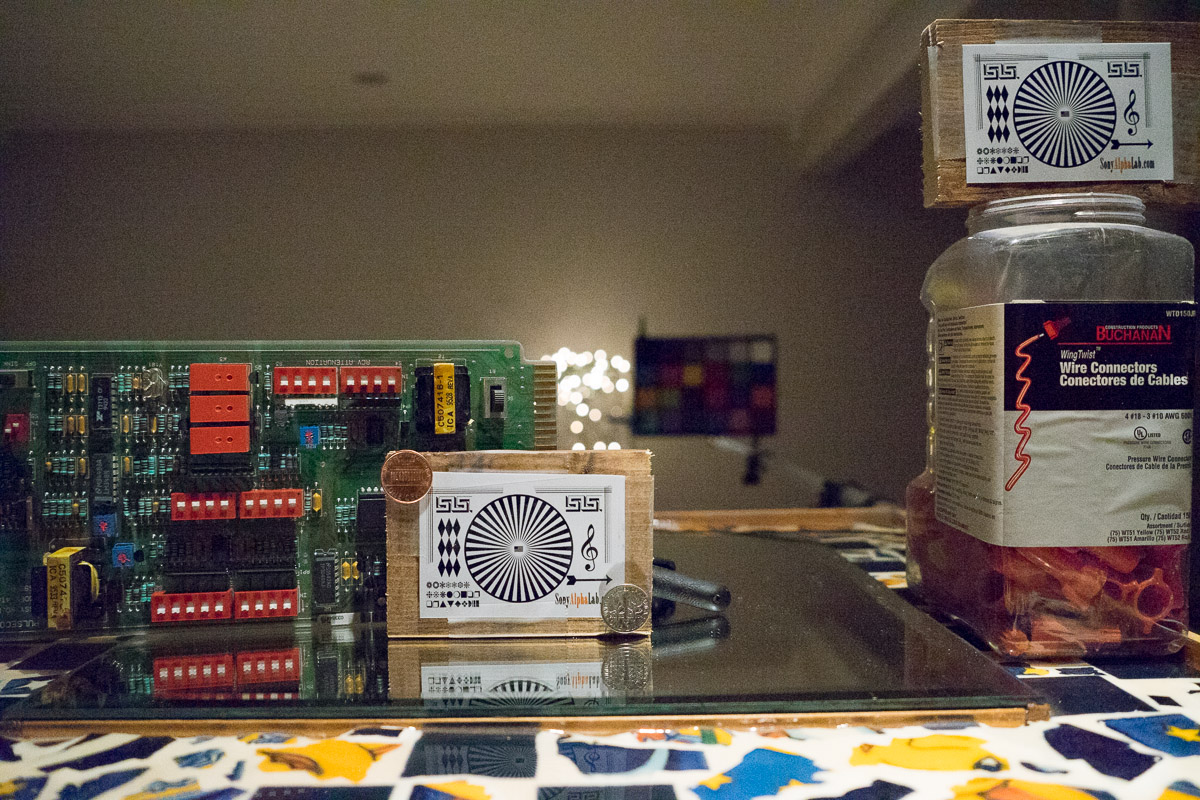
Note: The 36mp Sony A7r has a noticeable purple color cast that the 24mp A7 does not suffer from near as much. However, the ambient lighting was significantly different in these comparison images. The detail and color rendition is about the same otherwise in my opinion. Judge for yourself via the 100% crops below from each camera
| ISO | Sony A7r @ f/1.8 | Sony A7 @ f/5.6 |
| 25600 |  |  |
| 25600 |  |  |
| 25600 |  | 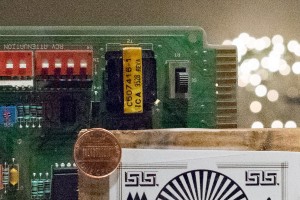 |
| 12800 |  |  |
| 12800 |  |  |
The Sony A7 vs the A7r – Same Scene Same Lens – Raw Quality
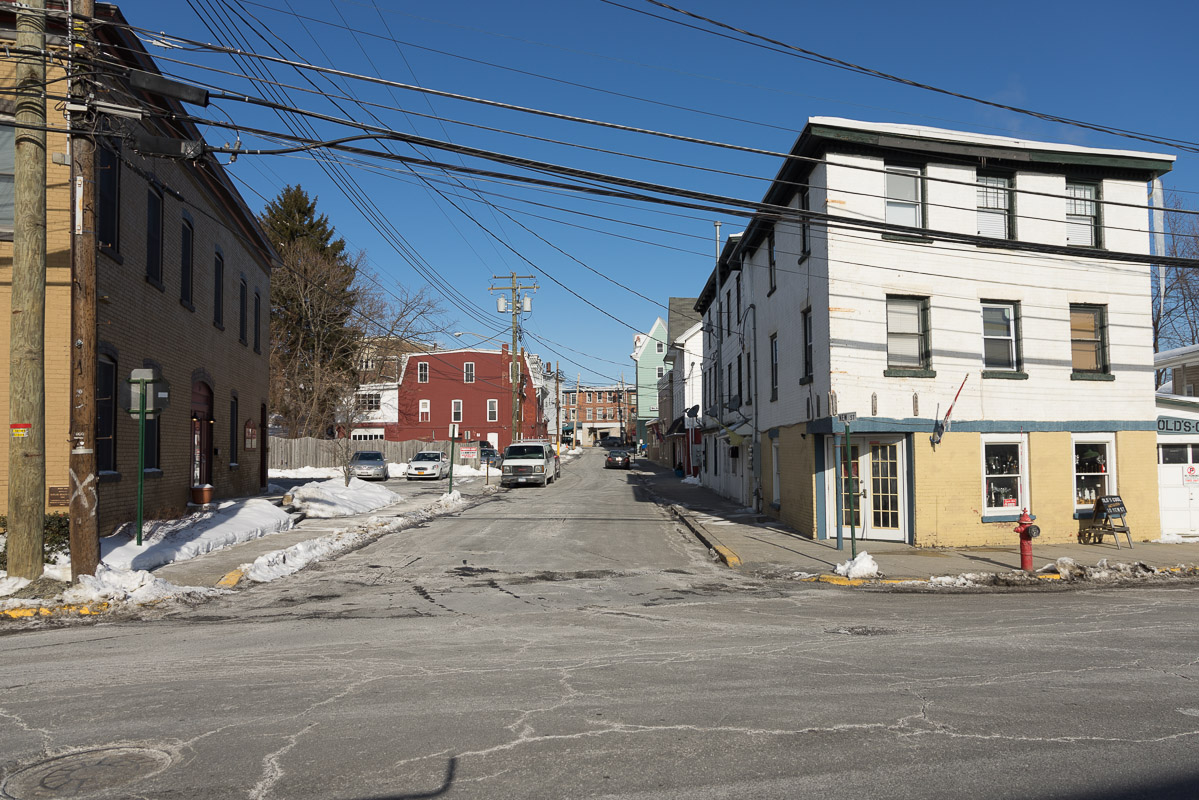
Using the Metabones III and Canon EF 24-105mm f/4 L IS Lens for these comparison test shots. Raw quality with no enhancements. 36mp Sony A7r first:
 |  |
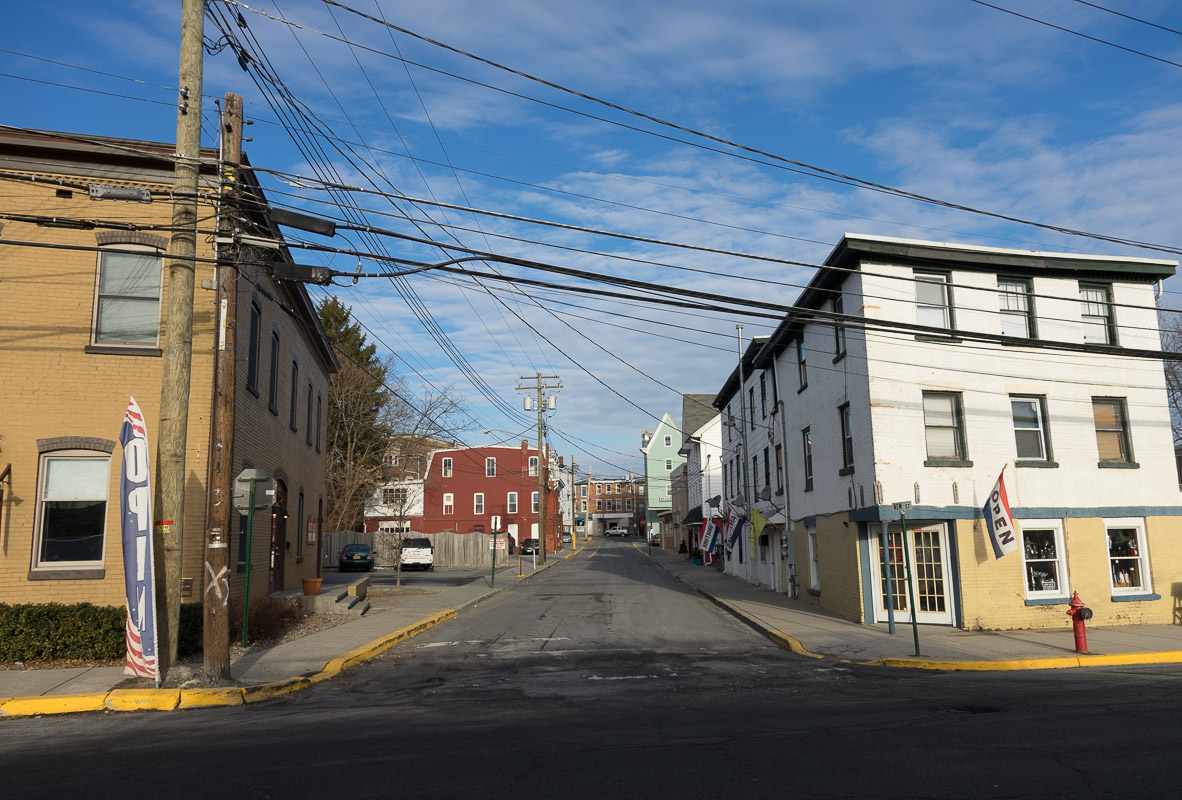
24mp Sony A7
 |  |
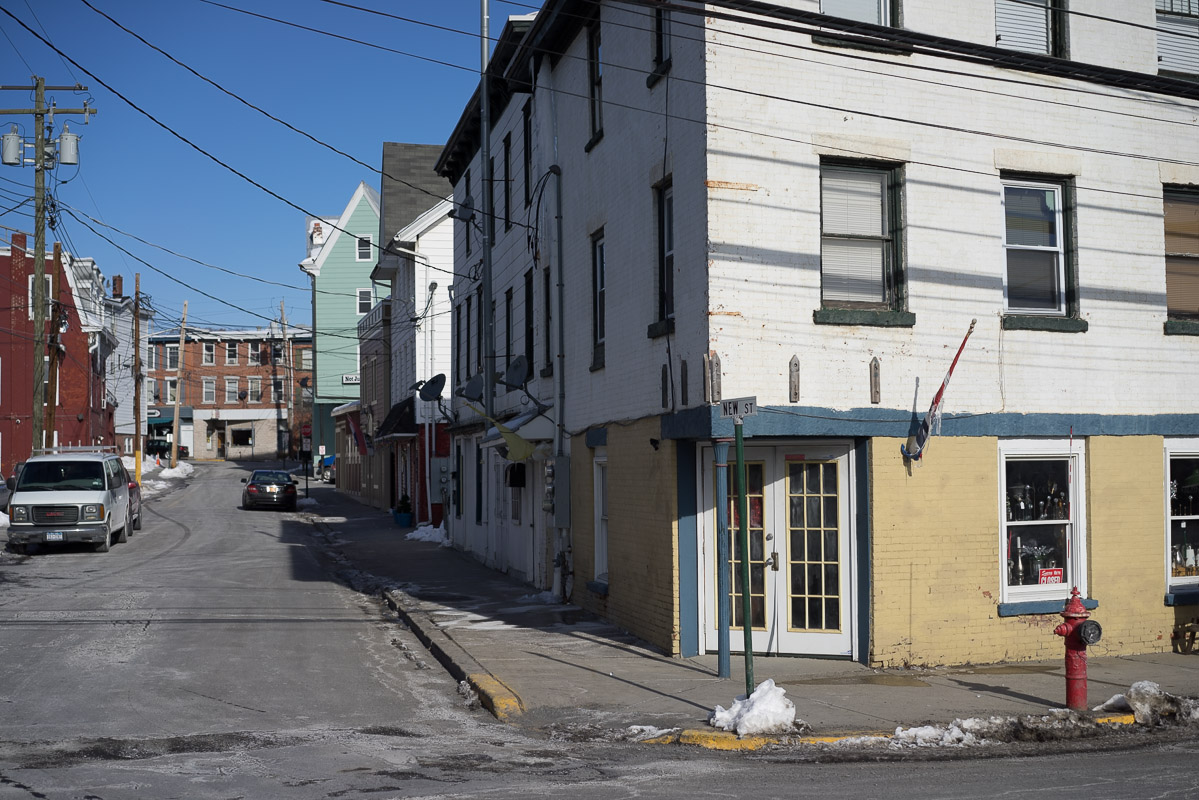
Sony A7r w/ Zeiss 55mm f/1.8 lens @ f/4
 |  |
More Sony A7r Sample Photos
Enough of the comparison photos, let’s check out some high res Sony A7r photos shall we…
Sony A7r w/ Zeiss 55mm f/1.8 Lens – Lab
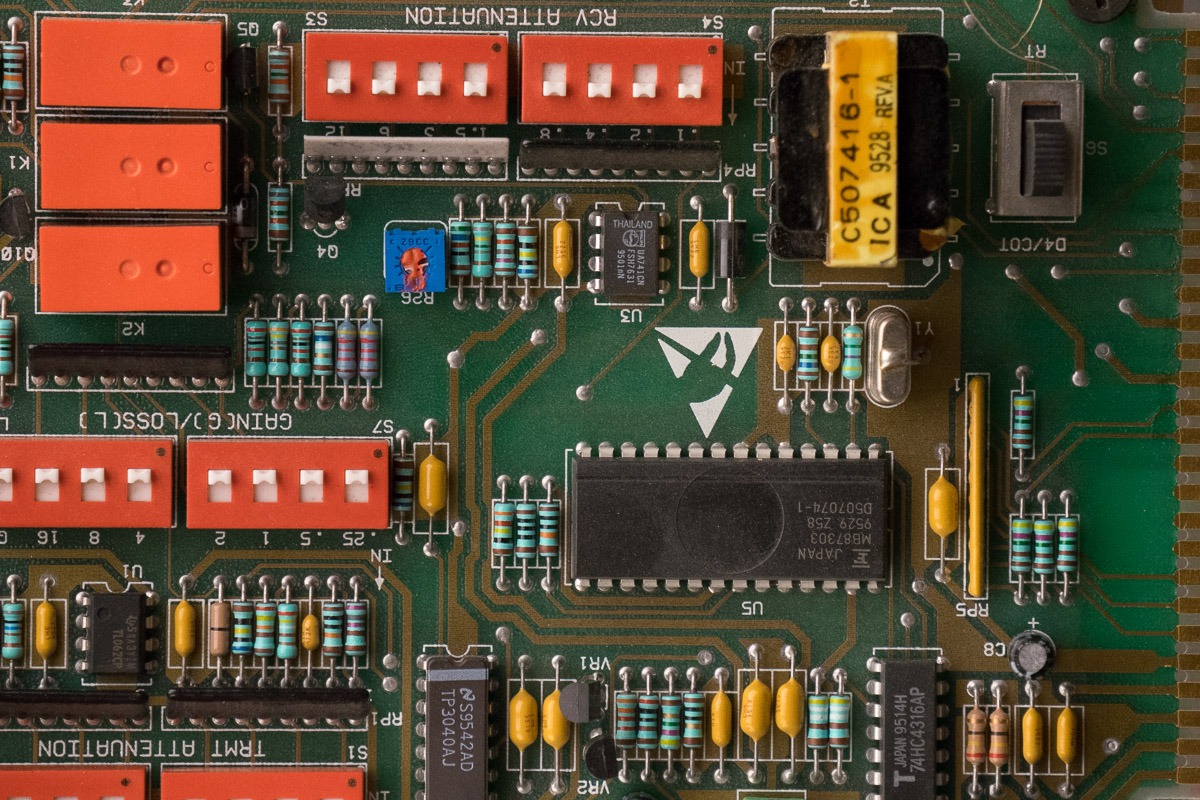
Aperture testing in the Lab, f/1.8 – f/16 w/ 100% crops so you can see how the depth of field and bokeh render with the 55mm f/1.8 Zeiss and 36mp full frame A7r. I’ll let you be the judge, but I must say the A7r is noticeably sharper than the A7 when using my Canon L Glass. The lack of AA filter makes a noticeable difference, especially with the increased resolution. Using the Zeiss 55mm f/1.8 lens the A7r is extremely sharp!
Here is the full Lab scene @ f/1.8 – Raw Quality
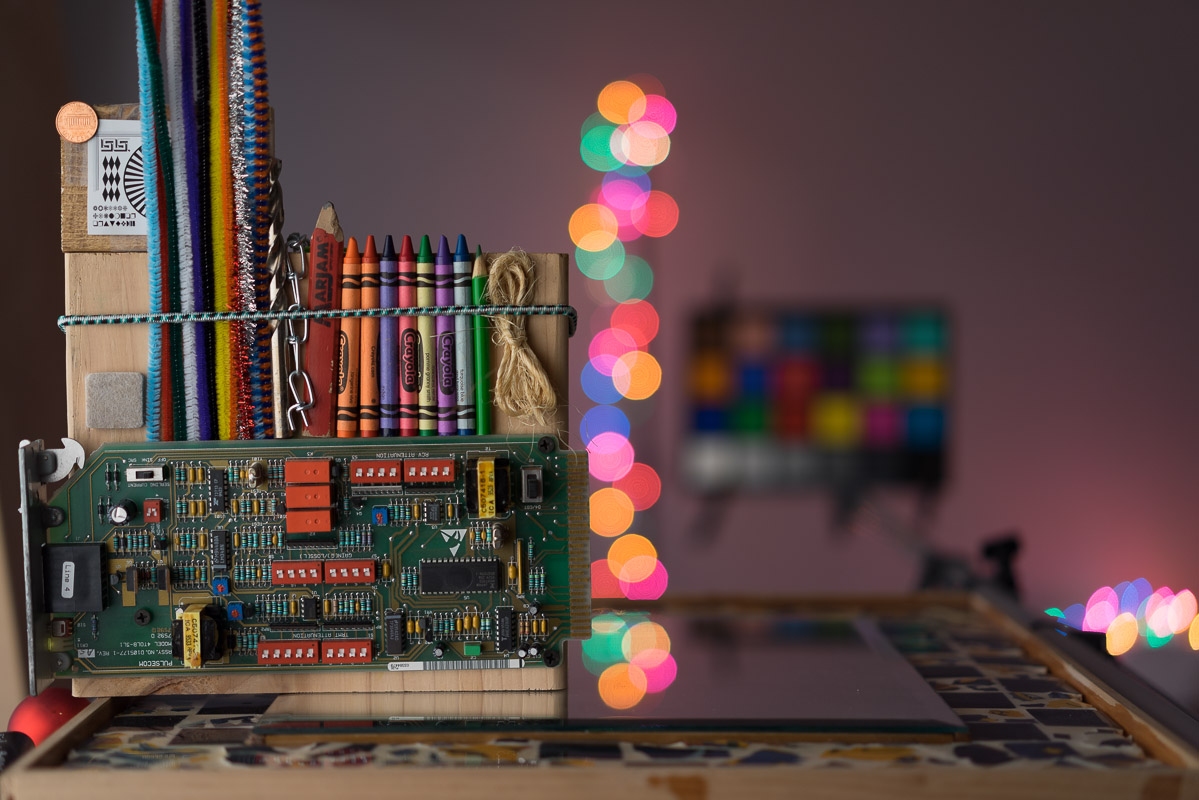
| Focus Area | Circuit Board Detail | Bokeh and Lights | |
| f/1.8 |  |  |  |
| f/2.8 |  |  |  |
| f/4 |  |  |  |
| f/5.6 |  |  |  |
| f/8 |  |  |  |
| f/11 |  |  |  |
| f/16 |  |  |  |
Sony A7r w/ Zeiss 55mm f/1.8 Lens – Real World
I took a ton of sample photos and went for the real world angle as much as possible. We have lots of snow in NY these days, so the dynamic range was put to the test big time! First a quick town monument shot wide open at f/1.8.

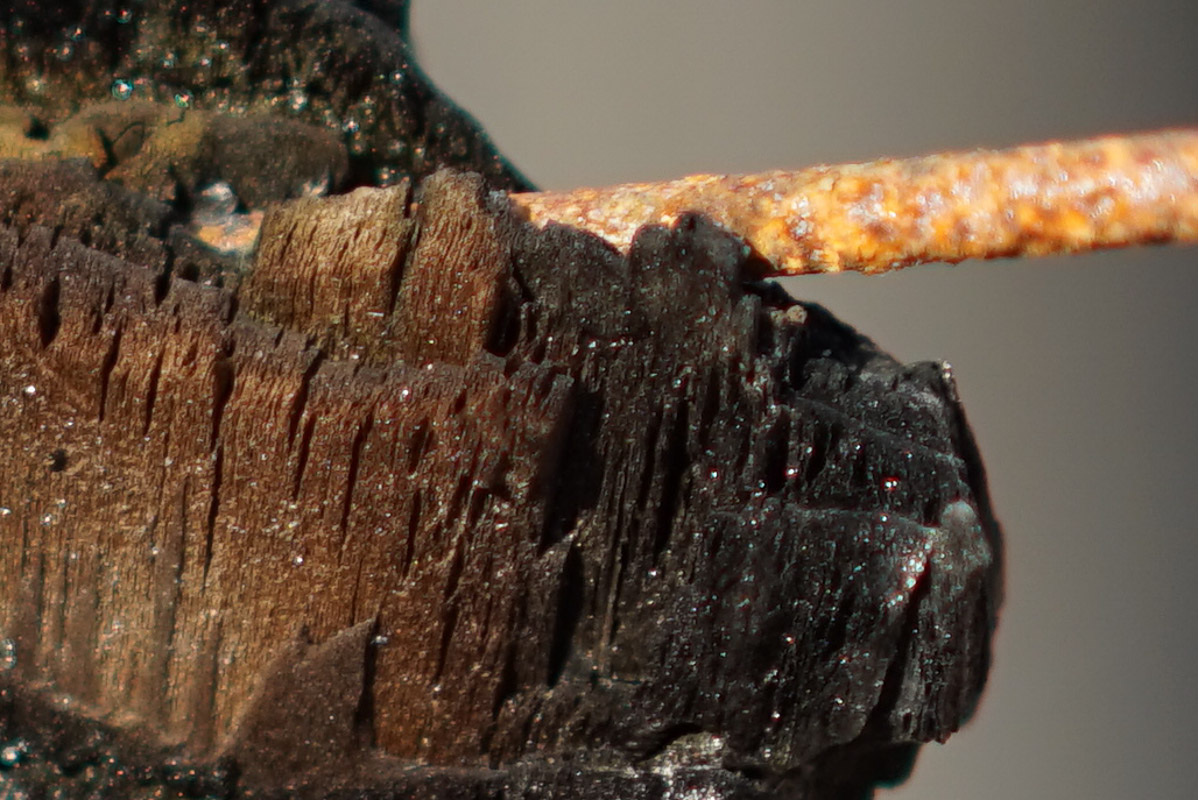
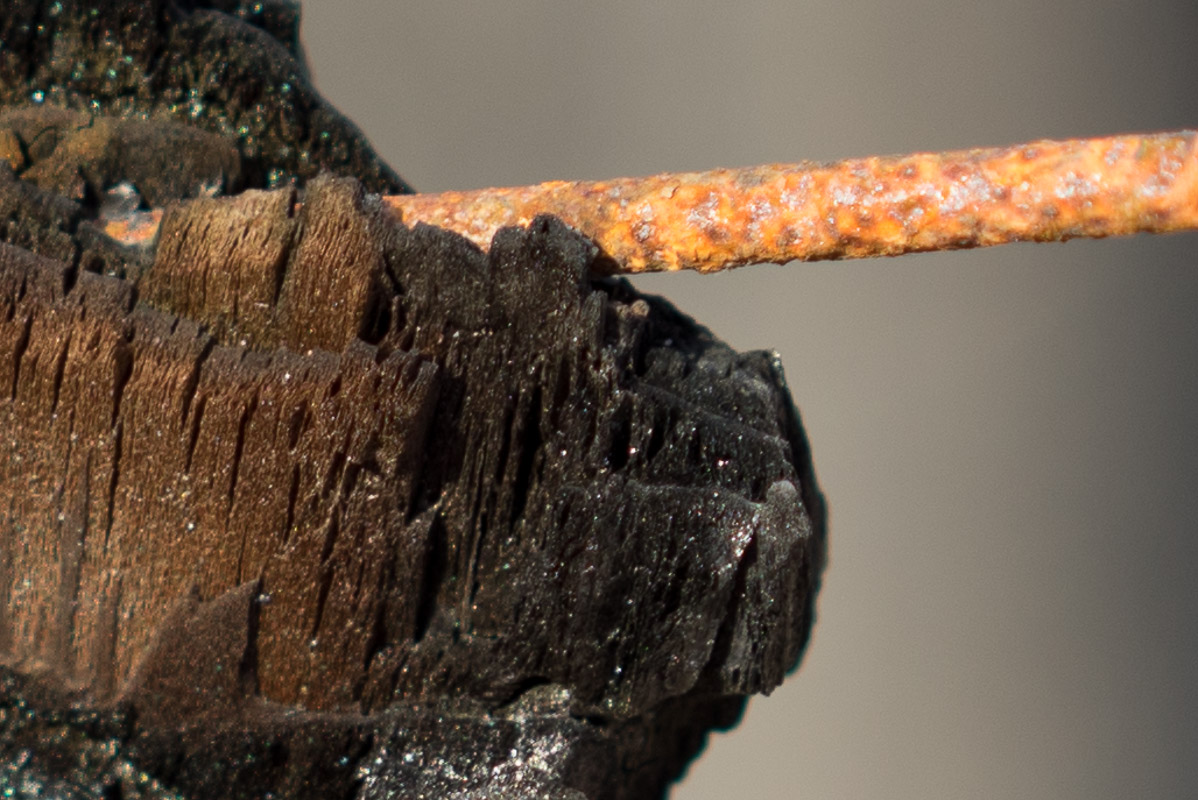
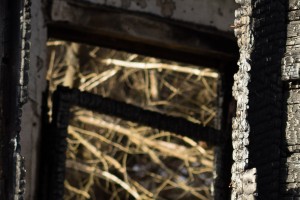
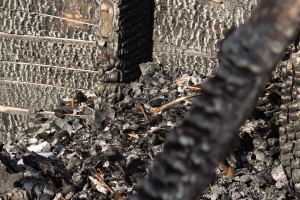
Next, some burnt wood was getting a sun tan in the cold early morning light. I could not help but grab several shots just to see how much detail the A7r and 55mm Zeiss lens combo could actualy capture. f/1.8 vs f/2.8 Bokeh Test
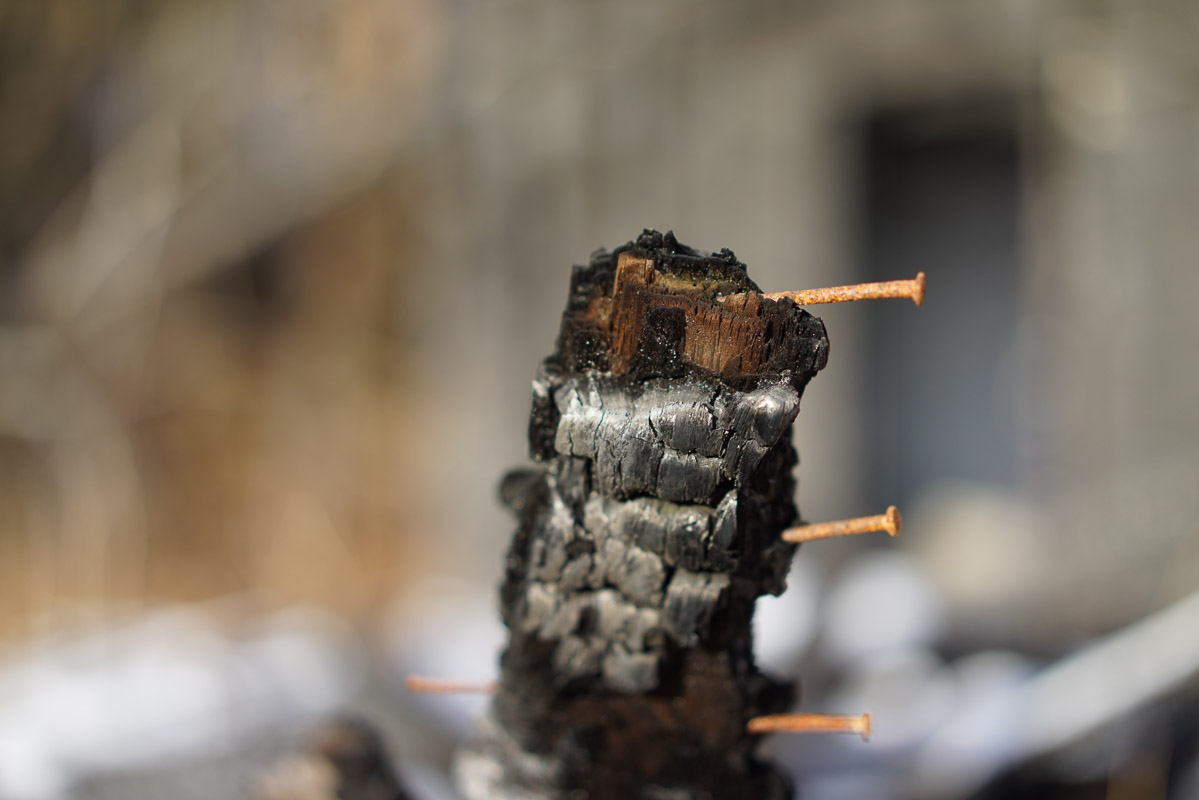
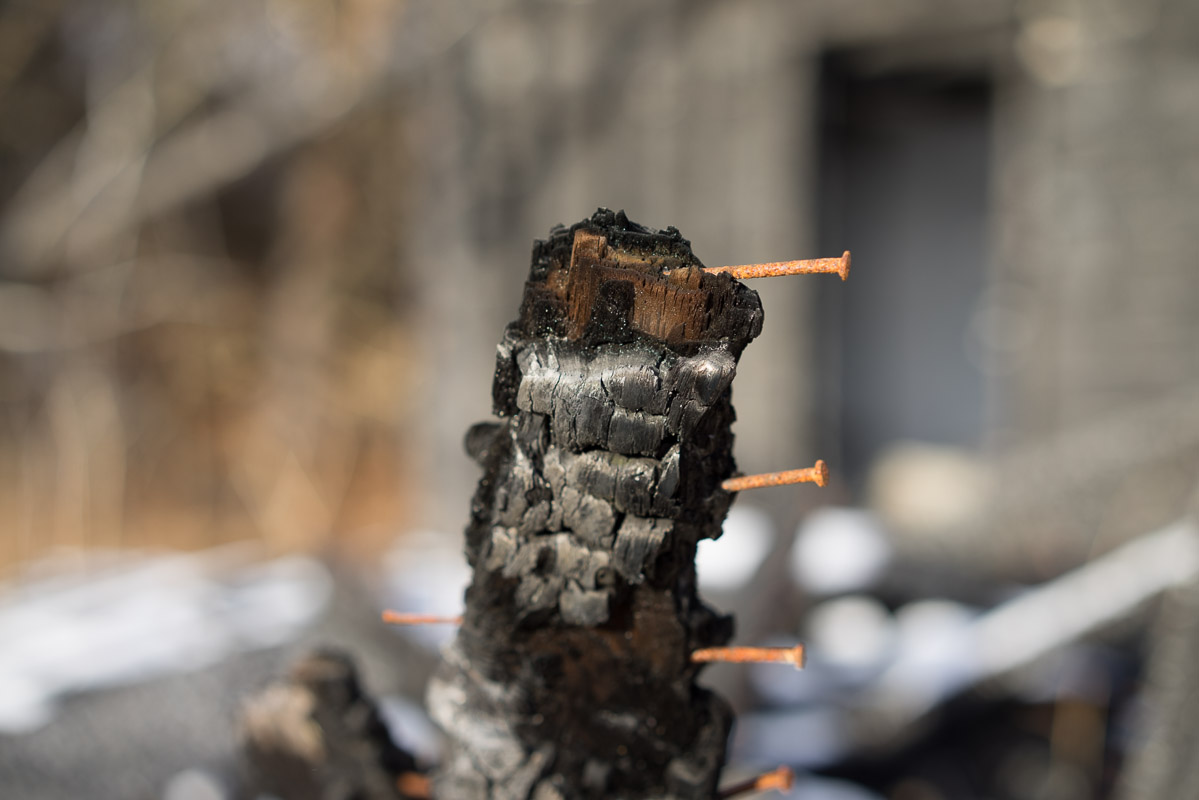
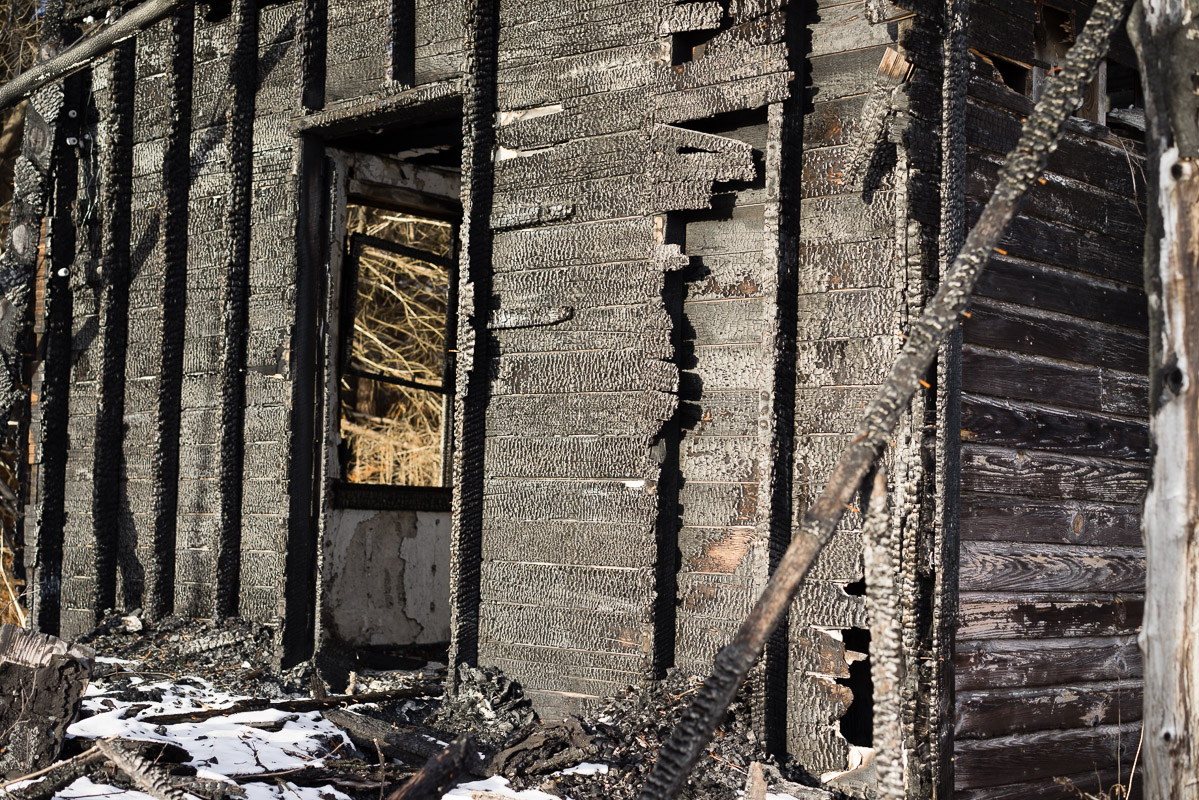
As you can see, the full frame format and 55mm f/1.8 aperture Zeiss lens make an amazing combination in both detail and separation. [divider] More burnt wood w/ 100% Crops. Insane detail and sharpness captured in my opinion.
 |  |
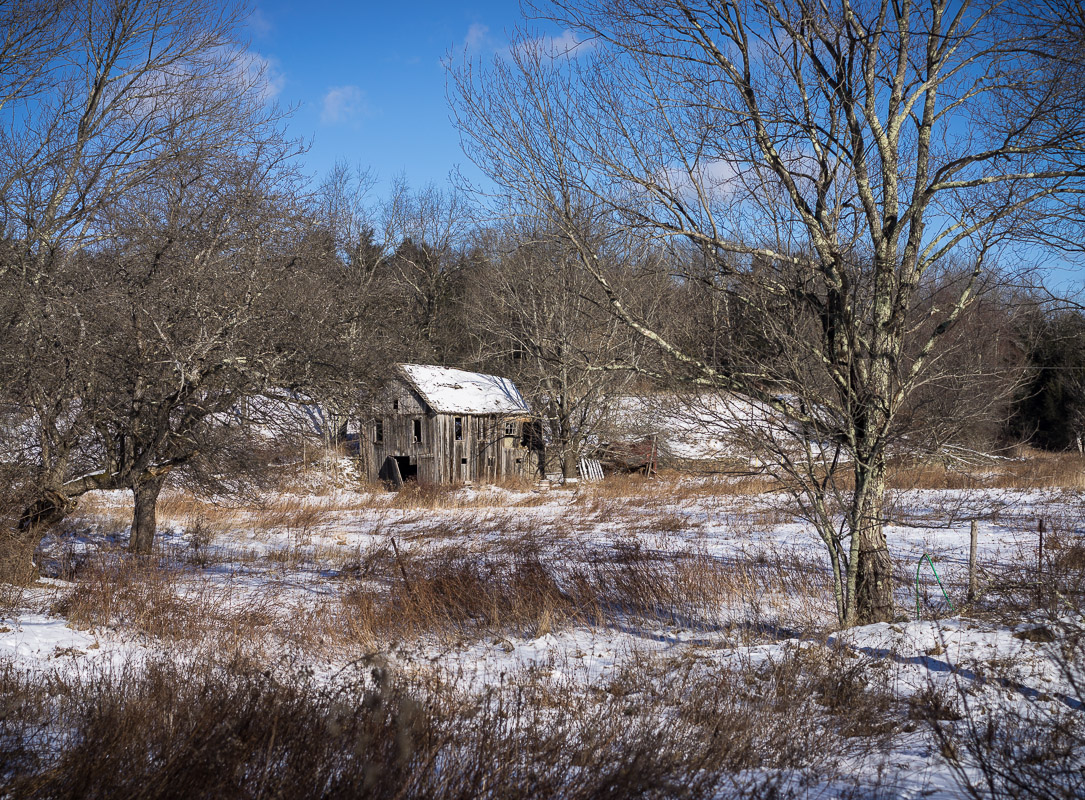
I came across this scene taking some back road. The contrasting colors and composition caught my eye.
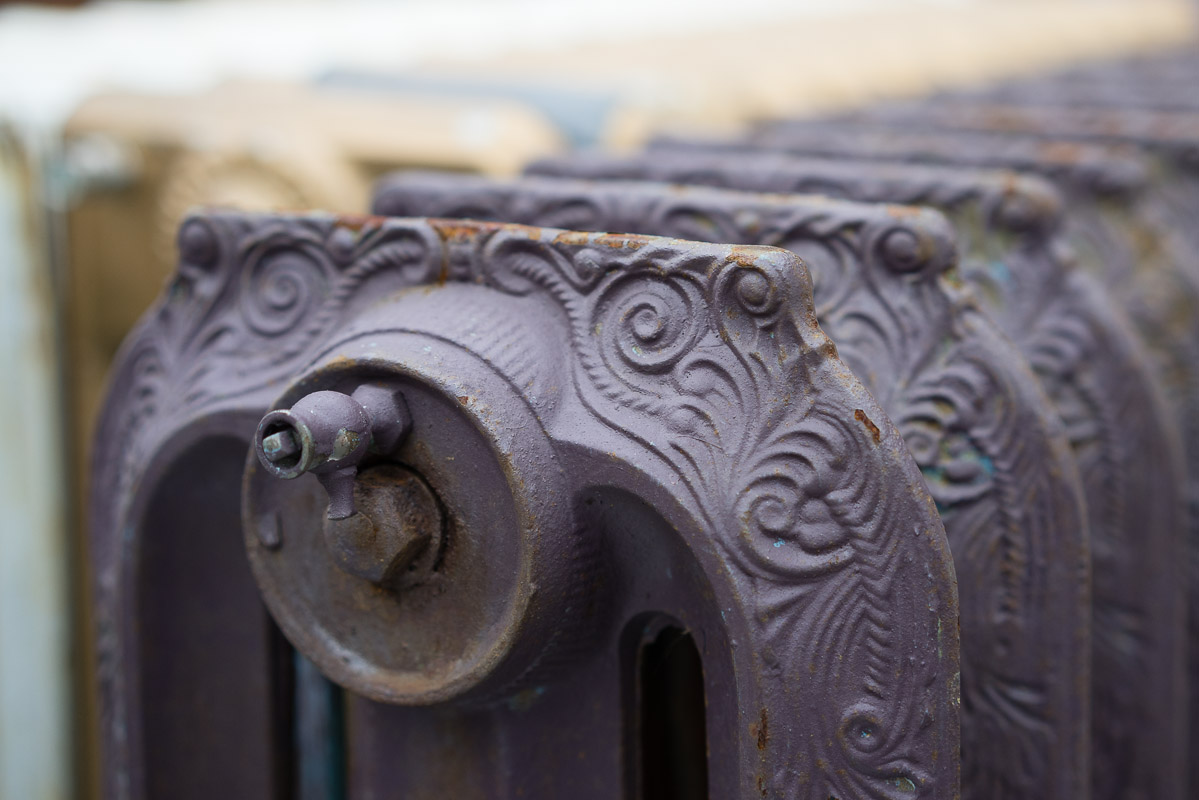
Some old metal radiators offers a lot of detail.
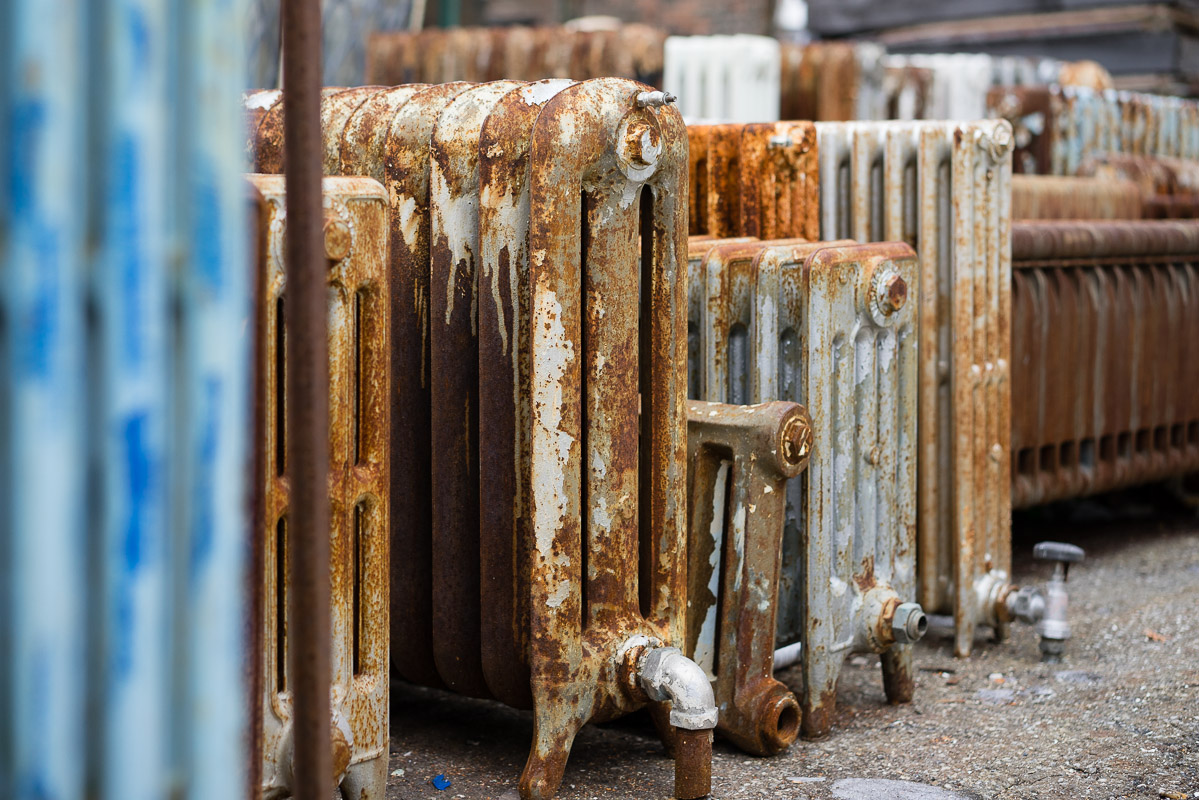
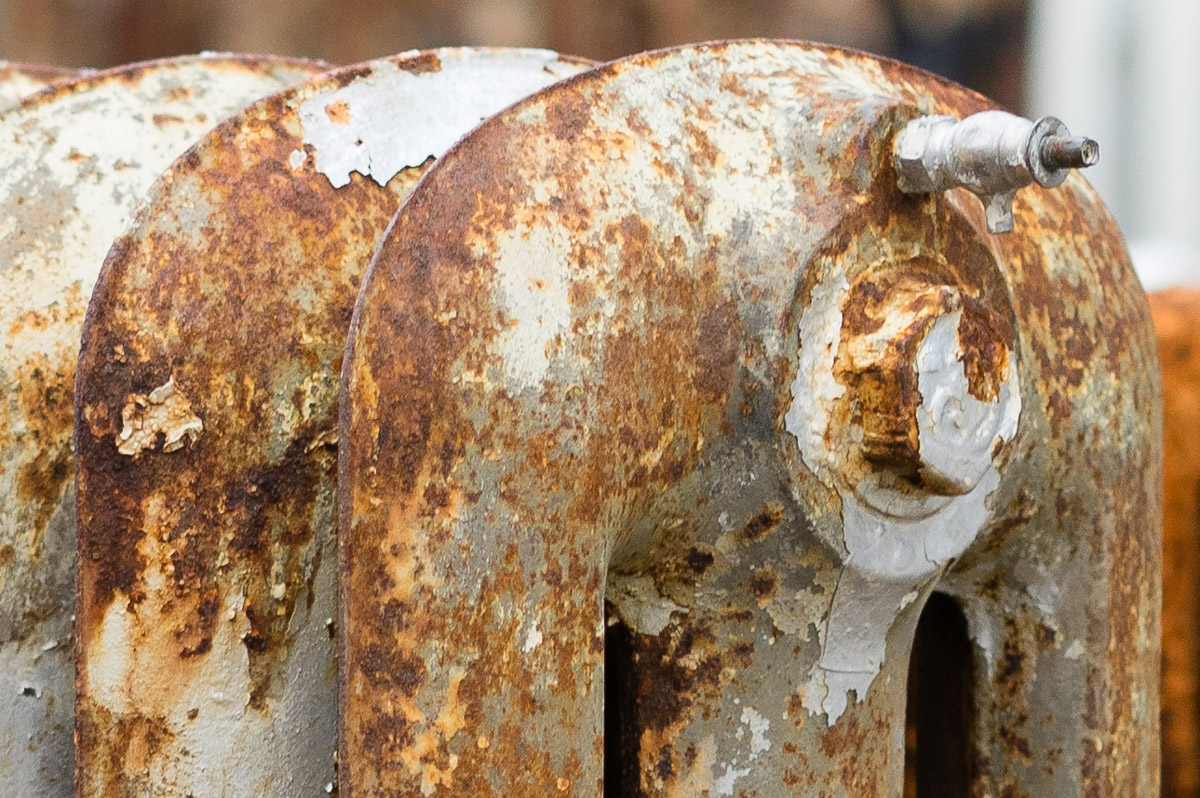
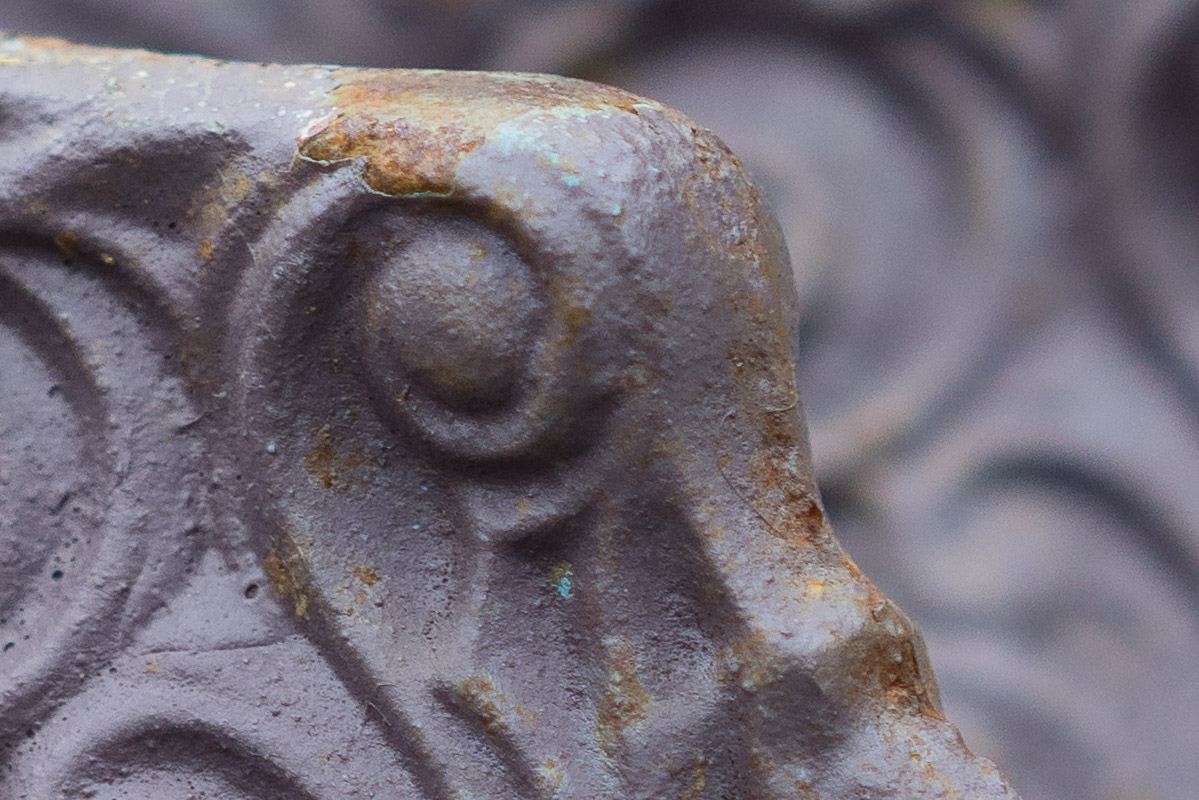
The pattern on this guy must have been hard to make back in the day I bet. I believe these were molded with caste iron.
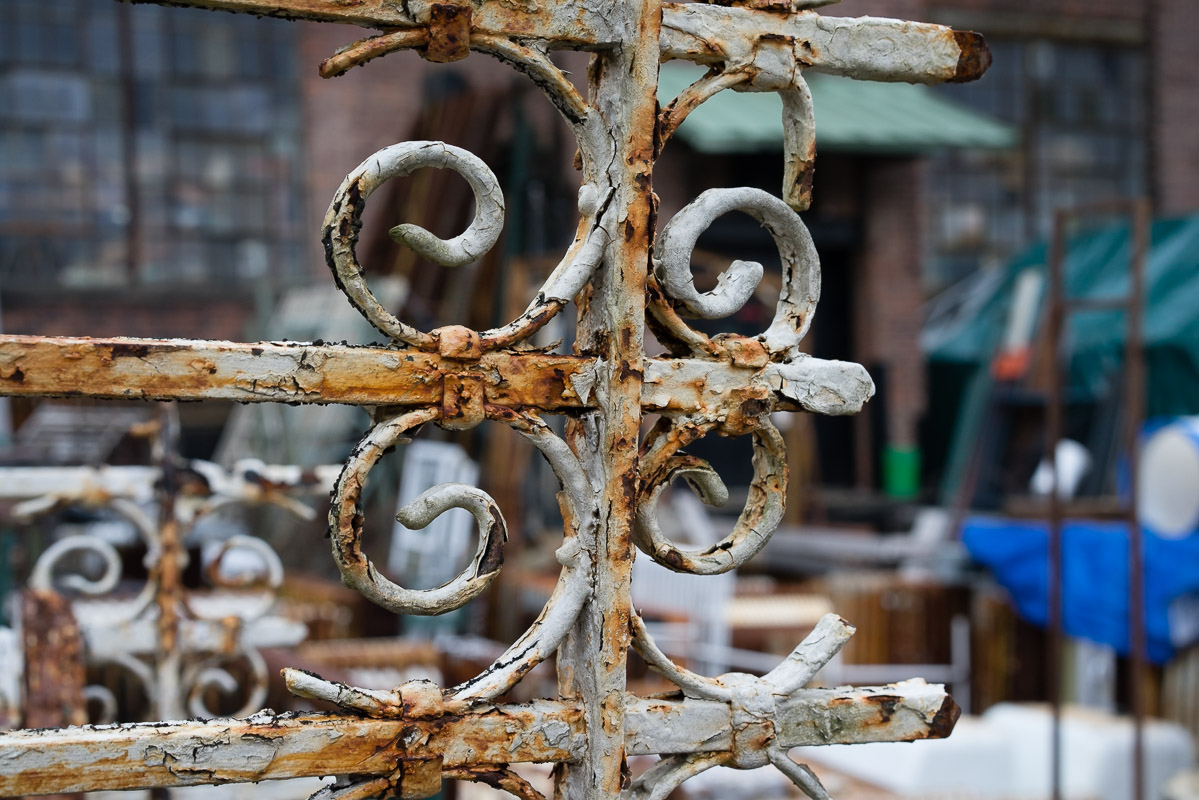
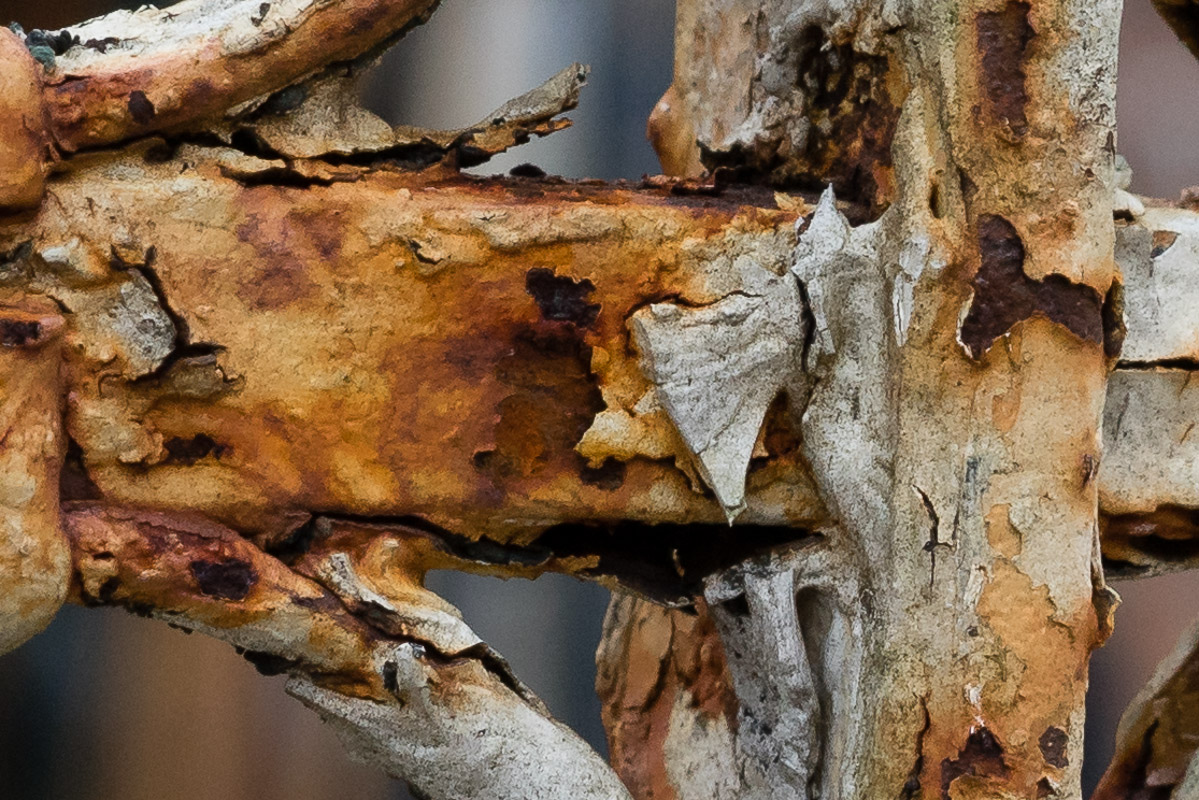
Here is a gate that was rusting away with paint flaking off. I love stuff like this and I was at the minimum focusing distance using f/8 for this particular frame. The shutter speed was also only 1/60sec but I was still able to get a sharp shot. I thought I might have to raise the ISO, but was happy enough with the result.
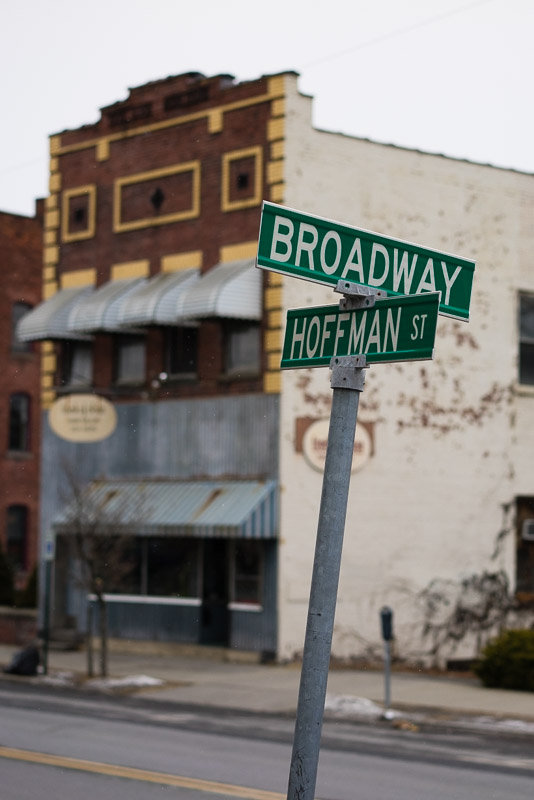
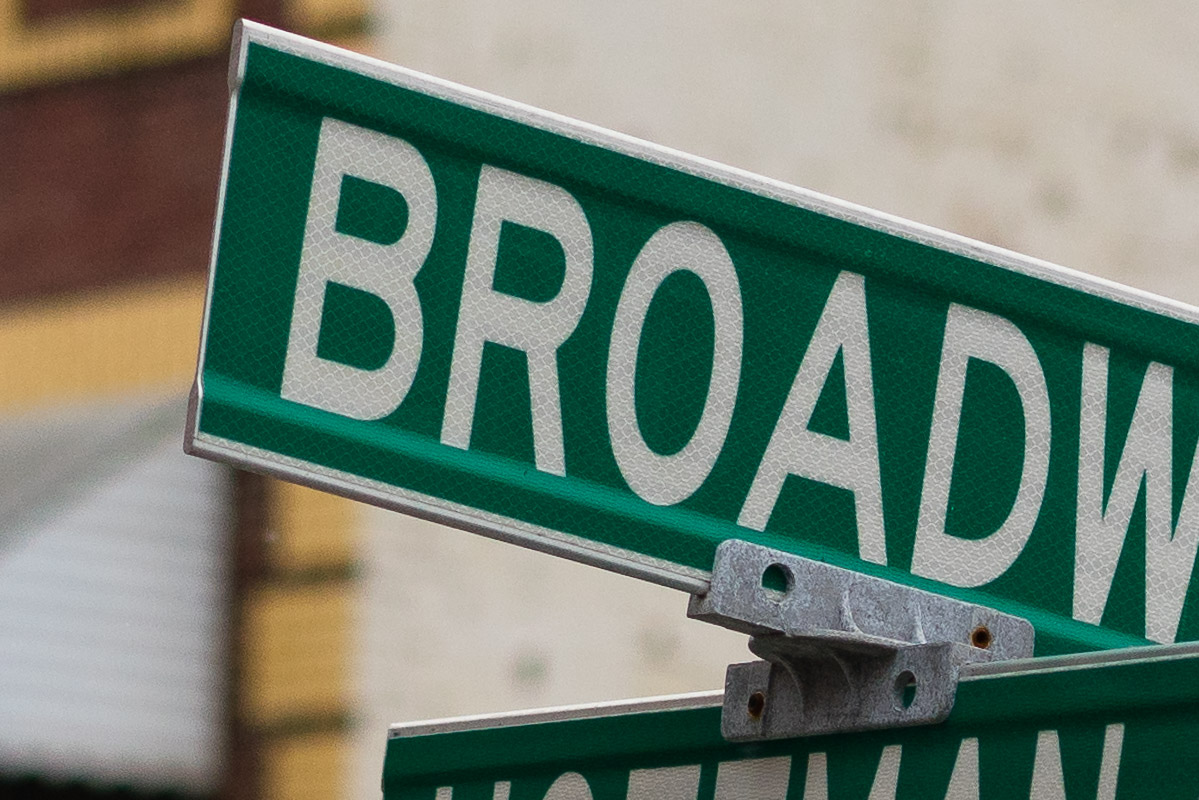
Here is another street shot and the detail captured in the sign is incredible. The separation is also excellent considering my distance from the sign @ f/2.8. Full frame is the bomb 😉
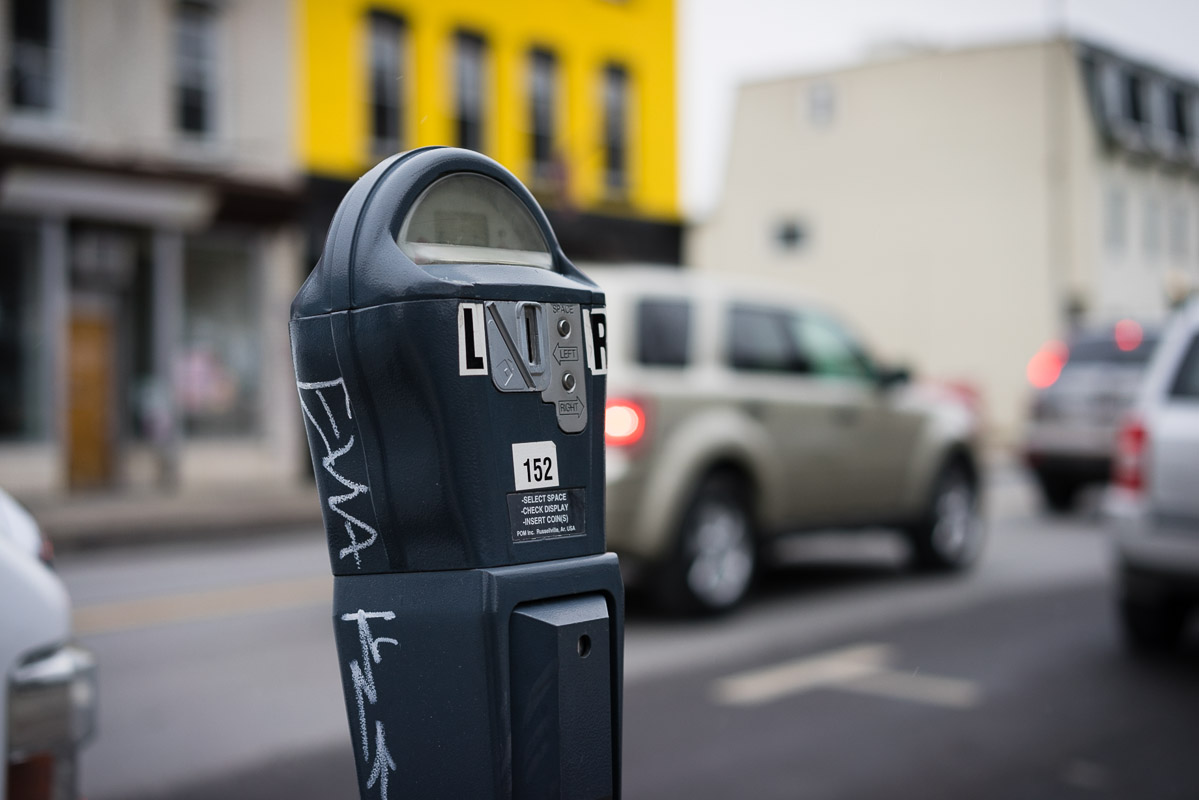
I added a little contrast and vibrancy to this next photo in Lightroom 5.
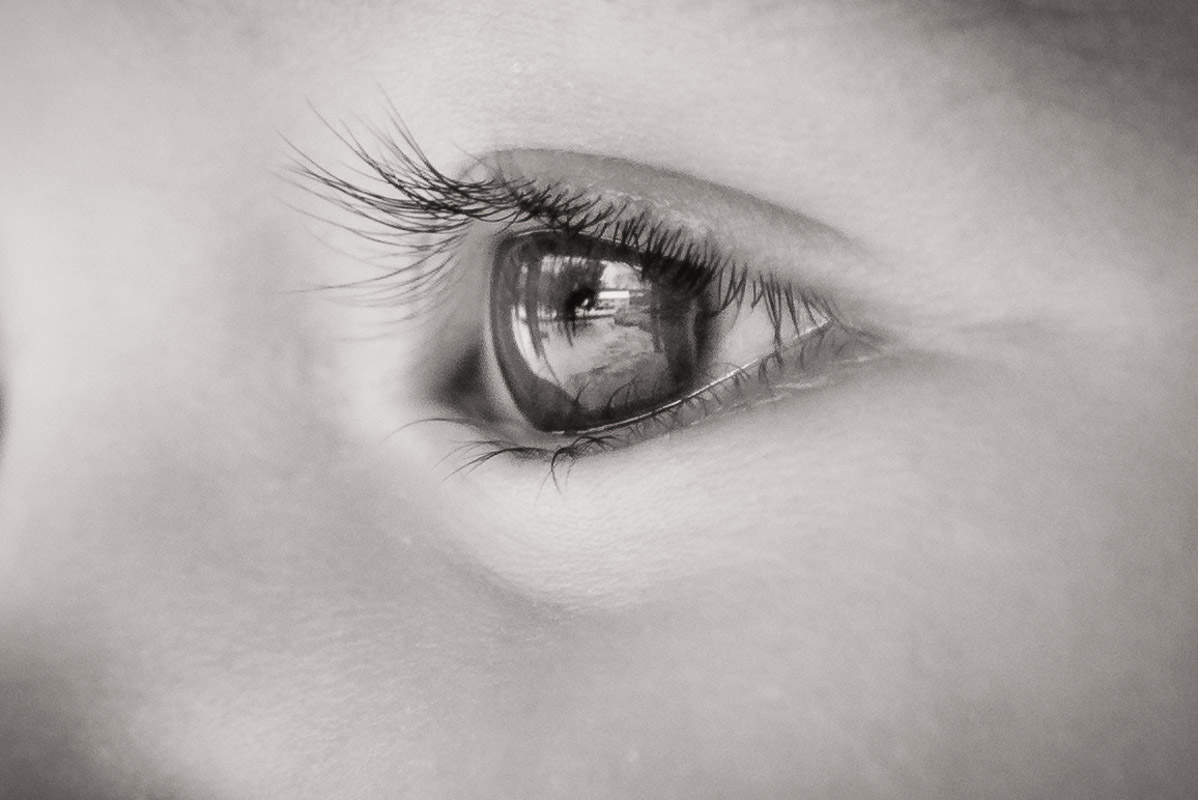
[divider] Some friends came over and I took this photo with natural window light and did a basic bw conversion in Lightroom 5.

Jpeg Quality self portrait taken with the remote control App via my iPhone. Works awesome!

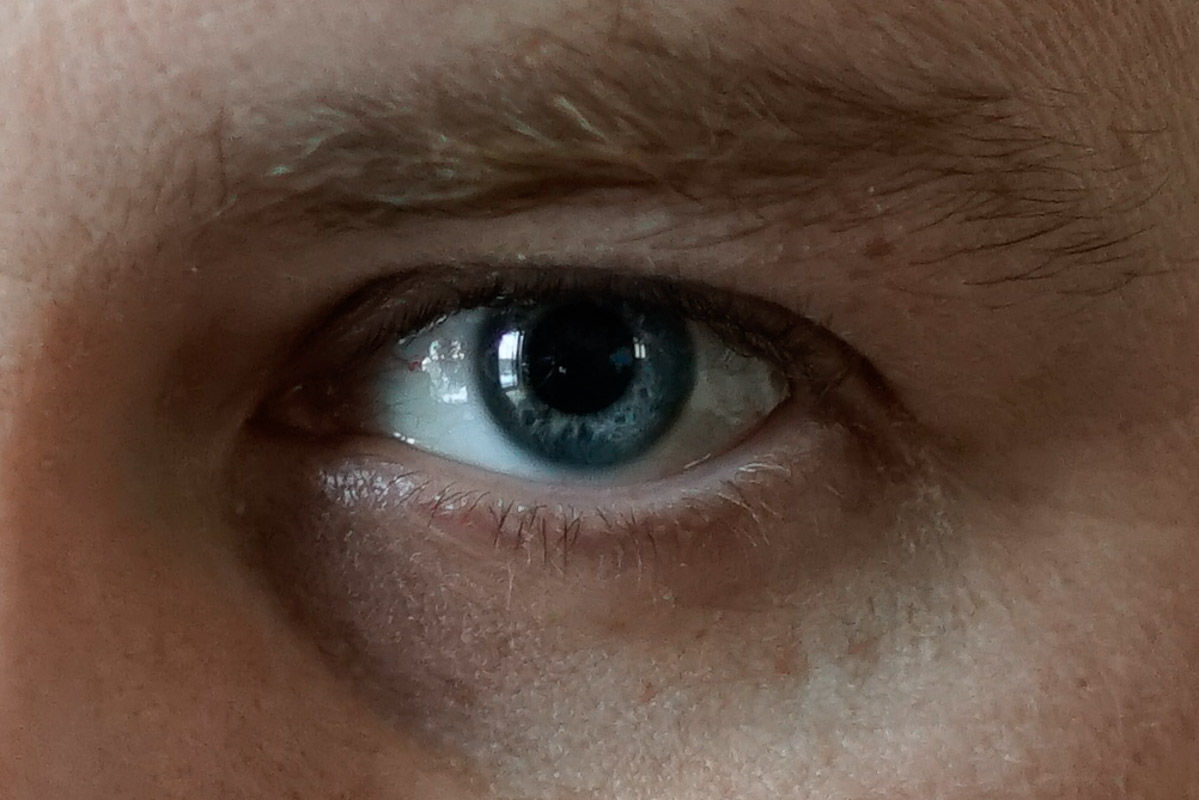
Sony A7r w/ Zeiss 55mm f/1.8 Lens – Studio Photography
Layla was a kind enough to go in front of the camera for me in the studio and the image quality speaks for it self, although a little bit hot exposure wise which is my fault, not the camera.

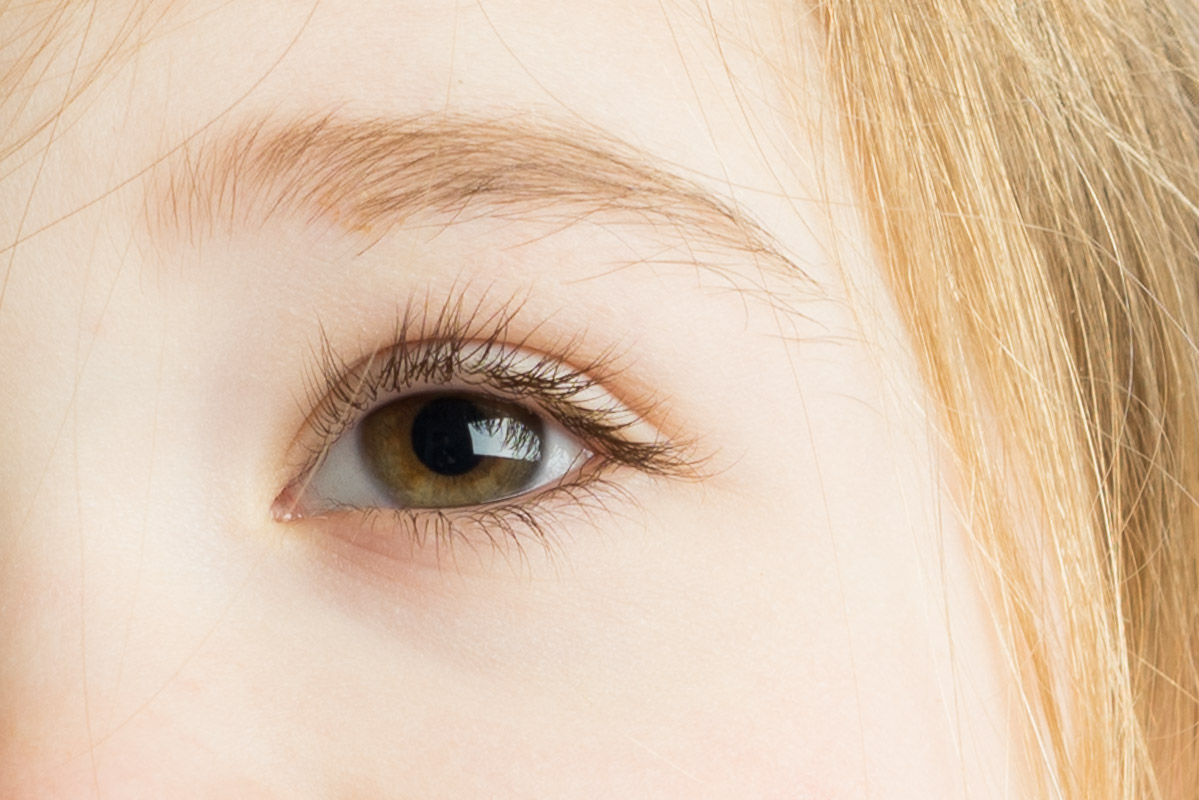
Sony A7r w/ 17-40mm f/4 l lens and Metabones III Electronic Lens Adapter
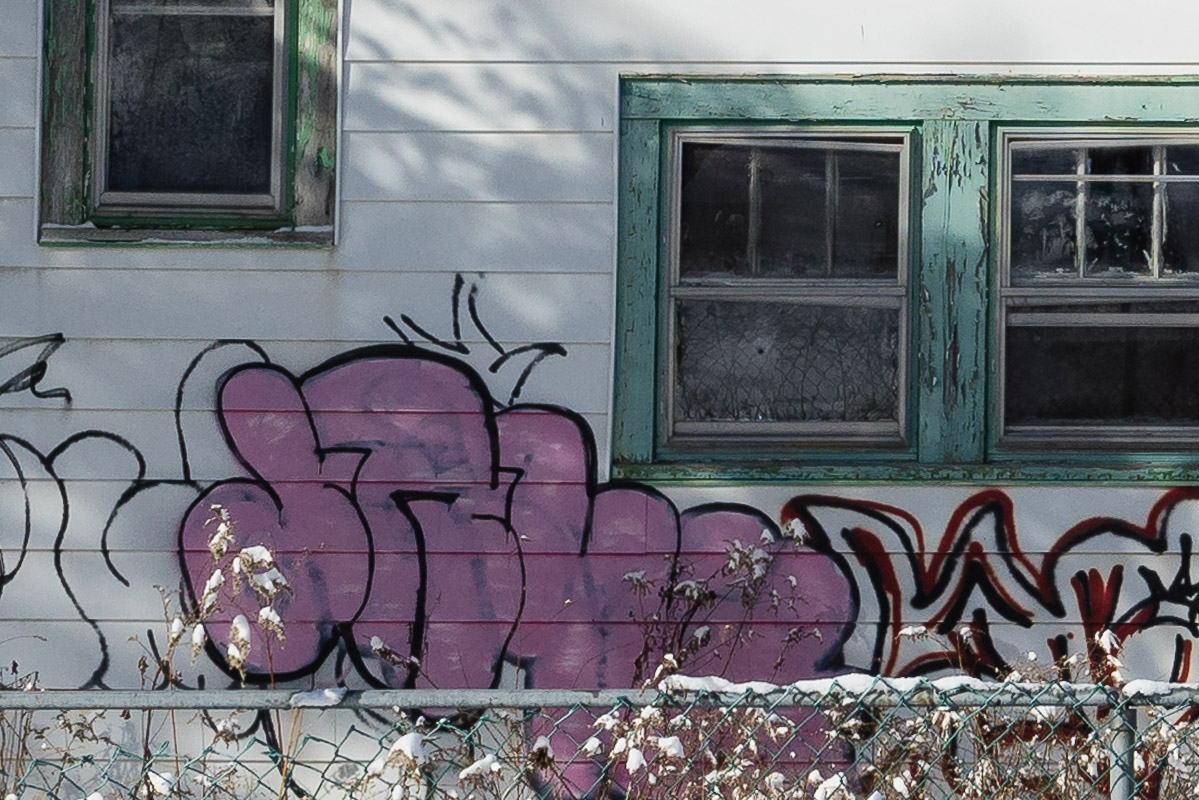
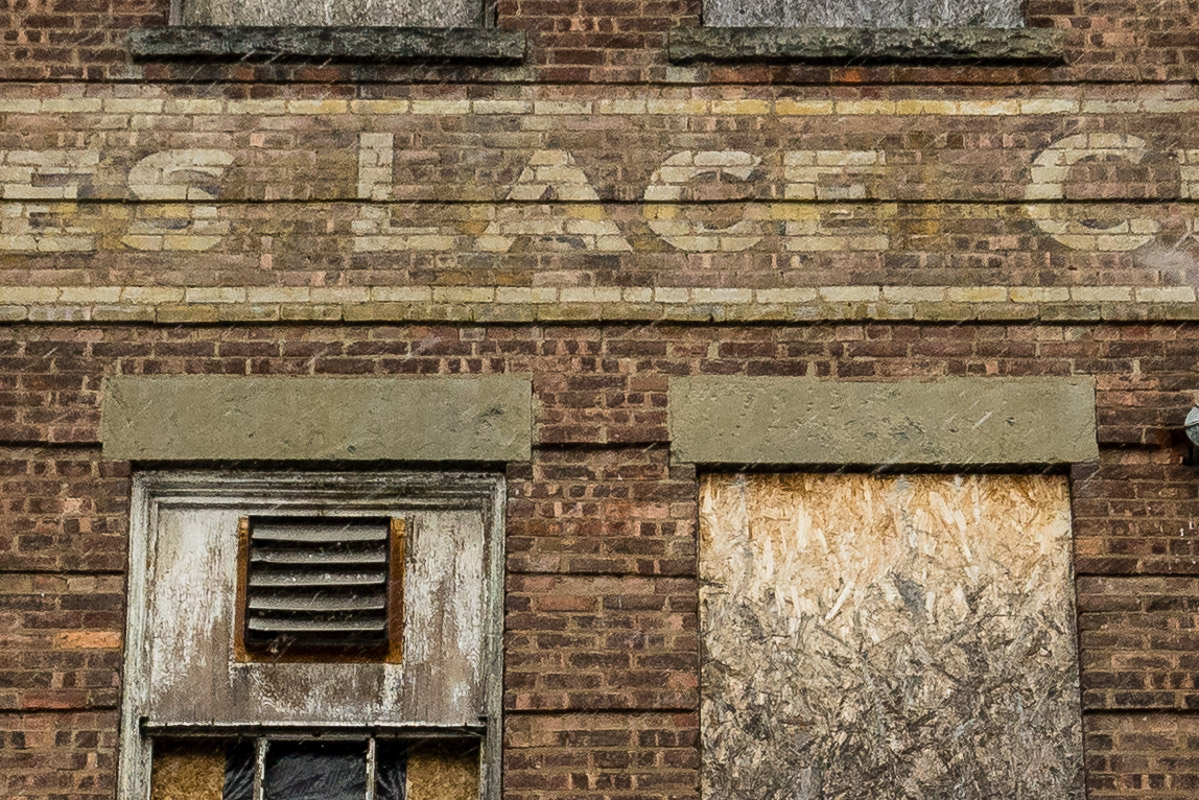
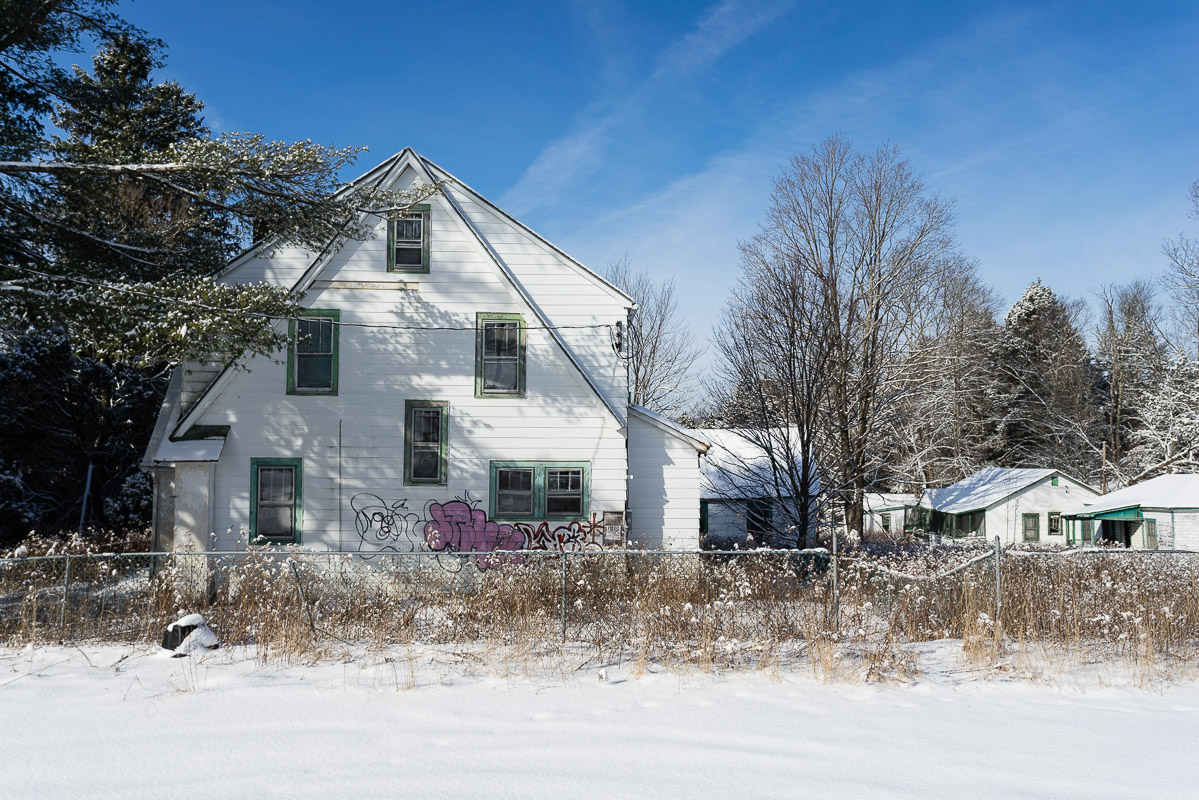
I showed a lot of photos in the video and the Creepy House photos have their own dedicated article this way (Click Here). Below are a few of my other favorites from the video w/100% crops so you can see the per pixel detail for yourself. I also edited a few more HDR photos and will be creating a video tutorial using the A7r to show exactly how it’s done from start to finish. Stay tuned for that! Abandoned houses and hotel grounds I added a little contrast and vibrancy in Lightroom 5 to the raw file.
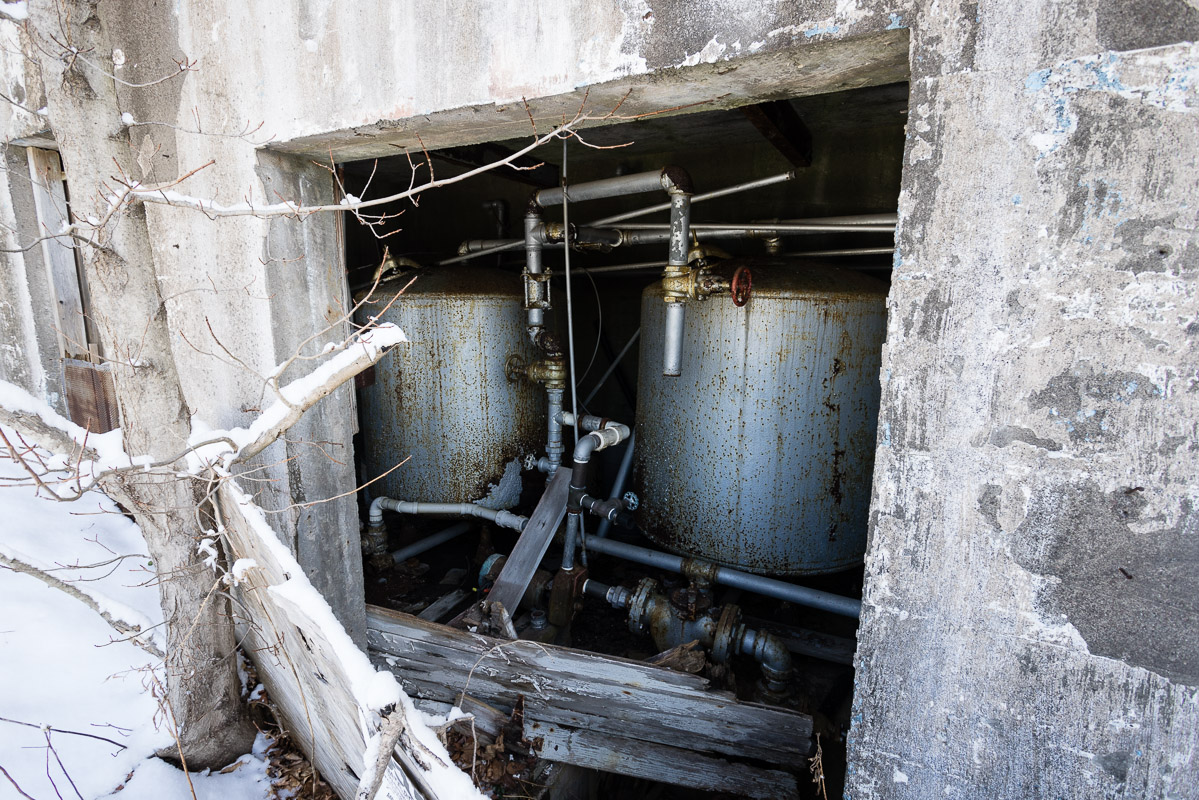
Some huge tanks that were across the street from the house above.
Directly above these tanks was the old foundation to a pool. Check it out and the old hotel in the background.
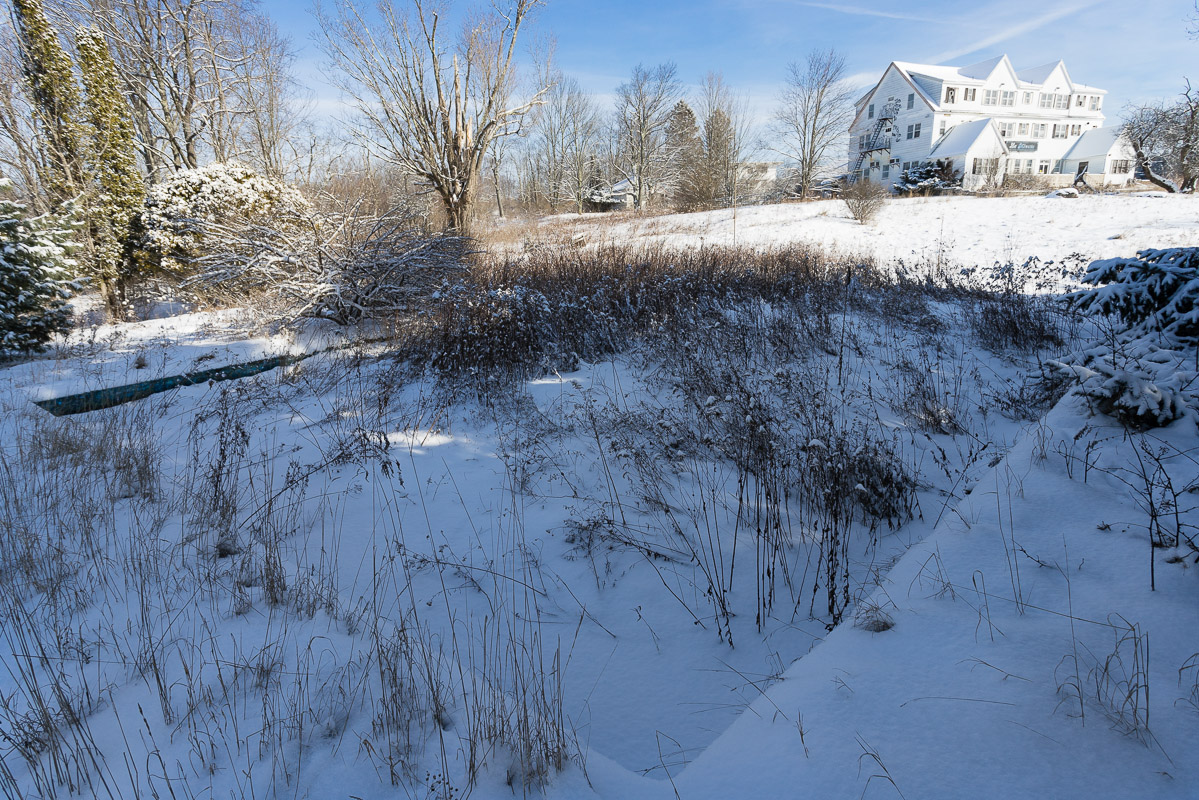
| Focus point here: | Corner clarity is not bad for f/8 @ 17mm! |
 |  |
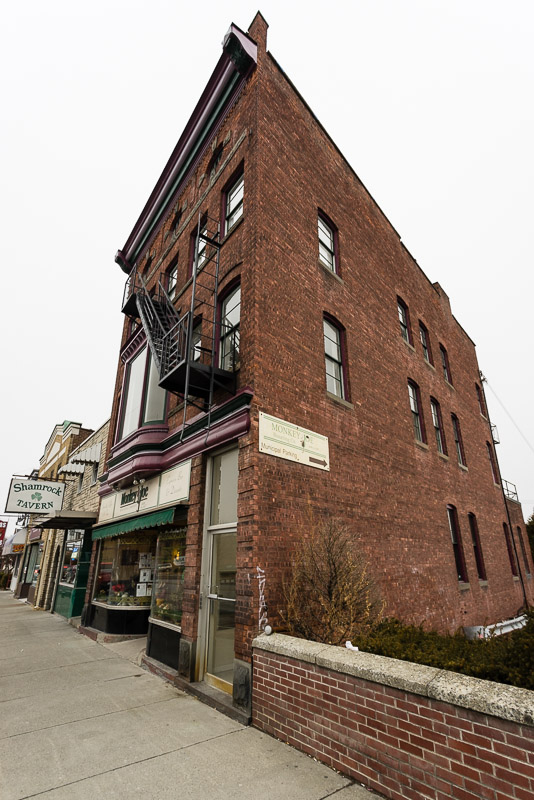
On last building that had some nice vertical and horizontal line.
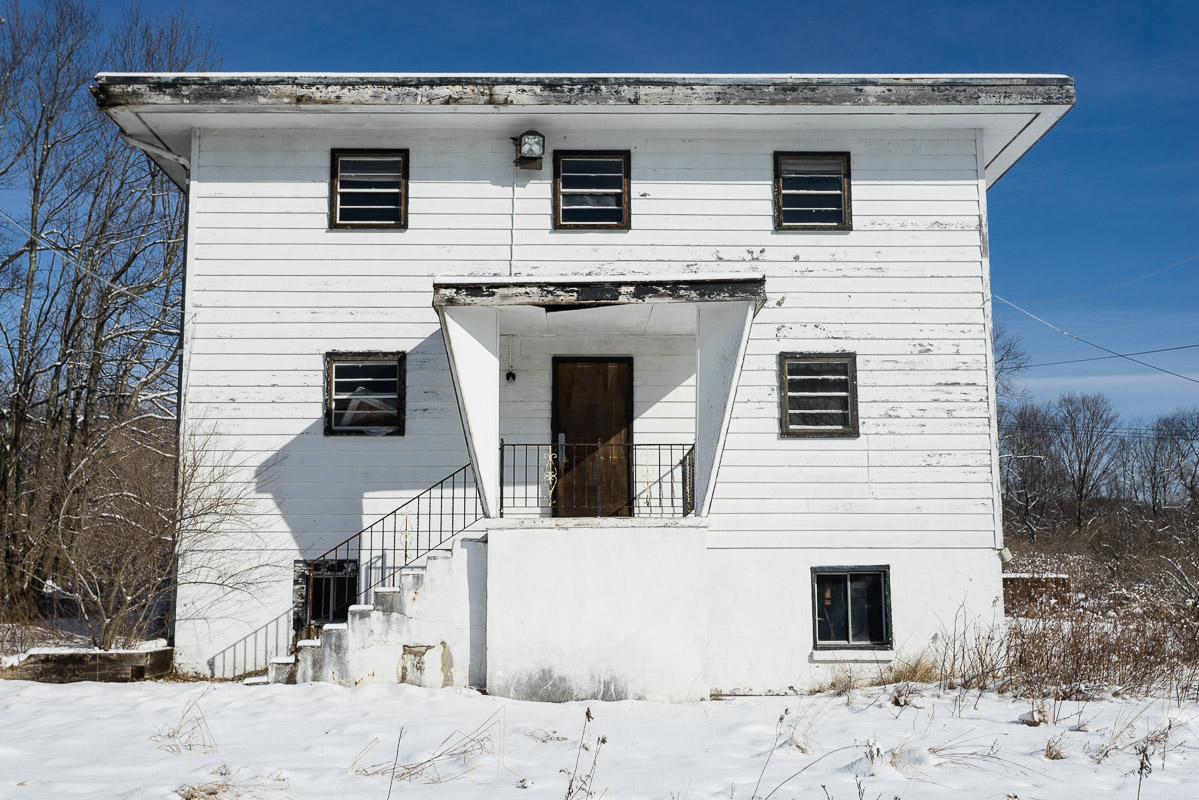
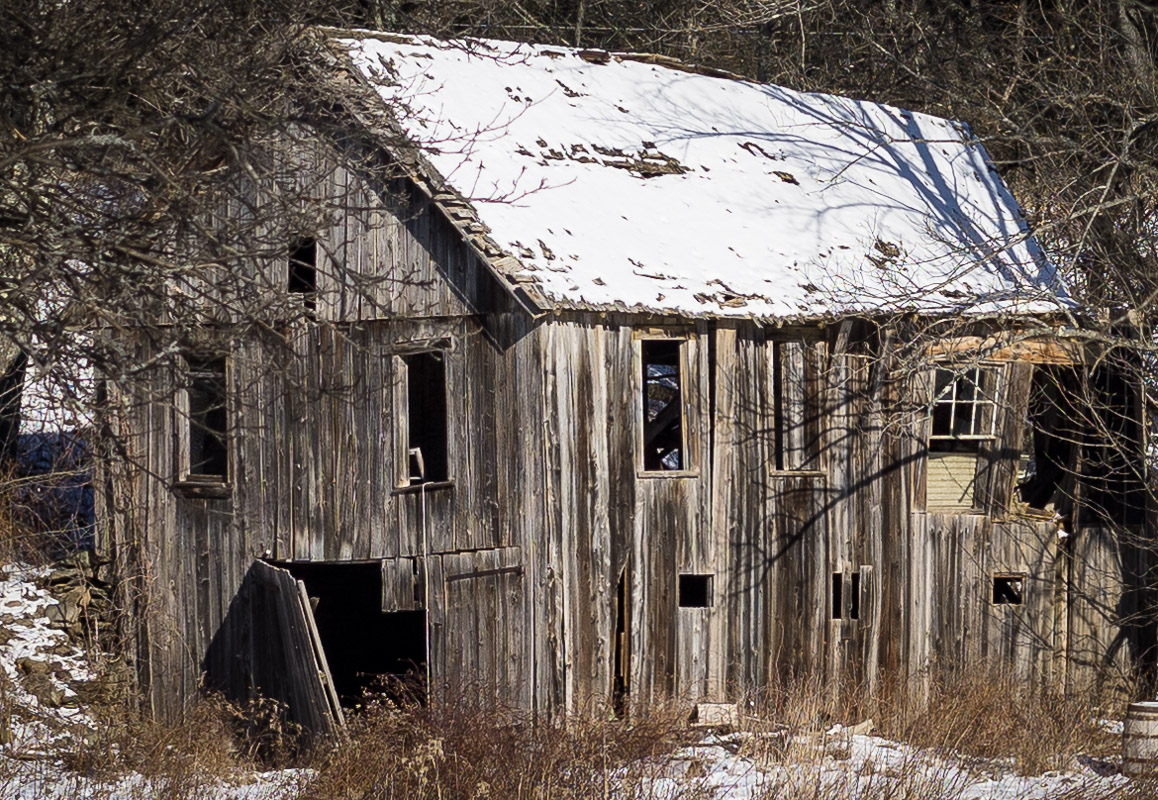
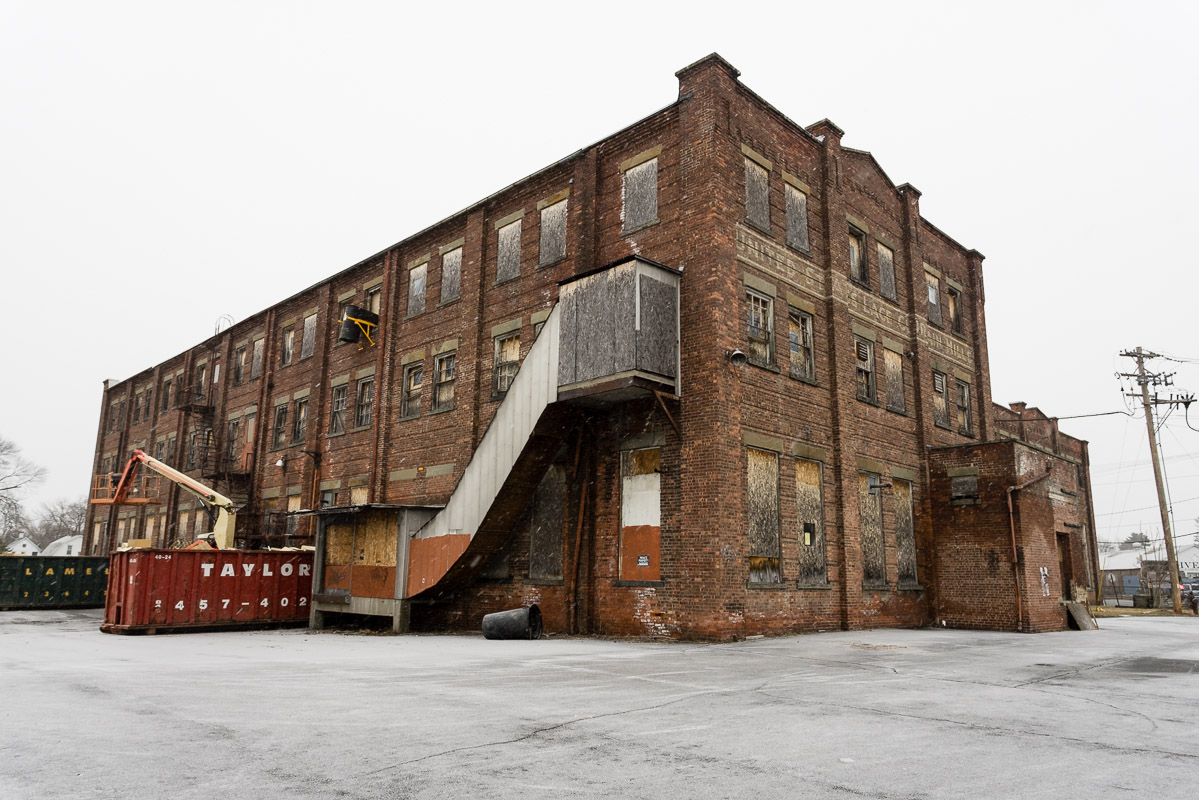
Some old buildings: I added a medium tone curve for contrast and a little clarity, vibrancy, and sharpness to these next few raw quality photos.
 |  |
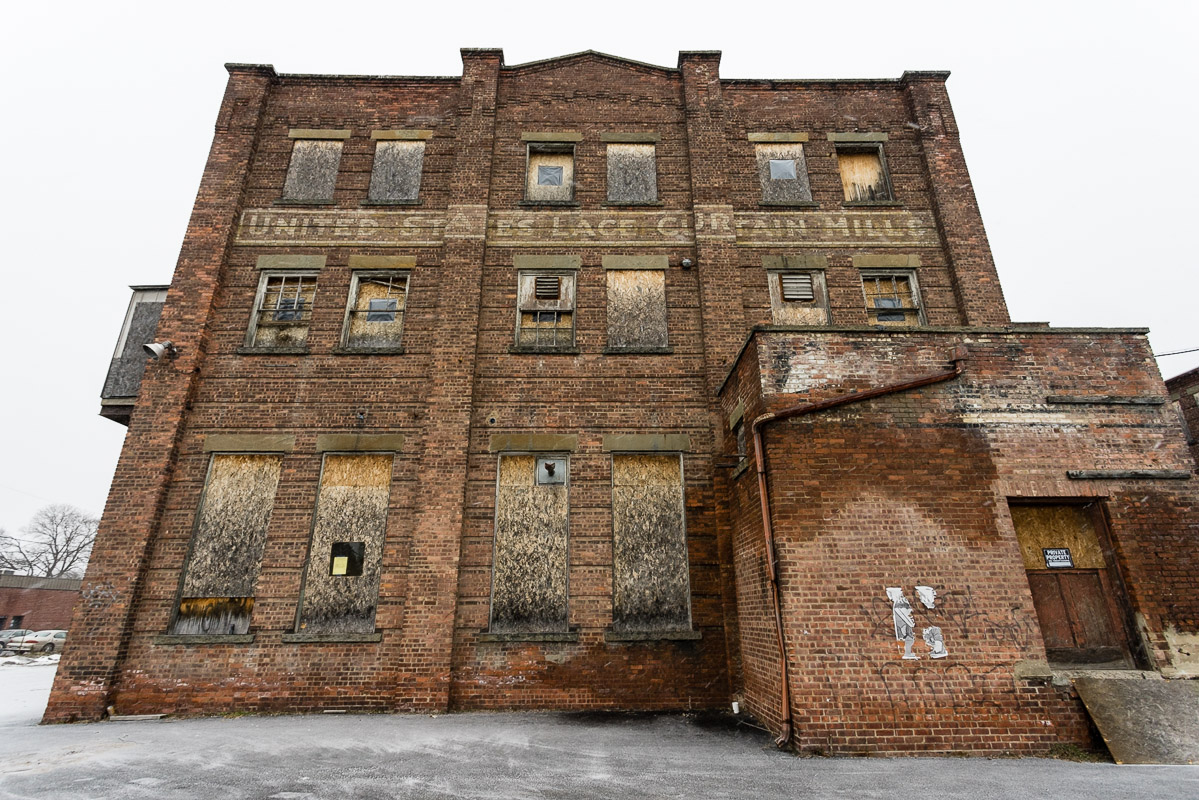
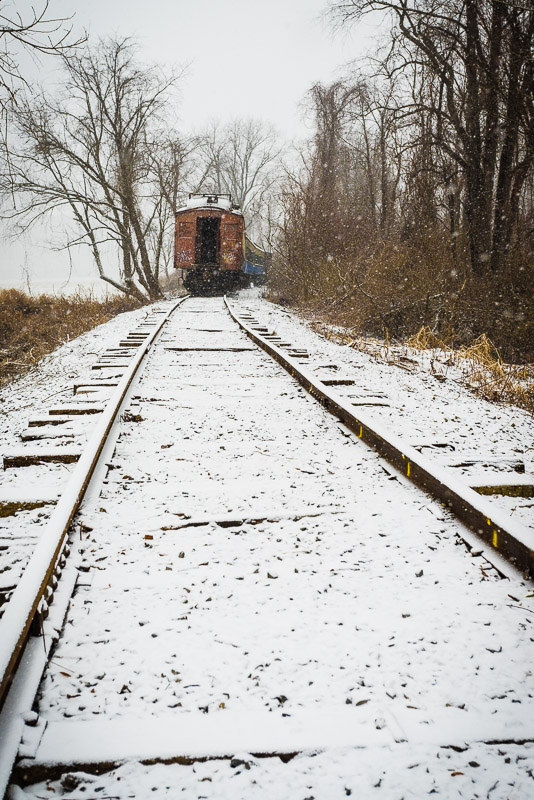
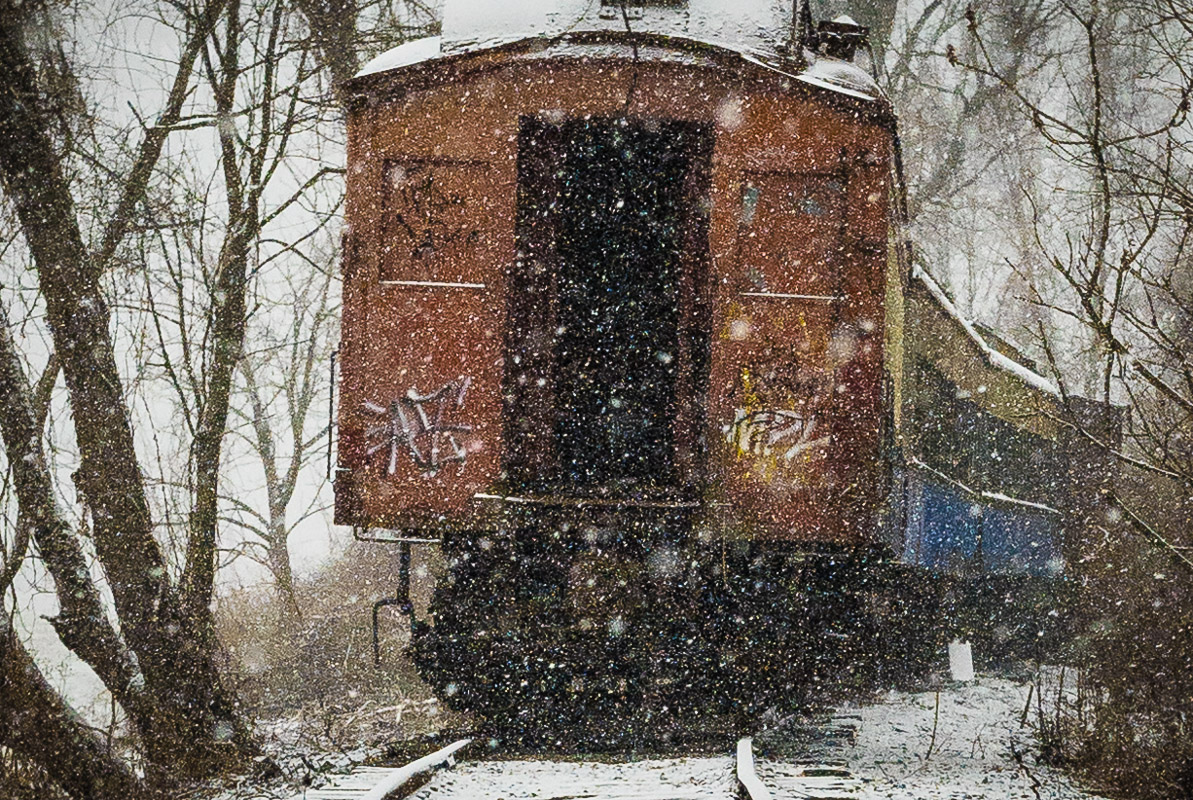
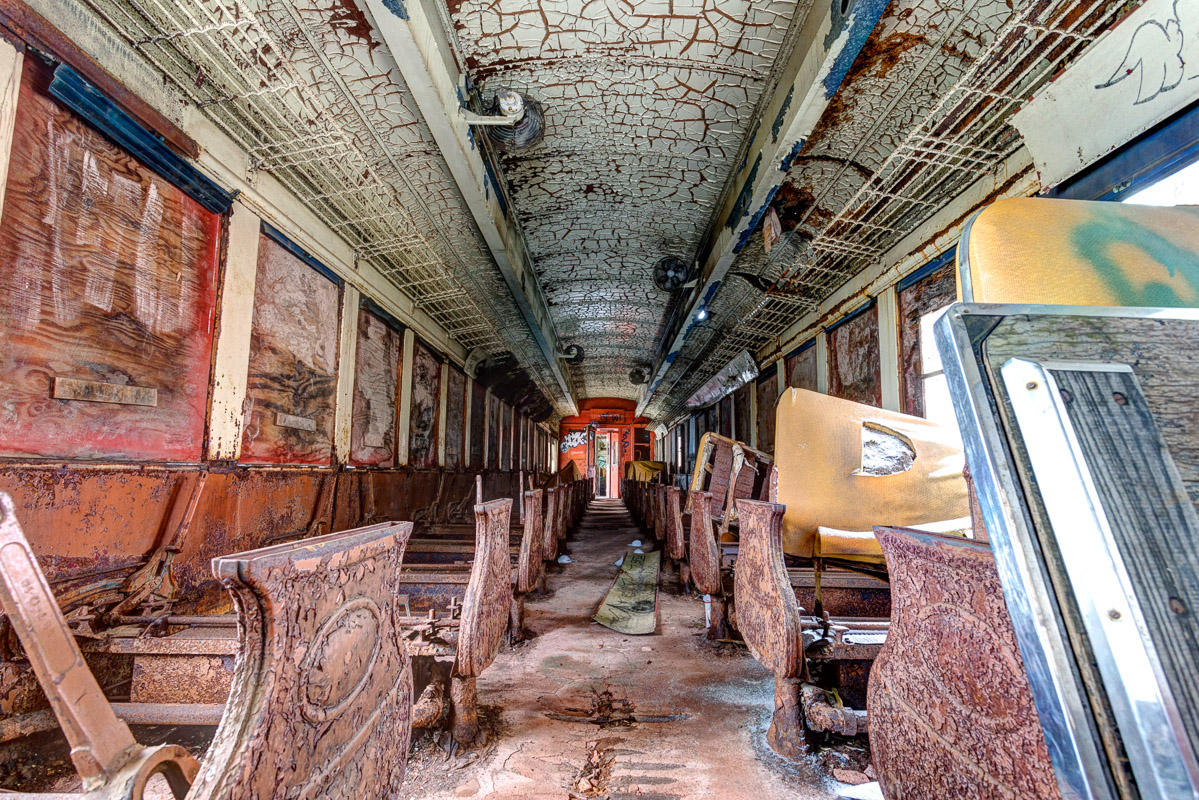
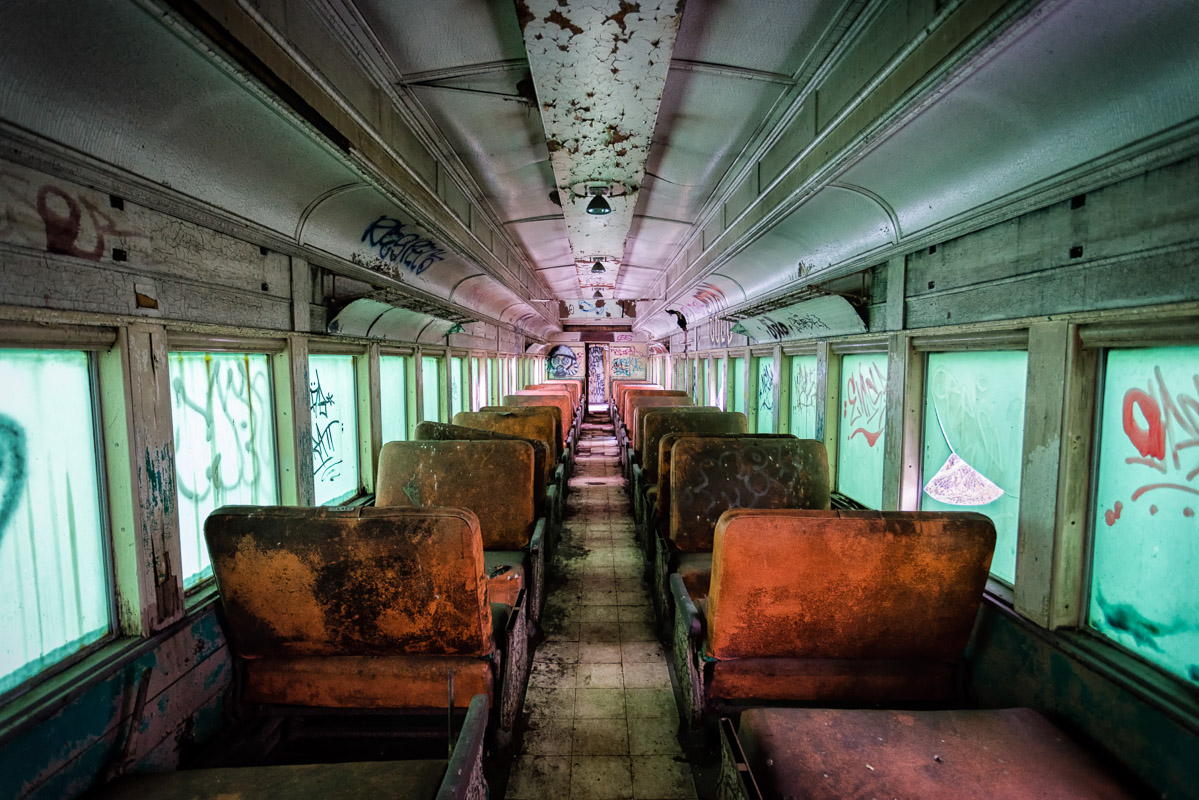
Abandoned Train Cars: I found these incredible old train cars a few years ago and have been meaning to stop back ever since, but it’s not exactly near where I live. In any event, check out these shots starting with what you see from the road. It was snowing really hard and the weather sealing did it’s job 😉
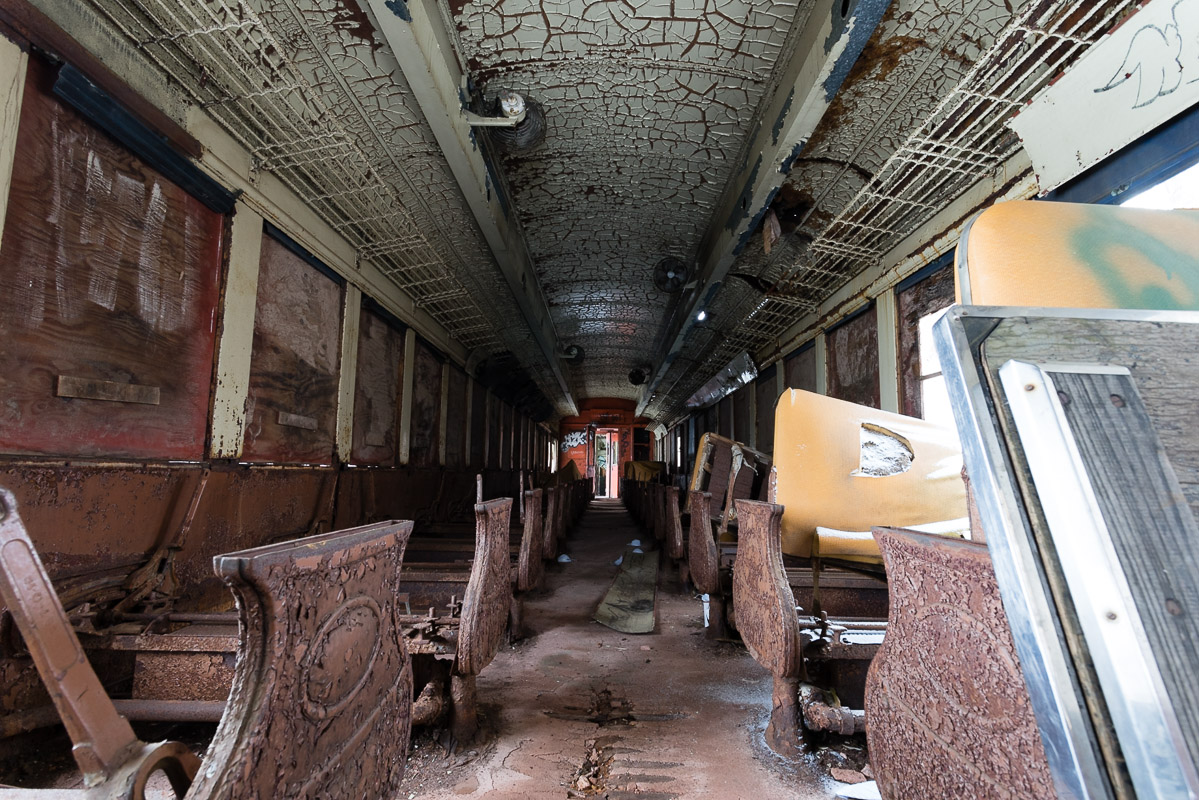
Here is what it looks like inside the first car. I have several other frames of this scene, and this first image is the 0 exposure raw file totally UN-touched.
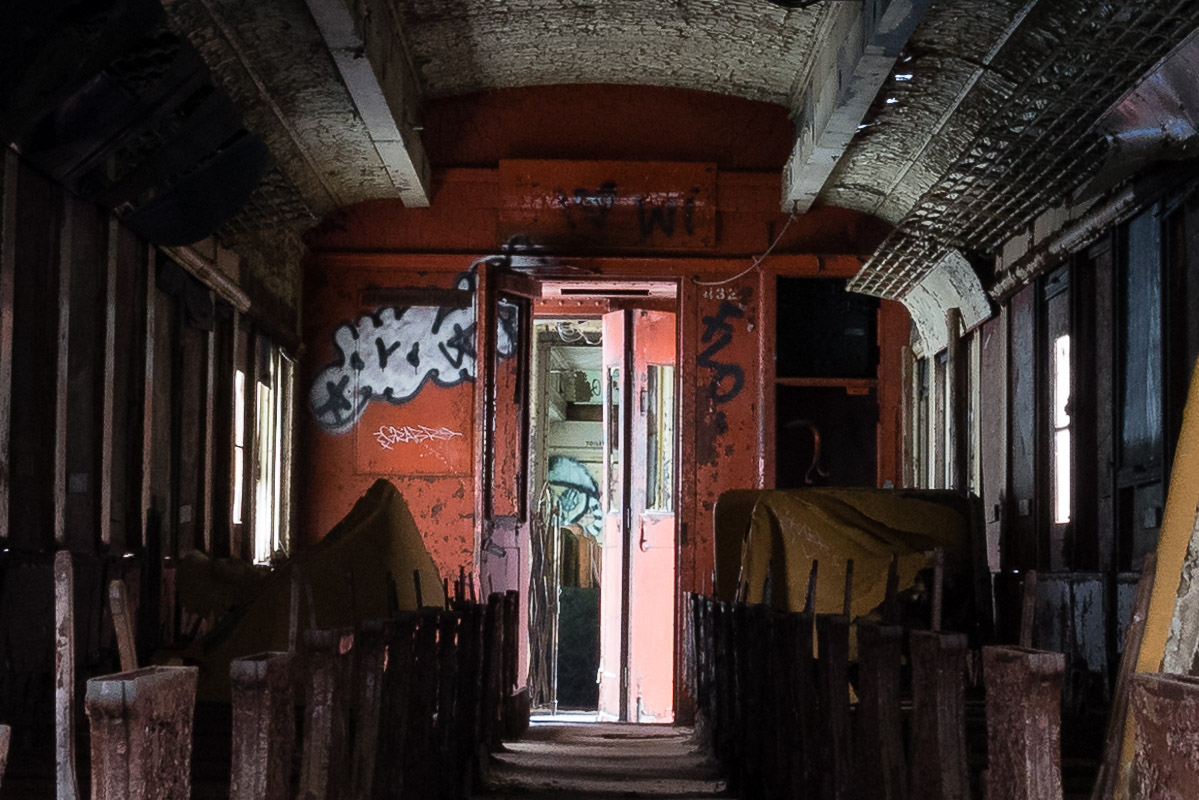
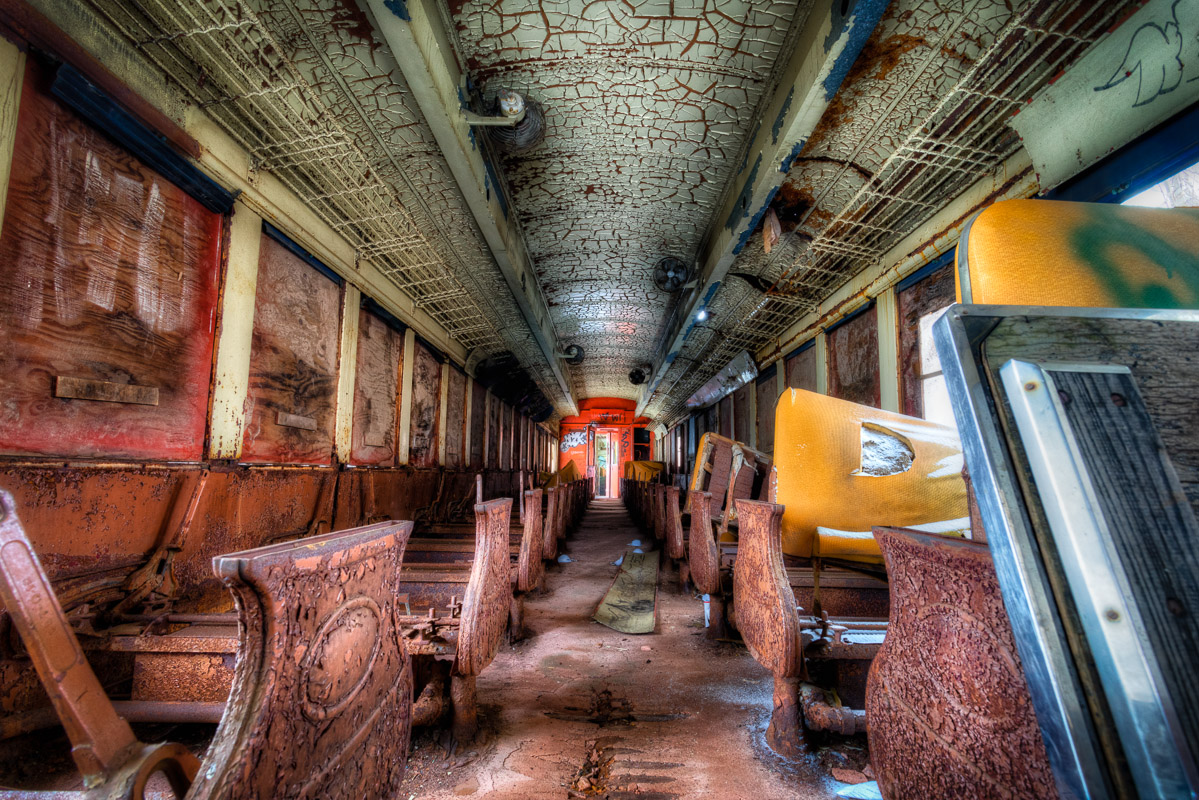
This next HDR Photograph is a blend of the -2,0, and +2 exposure’s using Photomatix pro 4 for the processing.
This next photo is the fully edited HDR image using all sorts of filters and editing techniques.
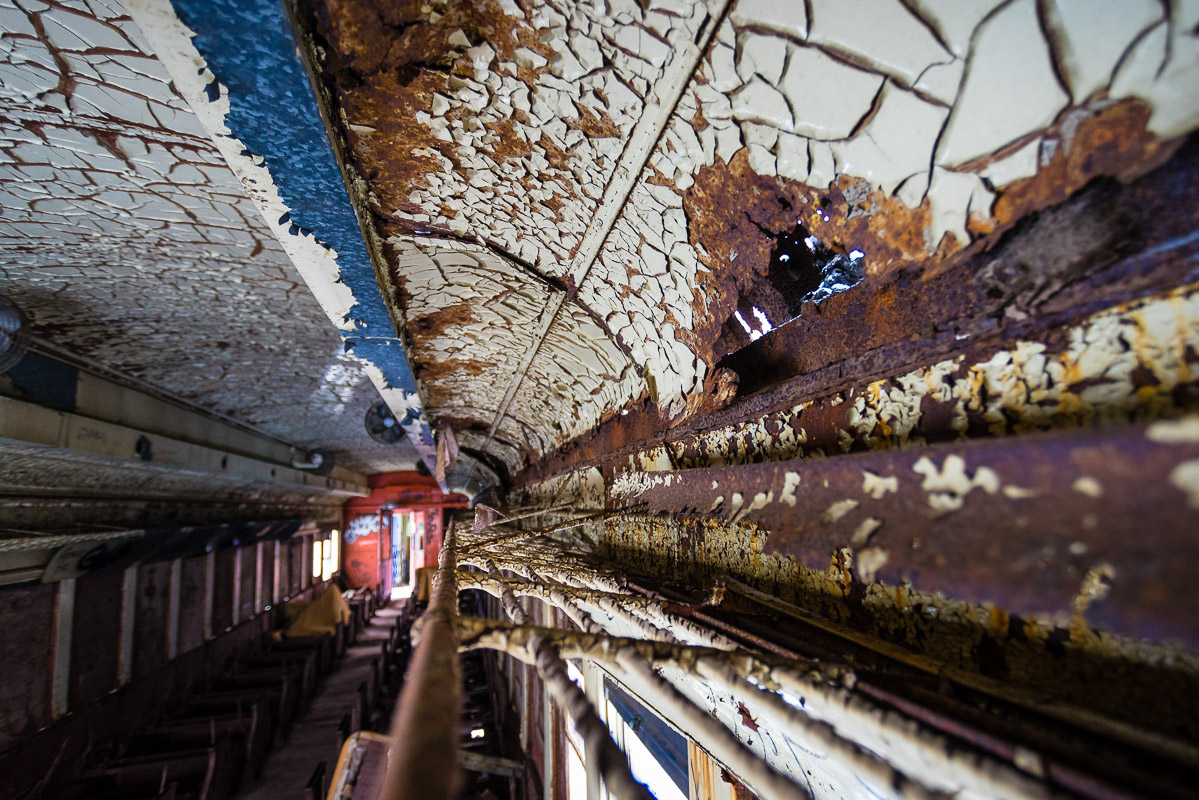
A few more shots from inside the train car that I enhanced in Lightroom 5 a little bit. First the luggage rack.
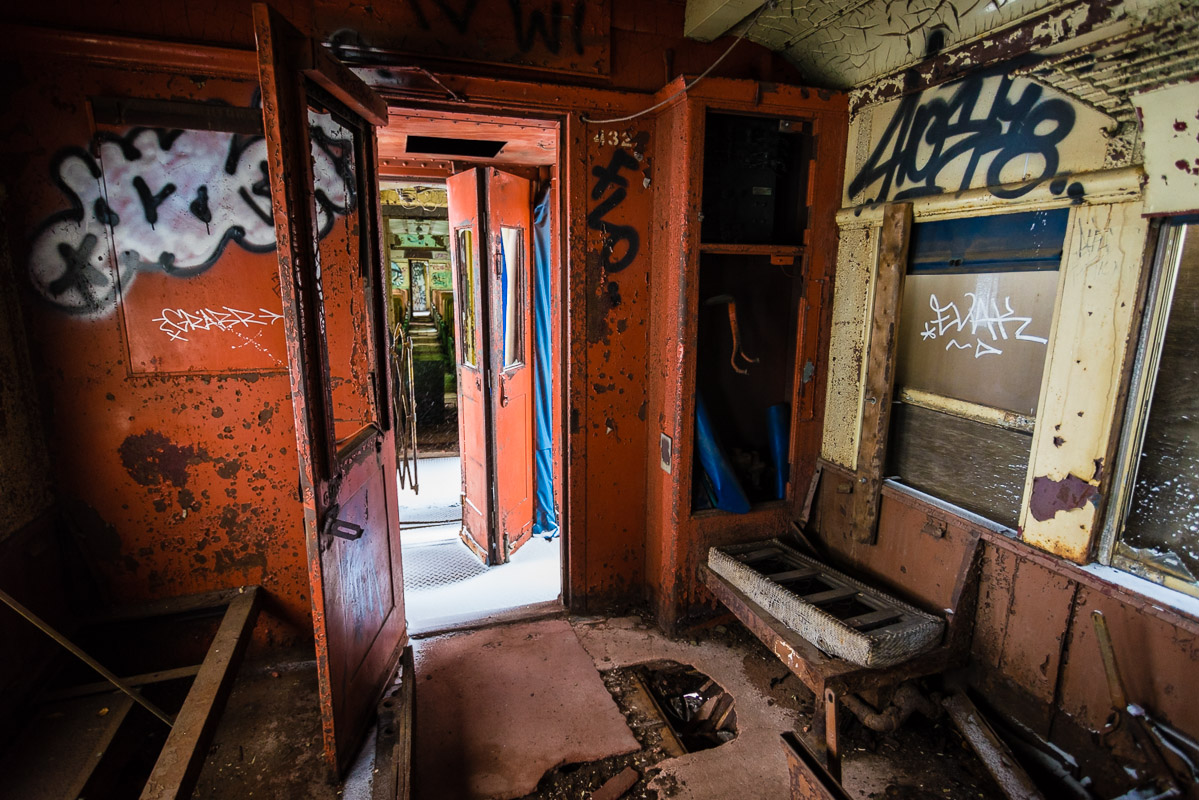
The door in the back looking into the next car.
And the next train car enhanced with Lightroom 5 and the Nik Filters a bit.
“Shutter Shake” Testing
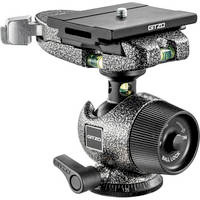
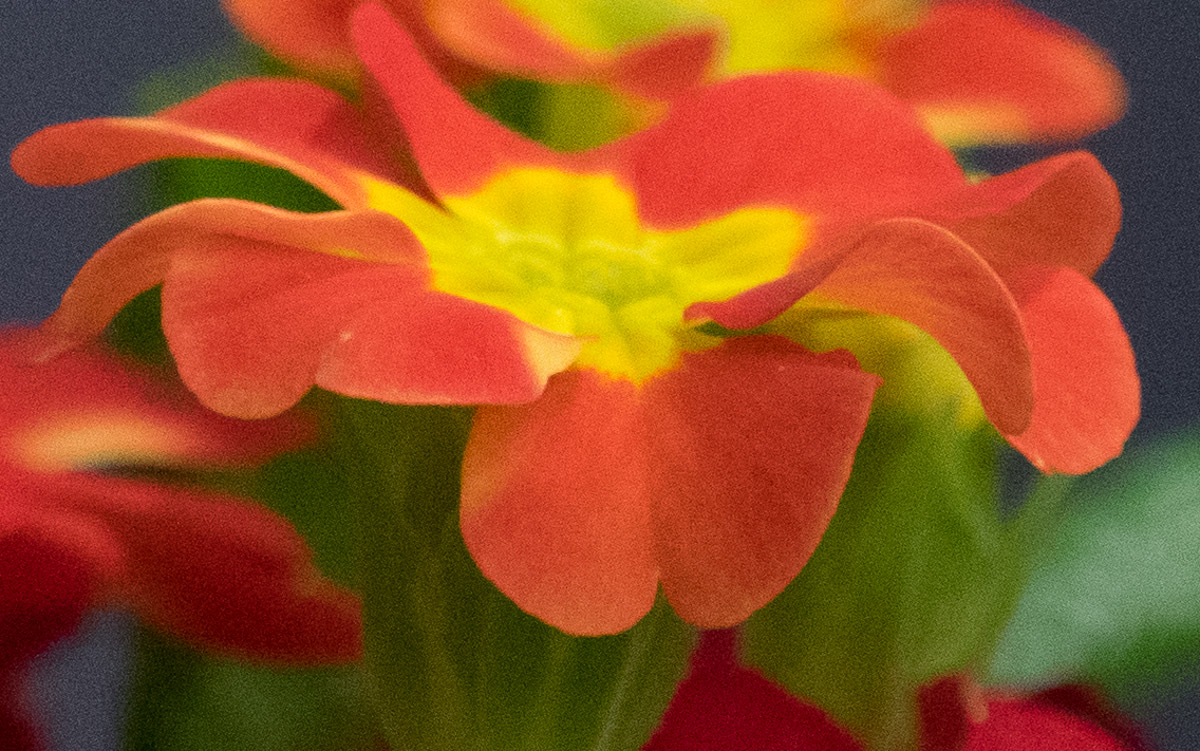
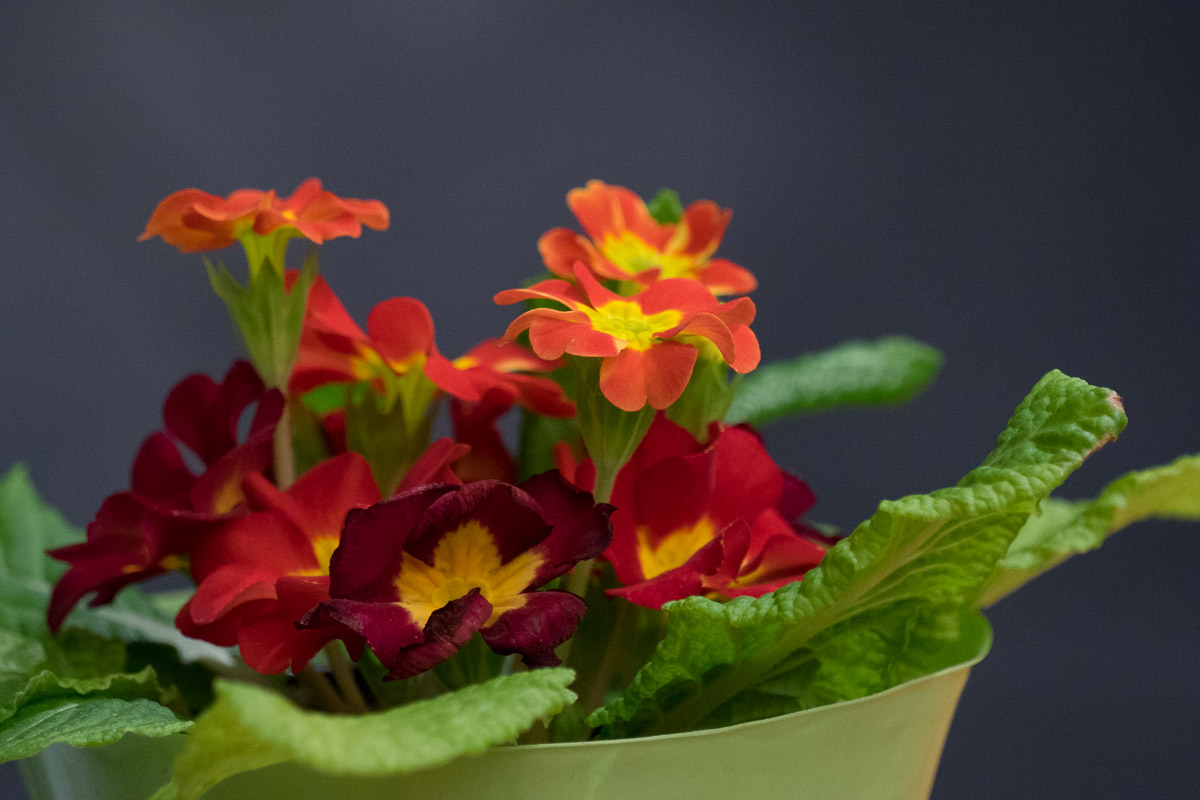
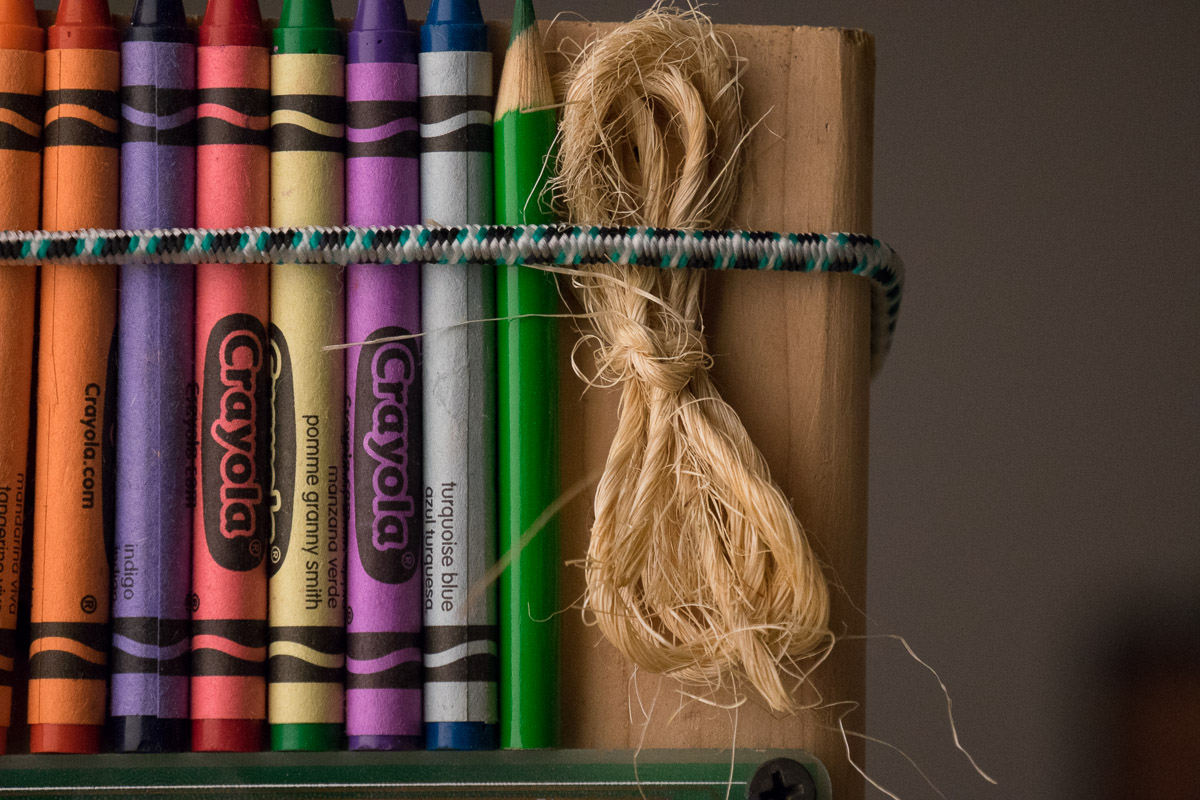
After extensive testing using my very sturdy 22lb rated Gitzo Ball Head and Manfrotto tri-pod, plus the 55-210mm e-mount lens. I concluded that all the test photos are all sharp. I have the 100% Crops to show you below all taken at 210mm. I tried the lab scene and a flower picture with various shutter speeds ranging from 1/6th all the way to 1/25sec and everything looks good to me. The lens is not near as sharp as the 55mm zeiss that I used for the review, but it’s still pretty darn good in my opinion. So, if your tri-pod is very sturdy, and your lens is not sloppy or loose, then the extra shutter shake on the A7r will not be an issue in my opinion. A sturdy tri-pod is much heavier unfortunately, but for a really long lens with no OSS, it is required for slow shutter speeds. Check these un-edited raw files out to see for yourself what I got while testing for shutter shake. 1/13sec, 210mm, ISO 3200, 10 second self timer used Raw Quality!
Click Photos for larger ~1200px versions!
In order to test the slightly higher 1/25sec shutter speed I needed to raise the ISO even more, because the lens is fairly slow fully zoomed at 210mm = f/6.3. 1/25sec @ 210mm, f/6.3, ISO 4000
The 100% Crop looks good to me for this lens @ ISO 4000.
A slightly slower shutter speed but the shake should still be an issue if an issue. 1/10sec @ 210mm
The 100% Crops look good to me for the (sel55210) e-mount lens @ 210mm, but it’s very easy to get camera shake with this lens. Especially at 210mm. The shutter on the Sony A7r is heavy compared to the Nex-6. Full frame and 36mp resolution will also point out every flaw on a lens or camera shake etc… Practice makes perfect, and when you can, get the shutter speed a little faster if possible 😉 [divider]
Conclusions:
The Sony Alpha A7r is the best mirrorless camera I have ever used to date. It’s also the best image quality I’ve ever tested or used personally. I’m very impressed with the detail and sharpness of both the 36mp sensor and killer FE 55mm f/1.8 Zeiss lens. I wish it had OSS built in, but what are you going to do. The f/4 Zeiss zoom would be a better option if you prefer to hand hold at lower shutter speeds. While hand holding with the 55mm Zeiss lens I was not able to use Auto ISO on the A7r the whole time. Depending on the light the camera set the shutter speed to 1/60sec while using auto ISO and that was not fast enough for a sharp shot with this camera and lens combo hand holding. At least for me anyway and I have pretty steady hands normally. I had to raise the shutter speed up to around 1/100 sec and I was now getting sharp shots every time.
Camera Performance: The A7r is a little bit slower than the A7 when it comes to response time I noticed. The ISO for example which is by default the wheel on the back of the camera, would not respond while writing to the memory card. I put in a faster card and it still did the same thing. It’s not that big of a deal, but if you need to change the ISO and the camera buffer is maxed out, you will have to wait. This needs to be addressed in a firmware update in my opinion, but for everyday use it’s really not a big deal at all in my opinion. Auto focus was fast and accurate almost every time. I did not find the A7r to be slower than the A7 in any situation I tried. It’s hard to say 100% without trying both cameras at the same time with the same exact lens though. With the 55mm Zeiss the Sony A7r AF performance was excellent in my opinion. The Sony cameras just know where to focus most of the time, and with the flexible spot AF, it’s really easy to dial it in without moving the camera.
Updated testing done with 55-210mm (sel55210), see above for photos! I did not find any shutter shake issue when using a tripod in the lab. With slow shutter speeds the shots came out tack sharp. Perhaps with a cheap tripod the results might be less consistent. I really don’t think this is much of an issue as long as you have the correct shutter speed for the lens you are using.
Recommendations: I highly recommend the Sony A7r for anybody looking for the best full frame image quality and amazing versatility via lens adapters. It’s also a compact, lightweight, and a well engineered all in one package for those looking to ditch the large heavy DSLR. The A7r works great with my two Canon lenses I used, but it will also work with pretty much any lens ever made via the correct adapter. I ended up buying this camera for myself and love it!
If you are a wedding photographer the Sony A7r will do the job, but I would not recommend it over the Pro A-Mount SLT-A99. Pro batteries, lightning fast focus speeds, much larger buffer sizes, beefier build quality with better weather sealing and ergonomics for larger faster lenses are better for that style of photography. Same with sports for that matter. This is not to say the A7 or A7r can’t do these things, because they are more than capable. These cameras would make for a great second camera or even back-up as the IQ can’t be beat. If you are a portrait shooter the Sony A7r is a great option as I had very good results in the studio with only a few test snapshots. The new Eye AF feature also works great and makes getting the eye you need in focus a breeze.
Landscape shooters are going to love the Sony A7r in my opinion. Tack sharp highly detailed results with deep rich color tones and gradients.
Street shooters might prefer a camera with a quieter shutter, and the A7 has that option over the A7r. The A7r shutter is really not that loud though, in my opinion, and would otherwise do a great job for the street in my opinion.
Having no built in flash unit, the Sony A7r does require an an accessory flash. I recommend considering the affordable and compact FVL-F20M unit. I wrote an article using the FVL-F20M Flash Unit with the Sony A7r (Click Here) , and I explain the different options plus show several sample photos illustrating the output quality. Ofc ourse there are much higher quality Sony Flash options Here >>
The Sony FE 24-70mm f/4 OSS ZA Lens is highly recommended for a relatively affordable high quality all in one lens solution. Having the OSS will make hand holding at lower shutter speeds very easy, and the zoom versatility will cover almost all your photography needs. I will review the lens at some point, but not this time around. Current reviews rave about the lens, so it looks killer as you would expect from Sony and Zeiss. I did not spend any time on the video, because the A7 is pretty much the same in that regard based on my focus tests and moire patterns. Bottom line, video performance is about the same as the A7 in my opinion.
That is about it for my Sony Alpha A7r review, and I really hope you got everything you needed out of it. Comments, questions, and feedback for improvement are always welcomed, appreciate, and encouraged 😉
Thanks for your support by using the affiliate links if you decide to purchase something, and have a great day, Jay

