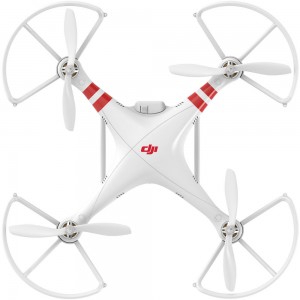
Hi everybody and welcome to SonyAlphaLab.com. In this article I’m going to talk about and show you how I learned fly DJI Phantom FC40 Quadcopter with FPV Camera and transmitter.
I’ve been interested in these flying drones for some time, but the price and limited payload always scared me away honestly. Finally these copters have come down enough in price thanks to the free market coming out with tons of new models and quadcoptor drones. In my case, I went with the slightly older model phantom for the great price and all-in-one solution. This Phantom FC40 unit came with a 720p HD mountable camera and goes for $499 US. The included camera actually has built -in wi-fi, so I can view the footage on my phone while flying up to ~300′. Amazing to say the least and almost to much fun for words 😉
I put together a pretty decent video compilation showing off the Phantom in flight and the process of me getting better and learning. Even though the Phantom has GPS, 4 rotor blades, and hovers on it’s own, it can still be tricky to fly when facing backwards. This is called nose-in flying apparently, and takes a lot of time to get used to. It’s a steep learning curve and my brain struggles with this for sure as you will see in the video footage.
DJI Phantom Quadcopters from $409 US @ BHphoto | Amazon | Adorama
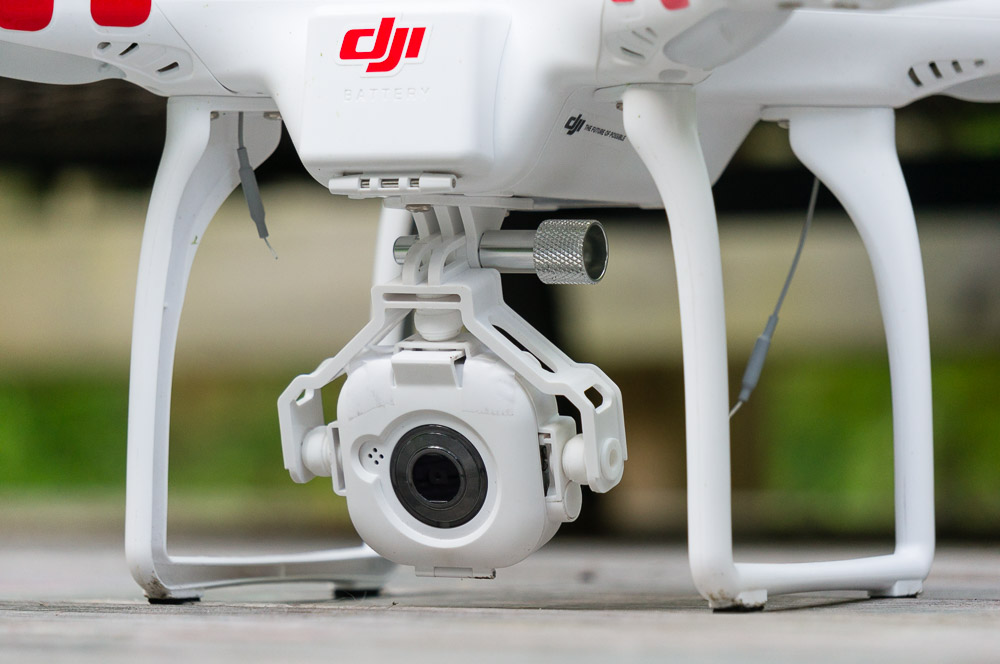
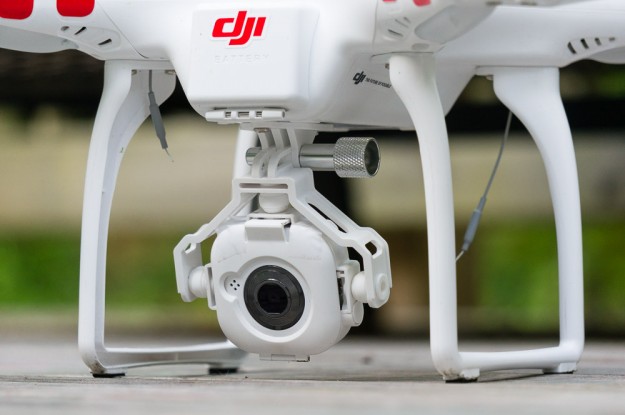
Below is a look at the camera that hangs under the Phantom with the same mount as the GoPro basically. You can tilt the camera up and down, but not left and right just so you know.
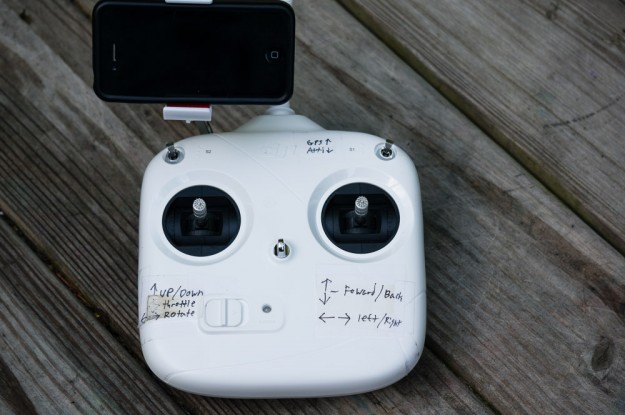
The controller has two joystick style controls that go in all directions and a diesel clamp that holds any smartphone with ease. The copter can fly up, down, left, right, and rotate clockwise and counterclockwise. I put little labels on the controller to help me remember the motions 😉 I’m telling you once the drone is facing backwards your mind goes blank and it gets crazy confusing for some reason. If you are looking at the camera view on the phone, it’s easy to control because left is left and right is right, but if the drone is facing you and you’re looking at it, everything is backwards as far as left right and rotation. Up and down are still the same of course.
Hooking up the battery is really easy and the Phantom drone makes a confirmation boot up jingle just to confirm things. After that the phantom will start to find satellites and will blink green and red until all the satellites are trained up. Once that happens the light blinks green fast a bunch of times and then will just blink green about once a second or so. At that point the drone is ready to fly! In the video I talk about this in a little more detail, so be sure to check that out.
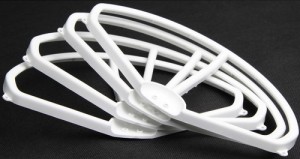
I also purchased a set of blade guards for $14.99, and they help dramatically if you hit something like a wall for example. If you don’t have the guards, the rotor blade will just stop dead and the drone will fall from the sky. With the guards you can sort of bounce off stuff gingerly and then keep on flying because the blades never stop or touch anything. I did not use the included string with the guards however, because that seemed like overkill honestly. The guards suck for getting stuck in trees, but the alternative when learning to fly is not really a good option in my opinion, so I would get them for sure and a extra battery or two considering they are only ~$26.75 (Click here) The new Phantom 2 battery pack is crazy expensive in comparison @ ~$130, plus it’s a modular design. You do get a lot more flying time, but 6x the price is crazy, and is another reason I got the slightly older Phantom model….
DJI Phantom FC40 Quadcopter with FPV Camera and Transmitter
Courtesy to BHPhoto for the overview and breakdown:
The The Phantom FC40 Quadcopter is based on the same platform as the original DJI Phantom and features a detachable first-person view (FPV) camera with MicroSD recording as well as a 6-Channel, 5.8GHz Transmitter (TX). It is designed to get you started flying and capturing aerial video, the only additional piece of hardware required being your smartphone or other mobile device running iOS or Android.
The FPV camera has a native resolution of 1280 x 720 pixels at 30 fps. It features its own 2.4GHz Wi-Fi transmitter that beams a low-latency, WQVGA resolution (400 x 240 pixels) video feed to a mobile device up to 328′ feet line-of-sight away, depending on conditions. Because the transmitter for the FC40 operates on 5.8GHz, there is no danger of the camera’s Wi-Fi causing harmful interference. The camera records video internally to a MicroSD/MicroSDHC memory card, and supports capacities up to 64GB.
As with several other DJI quadcopters, the FC40 uses the Naza-M V2 flight control system to maintain flight stability and provide assisted flying features. Out of the box, the FC40 comes configured with two GPS flight modes, GPS Mode and GPS Attitude Mode. GPS Mode will probably be preferred by beginners as it provides the greatest autopilot redundancy and also holds the aircraft in a fixed hover whenever you release the controls, automatically compensating for drift and light wind. Additional functionality can be unlocked using the Naza Assistant Software for desktop computers running Windows only.
This version of the FC40 ships “ready-to-fly”, meaning that a 6-channel, 5.8GHz transmitter is included and pre-bound with the aircraft, and that only minimal assembly is required. The transmitter is configured by default to “Mode 2”. Mode 2 is considered the most popular in the U.S., but may be less familiar to pilots from other countries. As with any multi-rotor system, before flying the Phantom FC40 you will still need to follow all of the proper calibration steps and ensure adequate GPS connectivity for the Naza flight control system to operate correctly.
Learning to Fly HD Video
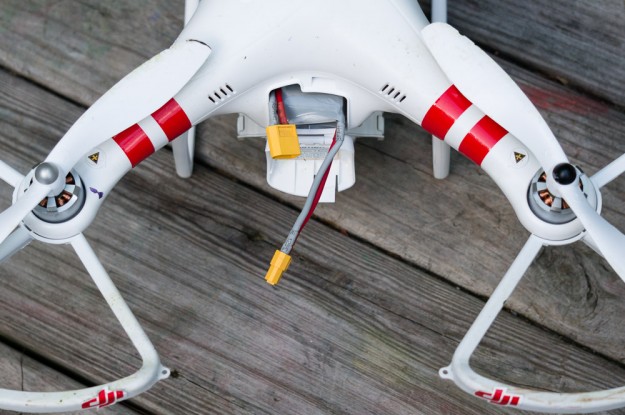
In the Phantom Manual (Click Here) it has a pre-flight checklist that is brutal to say the least, but everything went just as it was supposed to. Once the batteries were charged I was flying in no time! One note about charging the batteries is the extra plug goes into the side of the charger. I missed this the first time and could not figure out why the batteries were not charging. The charge needs to take to the battery to know how much juice is needed and stuff, so that is why the battery has two plugs. So, to be clear you only use the larger yellow plug on the actual drone, and both plugs are used when charging the battery packs.
Closing Remarks
I must say flying the Phantom Quadcopter is a lot of fun and a lot harder to learn than I anticipated. Basic flight is easy, but advanced flying takes a lot of practice!
Anybody learning to fly might want to consider a cheaper unit just to get the hang of the controls, or a simulator for the computer. I wanted to dive right in and not bother wasting my money and time with the cheaper units, because the range is so limiting and the cameras totally suck.
The other unit I’ve been looking at is the Phantom 2 Vision + w/ with Gimbal-Stabilized 14MP, 1080p Camera (Click Here) which goes for ~$1299 as a complete kit. I only need the camera and stabilization part though which brings me to the Zenmuse H3-3D 3-Axis Gimbal for GoPro HERO3/HERO3+ for Phantom 2 which goes for ~$379 (Click Here). I still need the GoPro camera though which sucks, because I want the Sony Action camera. Perhaps this mount can be modified?
I did see a pretty awesome drone that is still in production, but should be coming out soon. Its called the Parret BeBop Drone (Click Here), and looks like a great all-in-one solution, but who knows how much it will actually cost and when it will be officially re-leased.
The bottom line is for $499 the DJI Phantom FC40 Quadcopter with FPV Camera and transmitter is a great deal in my opinion and I highly recommend it for anybody looking to fly and have some serious fun! Just keep in mind that there is a learning curve to flying nose-in and it will take some time to grasp this concept.
I hope you got something out of this article and please feel free to ask questions or comment below as always,
Jay
Support Links:
DJI Phantom Quadcopters from $409 US @ BHphoto | Amazon | Adorama

