In this article I’m going to go over Developing Sony Nex-6 Raw Files in Adobe Lightroom 4!! If you read my Full Nex-6 Review, then you know that I prefer to shoot raw, because the Sony Jpeg files look a bit over processed for my particular taste.
I also enjoy the actual process and satisfaction of developing the the raw files, similar to how the dark room must have felt I imagine 😉 I never worked with film myself as I went for wood sculpting and architecture in High School. Probably would have liked photography though I bet!! I made some cool stuff in wood sculpting class though and learned all sorts of cool stuff, so I don’t regret it in the least.In any event, lets get to business here!!
Keep reading if your ready to learn Fundamental Lightroom 4 developing concepts, workflow strategies,collections, filter menu, and much more!!
So what is a Raw file Exactly?
A Raw file is the “UN-processed” image that your camera captures. It is then ran through the “on camera” Photoshop equivalent which then produces a jpeg image. Raw files tend to be much more realistic looking in my opinion, and have a lot more information when it comes to highlight, shadow, and color. By developing the raw file yourself, you get to control exactly how much sharpening is applied, color, and all sorts of other good stuff as you will see.
Developing Sony Nex-6 Raw Files in Adobe Lightroom 4 – 1080 HD Video Tutorial
I hope to share some of my enthusiasm, excitement, and expertise when it comes to developing the Sony Nex-6 Raw files in Adobe Lightroom 4. It really is easy and a lot of fun once you get the hang of it. With a little practice, I think you will be amazed at how fast you can develop raw files and get killer results!!
Be sure to Select the 1080 quality option in the video player below, so you can go Full Screen with crisp detail! I fact I recommend watching on your HD TV in the living room for ex. if you have it set-up. This video is 35 minutes long and highly detailed! I throw a lot of information your way, so don’t worry if your a little overwhelmed at first. You can pause, rewind, watch again, and ask me questions in the comments below!! I guarantee by the end of this video tutorial you will have a much better understanding of Developing Raw Files in Adobe Lightroom 4.
Sony Nex-6 Raw Sample Photos
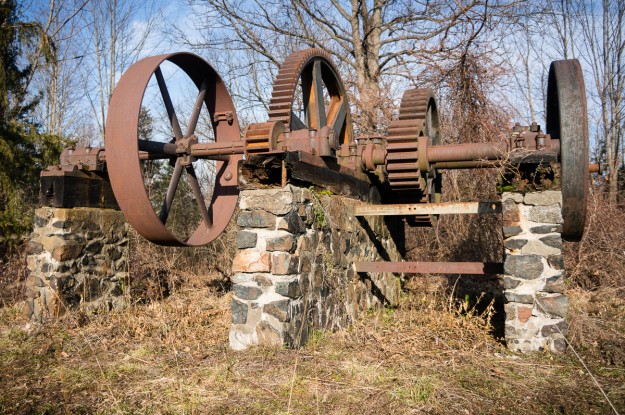
I have no idea what this gear mechanism is below, but it was used for something big and heavy I bet?? In any event it made for a great test subject for dynamic range, contrast, detail, and color!! As you can see from the photo below, it looks pretty natural in the colors, but I did add a vignette in lightroom 4 for a little depth/ I also sharpened, corrected the color and added contrast to the file, but you probably didn’t notice that. Raw files can be edited very subtle, or pushed really far as you will see in the Extremely Detailed HD Video Tutorial Below!!
Click on the Photos for the 1200px Gallery style version!!
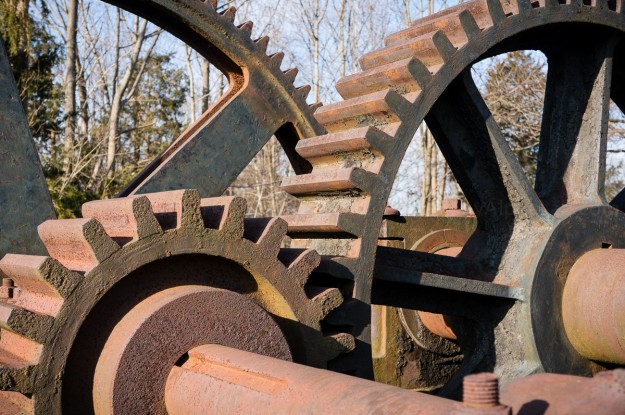
I edited this photo in Lightroom a little more than the rest. I jacked up the Vibrancy and Clarity pretty far as well as some other adjustments I will show you!! 😉
Raw Photos Developed in the Video Tutorial
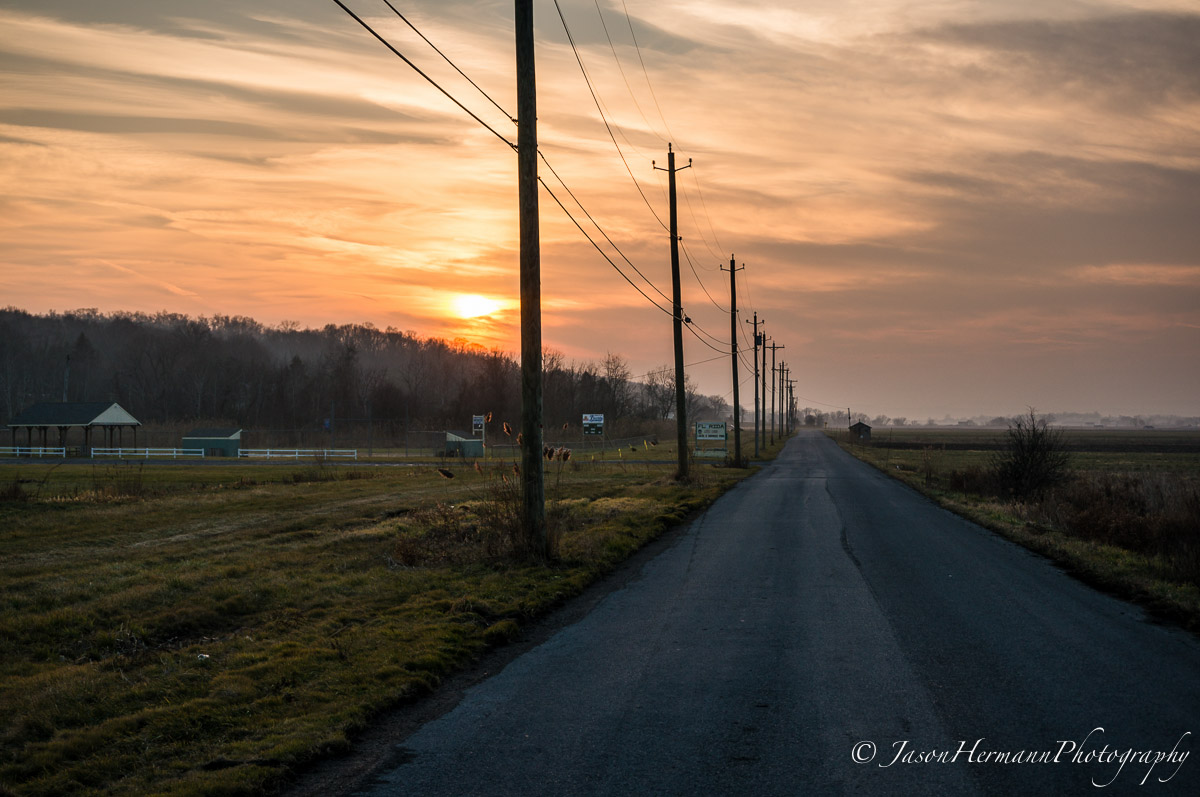
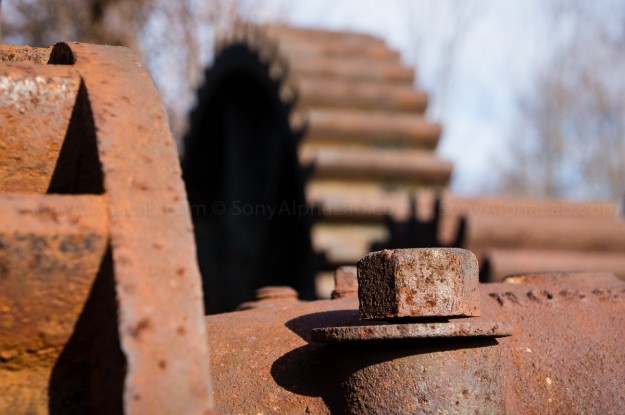
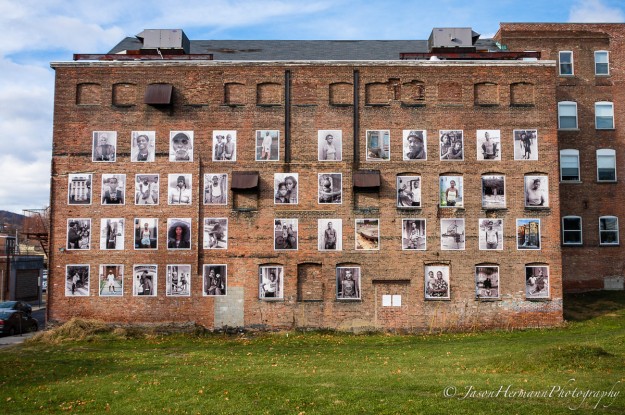
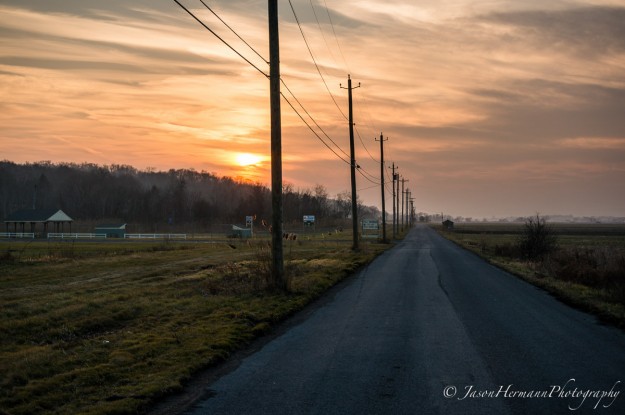
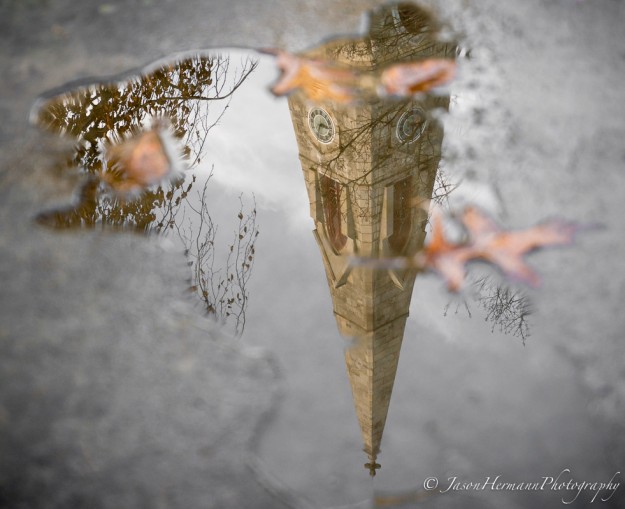
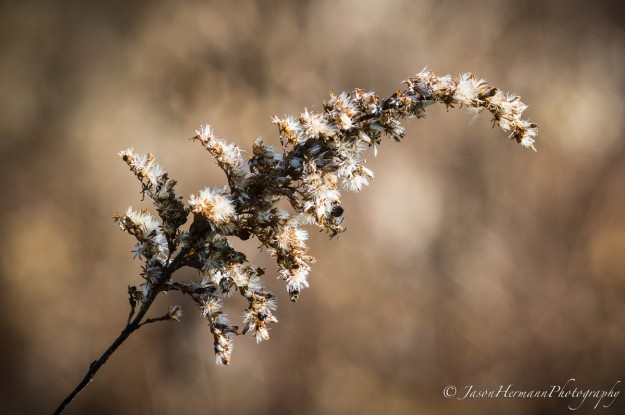
Here are the four developed Sony Nex-6 raw files that we worked on in the video tutorial.
Shopping for Lightroom??
Check out our preferred venders first for the best prices!!
Compare Adobe Lightroom Prices @ Amazon | BHPHotoVideo
Recommended Lightroom Books
Lightroom Books @ Amazon >>
Closing Remarks
As you can see, the Sony Nex-6 Raw files are awesome, and have a ton more information available for editing that the jpeg files do. Also, having control over the development process allows you to selectively edit the way You want to!! The developing process itself is very gratifying and will lead to a better understanding of how your camera captures information as well.
Unlike the heavily processed and compressed jpeg files, the Sony Nex-6 Raw files are incredible high quality with accurate colors and sharpness!! This makes for a much better starting point for enhancing purposes and if your going to print your images. Raw is just better all around, but it does take a little work to enhance the files like I did in the video tutorial. Once you get the hang of things, you can really fly through the developing process and then sync similar photos with all the same settings. That will get groups of photos most of the way done. You can then go back to each photo and fine tune them accordingly. This technique works great for large batches of photos like weddings or B-Day parties for example.
That is about it for this Article on Developing Raw files in Adobe Lightroom 4. Please feel free to ask questions below or on the Forum. I’m very experienced with Adobe Lightroom and Photoshop, so if you have any questions or tutorial requests, by all means let me know!!
Jay

