In this Aperture Tutorial for Apple I will go over How To Develop Sony Nex-6 Raw files using an assortment of adjustments and various techniques. Aperture is very powerful photography software that allows for editing and management of your photos.
I am new to Aperture 3 and did the tutorial per a reader request. I have used the program in the past, but with limited use and frustration due to slow performance on my old Mac in comparison to Adobe Lightroom. This was quite some time ago mind you 
I apologize for this tutorial not being up to the normal standard. I honestly don’t have more than 8 hours with the program, and therefore am not the most proficient by any means. I’m much more fluent with Adobe Lightroom 4 though, because I’ve been using it since it’s very first beta version. Both programs are very similar though as you will see if your not familiar with
Aperture Developed Raw Files
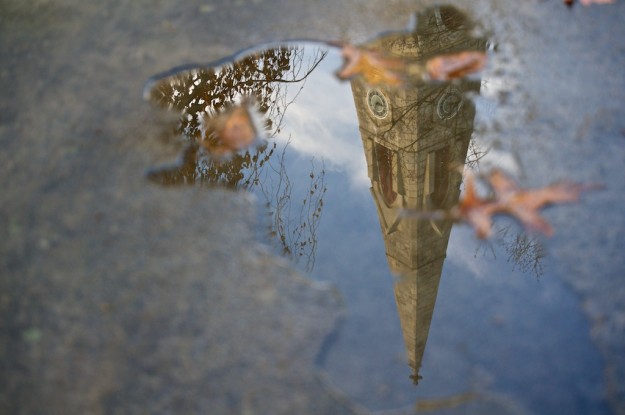
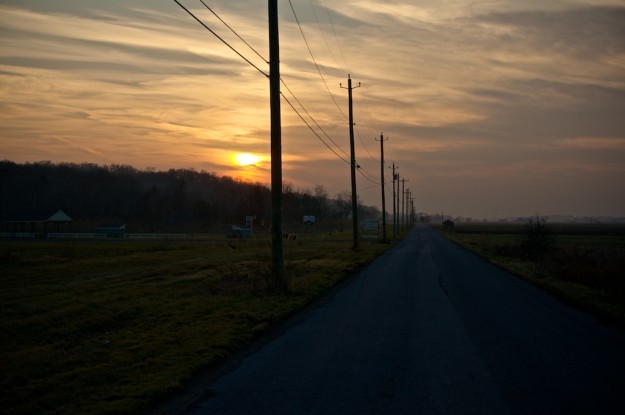
Here’s a few sample pics from the edits I did with Aperture 3 and a few others. The video tutorial is below!!
Aperture 3 Video Tutorial
Developing Sony Nex-6 raw files in Apple Aperture!!
Be sure to select the higher quality video option in the player options once the movie starts playing!! It looks like a little gear, and will crisp up the video full screen playback
Closing Remarks
As you can see Aperture 3 is very powerful and totally capable of developing Sony Nex-6 raw files to my satisfaction. Just as good as Adobe Lightroom 4 most ways, better in a few, and falls short with the lens distortion correction options. Again, I must emphasize I’m new to the program and may have missed some obvious stuff. Please let me know if I missed something, made an obvious blunder or mistake, and of course feel free to ask questions!! I also have a few more photos I need to add, so stay tuned for those!!
Thanks,
Jay


