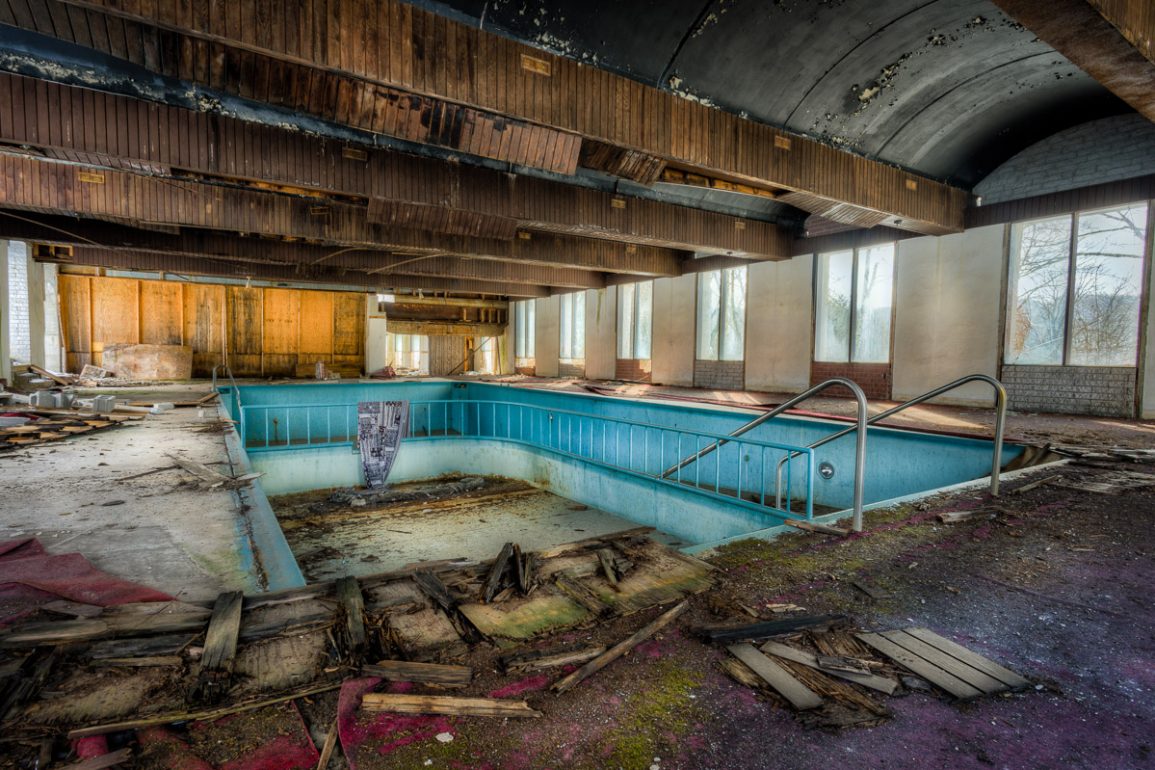
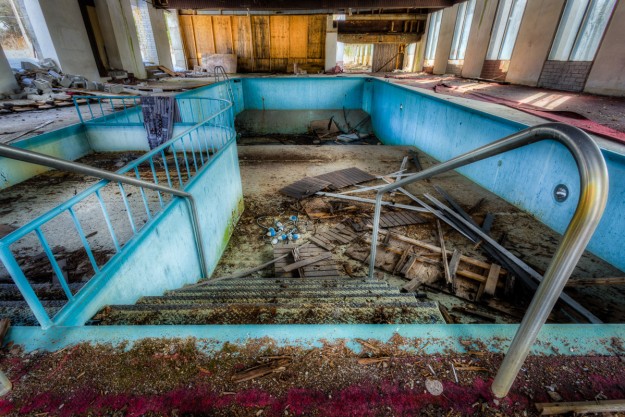
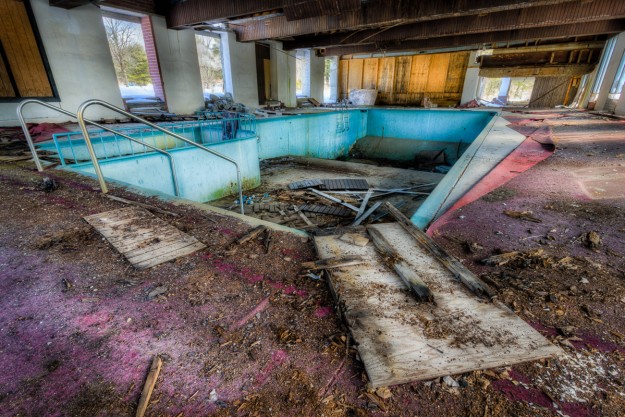
In this highly detailed video tutorial I will show you how to take take HDR Photography using the Sony Alpha A7r in this really creepy abandoned pool scene. In the field for the first part of this video, and I go over some tips and tricks for getting better shots plus explain the fundamentals of HDR photography as a whole.
For the processing I will show you how to take the raw files from the Sony A7r and create a HDR Photograph using Lightroom 5, Photomatix Pro, and the Nik Filters. I go pretty deep and show you all the fundamentals of HDR Photography and the basics behind capturing the frames and processing the raw files to a final product. Remember, there are many ways to capture the images on the camera and process the files off the camera. I show a few methods to get you going, but always try new things and explore your camera options to the fullest.
Auto Exposure Bracketing, Manual Mode, and/ or a Remote control can also be used for capturing the frames on the camera, but I wanted to show you the the exposure compensation method to help illustrate the point of multiple exposure’s and the different EV’s. Clearly you can capture the images faster using AEB or a remote, but that does not help in tutorial situations most of the time 😉
The Self timer works great for when you don’t want to touch the camera, have no moving subjects in your scene, and when you have the time. I prefer using the self time most of the time unless I’m in a rush. In that case I will use the exposure bracketing with my finger on the camera and I will make sure the shutter speed is fast enough to not get any camera shake. Often raising the ISO is required.
I hope you like the video and remember that Photography is all about capturing, so if you want to capture more detail in the shadows and highlights, HDR Photography is the way to go!
The Sony A7r and HDR Photography Start to Finish
Be sure to select the HD Quality in the player window once the video starts!
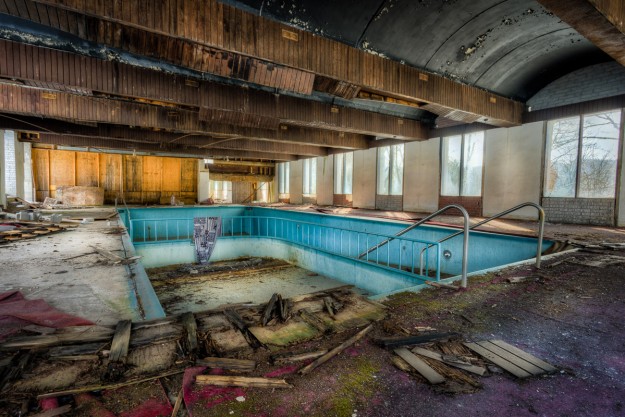
Edited HDR Photos from the Creepy Pool
Check out the actual edited photos and be sure to Click on them for the full larger ~1200px versions!
Closing Remarks
That is about it for this article on HDR Photography using the Sony Alpha A7r, Lightroom 5, Photomatix, and the Nik filters from start to finish. I really hope you got something out of this video tutorial and will try to take some cool HDR Photos yourself at some point if you have not already 😉
As always, please feel free to ask questions and/ or comment below!
Thanks again for checking in and your support,
Jay


