In this video tutorial and article, I will explain how to use manual mode on the Sony Alpha A7r, but will first go over exposure and the exposure triangle. It’s important to understand each element of the exposure triangle, so you can adjust the settings on the camera with confidence and efficiency.
The Sony Alpha A7r offers full manual controls with a tri-navigation type system as you will see in the video below.
Exposure is not really that complicated and is only made up of three main elements. Aperture, Shutter Speed, and ISO. I have highly detailed written tutorials on these topics if you click the following links – Understanding Exposure (Click Here), Aperture Explained (Click Here), and Shutter Speed Explained Click Here)
Below, in this brand new HD video tutorial I go over exposure first quickly, then move on to using the Sony A7r camera in Manual Mode. I then adjust each setting and explain what is going on as I do it. It will make sense if you are new to using manual mode I hope, and if you are familiar with manual mode, this will be a good overview on how the Sony A7r handles it.
Exposure and Manual Mode Explained using the Sony Alpha A7r
Be sure to select the HD Quality in the player options once the video starts. Full screen 1080p is available!
The Exposure Triangle
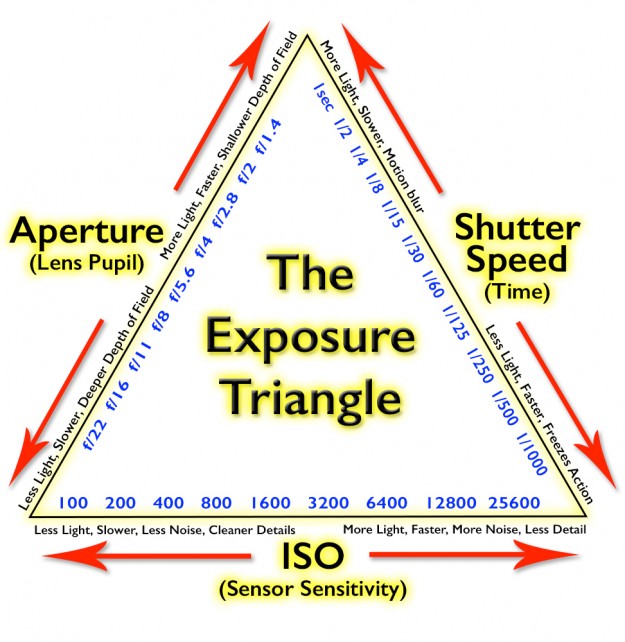
Check out this exposure triangle diagram I created in Photoshop today. It took awhile, but I think it will help make sense of the three exposure elements if you are a visual learner like myself. Illustrations make comprehending things much easier for some reason, so perhaps this will help some of you. Feel free to copy it, print it, or share it with your friends that are learning photography.
Slow Shutter Sample Photos
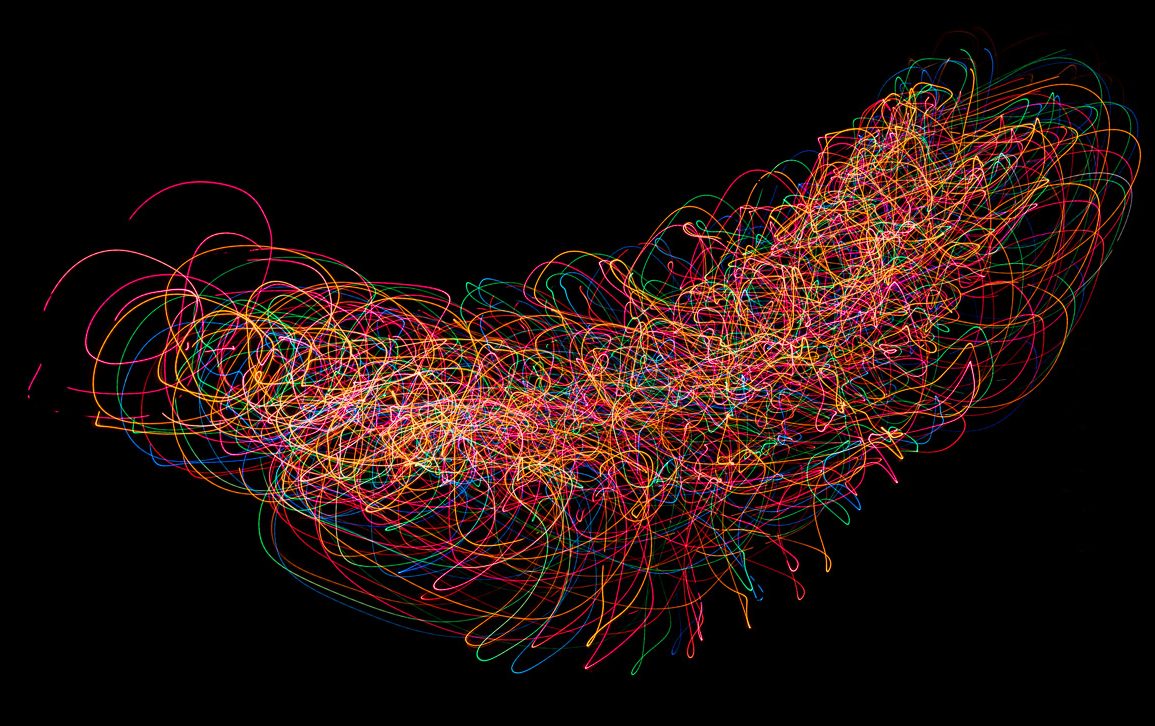
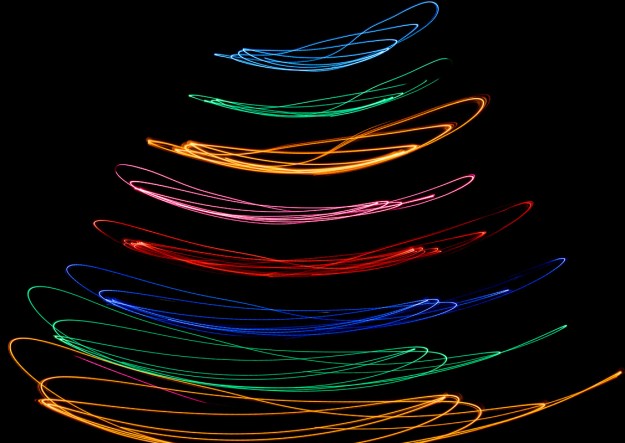
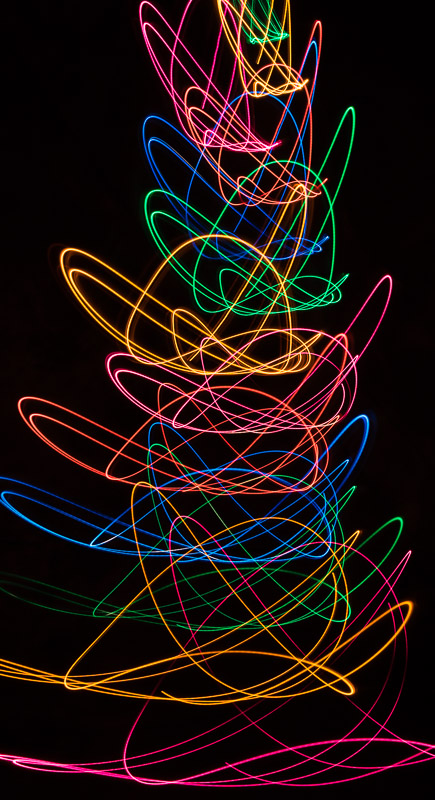
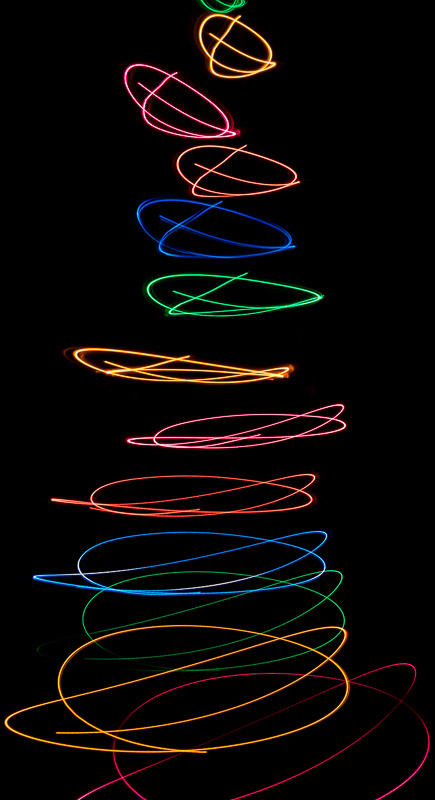
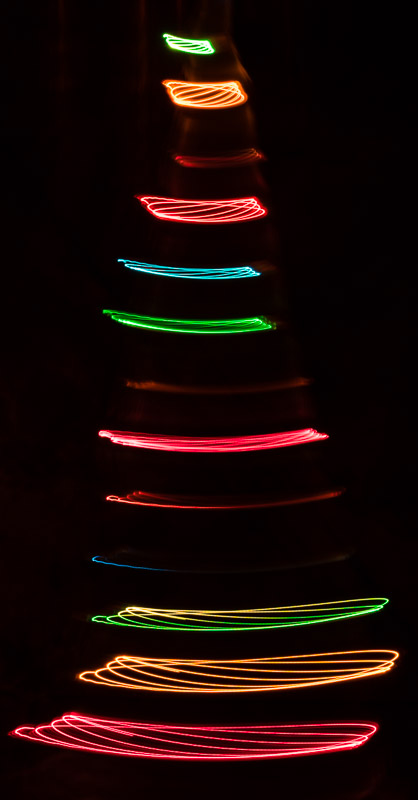
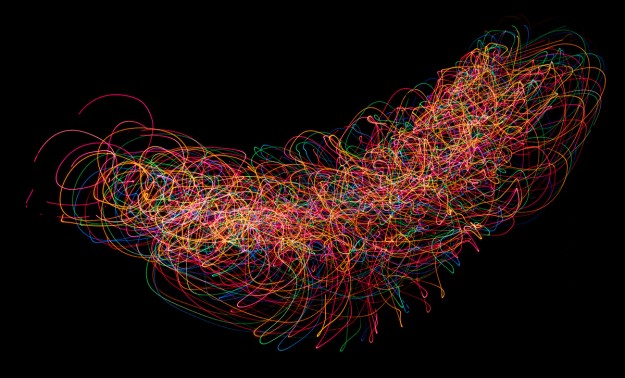
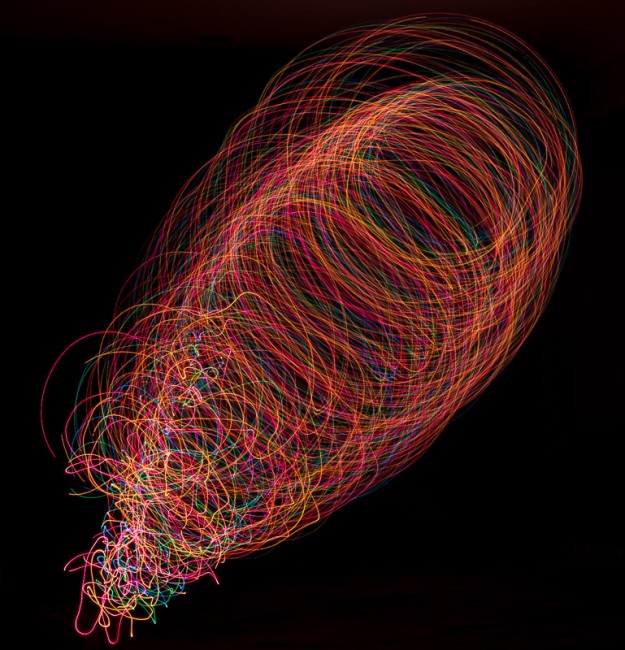
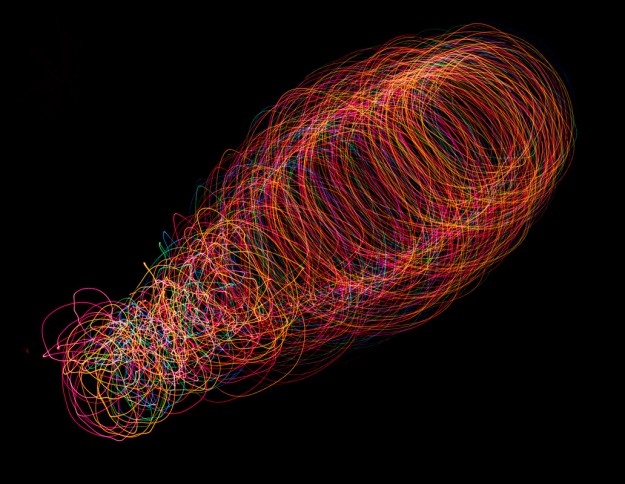
Getting creative with your photography is one of the most fun things you can ever do as a photographer in my opinion. I decided to play with some lights I had laying around in the Lab and ended up making a swing. I put a small weight on the end of the lights and turned all the other room lights off. This made everything totally dark except for the color lights. I knew I wanted to capture some motion with the lights, so I adjusted the camera to f/5.6, 2 seconds, and ISO 100 for a test shot. The on camera meter was not very helpful in this particular situation and it said I was under exposing the scene by about -1 I believe. In any event, this is experimenting and pure play, so I wanted to show you how I progressed one photo at a time.
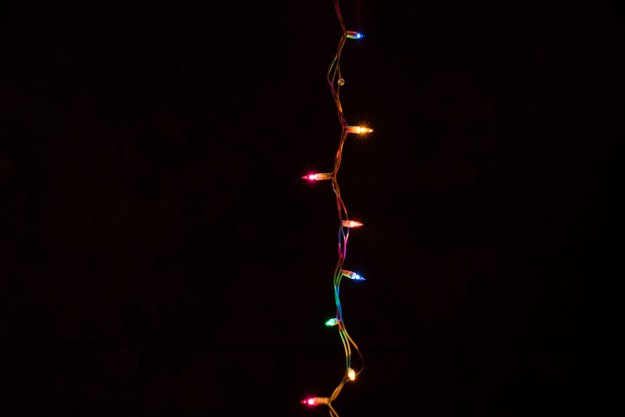
First, a 2 second exposure of the lights with no movement at all for reference.
Click Photos for the ~1200px Large Versions!
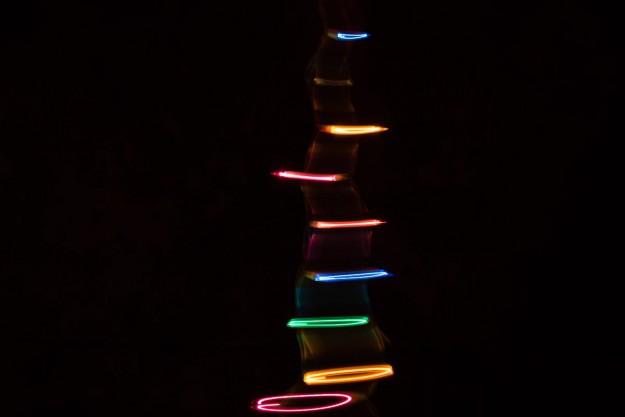
Now for a little movement @ 2 seconds.
Now for 8 full seconds at f/16 and now we are getting some cool looking shots!
Added a little bounce to it and the lights go crazy!
A little slower swing and spin for a more simple look. Now that I am happy with the 8 second exposure it’s fun to play with the lights in different ways. Experiment!
Here are a few more from last night (05/09/14)
Closing Remarks
Getting a good exposure in manual mode on the Sony A7r is very easy once you get a grasp of the exposure triangle. A little practice and you will have it down in no time 😉
Please feel free to ask questions if you have them, and be sure to check out the other tutorials linked above if you need more in depth info on any of the exposure triangle elements etc…
Thanks again for stopping by and have a great day,
Jay

