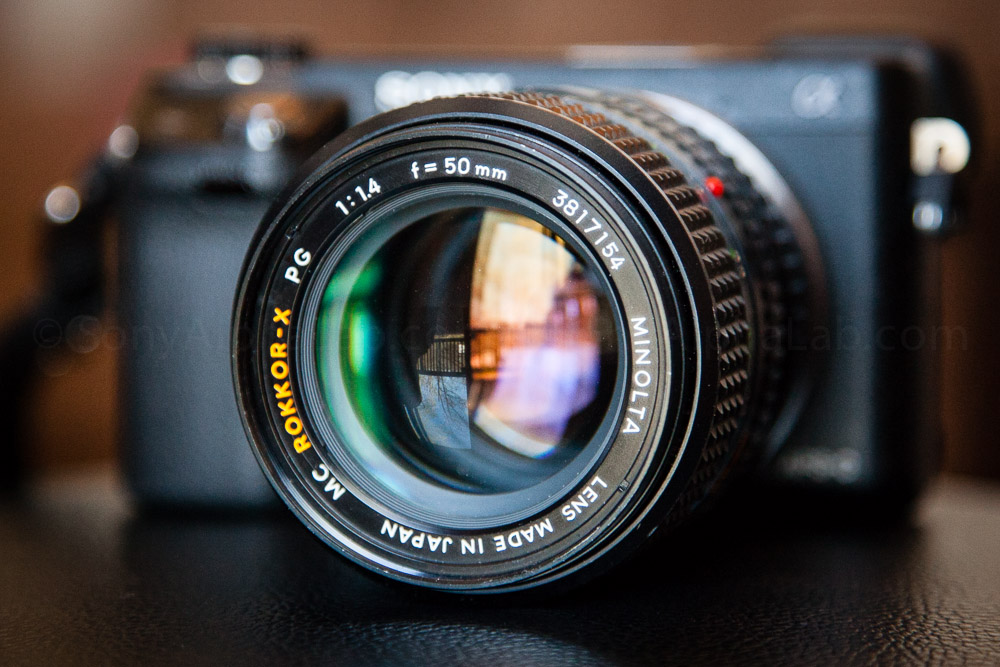
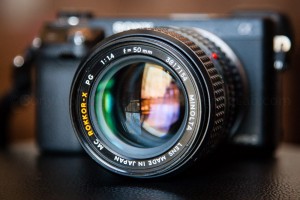
I’ve had the Minolta MC Rokkor-X PG 50 F/1.4 Lens for a few months now and in this article I’m going to show you what it can do on my Nex-6. I also used my very affordable RainbowImaging lens adapter to make the hook up on my Nex-6 and it did the job very well. Infinity is not perfect with this adapter however, which is worth noting for those wondering and wanting that very useful feature.
The more expensive lens adapters made by Novoflex and Metabones for example, offer accurate infinity focus and the finest machining quality to match highest quality optics like Zeiss, Leica and others..
You can pick up the Minolta MC Rokkor-X PG 50 F/1.4 Lens for ~$50 – $90 US on Ebay (Click Here) The RainbomImaging Lens adapter I’m using only cost ~$17.50 US, and you can get it @ Amazon (Click Here)
In other words, for an investment less than a kit lens, you can have your hands on pro grade speed and depth of field control! This is killer and I highly recommend taking advantage of all these older lenses on Ebay, garage sales, or in your families attics for that matter. Look around, you will be surprised whose family used to be in photography long ago, and just assume the equipment is useless.
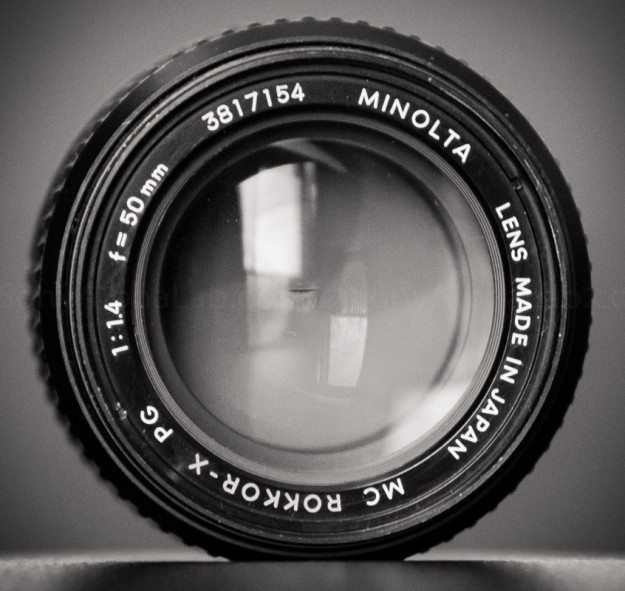
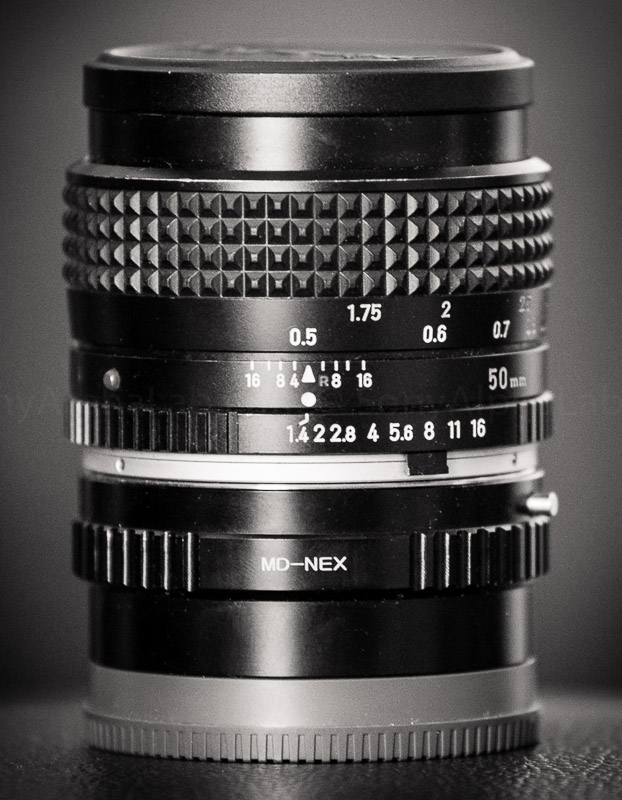
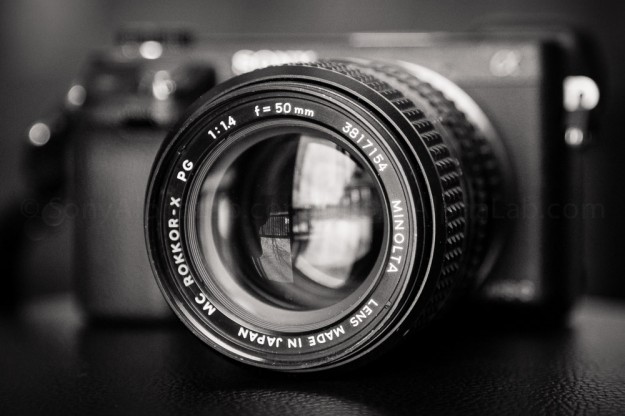
Here she is with the included metal lens cap as I received it from Ebay.
The incredible f/1.4 speed of this lens makes shooting in low light no problem, and with relatively low ISO values. Not having an AF motor and other electronics make it a little easier to get such huge glass into such a small form factor. The lens has a bit of weight to it, but it’s by no means over bearing on the Nex-6.
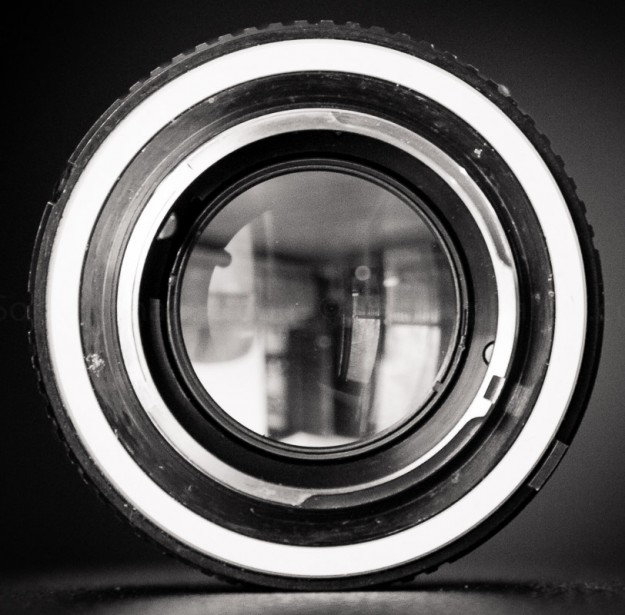
From the back:
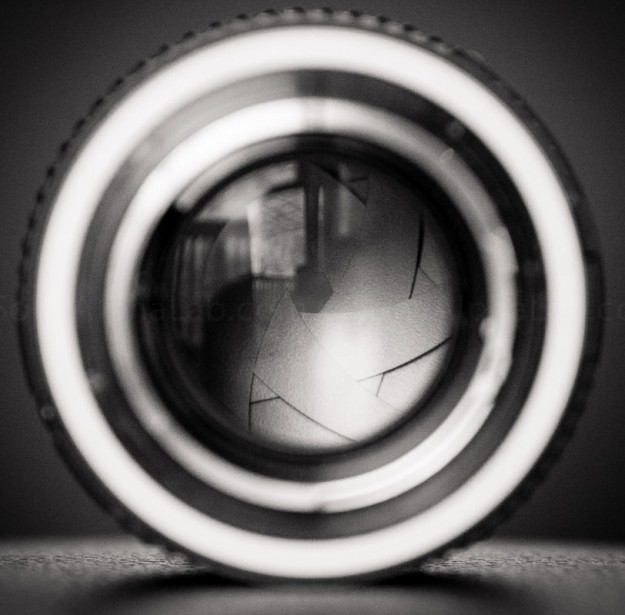
Mounted to my very affordable RainbowImaging lens adapter:
Build Quality
The build quality of the Minolta MC Rokkor-X PG 50 F.1.4 Lens is awesome in my opinion. It’s very old, but all metal and feels extremely solid in the hands. The focus is smooth and dampened with a sharply textured rubberized grip for adjustment. It’s very effective and slippage is never and issue. The aperture ring is all metal, with no rubber grip, and is notched for easy on the fly adjustments, but counting is required. The notched aperture is not good for video, but as long as you leave the aperture alone it’s fine in my opinion.
[divider]
Focus Peaking
I have Focus Peaking enabled on my Nex-6 and I’m using yellow these days as my primary color choice. You need to be in manual focus in order enable focus peaking in the menu. It’s grayed out in the menu when the camera is has auto focus enabled. I also use the magnify zoom feature and have it custom programed to soft key B. The button next to the lower right of the lcd screen. Using these tools I can get a very good hit rate with sharp focus.
Other Camera Tricks and Techniques Used?
I also set the camera to multi-shot mode. This helps insure I have a few frames to choose from and is very helpful when shooting moving targets like kids. Layla for example is very hard to get sharp at f/1.4 or even f/2 if I am really close to her. Farther away it’s not so much of a problem. Sometimes speed priority is really fun too! I tried this with the bubbles you will see below.. When super close to Layla or Chubs for example, I try to use the eye-ball and eye lashes as my focus reference. I then hit the magnify zoom button and adjust the image on the lcd screen with the directional pad until I see the eye. I then fine tune to focus and take about 2-3 shots. This can often take a few seconds and you may miss the shot entirely if you subject moves, but its worth the effort for sharp shots when the depth of field is extremely narrow.
Real Wold Sample Photos
Having the Minolta MC Rokkor PG 50 F.1.4 Lens for several months now, I have a pretty diverse collection of real world sample photos. I didn’t get a chance to test this lens in the lab, but It really doesn’t matter as it’s a full frame lens anyhow. I will do the official Lab test using the full frame Sony A7 most likely. The Lab is actually all taken down as we are putting a tile floor down finally. It’s going to take a few more weeks, but once that is done I can really work on some permanent lab testing scenes..
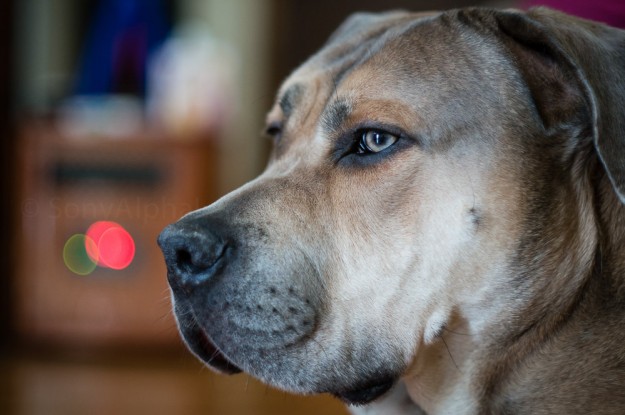
My buddy Chubs in the living room with extremely low natural light. I shot raw quality and did a little enhancing of the contrast and color in these images using Lightroom 5.
Be sure to Click the Photos for the 1000px Versions!
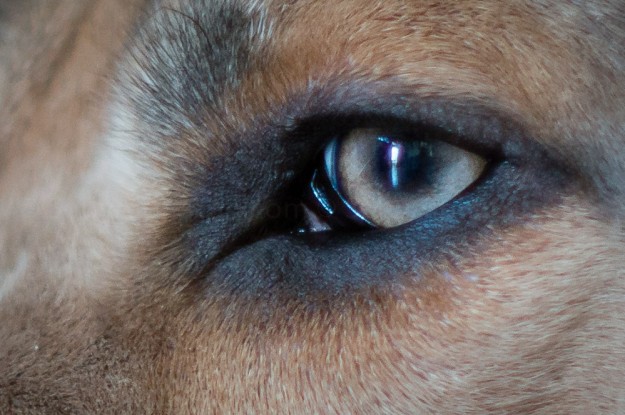
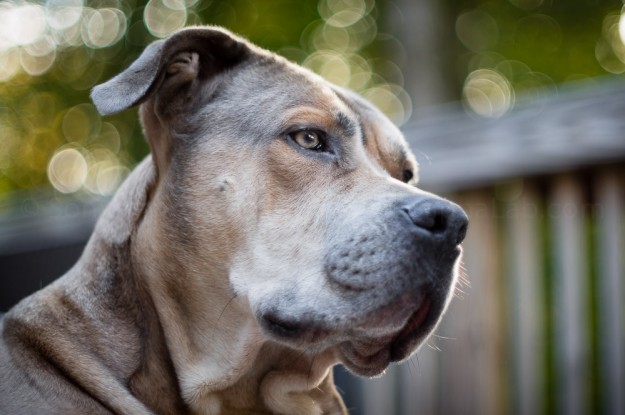
Chubs from another angle outside showing off the amazing specular highlights in particular.
Sandy in the lawn posing like a champ. I stopped the lens down to f/4 on this image to see just how sharp this lens really is? The 100% Crop reveals excellent sharpness in the part of the image that matters.
Bubbles @ f/2 and 10fps speed priority mode. Purple fringing is noticeable on the highlights contrast edge. It’s clearly visible in the 100% crop of the popping bubble below and even the regular images. I did not correct for any lens flaws in Lightroom by the way!
And I finally captured a bubble in mid-pop. Check it out!
A sunset scene with the focus point on the corner of my deck railing towards the bottom of the frame. The bokeh this lens produces is awesome in my opinion and borders on magical. Sort of like my Canon EF 135mm f/2 L lens. It just has a special look to it. Mind you, I honestly don’t have much experience with these older lenses. Just a few so far with this one being the best I have used.
A stalk.
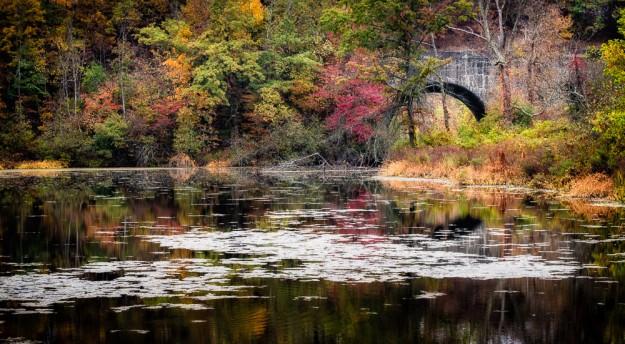
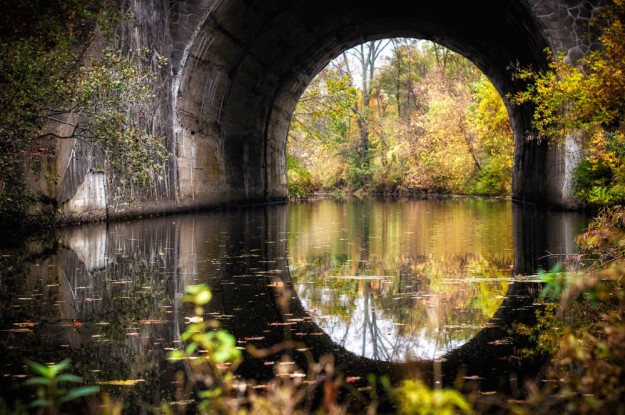
How about some fall colors and reflections.
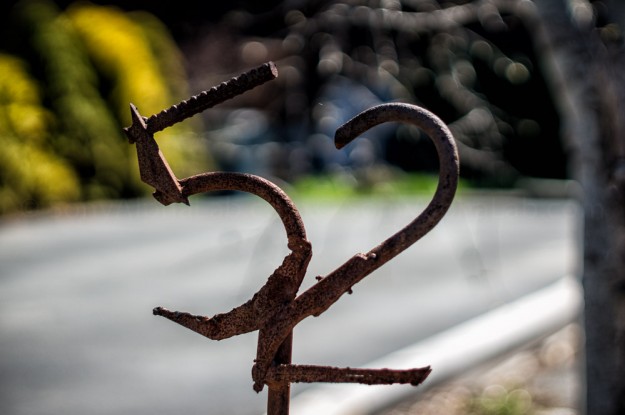
52
Aperture And Depth of Field Test
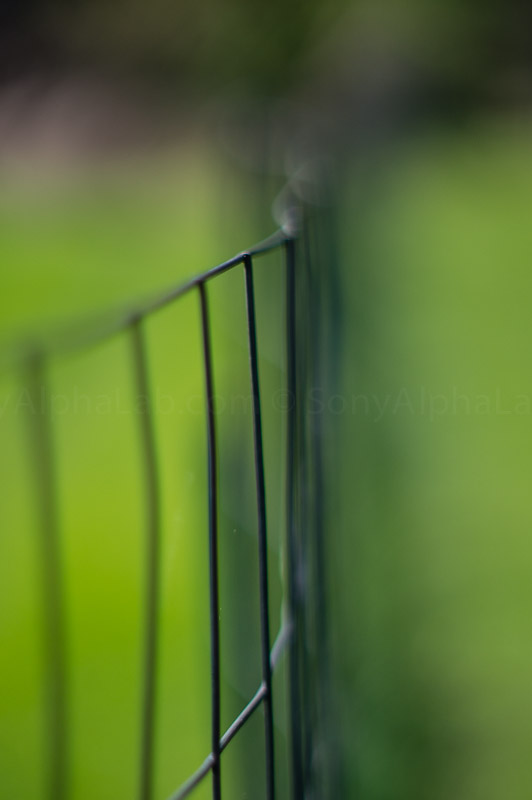
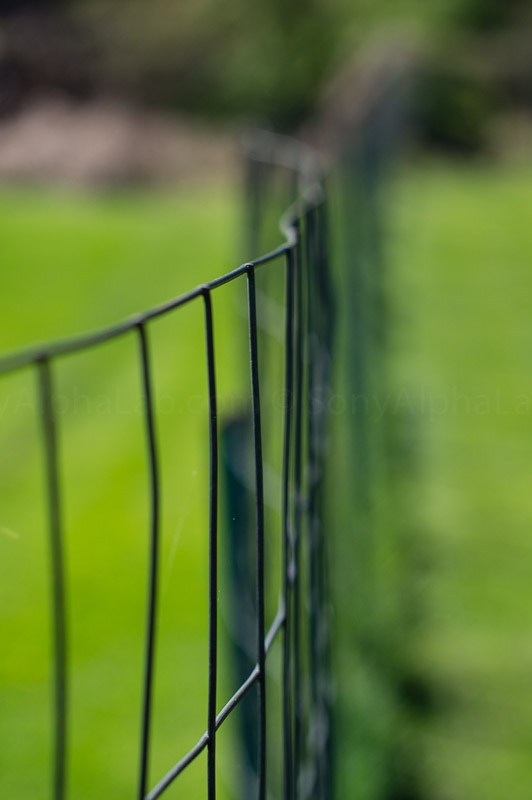
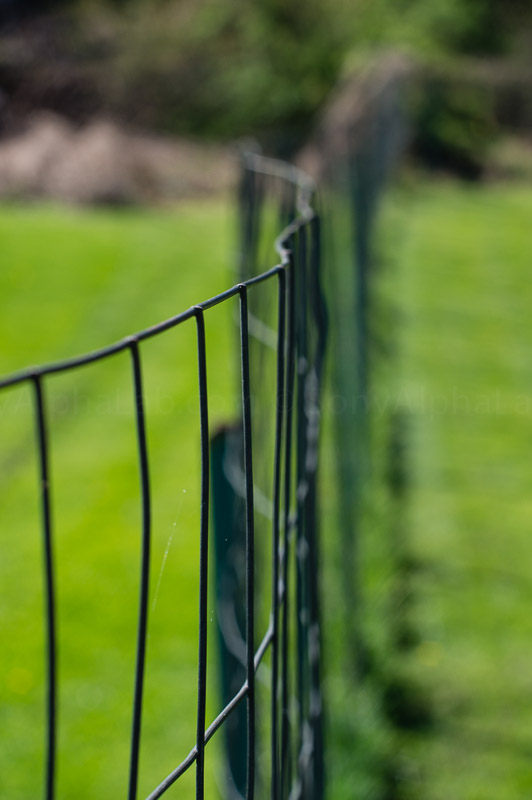
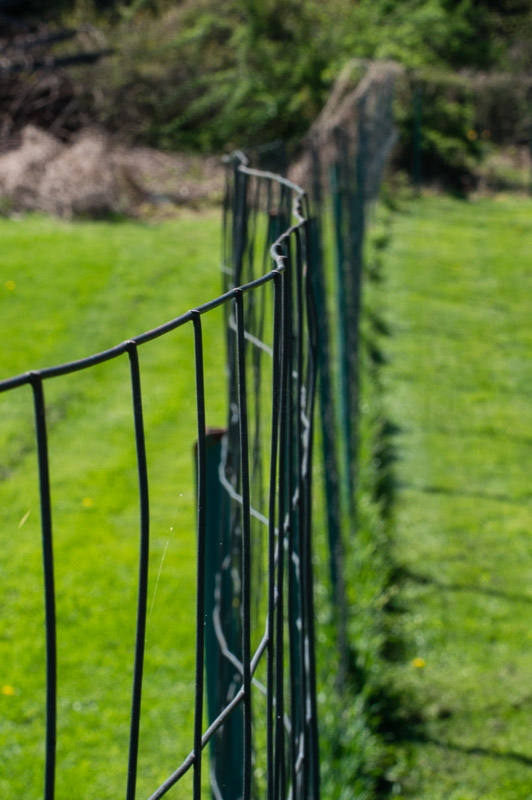
Check out what kind of separation f/1.4 gets you on the Nex-6 crop factor camera.
F/1.4
F/2.8
F/4
F/8
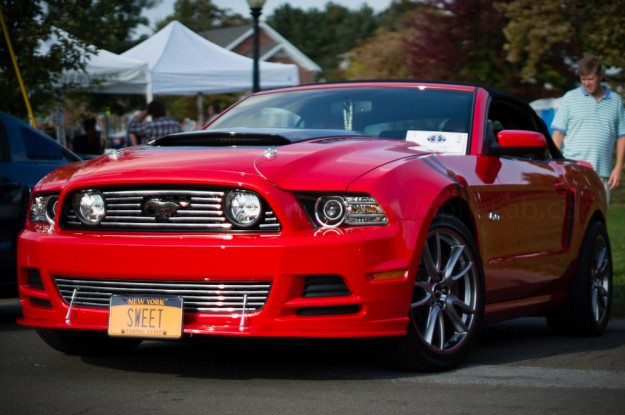
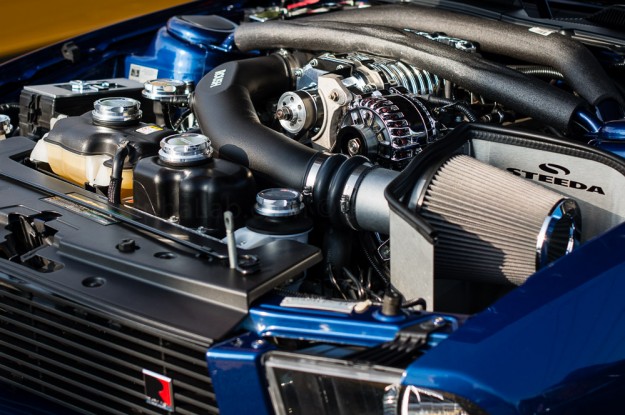
I stopped at a car show on the way home from work the other day and grabbed a few snapshots as well. I love the rich colors and contrast the Minolta lens seems to capture, and these cars really show it off well. I did add some contrast and do a few other minor exposure adjustments on these. White balance was pretty mint off the camera.
Be sure to Click the Photos for the 1000px Versions!
Serious power with a blower on top 😉
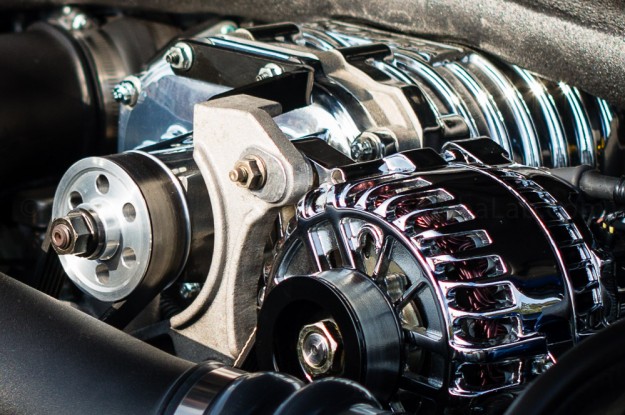
100% crop of the blower and super high contrast chrome alternator. I had the lens stopped down to f/2 at least for this shot, but honestly can’t remember for sure.
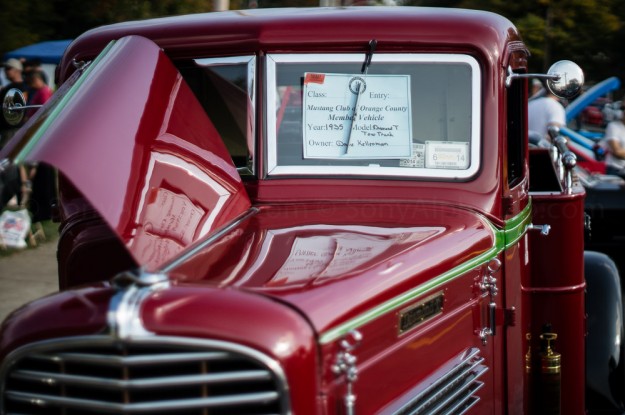
An awesome old school tow truck.
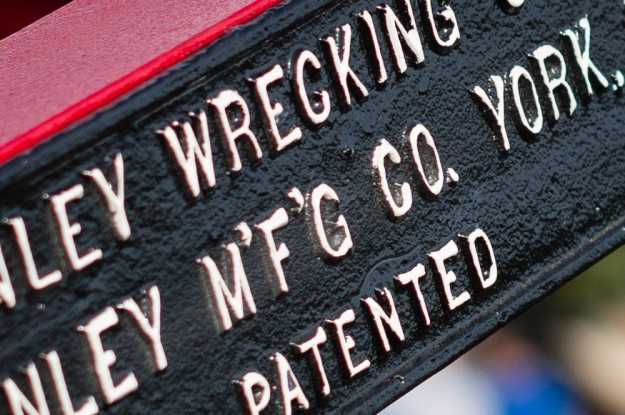
You can see pretty clear on this 100% crop below, the red and green fringing on the high contrast white letter edges. On the left of the frame you see red, on the right you see green. This is what you get with most of these older really affordable lenses. It’s mostly correctable in post, but stopping down to f/2 or f/2.8 really makes a difference in output sharpness. I really prefer the out of focus background over the relatively minor fringing that is a slider adjustment away from being fixed in lightroom 5. Remember, I did not correct for any lens flaws on these images.
Conclusions On the Lens
The Minolta MC Rokkor-X PG 50 F/1.4 Lens is a lot of fun to use on my Sony Nex-6 and performs really well in my opinion. Especially when you factor in the age and money I spent. Yes, it does suffer from lens flare and other issues wide open, but it’s crazy cheap considering the speed. I am using the Nex-6 which has a 1.6x crop factor sensor and this is a full frame lens. Therefore, I am only really testing the sweet spot of this lens and you need to keep that in mind when judging the optical performance. Once I get the full frame A7, I will re-test this lens and I’m guessing the corner sharpness will not be the greatest wide open. Also the lens flaws will be a little more noticeable do to the larger higher resolution sensor. Still, I think this is a killer deal and even more so for the full frame cameras considering the native availability and fast lens cost.
Check out the Ultimate lens and lens Adapter Combinations Article I wrote a while back for more info on old school Minolta lenses, plus other popular options.
Thanks again for checking out this lens review and your support by clicking the affiliate links. Also, be sure to ask questions or comment below as always!
Jay

